4
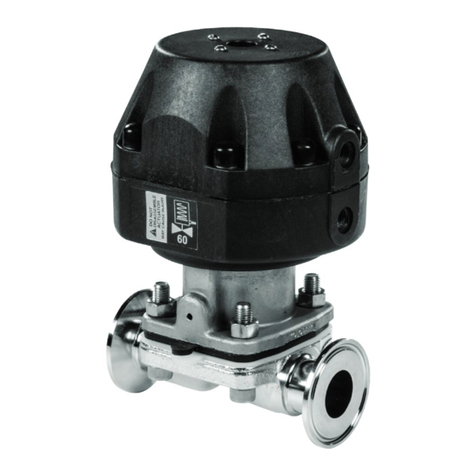
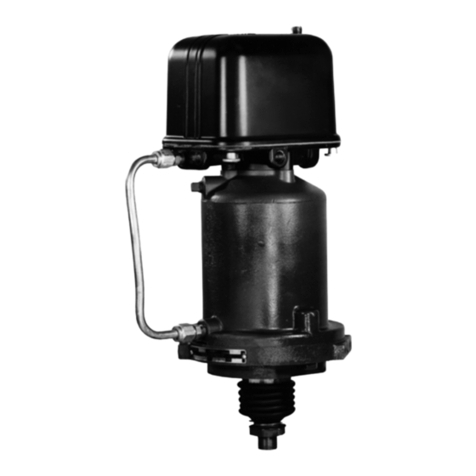
YARWAY MODEL 20 PNEUMATIC DIAPHRAGM ACTUATOR
INSTALLATION, OPERATION AND MAINTENANCE INSTRUCTIONS
ACTUATOR/DESUPERHEATER DISASSEMBLY
(SEE FIG. 6 AND 7)
Before any maintenance operation on the
Yarway Desuperheater fitted with a Yarway
actuator model 20 - 55/20 - 90, please
carefullyfollow these instructions:
• Isolate or bypass the steam supply.
• Check steam line is cooled down and
pressure free.
• Shut-off Desuperheater water supply.
1. Cut-off the air supply to the positioner
via the air filter regulator. Disconnect the
pneumatic connections and the electrical
connections of the positioner on the
network. Disassemble on the actuator side
the pneumatic connections to the positioner.
2. Disconnect the lever of the positioner from
the stem coupling (mechanical linkage).
3. Slightly supply the actuator to lift the
Desuperheater piston from the seat.
Disassemble the upper and lower
couplings(27) (see fig. 6 and 7) through
the screws. Cut-off the air on the
diaphragmcasing.
4. Unscrew the lock nut (see Installation,
Operation and Maintenance Manual of the
A.T.-Temp Desuperheater) and lift the entire
actuator from the Desuperheater.
DISASSEMBLY
This operation is only needed for:
• To change the diaphragm.
• To change one or several springs.
TABLE 2 - SPARE PARTS
Model 20 - 55 (fig. 6) Model 20 - 90 (fig. 7)
Item Quantity Name Part no. Item Quantity Name Part no.
3 1 Plate bolt M14 x 100 mm HN-3283 3 1 Plate bolt M14 x 100 mm HN-3283
5 1 Diaphragm ø 420 3N-1299-20 5 1 Diaphragm ø 420 3N-1299-20
6 1 Spring plate 3N-2336 6 1 Spring plate 3N-2286-20
19, 20, 21 Set 4 x bolts M8 x 100 mm / HN-3118 19, 20, 21 Set 4 x bolts M8 x 160 mm / HN-3117
4 x nuts M8 / 8 x washers / 8 x nuts M8 / 8 x washers /
4 x protecting tubes 8 x protecting tubes
7, 8 1Spring ø 59, 6 black, total 5
required per actuator
4N-2900-20 7, 8 1Spring ø 100 (inner), total 3
required per actuator
4N-3017-20
1Spring ø 59, 6 red, total 5
requiredper actuator
4N-3416-20 1Spring ø 140 (outer), total 3
required per actuator
4N-3016-20
13 1Bushing M35 x 1.5 mm brass 4N-2764-20 13 1Bushing M35 x 1.5 mm brass 4N-2764-20
1Bushing M35 x 1.5 mm GGGN60 4N-3858-20 1Bushing M35 x 1.5 mm GGGN60 4N-3858-20
Make sure that the identification number (indicated on the nameplate) is verified and specified when ordering spare parts.
Diaphragm exchange
• Cut-off the air supply to the positioner via the
air filter regulator. Disconnect the pneumatic
connections and the electrical connections of
the positioner on the network. Disassemble
on the actuator side the pneumatic
connections to the positioner.
• Remove all short bolts (18), rings (21) and
nuts (20) on the bolt circle. Progressively
unscrew the 4 long bolts (19), located on
a quadrangle on the circle, to unload the
springs. After having released the 4 bolts,
take the upper casing (1) away.
• Unscrew plate bolt (3) whilst avoiding
the actuator stem (10) rotation by using
the square located on the half upper
coupling(27). Take diaphragm plate (4)
away. Withdraw diaphragm (5) and replace
it by a new one. Tighten diaphragm plate by
applying160 Nm on bolt (3).
• Reassemble the upper casing by using the
4 bolts (19), load the springs until complete
tightening of the diaphragm and complete the
short bolts circle in a clockwise, criss-cross
pattern with a max. torque of 40 Nm.
Exchange of one or more springs
• Same instructions as for diaphragm
exchange, except spring plate (6) has to
betaken away.
• Change damaged springs (7/8) and
reassemble in the opposite way.
