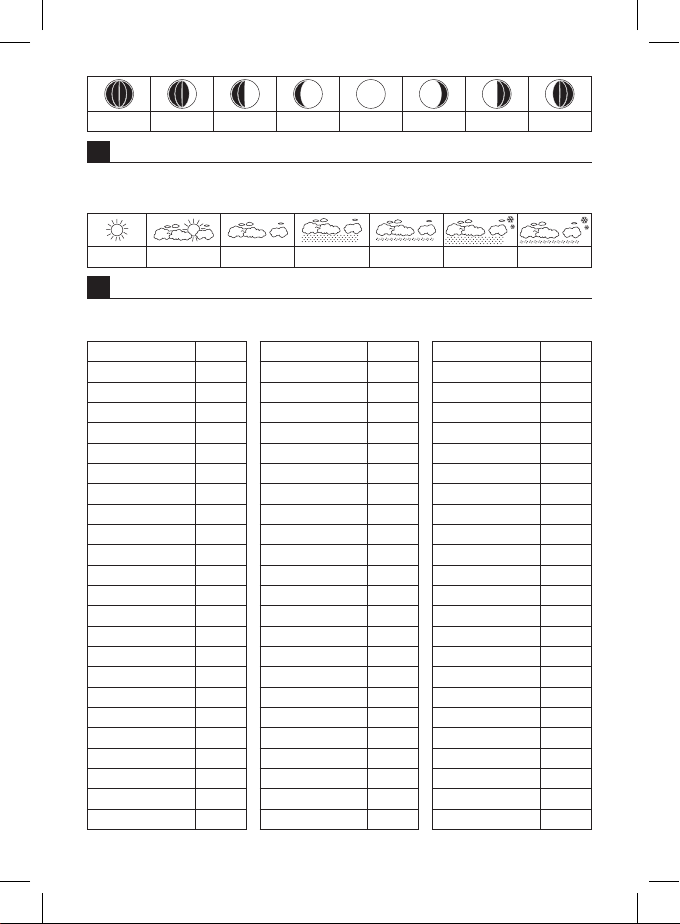
7
45 – icon for sensor channel number 1/2/3 46 – outdoor temperature
47 – LED of signal transmission from the sensor
Attention
Only use 1.5 V alkaline batteries of the same type; do not use rechargeable 1.2 V batteries.
Lower voltage may cause both of the units to not function.
Getting Started
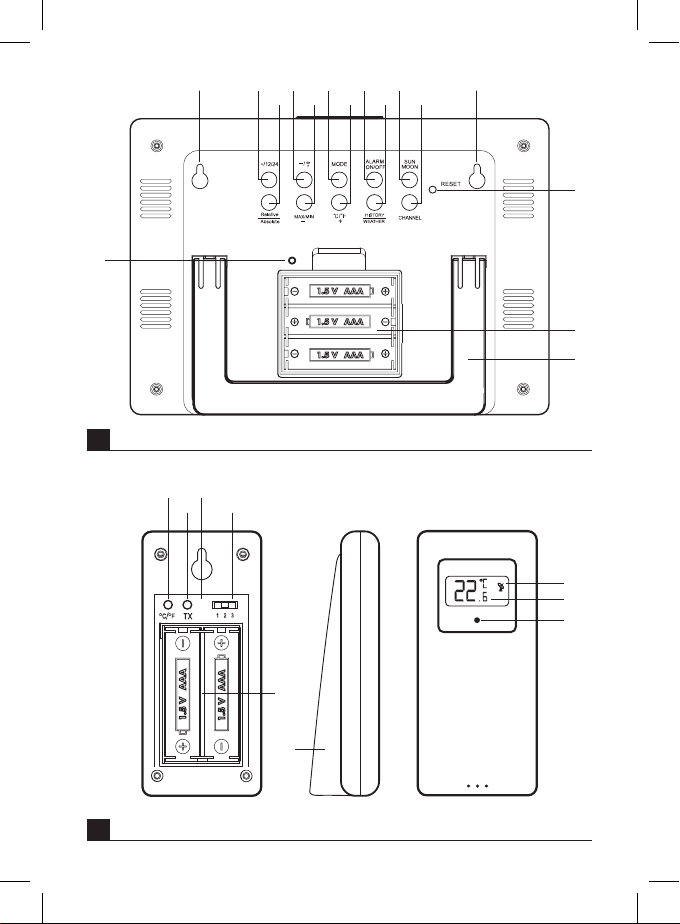
1. First, insert batteries into the weather station (3× 1.5V AAA), then into the wireless sensor (2× 1.5 V
AAA).When inserting the batteries make sure the polarity is correct to avoid damaging the weather
station or sensor.
2. After inserting batteries into the weather station, the will screen light up briey and a short test
of all screen functions will be performed. The weather forecast icon will start ashing; you can
use the MAX/MIN/- button to select the current weather and conrm by pressing the HISTORY/
WEATHER button (31.)
3. The icon for wireless communication with sensor will start ashing, indicating that the weather
station is searching for signal from the outdoor sensor. Place the two units next to each other. If
outdoor temperature does not appear within 3 minutes, the weather station will stop searching for
signal, the icon for wireless communication with sensor will stop ashing and outdoor temperature
will be displayed as --.-°C. If no sensor signal is detected, proceed again from step 1 or press the TX
button in the sensor's battery compartment during signal search.
If the weather station displays incorrect data or does not respond to button presses, use a thin tool (e.g.
a pencil, paper clip) to press the RESET button on the back of the weather station.This will erase all data;
you will need to set the weather station again.
We recommend placing the sensor on the north side of the house.The range of the sensor may decrease
substantially in areas with large number of obstacles. The sensor is resistant to dripping water; however,
it should not be exposed to sustained rain. Do not place the sensor on metal objects as these would
reduce transmission range.
The sensor can be placed vertically or hung on a wall.
If the weather station screen shows the low battery icon in eld no. 1, replace batteries in the sensor.
If the weather station screen shows the low battery icon in eld no. 8, replace batteries in the station.
Note: It may take up to 30 minutes since the insertion of batteries into the units before the station begins
correctly displaying all measured data and loads DCF time.
Radio Controlled Clock (DCF77)
After registering the wireless sensor, the weather station will automatically search for DCF77 signal (here-
inafter referred to as DCF) for 7 minutes; the icon will ash depending on the strength of DCF signal.
No other data on the screen will be updated and all buttons except for will be disabled during
the search.
Pressing the button for 3 seconds cancels the search for DCF signal.
Signal detected - the icon stops ashing and the current time and date will be displayed with the icon.
Signal not detected – DCF icon will not be displayed.
To repeat the search for DCF signal for 7 minutes, press the button for 3 seconds; to cancel the
search for DCF signal press the button again for 3 seconds. DCF signal will be continuously syn-
chronised every day.
During summer time, the icon will be displayed below the time value.
In standard conditions (at safe distance from sources of interference, such as TV sets or computer
monitors), the reception of time signal takes several minutes.
If the weather station does not detect the signal, follow these steps:
1. Move the weather station to another location and try to detect DCF signal again.
2. Check the distance of the clock from the sources of interference (computer monitors or television
sets). It should be at least 1.5 to 2 m during the reception of signal.
3. When receiving DCF signal, do not place the weather station near metal doors, window frames and
other metal structures or objects (washing machines, dryers, refrigerators, etc.).