4
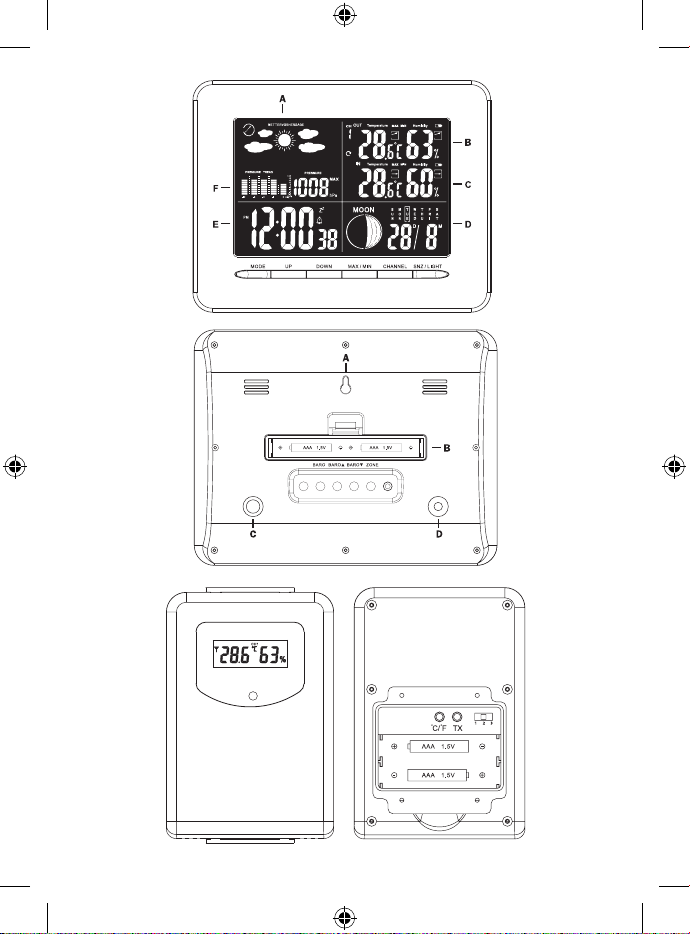
Preparing for use and setting up procedure
1. Insert batteries into the Weather Station (2 x AAA) and into the wireless sensor (2 x AAA). Ensure that the bat-
teries are inserted with the correct polarity to avoid damage to theWeather Station or sensor. Use only alkaline
batteries of the same type; do not use rechargeable batteries. After inserting the batteries into the Weather
Station, set using the BARO ↑/ ↓buttons the actual atmospheric pressure. Conrm by pressing the BARO button.
2. Place both units next to each other. Weather station will nd the sensor signal within 3 minutes. If no sensor
signal is found press and hold the CHANNEL button for repeat search.
3. We recommend placing the sensor at the north side of the house. In built-up areas the sensor signal range may
quickly shorten. The sensor is resistant to dripping water, but do not expose it to persistent rain. Do not place
the sensor on metal objects as it reduces its transmission range.
4. If low battery icon appears replace batteries in the sensor or Weather Station.
Channelchange and connectionof additional sensors,datadisplayfromseveralsensors
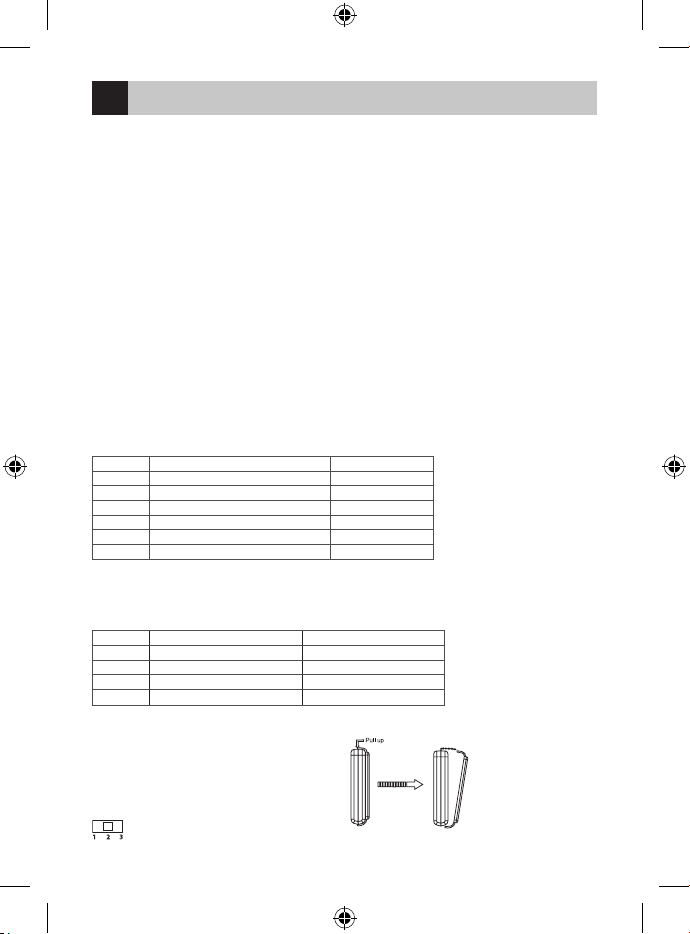
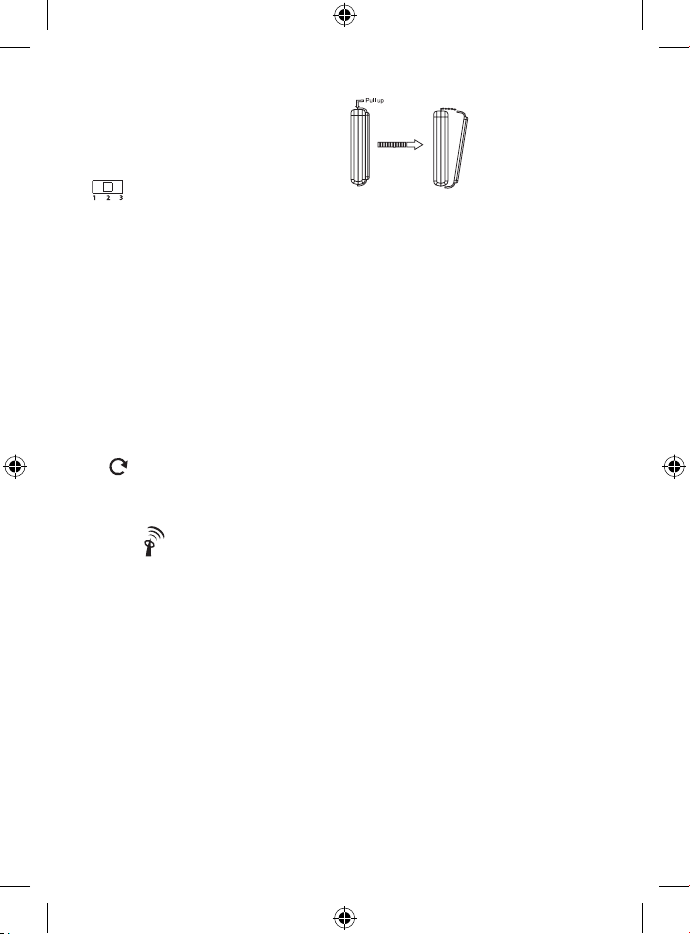
1. At the sensor back select the channel number – 1, 2, 3.
2. Press and hold the Weather Station CHANNEL button– starts searching for a sensor signal.
3. Insert x 2 1.5V AAA batteries into the sensor or press TX button.
4. Weather Station sensor(s) signal is displayed within 3 minutes.
5. If more than one sensor is connected press the CHANNEL button, ashing icon will appear, values from all
sensors, within the time limit of 10 seconds, will gradually be displayed.
6. To deactivate, press the CHANNEL button again.
Radio controlled clock (DCF77)
After registration the Weather Station will automatically begin to search via the wireless sensor the DCF77
signal for 10 minutes; icon flashes During the search data shown on the display will not be updated
and buttons will not work (except SNOOZE / LIGHT). Signal found – icon stops flashing and displays the
current time. Signal not found – icon will disappear. To repeat search for the DCF77 signal press and hold
the DOWN button. DCF77 signal is daily synchronized between 2:00 to 3:00 in the morning. To ensure
proper reception do not place the sensor near electrical appliances and mobile telephones. DCF77 radio
signal is transmitted, using radio frequency of 77.5 kH from a site near Frankfurt am Main in Germany, within
a range of 1,500 km. The radio time signal automatically takes into account daylight saving time (summer and winter time),
leap years anddatechange.In normal conditions(at a safe distancefrom sourcesofinterferencesuchastelevisions, computer
monitors) it takes few minutes to receive the time signal.
If the clock does not intercept this signal follow the following steps
1. Move the Weather Station to another location
2. Check the clock’s distance from sources of interference such as computer monitors or TV sets. To receive the signal
distance should be at least 1.5 to 2 meters. Do not place theWeather Station in the vicinity of metal doors, window
frames and other metal structures or objects (washers, dryers, refrigerators, etc.).
3. In reinforcedconcretestructures(basements,highrise buildings, etc.)theDCFsignalreceptionisweaker, dependingon
conditions. In exceptional circumstances place the Weather Station near the window in the direction of the transmitter.
Receipt of the DCF 77 radio signal is aected by the following factors.
Thick walls and insulation, basement and cellar areas.
Unsuitable local geographical conditions (dicult to assess in advance).
Atmospheric disturbances, thunderstorms.
Electrical appliances that do not have supressed interference.
TV sets and computers located near the DCF radio receiver.
Manual setting of time and date
1. Press and hold the MODE button.
2. UP and DOWN buttons are used to set year – month – day – hour – minutes – 12/24 time display format – time
zone – minutes – city code (country).
3. Setting is changed by pressing the MODE button.
To view time in another time zone press DOWN or ZONE – corresponding time and ZONE icon will be displayed
Press one of these buttons to cancel the ZONE display.