3
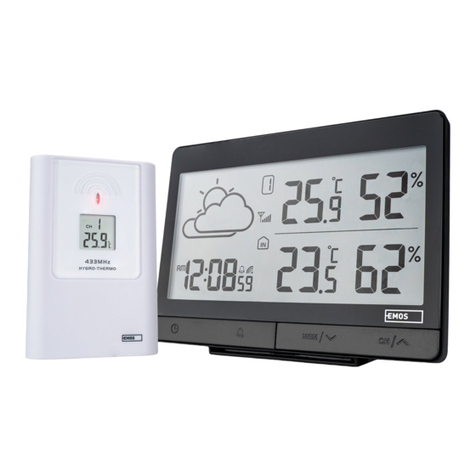
2. Position both units next to each other. The weather station will
nd the signal from the sensor within three minutes. If the sensor
signal is not found, hold the CHANNEL button to repeat the search.
3. If the external temperature value vanishes from the display, push
theRESET button on the weather station. The weather station
resets all values to zero and nds the sensor signal again.
4. We recommend positioning the sensor on the northern side of
the house. In built-up areas, the sensor range may drop rapidly.
5. The sensor is resistant to splash and dripping water; do not subject
it to permanent contact with adverse weather and rain.
6. Do not put the sensor on metal surfaces; it might weaken the
signal.
7. If the weak battery icon (D eld) appears, replace the batteries in
the sensor or the weather station.
Channel change and connecting more sensors
1. Use the CHANNEL button on the rear of the weather station to
choose the desired sensor channel - 1, 2 or 3. Then hold the
CHANNEL button until the icon starts blinking.
2. On the rear side of the sensor, remove the battery compartment
cover and insert the batteries (2× AAA).
3. Set the required number of the sensor channel - 1, 2, 3 using the
CH button – it will be shown on the front display. Within 3 minutes
the data from the sensor will be read.
4. If the sensor signal is not found, remove the battery and reinsert.
Radio controlled clock (DCF77)
After logging to the wireless sensor, the weather station starts to
automatically search for the DCF77 signal over 7 minutes, the L
icon is blinking.
During the search no data on the display are updated and the buttons
do not function (except SNOOZE/LIGHT).
Signal found – the icon stops blinking and it shows the current time.
Signal not found – the icon disappears.
To start a new search for the DCF77 signal push the buttons + and – at
the same time.
To cancel the DCF77 signal search, push the buttons + and – at the
same time again.
The DCF77 signal will be synchronised daily between 2:00 and 3:00 a.m.
To ensure correct signal reception, do not place the sensor near
electrical appliances and mobile phones.
Manual setting of the time, date and location to show
the time of sunrise, sunset, moonrise and moonset
1. Hold the MODE button
2. Use the buttons + and – to set the year – month - day – time
shift – day language - 12/24 time format – hour – minute – city
(country) code. Other cities and countries are listed on page 34–35.
3. The week number is set automatically according to the set date.
4. You can move from one value to another by pushing the MODE
button.
5. After setting the city code, the weather station will set the time
of sunrise and sunset (R eld) and moonrise, moonset (O eld).
Interior and exterior temperatures, humidity,
temperature unit
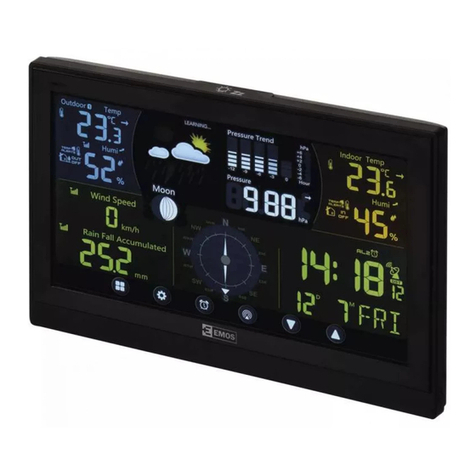
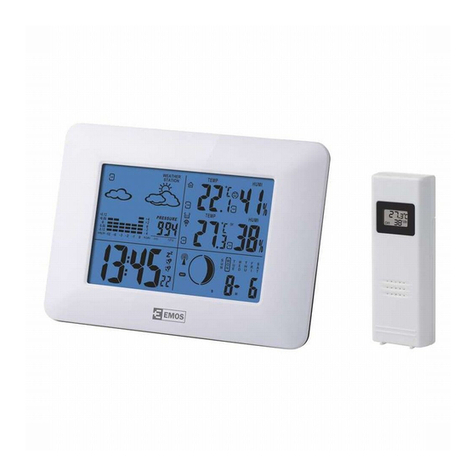
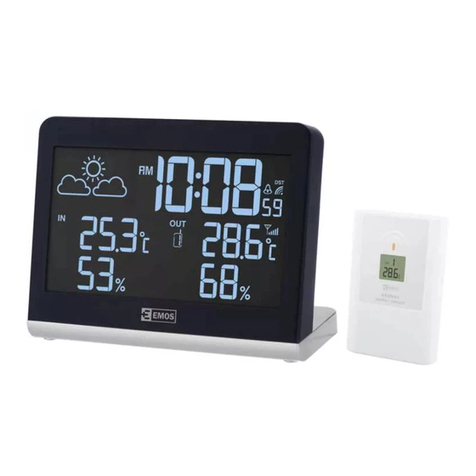
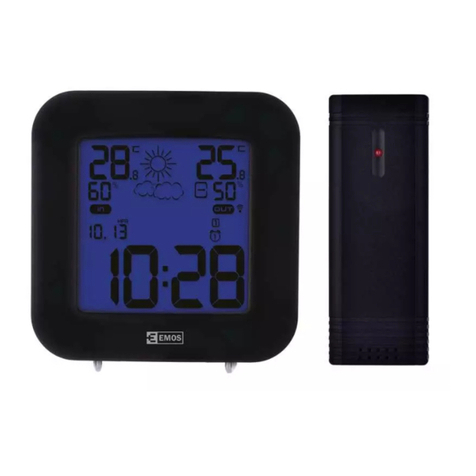
The interior temperature and humidity is displayed in eld I.
Exterior temperature and humidity is displayed in eld H.
Button – choose the temperature unit °C/°F.
Temperature and humidity trend
The arrow shows the trend in the measured values of temperature
(F icon) and humidity (G icon) for the specic sensor or station.
Indicators on the
display
Temperature and
humidity trend Rising Stable Falling
Atmospheric pressure – history and graph
Atmospheric pressure in hPa or inHg units and the pressure history
graph over the last 10 hours is shown in the T eld on the right.
When moving the weather station to another location, the measured
values will be aected.
The measurements will stabilise within 12 hours after battery insertion
or station relocation.
By repeated pushing of the HISTORY button you can gradually see the
pressure values over the last 12 hours.
The measured value + time shift will be displayed in the T eld on
the left.
Manual setting of altitude above sea level, forecast icon,
pressure units
After inserting the battery or after long holding down of the HISTORY
button you can set your altitude above sea level to make the pressure
calculation more accurate.
Use the buttons + and – to set the value in the range -200 m to 2000
m (resolution 10 m).
After setting the altitude, push HISTORY and use the + and – buttons
to set the weather forecast icon (eld B).
After an hour the weather forecast will be updated to reect the
measured pressure.
After setting the weather forecast icon, push the HISTORY button and
use the + a – buttons to set the pressure units in hPa or in Hg.
To return to the main menu, push the HISTORY button.
Lunar phases
Lunar phase is shown in the S eld.
The main lunar phase icons are as follows:
Showing the maximum and minimum measured values
of temperature and humidity
Push the + button to gradually show the maximum and minimum
measured temperatures and humidity. By holding the + button the
measured values will be erased from memory.
Alarm clock setting
The weather station allows setting 2 alarm times.
Use the MODE button to choose alarm clock A1 or A2. The choice will
be shown in the M eld.
A1 – the alarm clock for workdays (Monday – Friday)
A2 – the alarm clock for weekends (Saturday-Sunday)
By holding the MODE button and using the + and – buttons you can set
the required wake up time.
The alarm clock is activated by the MODE button and the – button.
A1 or A2 alarm clock icon or both icons will be dispalyed.
By repeated pressing of the - button the alarm clock is deactivated
and the icon disappears.
Snooze function and light function (SNOOZE/LIGHT)
By pressing the SNOOZE button at the top of the weather station you
can postpone the alarm by 5 minutes.
Press it when the alarm goes o and the alarm clock icon 1, 2 will
start blinking (M eld).
To cancel the SNOOZE function, press any button on the rear and the
icon stops blinking and it stays on the display. The alarm clock will
activate itself the next day again.
By pushing the SNOOZE/LIGHT button, a blue light on the display will
be activated for 5 seconds.
Weather forecast
The weather station forecasts the weather based on the atmospheric
pressure for the next 12–24 hours for the area 15–20 km around it.
The weather forecast accuracy is 70–75 %.
The weather forecast icon is situated in eld B.
Because the weather forecasts may not be 100% accurate, the pro-
ducer or seller cannot be responsible for any losses due to inaccurate
weather forecast.
After the rst setting or resetting of the weather station, it takes
some 12 hours before the weather station starts forecasting correctly.
The weather station shows 5 icons for weather forecast and 3 for
pressure.
On display indication
Weather trend better no change worse
Sunny Clouds Overcast Rain Storm


