manuals.online logo
Brands
  1. Home
  2. •
  3. Brands
  4. •
  5. Ergotron
  6. •
  7. Indoor Furnishing
  8. •
  9. Ergotron JUV User manual

Ergotron JUV User manual

1 of 16
888-45-396-W-01 rev. C • 12/19
www.ergotron.com | USA: 1-800-888-8458
Includes
Constant Force™
Technology
Pour la dernière version du Guide d’installation de l’utilisateur, visitez : www.ergotron.com.
Manuel de l’utilisateur
Para acceder a la última versión de la Guía de instalación para el usuario, ingrese a www.ergotron.com
Guía del usuario
For the latest User Installation Guide please visit: www.ergotron.com
User's Guide
Sit-Stand Panel Mounted Desk
2 of 16
888-45-396-W-01 rev. C • 12/19
3mm2.5mm 4mm
CB1 CB2CB1 CB2
14mm
1
2
Avertissement : La confi guration du système de panneaux sur lequel ce produit est installé doit être conforme aux directives de stabilité
et de capacité de charge du fabricant du panneau. Le non-respect de ces directives peut entraîner des blessures graves et/ou des
dommages matériels.
Attention : Ce produit doit être monté sur une surface verticale. Le non-respect de cette consigne peut entraîner des blessures graves et/ou
des dommages matériels.
The JUV Panel Worksurface can only be installed on the following Panel Systems in a "U" shaped confi guration, with return panels on
the worksurface mounted side: Hayworth Compose, Allsteel Terrace, Steelcase Answer, Herman Miller Canvas. No other items (shelves,
stackers, etc) can be installed on these panels. The JUV Panel Worksurface confi guration will have minimum and maximum requirements
for the height and width of the rear panel and the return panels.
Rear panel height: min 50" (xx mm), max 72" (xx mm)
Rear panel width: min 36" (xx mm), max 60" (xx mm)
Return panel height: min 30" (xx mm), max 72" (xx mm)
Return panel depth: min = worksurface depth, no max
Pour usage commercial seulement.
Accessoires (à commander séparément)
1. Kit électrique simple JUV pour bureau assis-debout
2. JUV Laminate Insert
Outillage requis
Advertencia: la confi guración del sistema de paneles sobre el que se instala este producto debe cumplir con las Directrices de estabilidad
y carga del fabricante del panel. El incumplimiento de estas directrices puede producir lesiones graves o daños materiales.
Precaución: este producto debe montarse sobre una superfi cie vertical. El incumplimiento de estas instrucciones puede producir lesiones
graves o daños materiales.
The JUV Panel Worksurface can only be installed on the following Panel Systems in a "U" shaped confi guration, with return panels on
the worksurface mounted side: Hayworth Compose, Allsteel Terrace, Steelcase Answer, Herman Miller Canvas. No other items (shelves,
stackers, etc) can be installed on these panels. The JUV Panel Worksurface confi guration will have minimum and maximum requirements
for the height and width of the rear panel and the return panels.
Rear panel height: min 50" (xx mm), max 72" (xx mm)
Rear panel width: min 36" (xx mm), max 60" (xx mm)
Return panel height: min 30" (xx mm), max 72" (xx mm)
Return panel depth: min = worksurface depth, no max
Solo para uso comercial.
Accesorios (se encargan por separado).
1. Kit eléctrico individual JUV de escritorio para trabajar de pie o sentado
2. JUV Laminate Insert
Herramientas necesarias
Warning: The panel system confi guration that this product is installed on must conform to the panel manufacturer’s Stability and Loading
Guidelines. Failure to follow the guidelines may result in serious injury and/or property damage.
Caution: This Product Must be Mounted to a Vertical Surface. Failure to follow this instruction may result in serious injury and/or property
damage.
The JUV Panel Worksurface can only be installed on the following Panel Systems in a "U" shaped confi guration, with return panels on
the worksurface mounted side: Hayworth Compose, Allsteel Terrace, Steelcase Answer, Herman Miller Canvas. No other items (shelves,
stackers, etc) can be installed on these panels. The JUV Panel Worksurface confi guration will have minimum and maximum requirements
for the height and width of the rear panel and the return panels.
Rear panel height: min 50" (1270 mm), max 72" (1829 mm)
Rear panel width: min 36" (914 mm), max 60" (1524 mm)
Return panel height: min 30" (762 mm), max 72" (1829 mm)
Return panel depth: min = worksurface depth, no max
For Commercial Use Only.
Accessories (Ordered Separately)
1. JUV Single Electrical Kit for Sit-Stand Desk
2. JUV Laminate Insert
Tools Needed
3 of 16
888-45-396-W-01 rev. C • 12/19
ABC
1
ABCD E
1
A
1
ABCD
1
2
3
4
1x
1x
1x
1x
2x
14x
ST4.2 x 13mm
#10-9 x 1"
2x
1x 2x
2x
M4 x 8mm
Plastite
3x
M5x14mm
1x 1x
1x 1x1x 1x 8x
M4x14mm
1x
4 of 16
888-45-396-W-01 rev. C • 12/19
4x
13"
(330 mm)
3mm
1
2
M4x14mm
Fixez les supports inférieurs au panneau.
Fixez la barre du bas aux supports.
Fije las abrazaderas inferiores al panel.
Fije la barra inferior al panel.
Attach bottom brackets to panel.
Attach Bottom bar to brackets.
5 of 16
888-45-396-W-01 rev. C • 12/19
35"
(889 mm)
3
1
2
2.5mm
3
1. Desserrez les supports supérieurs.
2. Fixez les supports au panneau.
3. Serrer les supports pour bien les fi xer.
1. Afl oje las abrazaderas superiores.
2. Fije las abrazaderas al panel.
3. Apriete las abrazaderas para asegurarlas.
1. Loosen top brackets.
2. Attach brackets to panel.
3. Tighten brackets to secure.
6 of 16
888-45-396-W-01 rev. C • 12/19
3mm
3x
M5x14mm
4
Fixez la barre supérieure au moteur de levage.
Fixez le moteur de levage à l'ensemble de trous de la barre supérieure afi n
d’obtenir le positionnement horizontal désiré sur le panneau.
Fije la barra superior al motor de elevación.
Conecte el motor de elevación al juego de orifi cios adecuado situado en la barra superior
para lograr la ubicación horizontal deseada en el panel.
Attach top bar to lift engine.
Attach lift engine to the appropriate set of holes on the top bar to achieve your desired horizontal location on the panel.
7 of 16
888-45-396-W-01 rev. C • 12/19
5
4x 3mm
M4x14mm
Accrochez le moteur de levage à la barre inférieure tandis que la barre supérieure
s'accroche aux supports supérieurs (levage par 2 personnes).
Vue arrière du raccordement de la barre inférieure.
Enganche el motor a la barra inferior mientras que la barra superior se engancha
a las abrazaderas superiores (elevación para 2 personas).
Vista trasera de la conexión de la barra inferior.
Hook lift engine onto bottom bar while top bar hooks onto top brackets (2 person lift).
Rear view of bottom bar connection.
8 of 16
888-45-396-W-01 rev. C • 12/19
6
2x 2x
Fixez les protections des supports.
Fije las cubiertas de las abrazaderas.
Attach bracket covers.
9 of 16
888-45-396-W-01 rev. C • 12/19
7
4mm
1
2
3
Relevez les supports de la surface de travail.
Suba los soportes de la superfi cie de trabajo.
Raise the worksurface supports.
10 of 16
888-45-396-W-01 rev. C • 12/19
8
24" or 30"
24" 30"
1
2
1. Fixez le guide à la poignée de déverrouillage.
2. Ajustez la profondeur de la poignée de déverrouillage en fonction
de la taille de votre surface de travail Ergotron JUV.
Surface de travail Ergotron JUV à
commander séparément.
Retirez la goupille.
1. Fije la guía a la manija de liberación.
2. Ajuste la profundidad de la manija de liberación para que coincida con el tamaño
de su superfi cie de trabajo JUV de Ergotron.
La superfi cie de trabajo JUV de Ergotron se
encarga por separado.
Retire el pasador
1. Attach guide to release handle.
2. Adjust release handle depth to match the size of your Ergotron JUV worksurface.
Ergotron JUV Worksurface ordered separately.
Remove Pin
11 of 16
888-45-396-W-01 rev. C • 12/19
4x
#10-9 x 1" 4mm
2x1x
9
10
NOTE: Make sure trim bracket
is pushed all the way in before
fastening.
Montez la plaque sur la surface de travail, retournez la surface de travail et fi xez bien la plaque à l'aide de supports.
Surface de travail Ergotron JUV à commander séparément.
Si vous avez le kit électrique, suivez ces instructions maintenant.
Si vous installez une unité non alimentée, veuillez continuer avec ces instructions.
Fije la placa a la superfi cie de trabajo, gire la superfi cie de trabajo y asegure la placa con las abrazaderas.
La superfi cie de trabajo JUV de Ergotron se encarga por separado.
Si tiene el kit eléctrico, siga estas instrucciones ahora.
Si va a instalar una unidad sin alimentación eléctrica, continúe con estas instrucciones.
Attach plate to worksurface, fl ip worksurface over and secure plate with brackets.
Ergotron JUV Worksurface ordered separately.
If you have the Electrical Kit, follow those instructions now before attaching worksurface.
If you are installing a non-powered unit, please continue with these instructions.
12 of 16
888-45-396-W-01 rev. C • 12/19
2x
10x
ST4.2 x 13mm
#10-9 x 1" 4mm
11
12
Fixez votre surface de travail Ergotron JUV (à commander séparément).
Fixez bien le guide à la surface de travail.
Fije su superfi cie de trabajo JUV de Ergotron (se encarga por separado).
Asegure la guía a la superfi cie de trabajo.
Attach your Ergotron JUV Worksurface (ordered separately).
Secure guide to worksurface.
13 of 16
888-45-396-W-01 rev. C • 12/19
13
2x
14
2x
M4 x 8mm
Plastite
Fixez des clips aux hauteurs de surface de travail préférées afi n de passer plus rapidement
de la position assise à la position debout.
Fixez la protection inférieure.
Fije los clips a la altura favorita de la superfi cie de trabajo para obtener una referencia rápida
al pasar de estar sentado a estar de pie.
Fije la cubierta inferior.
Attach clips at favorite worksurface heights for quick reference when moving from sitting to standing.
Attach bottom cover.
14 of 16
888-45-396-W-01 rev. C • 12/19
15
14mm
1
2
Augmenter la force de levage
Si le poids installé est trop lourd ou si le produit
ne reste pas en place une fois soulevé, vous
devez augmenter la force de levage :
Réduire la force de levage
Si le poids installé est trop faible ou si le
produit ne reste pas en place une fois abaissé,
vous devez réduire la force de levage :
Important ! Vous devez ajuster le produit une fois l’installation
terminée. Assurez-vous que l’équipement est correctement installé
sur le produit avant de procéder aux ajustements. Ce produit doit
pouvoir être déplacé sans diffi culté sur toute la plage de mouvement
et rester immobilisé à l’endroit où il est réglé. Si le mouvement est
trop facile ou trop diffi cile, ou si le produit ne reste pas dans les
positions souhaitées, procédez selon les instructions de réglage
pour harmoniser les mouvements. En fonction de votre produit et du
réglage, plusieurs tours peuvent s’avérer nécessaire pour remarquer
la diff érence. Chaque fois qu’une pièce d’équipement est ajoutée ou
retirée de ce produit, aff ectant en conséquence le poids de la charge
montée, vous devez répéter ces étapes de réglage afi n de garantir
une utilisation sécurisée et optimale du produit.
Ajustement en hauteur : bas et haut
Étape de réglage
Aumentar la fuerza de elevación
Si el peso colocado es demasiado o si el
producto no se mantiene arriba cuando se
eleva, debe aumentar la fuerza de elevación:
Reducir la fuerza de elevación
Si el peso colocado es muy poco o si el
producto no se mantiene abajo cuando
se baja, tendrá que disminuir la fuerza de
elevación:
¡Importante! Tendrá que ajustar este producto una vez que haya
terminado la instalación. Asegúrese de que todo su equipo esté
instalado correctamente en el producto antes de intentar llevar a cabo
algún ajuste. Este producto debe poder moverse de manera fácil y
fi rme dentro de la amplitud de movimiento permitida y mantenerse
donde usted lo fi je. Si los movimientos son demasiado fáciles o
difíciles o si el producto no se mantiene en las posiciones deseadas,
siga las instrucciones de ajuste para conseguir movimientos suaves
y fáciles. Dependiendo del producto y el ajuste, es posible que deba
hacer muchos intentos hasta poder observar la diferencia. Cada
vez que añada o retire equipos de este producto y que produzca un
cambio en el peso de la carga, debe repetir estos pasos de ajuste
para garantizar un funcionamiento seguro y óptimo.
Elevación (arriba y abajo)
Etapa de ajuste
Increase Lift Strength
If the mounted weight is too heavy or this
product does not stay up when raised, then
you'll need to increase Lift Strength:
Decrease Lift Strength
If the mounted weight is too light or this product
does not stay down when lowered, then you'll
need to decrease Lift Strength:
Important! You will need to adjust this product after installation is
complete. Make sure all your equipment is properly installed on the
product before attempting adjustments. This product should move
smoothly and easily through the full range of motion and stay where
you set it. If movements are too easy or diffi cult or if product does
not stay in desired positions, follow the adjustment instructions to
create smooth and easy movements. Depending on your product and
the adjustment, it may take many turns to notice a diff erence. Any
time equipment is added or removed from this product, resulting in a
change in the weight of the mounted load, you should repeat these
adjustment steps to ensure safe and optimum operation.
Lift – Up and down
Adjustment Step
15 of 16
888-45-396-W-01 rev. C • 12/19
16
Fixez la protection supérieure.
Fije la cubierta superior.
Attach top cover.
16 of 16
888-45-396-W-01 rev. C • 12/19
< 40 lbs. (18.14 kg)
40.5"
(1029 mm)
10.3" (261 mm)
18.4" (466 mm)
26.1"
(663 mm)
22.6"
(574 mm)
48.7"
(1237 mm)
24" (61 cm)
or
30" (76 cm)
34", 40", 46", 58"
(863, 1016, 1168, 1473 mm )
© 2018 Ergotron, Inc. All rights reserved. JUV™ and Constant Force are registered trademarks of Ergotron, Inc.
www.ergotron.com |
USA: 1-800-888-8458
Front View
Vue de dessus de la surface de
travail
ATTENTION : NE PAS DÉPASSER LA CAPACITÉ NOMINALE
MAXIMALE MENTIONNÉE. DE SÉRIEUSES BLESSURES OU
DES DOMMAGES MATÉRIELS POURRAIENT SE PRODUIRE !
REMARQUE : Lorsque vous contactez le service à la clientèle, veuillez donner le numéro de série.
Pour les numéros de téléphone du service client local, visitez : http://contact.ergotron.com
Pour le service client, visitez: www.ergotron.com
Pour la garantie, visitez: www.ergotron.com/warranty
Vista superior de la superfi cie de
trabajo
PRECAUCIÓN: NO SUPERE LA CAPACIDAD DE PESO MÁXIMA
INDICADA. PODRÍA OCURRIR DAÑOS MATERIALES GRAVES O
LESIONES FÍSICAS.
NOTA: Cuando se ponga en contacto con el servicio de atención al cliente, haga referencia al número de serie.
Para conocer los números telefónicos locales de atención al cliente, visite: http://contact.ergotron.com
Para servicio, visite: www.ergotron.com
Para Garantía, visite: www.ergotron.com/warranty
Worksurface
Top View
CAUTION: DO NOT EXCEED MAXIMUM LISTED WEIGHT
CAPACITY. SERIOUS INJURY OR PROPERTY DAMAGE
MAY OCCUR!
NOTE: When contacting customer service, reference the serial number.
For local customer care phone numbers visit: http://contact.ergotron.com
For Service visit: www.ergotron.com
For Warranty visit: www.ergotron.com/warranty

Other Ergotron Indoor Furnishing manuals

Ergotron 97-540-053 User manual

Ergotron

Ergotron 97-540-053 User manual

Ergotron WORKFIT-DL User manual

Ergotron

Ergotron WORKFIT-DL User manual

Ergotron Bench II User manual

Ergotron

Ergotron Bench II User manual

Ergotron Yes 20 User manual

Ergotron

Ergotron Yes 20 User manual

Ergotron Projector Shelf for TeachWell User manual

Ergotron

Ergotron Projector Shelf for TeachWell User manual

Ergotron Neo-Flex Notebook PC Stand User manual

Ergotron

Ergotron Neo-Flex Notebook PC Stand User manual

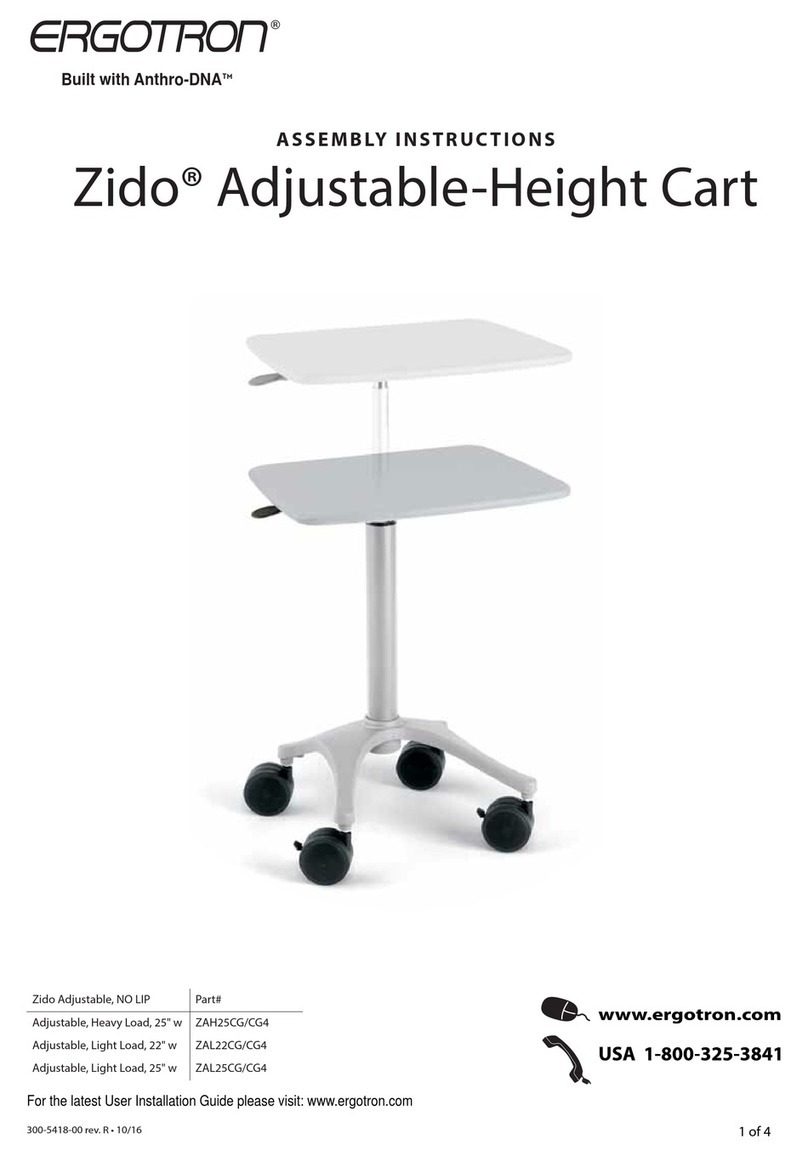
Ergotron ZAH25CG/CG4 User manual

Ergotron

Ergotron ZAH25CG/CG4 User manual

Ergotron LearnFit User manual

Ergotron

Ergotron LearnFit User manual

Ergotron WorkFit-T User manual

Ergotron

Ergotron WorkFit-T User manual

Ergotron Zido ZAH25CG/CG4 User manual

Ergotron

Ergotron Zido ZAH25CG/CG4 User manual

Ergotron WorkFit-C Dual User manual

Ergotron

Ergotron WorkFit-C Dual User manual

Ergotron Carl's Table CT15 User manual

Ergotron

Ergotron Carl's Table CT15 User manual

Ergotron 48" Bench II User manual

Ergotron

Ergotron 48" Bench II User manual

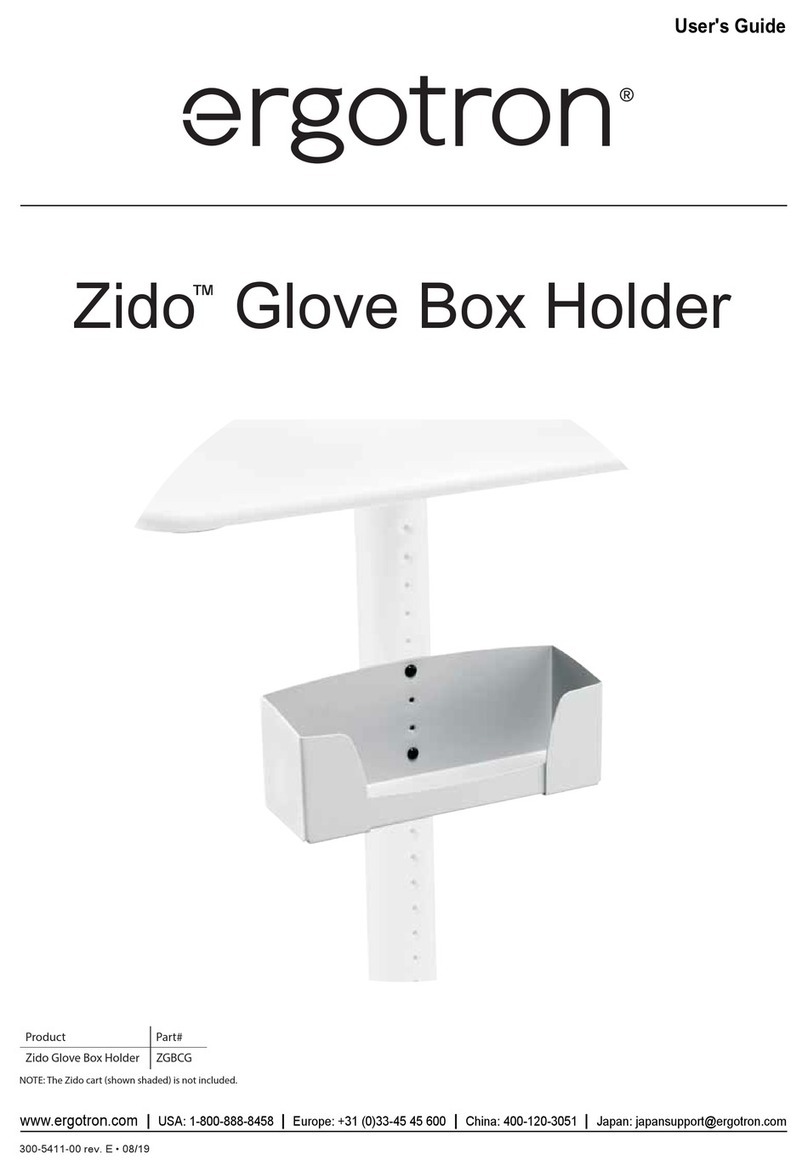
Ergotron Zido ZGBCG User manual

Ergotron

Ergotron Zido ZGBCG User manual

Ergotron 19610 User manual

Ergotron

Ergotron 19610 User manual

Ergotron StyleView SV44 User manual

Ergotron

Ergotron StyleView SV44 User manual

Ergotron Glide Upgrade User manual

Ergotron

Ergotron Glide Upgrade User manual

Ergotron Neo-Flex User manual

Ergotron

Ergotron Neo-Flex User manual

Ergotron Styleview Vertical Lift LCD Monitor Dimensions

Ergotron

Ergotron Styleview Vertical Lift LCD Monitor Dimensions

Ergotron WorkFit-A, Single LCD Mount, LD User manual

Ergotron

Ergotron WorkFit-A, Single LCD Mount, LD User manual

Ergotron LearnFit 24-481-003 User manual

Ergotron

Ergotron LearnFit 24-481-003 User manual

Ergotron LX Sit-Stand User manual

Ergotron

Ergotron LX Sit-Stand User manual

Ergotron WorkFit B User manual

Ergotron

Ergotron WorkFit B User manual

Ergotron 97-540-053 User manual

Ergotron

Ergotron 97-540-053 User manual

Popular Indoor Furnishing manuals by other brands

Hausmann 4002 Installation and operation instructions

Hausmann

Hausmann 4002 Installation and operation instructions

atmosphera COLVA 184922 manual

atmosphera

atmosphera COLVA 184922 manual

Premium Poly Patios Breezesta DH-0703 Assembly

Premium Poly Patios

Premium Poly Patios Breezesta DH-0703 Assembly

Whittier Wood 1100FST Assembly instructions

Whittier Wood

Whittier Wood 1100FST Assembly instructions

Walker Edison W58ALT2D Assembly instructions

Walker Edison

Walker Edison W58ALT2D Assembly instructions

Argos 266/0709 Assembly instructions

Argos

Argos 266/0709 Assembly instructions

Next 741769 Assembly instructions

Next

Next 741769 Assembly instructions

IKEA GERTON quick start guide

IKEA

IKEA GERTON quick start guide

TOMASUCCI 3096 Assembling instructions

TOMASUCCI

TOMASUCCI 3096 Assembling instructions

JR Home IF-SH212 Assembly instructions

JR Home

JR Home IF-SH212 Assembly instructions

HOMCOM 310-058 manual

HOMCOM

HOMCOM 310-058 manual

impekk Alza II LTM-1L-2S/ALZA-EL Series Assembly And Instructions

impekk

impekk Alza II LTM-1L-2S/ALZA-EL Series Assembly And Instructions

Costway JV10717 manual

Costway

Costway JV10717 manual

Finori PRO3/137 Assembly instructions

Finori

Finori PRO3/137 Assembly instructions

Furniture of America CM7518EK Assembly instructions

Furniture of America

Furniture of America CM7518EK Assembly instructions

pottery barn kids CAMERON manual

pottery barn kids

pottery barn kids CAMERON manual

Velux SMG installation instructions

Velux

Velux SMG installation instructions

Stiga Play The Best T8612A owner's manual

Stiga

Stiga Play The Best T8612A owner's manual

manuals.online logo
manuals.online logoBrands
  • About & Mission
  • Contact us
  • Privacy Policy
  • Terms and Conditions

Copyright 2025 Manuals.Online. All Rights Reserved.