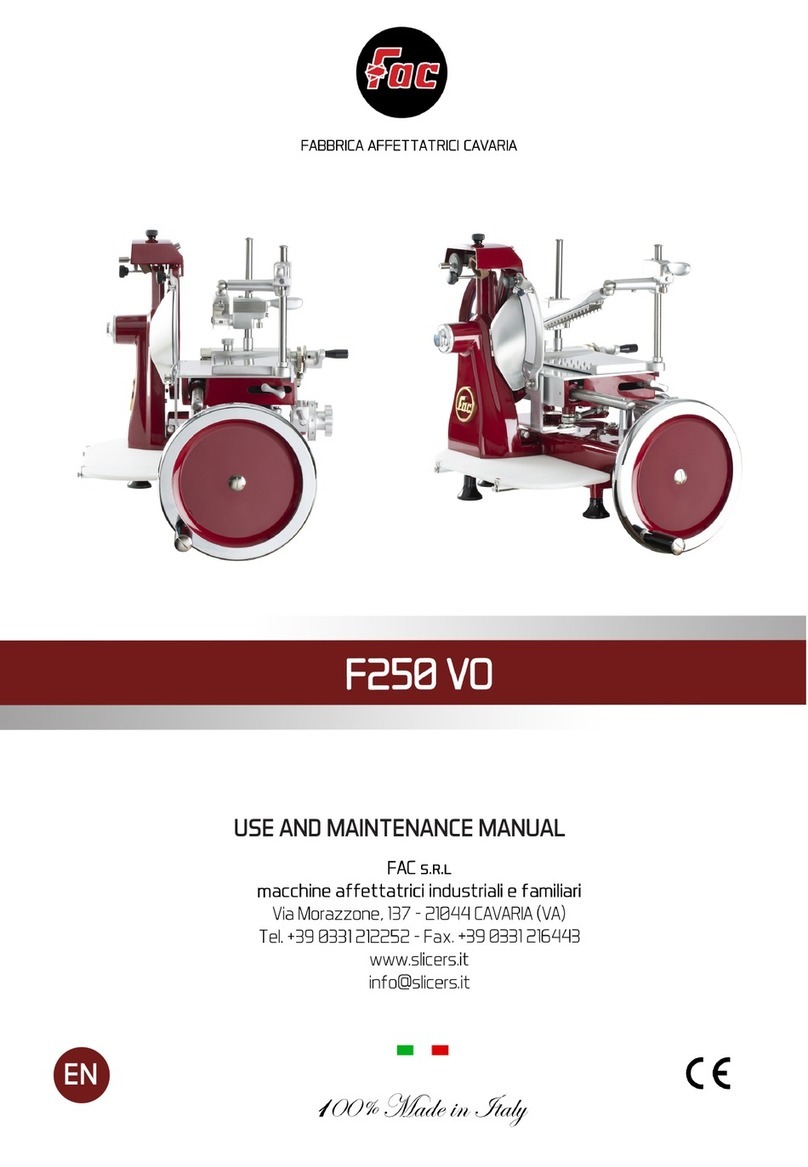
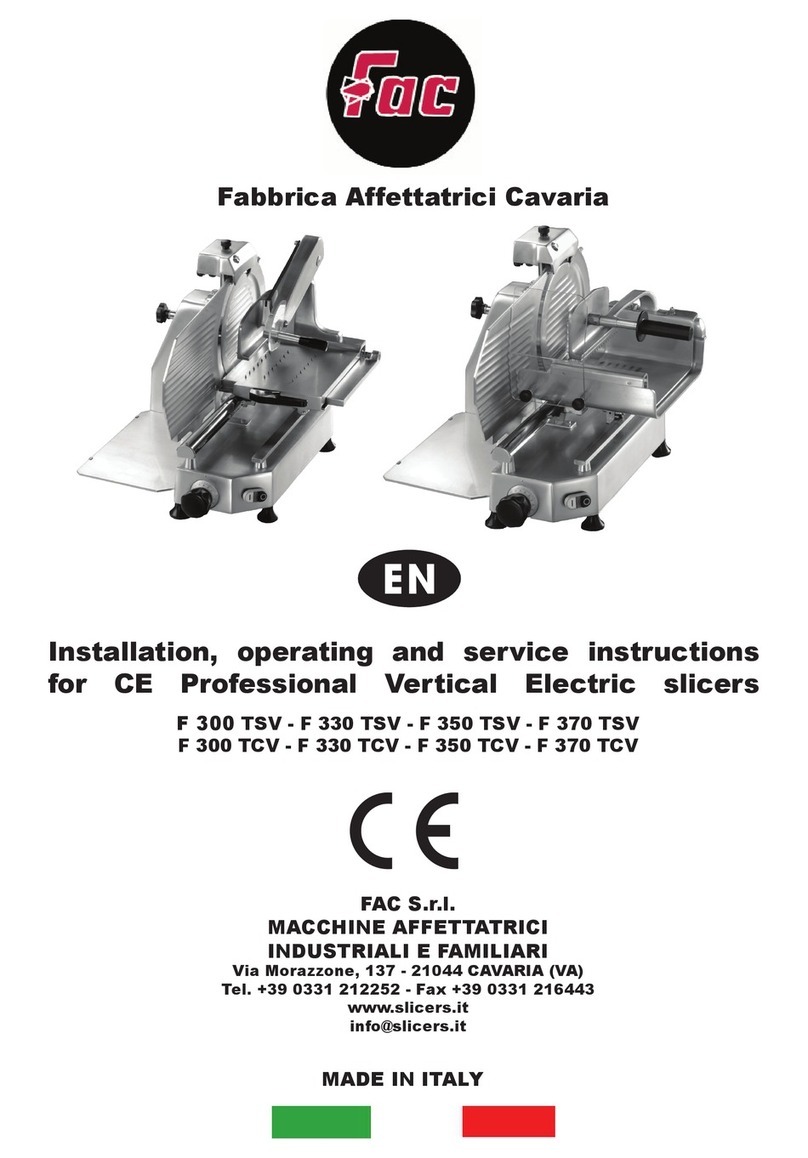
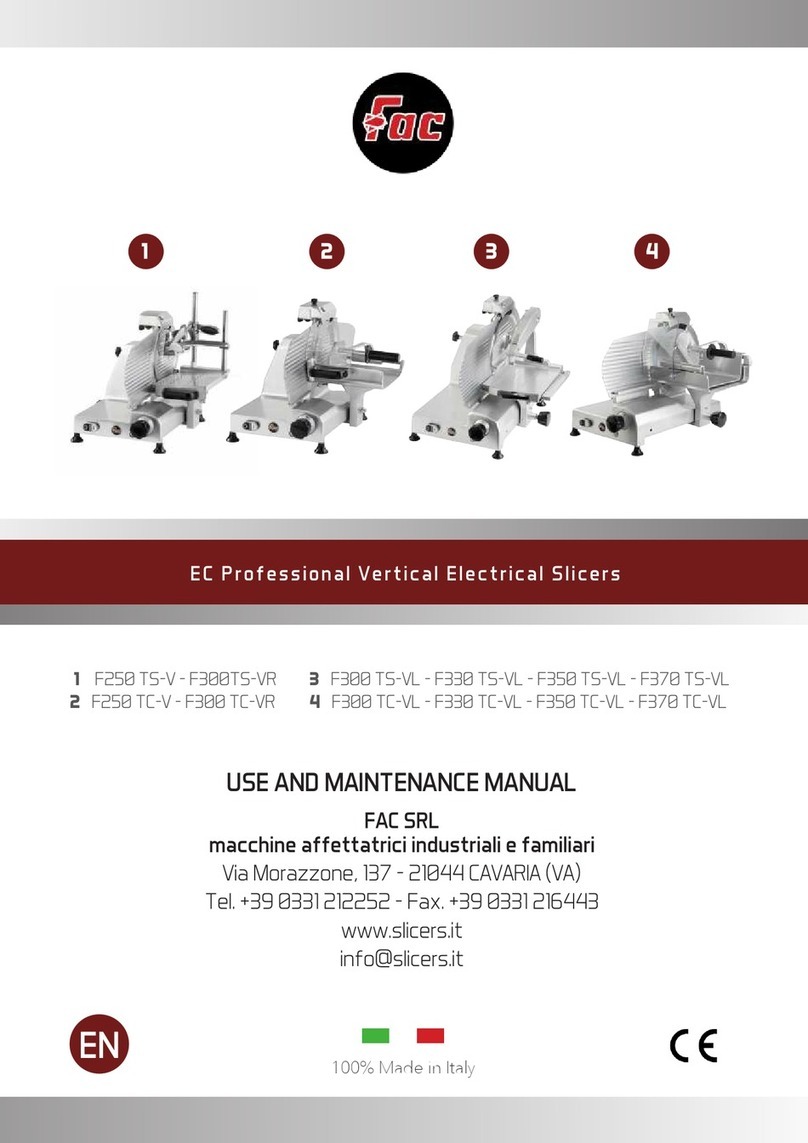
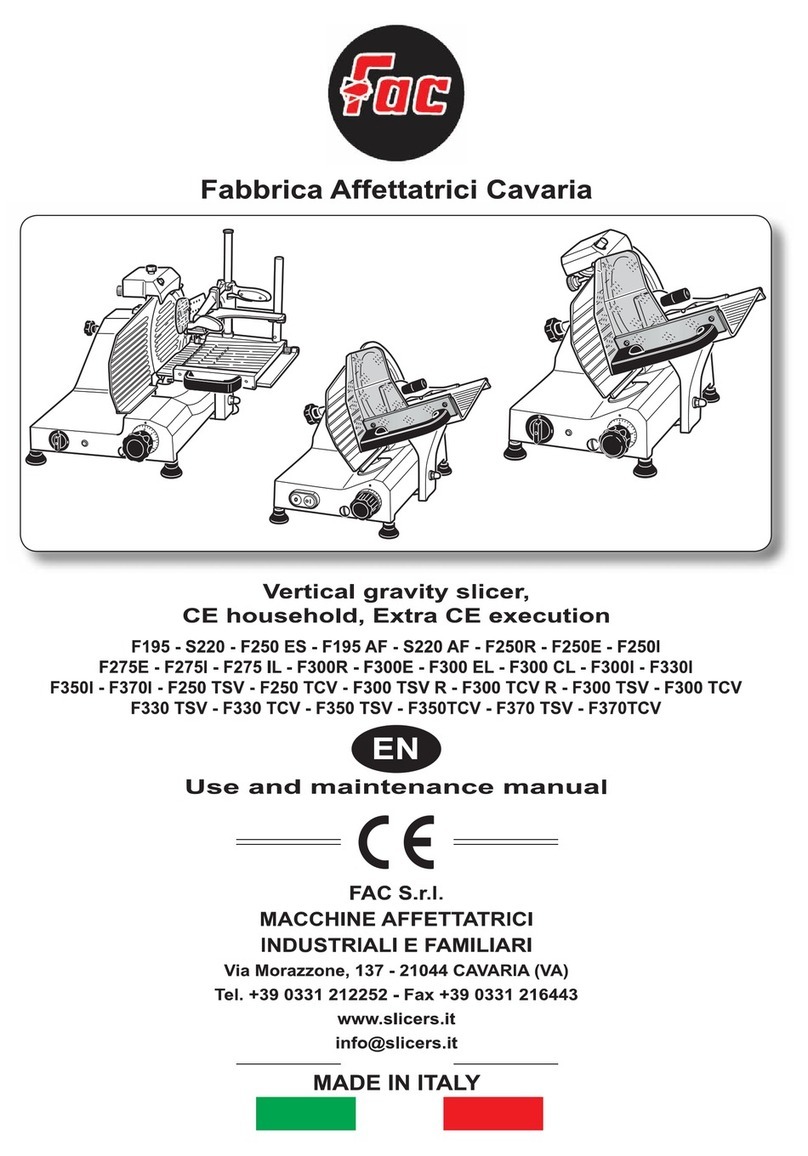
Fac F250 VO Service manual

1 of 44
Installation, operating and service instructions
and maintenance of flywheel slicers F250 VO
CE Professional
Fabbrica Affettatrici Cavaria
MADE IN ITALY

7 of 44
1.1 - PURPOSE OF USER GUIDE
1.2 - USER GUIDE CONSULTATION
AND STORAGE
This guide is an integral part of the
machine and should be kept in a safe
place for further consultation.
This publication contains all information
necessary for the installation use and
maintenance of F250 VO flywheel slicers.
The purpose of this use and maintenance
guide is to enable the end user to use the
slicer safely and guarantee its long-term
reliability.
Carefully read the warnings
contained herein as they provide
important information regarding
safe installation, use and
maintenance.
______________________
Keep this guide in a safe place
for further consultation.
This guide MUST be kept throughout
the life of the slicer and if necessary
(e.g. damage that prevents, even
partially, its consultation, etc.) the user
should ask the manufacturer for
another copy.
When transferring ownership of the
slicer, please ensure the new owner
receives this guide as well.
If you have any doubts regarding
the contents of the user guide or
require additional information,
please contact the manufacturer or
technical support immediately
quoting the clause number of the
topic in question.
No part of this publication shall
be reproduced or transmitted
without written permission from
the manufacturer.
______________________
When ordering “Spares”, DO NOT consider the numbering
utilised herein, but refer exclusively to the exploded drawing
“Spares” (page 33).

20 of 44
DO NOT turn the flywheel (7)
anticlockwise.
Serious damage to the slicer
could be caused.
You will need to turn the flywheel (7)
4/5 times before the product touches
the blade (16).
Whilst the carriage (5) moves forward
(away from the operator), the blade (16)
enters the product.
Guided by the deflector (2), the slice is
detached and drops onto the slice
receiving surface (1).
As the carriage (5) returns (towards the
operator), a mechanical device is
operated that moves the product holder
(4) sideways towards the blade (16).
The amount of sideways movement is
set by using the slice thickness control
knob (13).
You should stop turning the flywheel
(7) once the operation is complete; the
blade will halt its movement (16).
Move the product holder (4) (with the
remaining product) away from the
blade (16) using either the handwheel
(12) or the fast forward lever (11).

21 of 44
Reposition the blade guard (9) by
tightening the knob (9a) (fig. 13).
WARNING:
Do not leave the slicer without the
blade guard (9) in the correct
position.
Cutting hazard!
.
Press the two buttons (10a) whilst
lifting the pusher (3)
Remove the product from the table (4).
Clean the slicer as described in the
relevant section.

24 of 44
5.3 - CLEANING THE BLADE COVER
5.4 - CLEANING THE SLICE
RECEIVING SURFACE
WARNING: Cutting hazard! Use
protective cut- and tear-resistant
gloves and perform all
operations with extreme care.
PAY ATTENTION AT ALL TIMES!
Damp a cloth in a solution of water
and alcohol.
Place the damp cloth between the
blade cover (14) and blade (16).
Take the two ends of the cloth
between your hands and slide it along
the blade cover (14).
Remove the slice receiving surface (1)
by loosening the two screws (1a) and
releasing from the retaining clips (1b).
Wash the tray with water and normal
dishwasher detergent).
WARNING:
ALWAYS clean the blade (16)
with the blade guard (9) fitted.
Do not use detergents to clean
the blade (16).

30 of 44
6.4 - OILING CHAIN AND BEVEL GEAR
Use the lubricant sparingly.
Wipe excess lubricant with a paper
towel.
Every 6 months proceed as follows:
Lift the slicer and apply 3/4 drops of the
supplied lubricant to the chain (19) and
gears (20).
If you run out of the supplied
lubricant, use white Vaseline oil.
Do not use vegetable oil.

Fabbrica Affettatrici Cavaria
F300 VO
Use and maintenance manual
EN

7
EN
• The product to be sliced should only be
placed on and removed from the feed
carriage when the latter is fully retracted
(furthest away from the blade) and the
carriage nearest the operator.
DO NOT use slicing accessories that
have not been supplied by the slicer
manufacturer.
Please contact the manufacturer or
an authorised service centre for all
extraordinary maintenance operations
(chain, blade replacement, etc.).
______________________
1.4 - USING THE SLICER
CORRECTLY
• The slicer is only designed to slice food
of the type and size specied herein.
The manufacturer shall accept no
liability for improper use or use by
staff who have failed to read and
fully understand the contents of this
manual; do-it-yourself alterations
and/or repairs; use of spares that
are non-original or not specically
designed for the slicer model covered
by this user guide.
The following products may be sliced:
• All types of cold cuts (raw and cooked
ham, bacon).
• Boneless meat (cooked or raw at a
temperature of not less than +3°C).
• Bread and cheese (obviously the
sliceable type such as Gruyère, Fontina,
etc.).
The following products CANNOT be sliced
as they are liable to cause serious harm
to the user and/or slicer itself:
• Frozen food.
• Deep-frozen food.
• Food with bones (meat and sh).
• Any other type of product specically
excluded product is sliceable but not
intended to be eaten.
Under no circumstances should
you attempt to slice a specically
excluded product.
______________________

21
Fig. 21
18
Fig. 22
34
3
3
4
4
EN
5.1 - CLEANING THE SLICER
The slicer SHOULD be cleaned
thoroughly at least once a day and
more frequently where necessary.
Clean the slicer before use if it has been
out of service for some time.
WARNING:
Cutting hazard!
Use protective cut- and tear-resistant
gloves and perform all operations
with extreme care.
PAY ATTENTION AT ALL TIMES!
• Remove the receiving tray (18).
• Unscrew knob (34) and lift the sliding
product holder (4) complete with pusher
arm (3).
• Clean all dismantled parts and the
machine body just hot water (at a
temperature of not less than 30°C)
and a frothy biodegradable dishwasher
detergent.
Use a soft spongy cloth and, if necessary,
a nylon brush for the spiked areas of the
product holder (4) and pusher (3).

22
Fig. 23
Fig. 24
9
434
5
16
9
4
5
EN
• Rinse in hot water only and dry with soft
spongy cloths.
WARNING:
DO NOT clean the machine with
water jets, steam or similar methods
or in dishwashers using corrosive
detergents.
The base (8) and painted parts can be
cleaned with a soft cloth avoiding the
use of abrasive detergents.
• Reposition the product holder (4) on the
carriage (5).
• Secure the product holder (4) to the
carriage (5) by tightening the knob (34).
5.2 - CLEANING THE BLADE
WARNING:
Cutting hazard! Use protective cut-
and tear-resistant gloves and perform
all operations with extreme care.
PAY ATTENTION AT ALL TIMES!
• Press a damp cloth on the blade (16)
and rub slowly moving from inside to
out.
WARNING:
ALWAYS clean the knife (16) with the
blade guard (9) tted behind it in the
safety position.

25
Fig. 27
36
4
5
EN
6.2 - OILING CARRIAGE GUIDE
RAIL AND PRODUCT
HOLDER AND LUBRICATION
POINTS
• Every week you should oil the carriage
(5) and product holder (4) guide rails (36)
using the supplied lubricant.
• Also oil the points indicated in gure 27.
If you run out of the supplied lubricant,
use white Vaseline oil.
Do not use vegetable oil.
• Apply a few drops of lubricant (maximum
3 or 4) to the guide rails and slide the
assemblies back and forth 3/4 times.
• Apply 2/3 drops of lubricant to the
lubrication points.
Use the lubricant sparingly.
• Wipe excess lubricant with a paper
towel.
> > > > >

32
EN
8.1 - TROUBLESHOOTING
PROBLEM
• Difculty in slicing;
excessive resistance
when the product is in
contact with the blade.
• Slices are of irregular
thickness.
• Slices come out as
“doorsteps”.
• Slices are empty in the
middle.
• Slices disintegrate into
several pieces; they are
not sliced cleanly.
PROBABLE CAUSE
• The blade is blunt.
• Product is overly mature
or too dry.
• Slicing begins with
product in contact with
the blade.
• The pusher fails to retain
the product correctly.
• The blade is blunt.
• The pusher fails to retain
the product correctly.
• The blade is blunt.
• The product is too soft
(not mature enough).
• The blade is blunt.
• Worn blade.
SOLUTION
• Sharpen the blade.
• Tenderise product
before slicing.
• Turn the ywheel
4/5 times before the
product touches the
blade.
• Reposition the pusher
in order to retain the
product correctly.
• Sharpen the blade.
• Reposition the pusher
in order to retain the
product correctly.
• Sharpen the blade.
• Press the pusher
harder.
• Sharpen the blade.
• Replace the blade
Other manuals for F250 VO
1
Table of contents
Other Fac Kitchen Appliance manuals
Popular Kitchen Appliance manuals by other brands

Wine cellr
Wine cellr WC1958PLBC instruction manual

LEquip
LEquip NUTRIMILL Care and maintenance quick guide

essentiel b
essentiel b ECCM1 user guide

New Air
New Air AWC-270E owner's manual

Silvercrest
Silvercrest 290455 operating instructions

AIRINNOVATIONS
AIRINNOVATIONS WINE GUARDIAN DS050 Installation, operation and maintenance guide