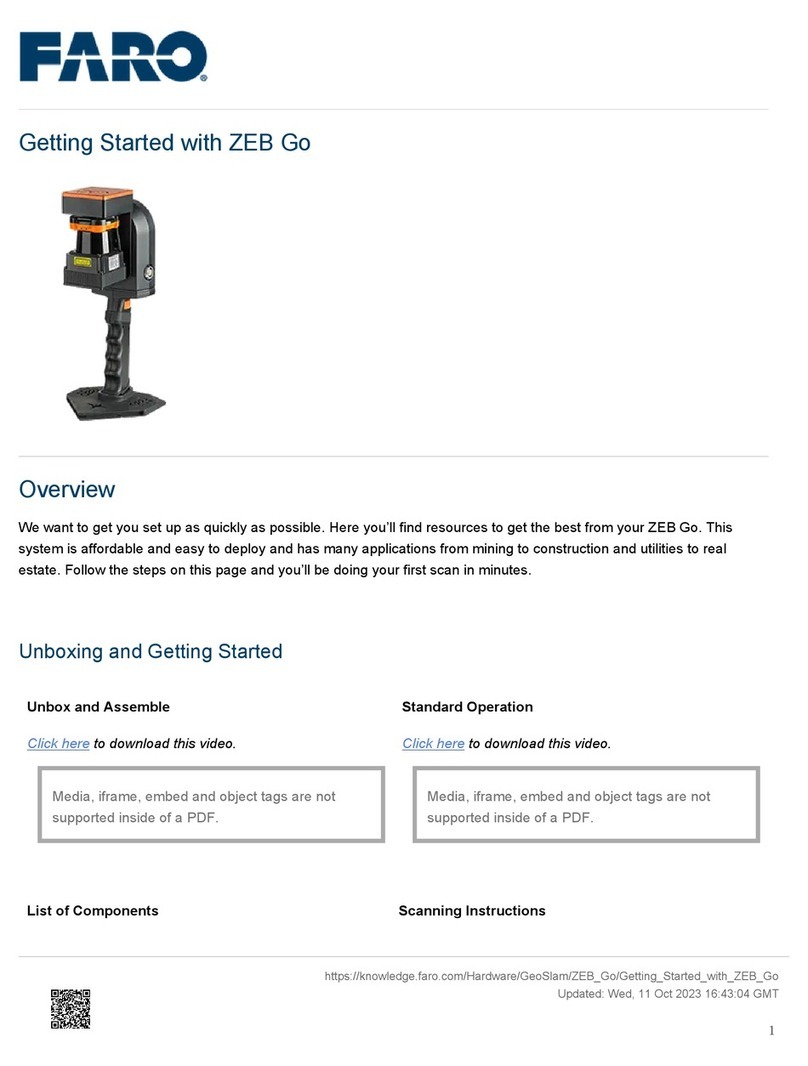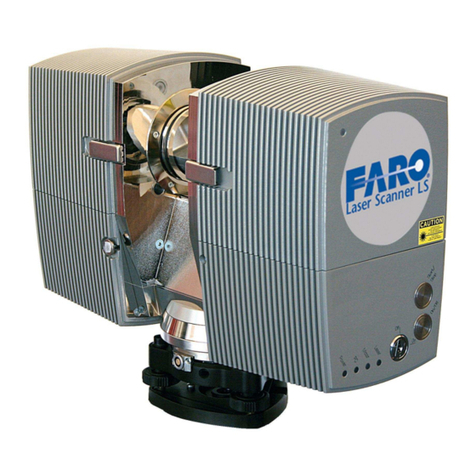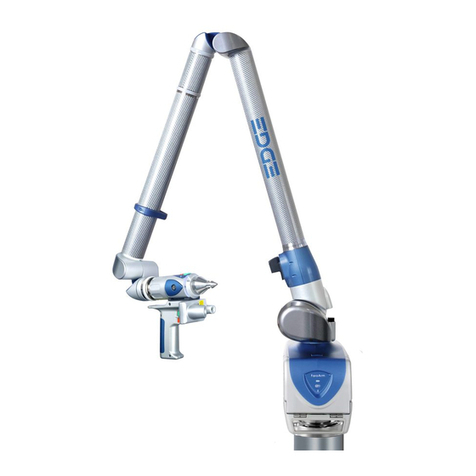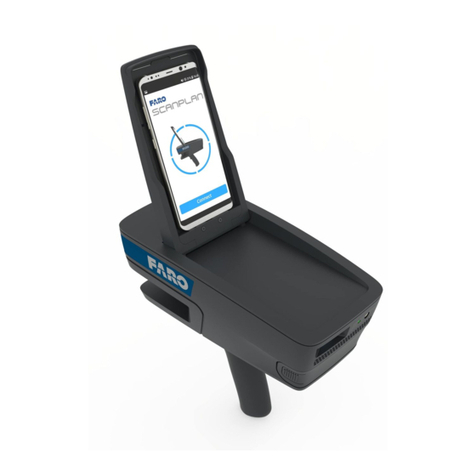
List of Components
• ZEB scanner
• ZEB datalogger – Gen 1
• Battery
• Battery charger and power
supply unit
• Main cable
• GeoSLAM USB stick
(includes software downloads
and GeoSLAM Care
certificate)
• Reference base
• Phone holder
Scanning Instructions
•Checking the battery
Make sure the battery has a sufficient amount of charge before attaching it to the datalogger. To check this, press
and hold the red display button.
•Attaching the reference base
Attach the reference base to the handle of the scanner using the captive screws.
•Inserting the main cable
Insert one end of the main cable into the datalogger and the other end into the scanner. Ensure the red dots on
each component are aligned.
•Powering on the system
Press and hold the power button until it illuminates green. Once the system has initialized, the status LED will
pulse red. Press and hold the function button until you hear the second beep. Keep the system still whilst the
LEDs transition from solid red, to flashing orange, to solid green.
•Starting a scan
Once you see the green LED, the scanner will start to rotation. Pick up the system and start scanning.
•Ending a scan
Scan your environment following best practice. To finish a scan, return to the starting point and press the function
button to stop the scanner rotation. This then begins the de-initialization process.
•Downloading the data
Insert a USB 3.0 drive into the datalogger. When the green data LED has turned off, the data has been
transferred onto the USB.
Datalogger (Gen 2)
List of Components
1. ZEB Horizon Scanner
2. ZEB Horizon Datalogger
3. Battery
4. Main Cable
5. 14.8V Battery Charger
6. Reference Base
7. GeoSLAM USB stick (includes software downloads and GeoSLAM
Care certificate)
8. Soft Case
9. Shoulder Strap
10. Phone Holder Phone Holder Quick Start Guide
Scanning Instructions
•Checking the battery
Make sure the battery has a sufficient amount of charge before attaching
it to the datalogger. To check this, press and hold the red display button.
•Attaching the reference base
Attach the reference base to the handle of the scanner using the captive
screws.
•Inserting the main cable
Insert one end of the main cable into the datalogger and the other end
into the scanner. Ensure the red dots on each component are aligned.
•Powering on the system
Press and hold the power button until it illuminates green. Once the
system has initialized, the status LED will pulse red. Press and hold the
function button until you hear the second beep. Keep the system still
whilst the LEDs transition from solid red, to flashing orange, to solid
green.
•Starting a scan
Once you see the green LED, the scanner will start to rotation. Pick up
the system and start scanning.
•Ending a scan
Scan your environment following best practice. To finish a scan, return to
the starting point and press the function button to stop the scanner
rotation. This then begins the de-initialization process.
•Downloading the data
Insert one end of the Ethernet cable into the datalogger and the other
end into a device on which GeoSLAM Connect is installed. Navigate to
the data folder and bring the file into Connect.
Alternatively, insert a USB 3.0 drive into the datalogger. When the green
data LED has turned off, the data has been transferred onto the USB.
https://knowledge.faro.com/Hardware/GeoSlam/ZEB_Horizon_and_Horizon_RT/Getting_Started_with_ZEB_Horizon
Updated: Wed, 11 Oct 2023 07:08:06 GMT
2

