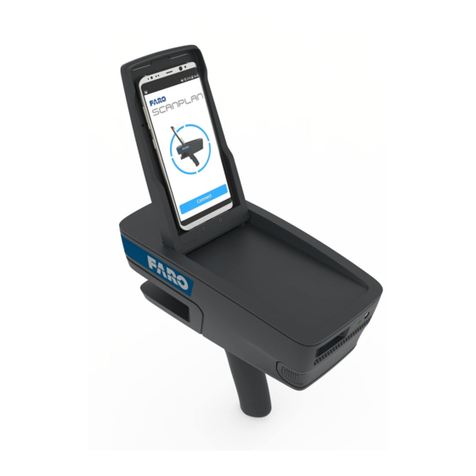
10. From the Home screen, select Tools.
a. If you want accurate color, select White Balancing and Start White Balancing.
b. You will have a live view on the app. Move the scanner until the color in the image on the phone is
consistent with the color your eyes see.
11. Using the center button on the handset, Lock & Verify, and Apply.
12. Place the reference plate on the ground near your object of interest.
a. Using the center button on the handset (or on the app screen), start the scan on the reference plate, scan
your object/area, and close the loop by completing the scan on the reference plate.
b. When you have completed data capture, use the center button again to stop the scan.
13. From the Home screen, select Scan Projects.
a. Tap Select in the bottom left corner and tap on the project you want to export or process. When you have
selected the project, a blue check will be visible in the circle.
b. Insert the USB device into the bottom of the Mobile PC and select Save to USB.
14. Once saved, safely unmount the USB device.
15. From the Home screen, tap the power icon in the bottom right corner to power down the Mobile PC.
16. Power down the cellular phone.
On-Site Compensation
• Select Tools from the Home screen.
• Select On-site Compensation and ensure that the Reference Plate Number is the last 5 digits of the label on the
bottom of the compensation plate.
• Select Start On-site Compensation.
• When activating on-site compensation, if you receive an error, place the device USB drive into the USB port on the
bottom of the PC. This will load the compensation file into your software.
• Follow the on-screen cues to conduct on-site compensation (both vertical and horizontal angles)
SCANNING TIPS
• Be sure to have a minimum of 0.4m (approximately 16 inches) from the device to the surface you are scanning.
• Move slowly and steadily but remember that you can move the handset in circles.
• Be cognizant of the area you are scanning. The more natural reference objects you have in your view, the better it
is for alignment and tracking.
• Start scanning on the reference plate, scan your intended object, and end on the reference plate, closing the loop.
• The longer you spend on a surface, the more data you will capture.
• For more accuracy, use the markers provided in the case.
• Try to keep your scans less than 5 minutes. If you are unable, plan to do multiple scans, allowing for overlapping
data between the scans.
• If you have a defined X,Y,Z in your scene (2-walls meet ceiling/floor), you can add an anchor point by pointing the
device in that area and using the button to the right of center on the device. When you see a green point on your
https://knowledge.faro.com/Hardware/3D_Scanners/Freestyle_2/Setup_Instructions_for_the_Freestyle2
Updated: Sat, 11 Dec 2021 07:26:33 GMT
2
