manuals.online logo
Brands
  1. Home
  2. •
  3. Brands
  4. •
  5. Faro
  6. •
  7. Scanner
  8. •
  9. Faro Laser Line Probe HD User manual

Faro Laser Line Probe HD User manual

Other Faro Scanner manuals

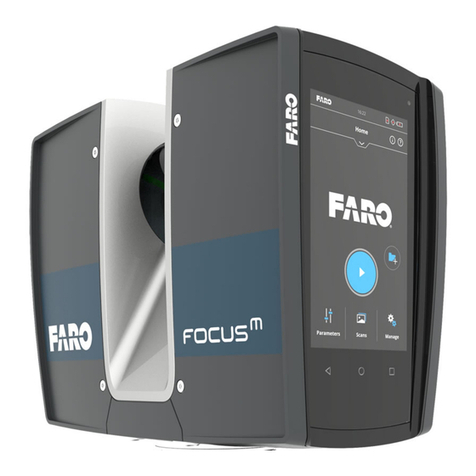
Faro Focus M User manual

Faro

Faro Focus M User manual

Faro ZEB Revo RT User manual

Faro

Faro ZEB Revo RT User manual

Faro ls 420 he User manual

Faro

Faro ls 420 he User manual

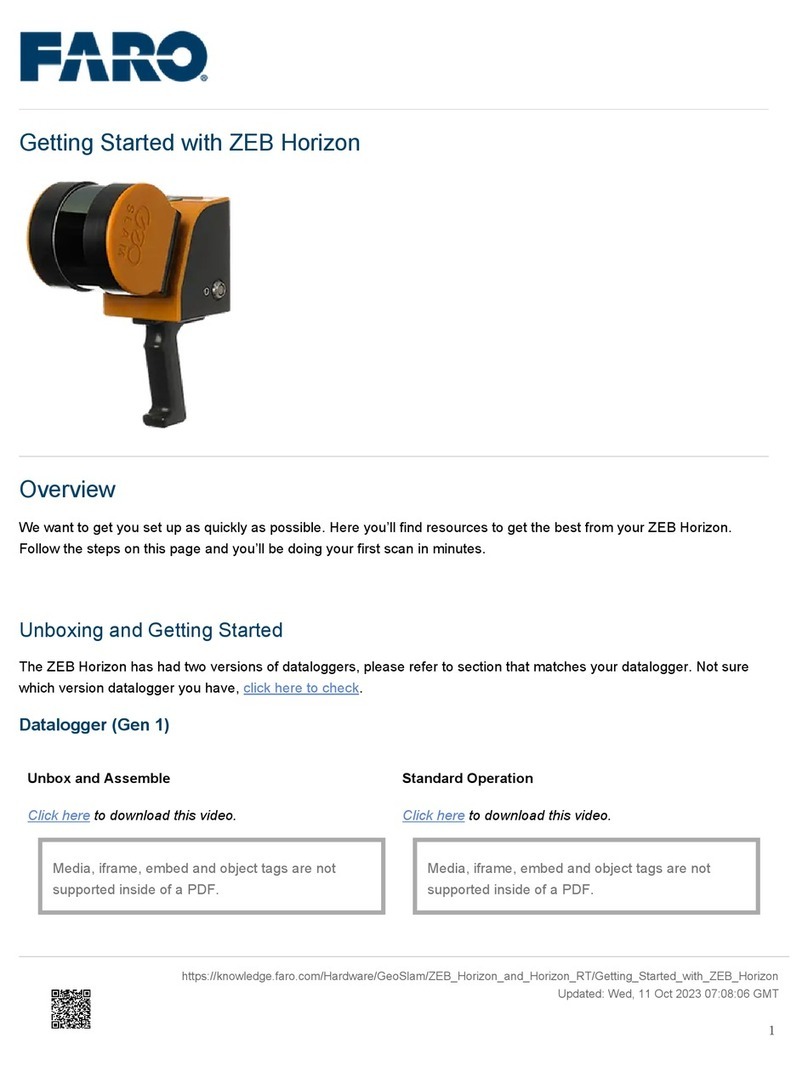
Faro GEO SLAM ZEB Horizon User manual

Faro

Faro GEO SLAM ZEB Horizon User manual

Faro Freestyle2 Manual

Faro

Faro Freestyle2 Manual

Faro Photon 20 User manual

Faro

Faro Photon 20 User manual

Faro ScanPlan User manual

Faro

Faro ScanPlan User manual

Faro Focus 3D X 130 Installation guide

Faro

Faro Focus 3D X 130 Installation guide

Faro Focus3D 20 User manual

Faro

Faro Focus3D 20 User manual

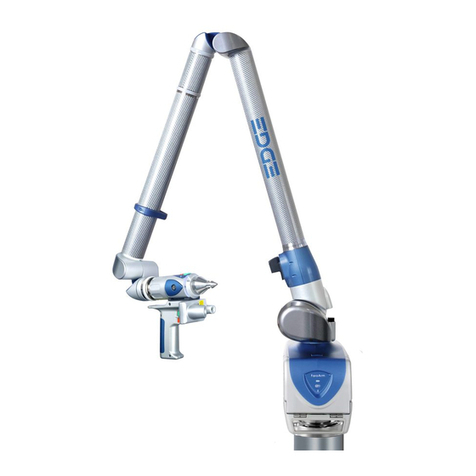
Faro Edge FaroArm User manual

Faro

Faro Edge FaroArm User manual

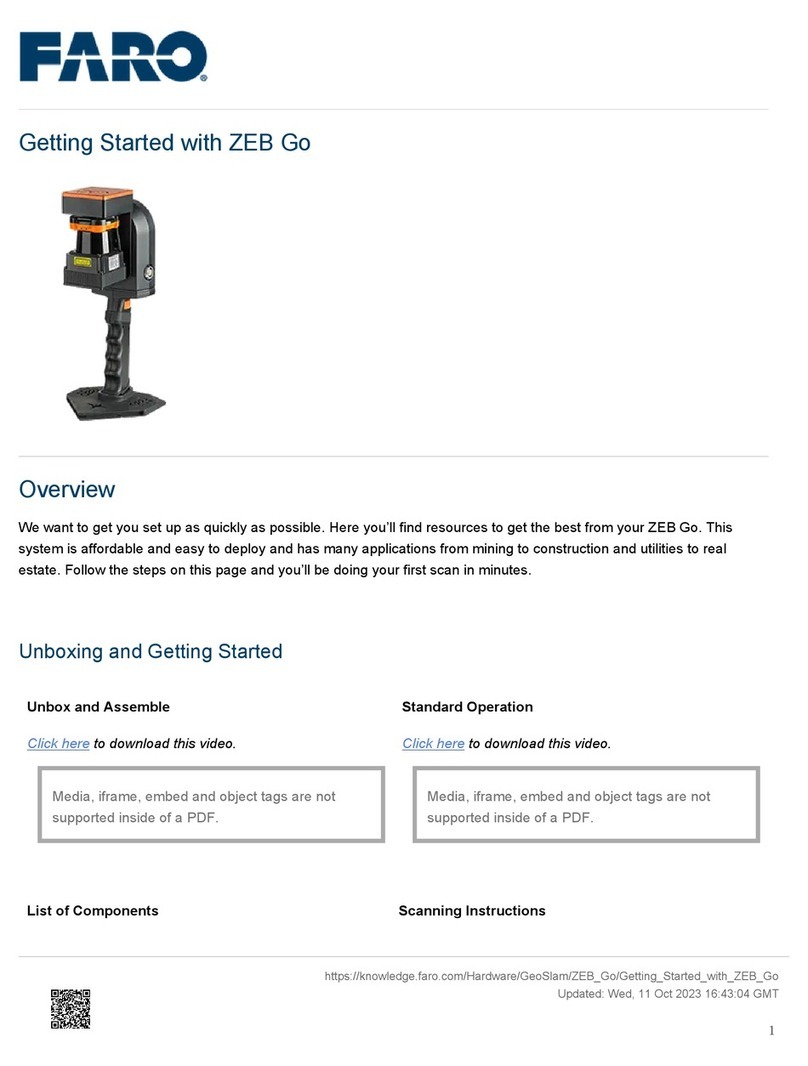
Faro ZEB Go User manual

Faro

Faro ZEB Go User manual

Faro Freestyle 2 User manual

Faro

Faro Freestyle 2 User manual

Faro Photon 20/80 User manual

Faro

Faro Photon 20/80 User manual

Faro Focus S 70 User manual

Faro

Faro Focus S 70 User manual

Faro PanoCam Manual

Faro

Faro PanoCam Manual

Faro Freestyle2 User manual

Faro

Faro Freestyle2 User manual

Faro ScanPlan User manual

Faro

Faro ScanPlan User manual

Faro FOCUS Core User manual

Faro

Faro FOCUS Core User manual

Faro Focus Premium User manual

Faro

Faro Focus Premium User manual

Faro Focus Premium User manual

Faro

Faro Focus Premium User manual

Faro FocusM 70 User manual

Faro

Faro FocusM 70 User manual

Faro Freestyle 3D User manual

Faro

Faro Freestyle 3D User manual

Faro FOCUS3D X 130 User manual

Faro

Faro FOCUS3D X 130 User manual

Faro FOCUS3D X 130 User manual

Faro

Faro FOCUS3D X 130 User manual

Popular Scanner manuals by other brands

Radio Shack PRO-433 quick start guide

Radio Shack

Radio Shack PRO-433 quick start guide

Atid AT911N series user guide

Atid

Atid AT911N series user guide

Siemens RUGGEDCOM WiN5100 Faq

Siemens

Siemens RUGGEDCOM WiN5100 Faq

Canon CanoScan LiDE 20 Specifications

Canon

Canon CanoScan LiDE 20 Specifications

Epson 4180 - Perfection Photo Product support bulletin

Epson

Epson 4180 - Perfection Photo Product support bulletin

Radio Shack PRO-72 owner's manual

Radio Shack

Radio Shack PRO-72 owner's manual

Lanier 5622 Operator's guide

Lanier

Lanier 5622 Operator's guide

Kramer VS-16N user manual

Kramer

Kramer VS-16N user manual

Z/I Imaging PhotoScan 2001 instructions

Z/I Imaging

Z/I Imaging PhotoScan 2001 instructions

Renkforce DS100-5M operating instructions

Renkforce

Renkforce DS100-5M operating instructions

Canon imageFORMULA CR-120N user manual

Canon

Canon imageFORMULA CR-120N user manual

Fujitsu FI-4860C2 Specifications

Fujitsu

Fujitsu FI-4860C2 Specifications

HPc9861a 4400c Setup and support guide

HPc9861a

HPc9861a 4400c Setup and support guide

Kodak i5800 Scanner Brochure & specs

Kodak

Kodak i5800 Scanner Brochure & specs

Kodak i7300 user guide

Kodak

Kodak i7300 user guide

Revopoint POP user manual

Revopoint

Revopoint POP user manual

Fujitsu fi-4860C installation guide

Fujitsu

Fujitsu fi-4860C installation guide

Eddyfi Technologies Floormap X user manual

Eddyfi Technologies

Eddyfi Technologies Floormap X user manual

manuals.online logo
manuals.online logoBrands
  • About & Mission
  • Contact us
  • Privacy Policy
  • Terms and Conditions

Copyright 2025 Manuals.Online. All Rights Reserved.

FARO Laser Line Probe HD Assembly Instructions
Instructions d’assemblage du FARO Laser Line Probe HD
Aufbauanleitung für den FARO Laser Line Probe HD
Istruzioni per il montaggio del dispositivo FARO Laser Line Probe HD
Instrukcja montażu ramienia FARO Laser Line Probe HD
Инструкции по сборке манипулятора FARO Laser Line Probe HD
FARO Laser Line Probe HD Montaj Talimatları
Instruções para montagem do FARO Laser Line Probe HD
Instrucciones para el ensamble del FARO Laser Line Probe HD
FARO Laser Line Probe HD 安装说明
FARO Laser Line Probe HD 組み立て手順
15933.indd 1 8/28/2017 10:00:57 AM
File: F:\Control\Records\05Manufa\Partspec\15933.pdf
FARO P/N: 15933 (Rev. 3) Rev Date: 08/28/17
15933.indd 2 8/28/2017 10:00:58 AM
1
!
Set up your Quantum and install the 6 mm or 3 mm ball probe.
Mettez en place votre Quantum et installez le palpeur sphérique de
6 mm ou de 3 mm.
Richten Sie den Quantum ein, und installieren Sie die 6-mm- oder
3-mm-Kugelmesssonde.
Impostare l’unità Quantum e installare la sonda a sfera da 6 mm o
3 mm.
Ustaw Quantum i zainstaluj sondę kulistą 6 mm lub 3 mm.
Установите Quantum и шариковый пробник на 6 мм или 3 мм.
Quantum cihazınızı kurun ve 6 mm veya 3 mm küre probu takın.
Congure seu Quantum e instale a sonda esférica de 6 mm ou de 3
mm.
Prepare su Quantum e instale el palpador de esfera de 6 mm
o de 3 mm.
设置您的 Quantum 并安装 6 mm 或 3 mm 球探针。
Quantum を セ ッ ト ア ッ プ し 、 6 mm または 3 mm のボールプローブを取り
付けます。
15933.indd 1 8/28/2017 10:00:58 AM
2
"
Loosen the handle locking ring by turning it counterclockwise.


Desserrez la bague de verrouillage de la poignée en la faisant
tourner dans le sens inverse des aiguilles d’une montre.
Lösen Sie den Spannring am Griff, indem Sie ihn gegen den
Uhrzeigersinn drehen.
Allentare l’anello di bloccaggio girandolo in senso antiorario.
Poluzuj pierścień blokady ramienia obracając go przeciwnie do
kierunku ruchu wskazówek zegara.
Ослабьте фиксирующее кольцо рукоятки, повернув его против
часовой стрелки.
Sap kilitleme halkasını saatin tersi yönünde çevirerek gevşetin.
Solte o anel de trava do cabo girando-o no sentido anti-horário.
Aoje el anillo de cierre del asa girándolo en el sentido contrario a
las agujas del reloj.
逆时针旋转松开手柄锁定环。
ハンドル固定リングを反時計回りに回転させ、リングを緩めます。
15933.indd 2 8/28/2017 10:00:58 AM
3
#
Remove the protective cover.


Retirez le couvercle de protection.
Entfernen Sie die Schutzhülle.
Rimuovere la copertura protettiva.
Usuń pokrywę ochronną.
Снимите защитный чехол.
Koruma kapağını çıkarın.
Remova a capa protetora.
Retire la cubierta de protección.
取下保护盖。
保護カバーを取り外します。
15933.indd 3 8/28/2017 10:00:58 AM
4
$
Insert the front edge of the probe into the slot.


Insérez le bord avant du palpeur dans le logement.
Schieben Sie das vordere Ende der Messsonde in den Schlitz.
Inserire il bordo anteriore della sonda nell’asola.
Włóż krawędź czołową sondy do slotu.
Вставьте передний край щупа в разъем.
Probun ön kenarını yuvaya yerleştirin.
Insira a borda frontal da sonda na ranhura.
Inserte el borde delantero del palpador en la ranura.
将探针的前端插入槽里。
プローブのフロントエッジをスロットに挿入します。
15933.indd 4 8/28/2017 10:00:59 AM
5
%
Push the probe handle in so that the connectors connect.


Poussez la poignée du palpeur jusqu’à ce que les connecteurs
se connectent.
Schieben Sie den Griff der Messsonde ein, sodass die
Steckverbindung hergestellt ist.
Spingere e inserire l’impugnatura in modo che i connettori si
colleghino.
Wepchnij ramię sondy tak, aby nastąpiło połączenie łączników.
Нажмите на рукоятку щупа, чтобы соединились коннекторы.
Probun tutma yerini konektörler yerlerine bağlanacak şekilde itin.
Empurre o cabo do sensor para dentro para que os conectores
se conectem.
Empuje el asa del palpador hacia adentro para que se conecten
los conectores.
向里推探针手柄,以使接头接好。
コネクタ同士が接続されるようプローブハンドルを押し込みます。
15933.indd 5 8/28/2017 10:00:59 AM
6
&
Tighten the locking ring by turning it clockwise. Do not over tighten
the ring.
Serrez la bague de verrouillage en la faisant tourner dans le sens
des aiguilles d’une montre. Ne serrez pas excessivement la bague.
Spannen Sie den Spannring an, indem Sie ihn im Uhrzeigersinn
drehen. Überspannen Sie den Ring nicht.
Serrare l’anello di bloccaggio girandolo in senso orario. Prestare
attenzione a non stringerlo eccessivamente.
Dokręć pierścień blokujący obracając zgodnie do kierunku ruchu
wskazówek zegara. Nie wolno zbyt mocno dokręcać pierścienia.
Затяните фиксирующее кольцо, повернув его по часовой
стрелке. Не следует слишком затягивать кольцо.
Kilitleme halkasını saat yönünde çevirerek sıkın. Halkayı aşırı sıkmayın.
Prenda o anel de trava girando-o no sentido horário. Não aperte
demais o anel.
Ajuste el anillo de cierre girándolo en el sentido de las agujas del
reloj. No lo ajuste demasiado.
顺时针旋转拧紧锁定环。切勿拧得太紧。
固定リングを時計回りに回転させてリングを締めます。この際、リングを締めす
ぎないように注意してください。
15933.indd 6 8/28/2017 10:00:59 AM
7
Buttons
Use the buttons on the EDGE handle or the buttons on the FARO
Laser Line Probe handle to control measuring.
• Use the FRONT (green) button to start data collection. Points are
only sent to the computer when the laser is in range. Once you
start collecting data, press the FRONT button again to pause.
• Use the BACK (red) button to end any measurement command.
Boutons
Utilisez les boutons de la poignée du EDGE ou ceux de la poignée
du palpeur à rayon laser FARO pour contrôler la mesure.
• Utilisez le bouton AVANT (vert) pour entamer la collecte de
données. Les points ne sont envoyés à l’ordinateur que lorsque le
laser est à la bonne portée. Une fois que vous avez commencé la
collecte de données, appuyez sur le bouton AVANT pour faire une
pause.
• Utilisez le bouton ARRIÈRE (rouge) pour terminer toute commande
de mesure.
Tasten
Verwenden Sie für die Steuerung der Messung die Tasten auf dem
Griff des Edge oder die auf dem Griff der FARO Laser Line Probe.
• Verwenden Sie die VORDERE (grüne) Taste, um mit der
Datenerfassung zu beginnen. Es werden nur dann Punkte zum
Computer gesendet, wenn sich der Laser im richtigen Bereich
bendet. Drücken Sie nach dem Start der Datenerfassung erneut
die VORDERE Taste, um den Vorgang anzuhalten.
• Durch Drücken der HINTEREN (roten) Taste wird jeder Messbefehl
beendet.
Pulsanti
Per controllare la misurazione, utilizzare i pulsanti sull’impugnatura
dell’unità EDGE o della sonda Laser Line Probe di FARO.
• Utilizzare il pulsante ANTERIORE (verde) per avviare l’acquisizione
dati. I punti sono inviati al computer solo quando il laser si
trova all’interno dell’intervallo prestabilito. Una volta avviata
l’acquisizione dati, premere il pulsante ANTERIORE per sospenderla.
• Utilizzare il pulsante POSTERIORE (rosso) per terminare la
misurazione.
15933.indd 7 8/28/2017 10:00:59 AM
8
Przyciski
Użyj przycisków w ramieniu EDGE lub przycisków w ramieniu sondy
FARO Laser Line Probe w celu kontroli pomiaru.
• Przycisku PRZEDNIEGO (zielonego) używa się do rozpoczęcia
zbierania danych. Dane dotyczące punktów są wysyłane do
komputera tylko wtedy, gdy laser pracuje w odpowiedniej
odległości. Po rozpoczęciu zbierania danych można nacisnąć
przycisk PRZEDNI, aby chwilowo wstrzymać cykl pomiarowy.
• Przycisku TYLNEGO (czerwonego) używa się do zakończenia
dowolnego polecenia cyklu pomiarowego.
Кнопки
Используйте кнопки на рукоятке EDGE или кнопки на рукоятке
FARO Laser Line Probe для контроля измерений.
• С помощью ПЕРЕДНЕЙ (зеленой) кнопки можно начать
сбор данных. Точки передаются компьютеру только в том
случае, если лазер находится в допустимом диапазоне. Для
приостановки сбора данных нажмите ПЕРЕДНЮЮ кнопку еще
раз.
• С помощью ЗАДНЕЙ (красной) кнопки можно ввести команду
для измерений.
Düğmeler
Ölçümü kumanda etmek için EDGE tutma yeri üzerindeki veya FARO
Lazer Hattı Probundaki düğmeleri kullanın.
• Veri toplama işlemini başlatmak için ÖN (yeşil) düğmeyi kullanın.
Noktalar sadece lazer mesafe içinde yer aldığında bilgisayara
gönderilmektedir. Veri toplama işlemini başlattıktan sonra
duraklatmak istediğinizde tekrar ÖN düğmeye basın.
• Herhangi bir ölçüm komutunu sonlandırmak için ARKA (kırmızı)
düğmeyi kullanın.
Botões
Use os botões no cabo do EDGE ou os botões no cabo do FARO
Laser Line Probe para controlar a medida.
• Use o botão AVANÇAR (verde) para iniciar a coleta de dados.
Os pontos são enviados para o computador somente quando o
laser está dentro da faixa permitida. Depois de iniciar a coleta de
dados, pressione novamente o botão AVANÇAR para pausar.
• Utilize o botão VOLTAR (vermelho) para encerrar qualquer
comando de medida.
15933.indd 8 8/28/2017 10:00:59 AM