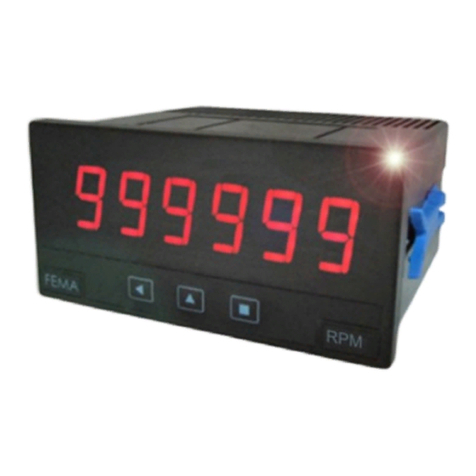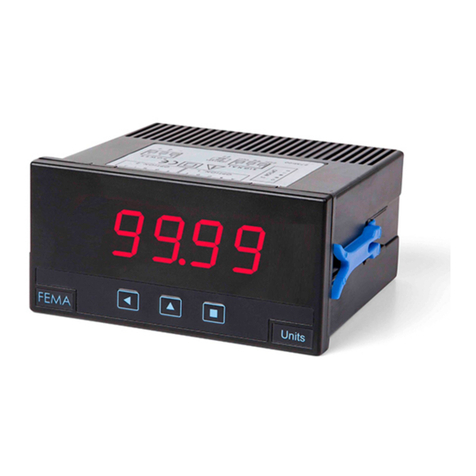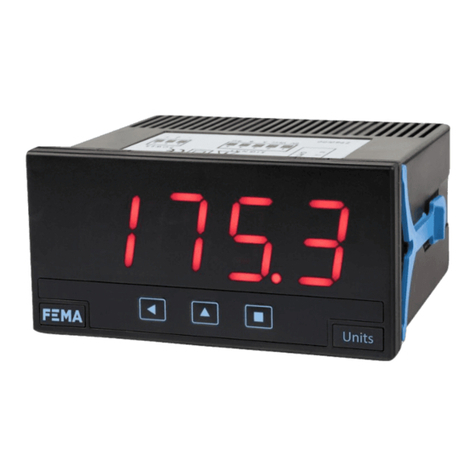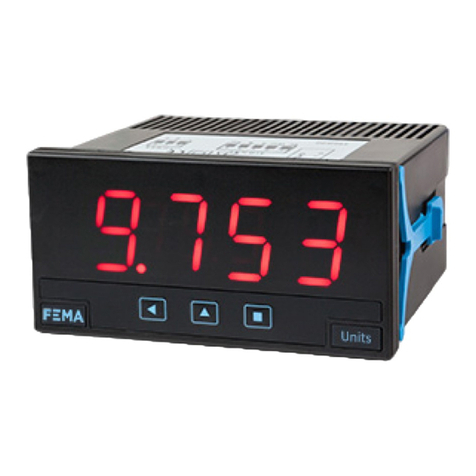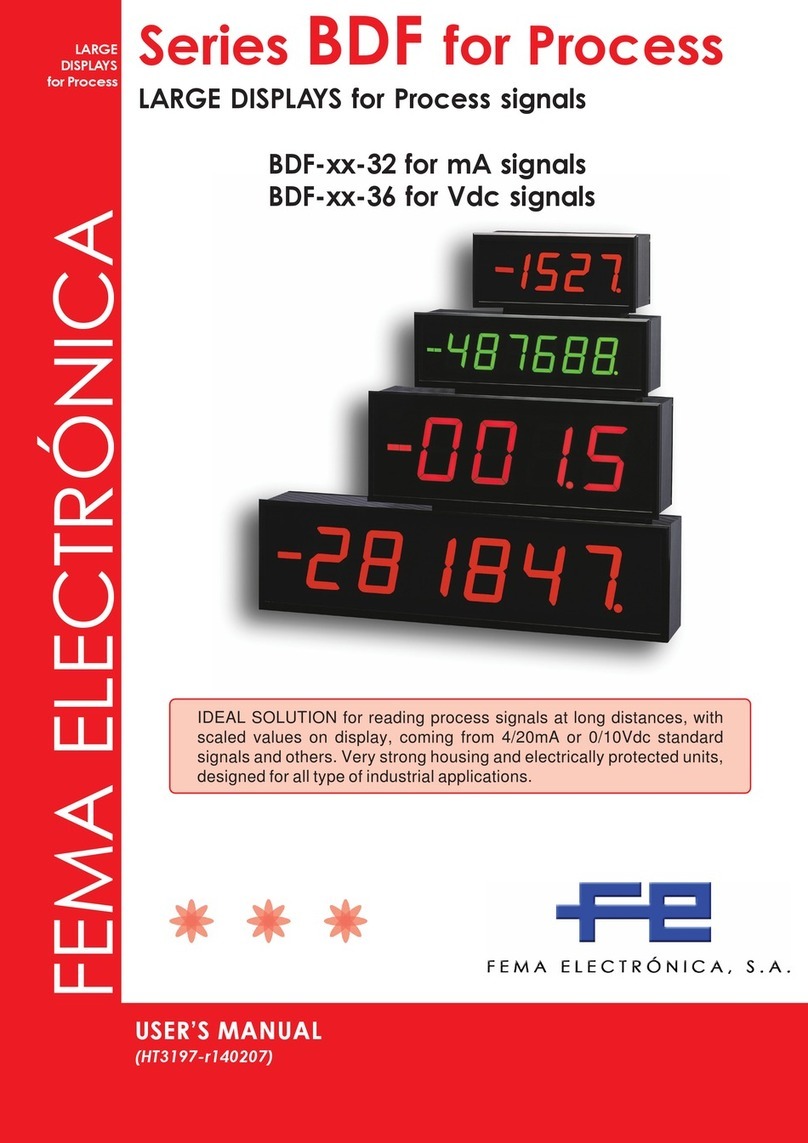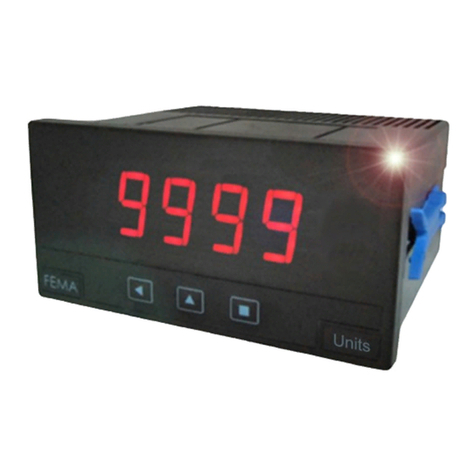
FEMA ELECTRÓNICA . SERIES B . Models Bxx-LC
2
1. Series B, models Bxx-LC
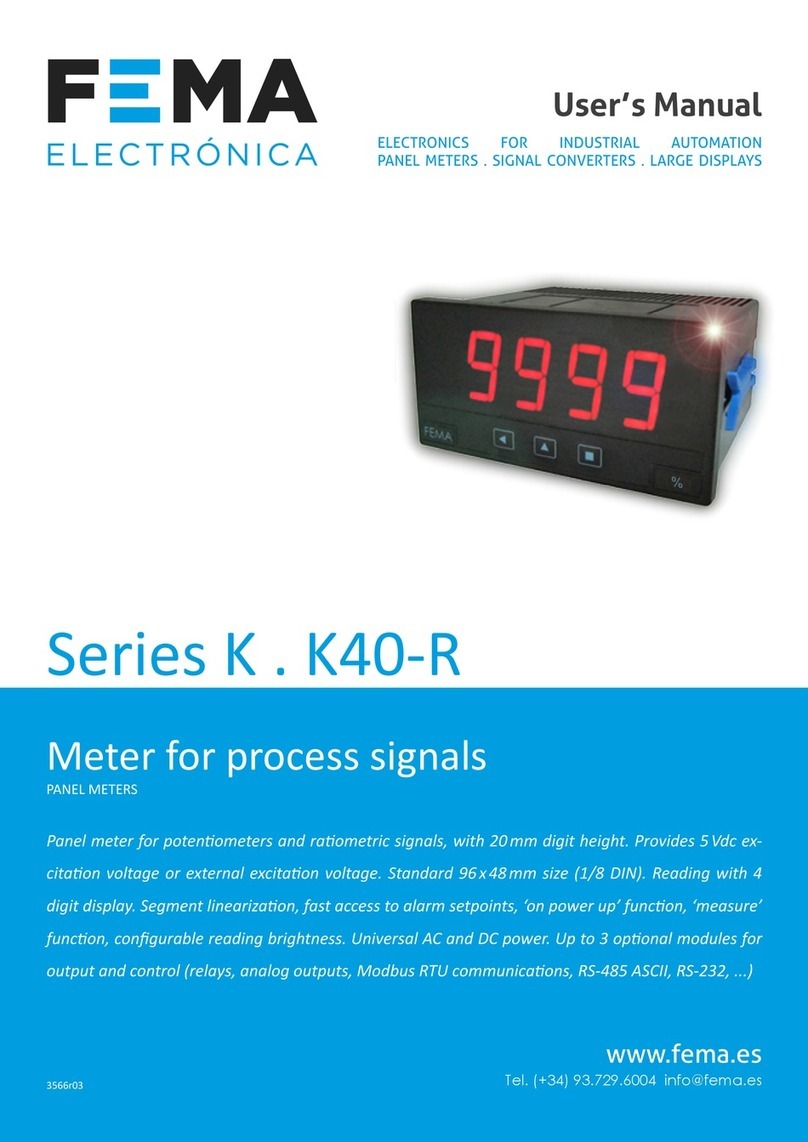
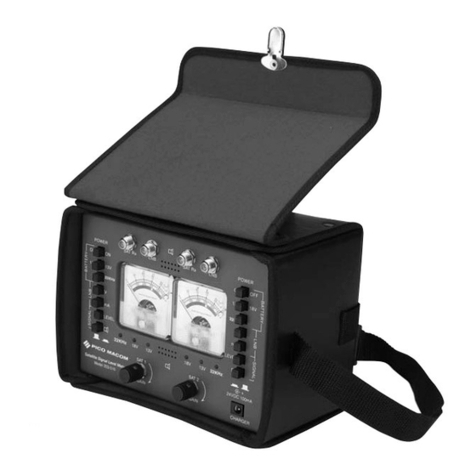
Large format industrial meters for load cells
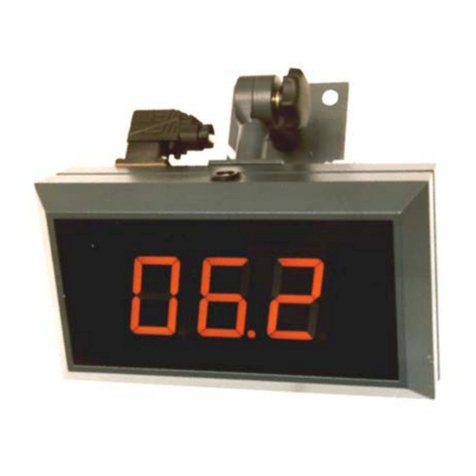
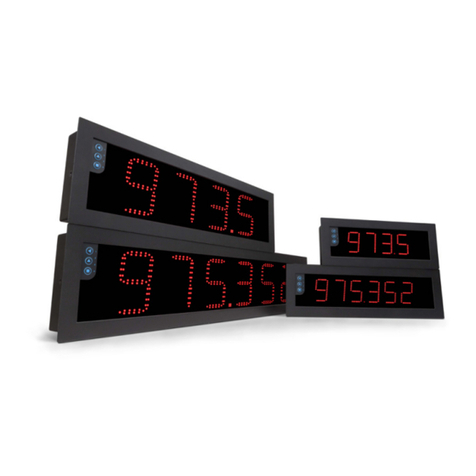
Large format meters for long distance reading, for industrial
applicaons. Dierent formats available with 4 and 6 digits,
with 60 mm and 100 m digit height. Front keypad to access
the conguraon menu, and oponal remote keypad.
For load cell signals, scalable reading from ‘999999’ to
‘-199999’ (or ‘9999’ to ‘-1999’ for 4 digit formats) and con-
gurable decimal point. Provides excitaon voltage congu-
rable to +5 Vdc or +10 Vdc to power up to 8 standard 350 Ohm
cells. ‘Tare’ funcon with congurable controls, and ‘auto-
tare’ funcon for automac tare correcon when weight is
removed from the cell. Three working modes with dierent
acquision speeds and noise rejecon to 50 and 60 Hz.
Output and control opons with 1, 2 and 3 relays, transis-
tor outputs, controls for SSR relays, isolated analog outputs,
communicaons in Modbus RTU, RS-485 ASCII and RS-232.
Independent alarms congurable as maximum or minimum,
with acvaon at setpoint or when reading is stable, with 1
or 2 setpoints per alarm, hysteresis, independent acvaon
and deacvaon delays and congurable locked alarms (see
secon 1.13.9)
Sturdy metal housing with full IP65 protecon. Internal
connecons by plug-in screw clamp terminals, and output
through cable glands. Housing prepared for panel, wall and
hanging mount.
• congurable ‘Fast access’ to selected funcons with key
‘UP’ (5) (see secon 1.13.13)
• tare accessible from frontal key or rear contact (see sec-
on 1.11)
• automac ‘auto-tare’ funcon (see secon 1.13.4)
• access to gross weight value and tare value
(see secon 1.9.4)
• funcon ‘On power-up’ for automac acvaon of func-
ons at start-up (see secon 1.13.14)
• scale factor for easy modicaon of reading units (see
secon 1.13.5)
• ‘stock units’ funcon to count units (see secon 1.13.6)
• access to the measured signal value (in mV), excitaon
current provided (in mA) and real excitaon voltage (see
secon 1.13.15)
Mulple display lters, memory of maximum and minimum
reading, password protecon, 5 brightness levels.
1. Idenfy the instrument format (see secon 1.4)
2. Power and signal connecons
- open the instrument (see secon 1.5)
- connect the power (see secon 1.7)
- connect the signal (see secon 1.10)
- read recommendaons to connect the ‘sense’
(see secon
1.10.1)
and for load cell ground connecons
(see secon 1.10.2)
- close the instrument (see secon 1.5)
3. Inial setup (see secon 1.13.2)
- theorecal conguraon of the cell (obtain the load cell
data : sensivity, load and excitaon) and congure the
instrument
- apply the empirical conguraon of the cell (apply the
high and low ‘eld correcon’)
- assign the ‘system zero’
4. Advanced conguraon (oponal) (see secon 1.13.7)
- tare conguraon, see secons 1.11 and 1.13.4
- funcon ‘stock units’ (see secon 1.13.6)
- scale factor (see secon 1.13.5)
- acquision modes (see secon 1.9.1)
1.1 How to use this manual
If this is the rst me you are conguring a Series B large
format meter, below are the steps to follow to install and
congure the instrument. Read all the manual secons in
order to have a full and clear view of the characteriscs of
the instrument. Do not forget to read the installaon precau-
ons at secon 1.21.
5. Congure the alarms (oponal) (see secon 1.13.8)
6. Display lters (oponal) (see secon 1.13.10)
7. Congure operator controls (oponal)
- congure the rear control (see secon 1.13.11)
- congure the front key ‘LE’ (3)(see secon 1.13.12)
- congure the fast access (key ‘UP’ (5)) (see secon 1.13.13)
8. Congure other funcons (oponal)
- congure the ‘on power-up’ funcon (see secon 1.13.14)
- congure the password and brightness level (see secon 1.13.17)
9. If the instrument includes analog output (AO) or serial
communicaons (RTU, S4, S2)
- to include an opon to an instrument see secon 1.6
- to congure an installed opon, access the opon con-
guraon menu (see secon 1.13.18)
- see secon 2 for informaon regarding the output and
control opons available
10. Install the instrument
- mount on panel, wall or hanging (see secon 1.20)
- adjust the brightness level according to your environmen-
tal needs (see secon 1.13.17)


