manuals.online logo
Brands
  1. Home
  2. •
  3. Brands
  4. •
  5. Ferno
  6. •
  7. Safety Equipment
  8. •
  9. Ferno 436 Series User manual

Ferno 436 Series User manual

1
© Ferno-Washington, Inc 234-3541-00 September 2013
Model 436 Speed-Clip Restraints
Description
The Model 436 Series Restraint (“restraint”) can be attached
and removed quickly to a backboard, hand-carried stretcher,
scoop stretcher, stair chair, or extrication device (the
“equipment”) using the built-in speed-clips.
Secondary-Use Restraint
Ferno denes this restraint as a Secondary-Use Restraint
because the speed-clip fasteners (and plastic buckles on some
models) are not suitable for use in a motor vehicle.
FERNO DEFINITIONS
● Primary-Use Restraints are suitable for securing a
patient on compatible equipment during transport in a
motor vehicle.
● Secondary-Use Restraints ARE NOT suitable for
securing a patient during transport in a motor vehicle.
They are for temporary use to secure a patient on a
backboard, hand-carried stretcher, scoop stretcher, stair
chair, or extrication device. Transfer the patient onto an
ambulance cot or other device with primary restraints
before transport in a motor vehicle.
Specications
The restraint is constructed with nylon webbing, brass speed
clips, and a buckle (metal or plastic, depending on the model).
The restraint is available in 5-foot (1524 mm) or 7-foot (2134
mm) lengths, and can be ordered individually or in sets of
four. A nylon carry bag is provided with sets of four restraints.
For restraint versions, refer to the chart on page 4.
Load Limit
When attached properly to compatible equipment, the restraint
is capable of securing a patient until transfer to an ambulance
cot or other device with primary restraints. Do not exceed the
load limit of the equipment.
General Guidelines for Use
● Secondary-use restraints are not suitable for use in a
motor vehicle.
● To be compatible, equipment must have speed-clip pins
to serve as anchor points for the restraint speed clips.
● For placement on a patient, follow local protocols.
● Adjust restraints to safely secure the patient on the
equipment without causing discomfort or impairing
circulation.
● Keep restraints fastened when not in use to prevent
interference with equipment operation.
Important
Do not exceed the load limit of the equipment on which the
restraint is used. Refer to the equipment users’ manual for
equipment load limit.
Model 436 Series
Speed Clip Restraints
Model 436 Plastic-Buckle Restraint
Model 436 Metal-Buckle Restraint
Speed Clip (2)
Female Buckle/Receiver
Male Buckle/Tang Hemmed Tab
Speed Clip (2)
Female Buckle/Receiver
Male Buckle/Tang Hemmed Tab
Set of Model 436 Restraints
Attached For Use
WARNING
Improper use of the restraint can cause injury. Attach and use
the restraint only as described in this manual.
Improper operation can cause injury. Operate the restraint only
as described in this manual.
Improper maintenance can cause injury. Maintain the restraint
only as described in this manual.
2© Ferno-Washington, Inc 234-3541-00 September 2013
Model 436 Speed-Clip Restraints
Label
The restraint includes a sewn-on label identifying it as a secondary-
use restraint (Figure 1).
Before Using the Restraint
● Personnel who will work with the restraint need to read this
manual.
● Conrm that the restraint operates properly (See Inspection
Checklist, page 4).
Attaching the Restraint
Attach the restraint to the equipment at points that ensure strong
anchorage and proper patient restraint. Verify that restraint
placement will not interfere with use of the equipment or
accessories.
1. Unbuckle the restraint.
2. Press the restraint speed clip against the speed-clip pin on
the equipment until the spring latch of the speed clip snaps
into place over the pin (Figure 2).
3. Conrm that the speed clip is securely fastened to the speed-
clip pin.
4. Repeat Steps 2 and 3 to attach the other half of the restraint
to a speed-clip pin on the opposite side of the equipment.
5. Repeat Steps 1-4 to attach additional restraints.
6. Conrm that all restraints are attached securely.
Removing the Restraint
To remove the restraint, unbuckle it if needed. Press the spring
latch of the speed clip (Figure 3) and remove the speed clip from
the speed-clip pin on the equipment.
1
2
WARNING
Improper use of the restraint can cause injury. Use the
restraint only as described in this manual.
3
Spring Clip
3
© Ferno-Washington, Inc 234-3541-00 September 2013
Model 436 Speed-Clip Restraints
WARNING
Improper operation can cause injury. Operate the restraint
only as described in this manual.
Buckling/Unbuckling
METALBUCKLE RESTRAINTS
To buckle the restraint: Insert the male buckle/tang into the female
buckle/receiver (Figure 4, upper) until it locks into place. Always
conrm that the buckle is securely fastened.
To unbuckle the restraint: Press the release button in the center
of the buckle (Figure 4, lower) and separate the pieces.
PLASTICBUCKLE RESTRAINTS
To buckle the restraint: Insert the three-pronged male buckle/tang
into the female buckle/receiver (Figure 5, upper) until it locks into
place. Always conrm that the buckle is securely fastened.
To unbuckle the restraint: Press the slide prongs of the tang
together until they release the female buckle/receiver (Figure 5,
lower) and the buckle halves can be separated.
Adjusting the Restraint
Note:The female buckle/receiver strap is not adjustable. To
lengthen or shorten the restraint, adjust the strap with the male
buckle/tang.
METALBUCKLE RESTRAINTS
1. To lengthen the restraint, rst unbuckle it.
2. Grasp the male buckle/tang and turn it perpendicular to
the webbing.
3. Pull the male buckle/tang outward, away from the restraint
attachment point until the restraint is the desired length
(Figure 6, top).
PLASTICBUCKLE RESTRAINTS
1. To lengthen the restraint, rst unbuckle it.
2. Grasp the slider bar on the male buckle/tang and turn it
perpendicular to the webbing.
3. Pull the slider bar outward, away from the restraint
attachment point until the restraint is the desired length
(Figure 6, bottom).
SHORTENING A RESTRAINT
To shorten a restraint (metal-buckle or plastic buckle): Grasp
the hemmed tab and pull the webbing through the male buckle/tang
until the restraint is the desired length (Figure 7).
4
5
6
Hemmed Tab
7
4© Ferno-Washington, Inc 234-3541-00 September 2013
Model 436 Speed-Clip Restraints
Limited Warranty Statement
The products sold by Ferno are covered by a limited warranty,
which is printed on the invoice you received when you purchased
the product. Please refer to the warranty terms as printed on your
invoice. The complete terms and conditions of the limited warranty,
and the limitations of liability and disclaimers, are also available upon
request by calling Ferno at 1.800.733.3766 or 1.937.382.1451.
Ferno Technical Support
Customer service and product support are important aspects of
each Ferno product. For technical support questions:
Telephone (Toll-free) 1.800.733.3766 ext. 1010
Telephone 1.937.382.1451 ext. 1010
Email quality[email protected]
Ferno Customer Relations
CANADA AND THE U.S.A.
Telephone (Toll-free) 1.877.733.0911
Telephone 1.937.382.1451
Fax (Toll-free) 1.888.388.1349
Fax 1.937.382.1191
Internet www.ferno.com
ALL OTHER LOCATIONS
For assistance or information, contact your Ferno distributor. If you
do not have a Ferno distributor, contact Ferno Customer Relations:
Telephone +1.937.382.1451
Fax +1.937.382.6569
Internet www.ferno.com
Maintenance Schedule
The restraint requires regular maintenance. Set up and follow a
maintenance schedule. Conduct maintenance as follows:
● Inspecting: Inspect the restraint as needed, following the
Inspection Checklist below. At minimum, inspect monthly.
● Disinfecting: Disinfect the restraint after each use.
● Cleaning: Clean the restraint as needed.
Inspection Checklist
● Are all components present?
● Is restraint webbing in good condition (no cuts/frayed edges)?
● Are restraint buckles and speed clips free of visible damage?
● Do buckles open and close smoothly and properly?
● Can strap length be adjusted smoothly and properly?
● Do the speed clips operate properly?
If inspection indicates damage or excessive wear, take the restraint
out of service and destroy it.
Disinfecting the Restraint
1. Remove the restraint from the equipment.
2. Spray the metal buckles and speed clips with a disinfectant
cleaner, following the disinfectant manufacturer’s instructions
for application method and contact time. Do not immerse the
buckles or speed clips in liquid.
3. Hang the restraint to air-dry if needed. Attach only dry
restraints to the equipment.
Cleaning the Restraint
1. Immerse the restraint webbing in a solution of mild soap and
water. Do not immerse metal buckles or speed clips in the
solution.
2. Repeatedly dip the webbing in clear water to rinse. Do not
immerse metal buckles or speed clips in liquid.
3. Hang the restraint to air-dry. Attach only clean, dry restraints
to the equipment.
Important
Metal buckles and speed clips can be damaged by
immersion in liquids or by washing-machine action.
Disinfect and clean only as described in this manual.
WARNING
Improper maintenance can cause injury. Maintain
the restraint only as described in this manual.
Model 436-i Restraint (single restraint)
Model Length Buckle
031-4124 5 ft/1524 mm Plastic
031-4122 5 ft/1524 mm Metal
031-4125 7 ft/2134 mm Plastic
031-4123 7 ft/2134 mm Metal
Model 436 Restraint (set of 4)
Model Length Buckle
031-4120 5 ft/1524 mm Plastic
031-4118 5 ft/1524 mm Metal
031-4121 7 ft/2134 mm Plastic
031-4119 7 ft/2134 mm Metal
Important
Disinfectants and cleaners containing bleach,
phenolics, or iodines can cause damage. Do not use
products containing these chemicals.

This manual suits for next models

10

Other Ferno Safety Equipment manuals

Ferno Traverse Rescue Titan Series User manual

Ferno

Ferno Traverse Rescue Titan Series User manual

Ferno VHI FH24DE User manual

Ferno

Ferno VHI FH24DE User manual

Ferno 131 User manual

Ferno

Ferno 131 User manual

Ferno TRACLITE FWE531-150 User manual

Ferno

Ferno TRACLITE FWE531-150 User manual

Ferno CENTREPOINT 2 User manual

Ferno

Ferno CENTREPOINT 2 User manual

Ferno 430 Series User manual

Ferno

Ferno 430 Series User manual

Ferno Arachnipod User manual

Ferno

Ferno Arachnipod User manual

Ferno SAERBAG III User manual

Ferno

Ferno SAERBAG III User manual

Ferno XTRIC8 User manual

Ferno

Ferno XTRIC8 User manual

Ferno Arachnipod Installation instructions

Ferno

Ferno Arachnipod Installation instructions

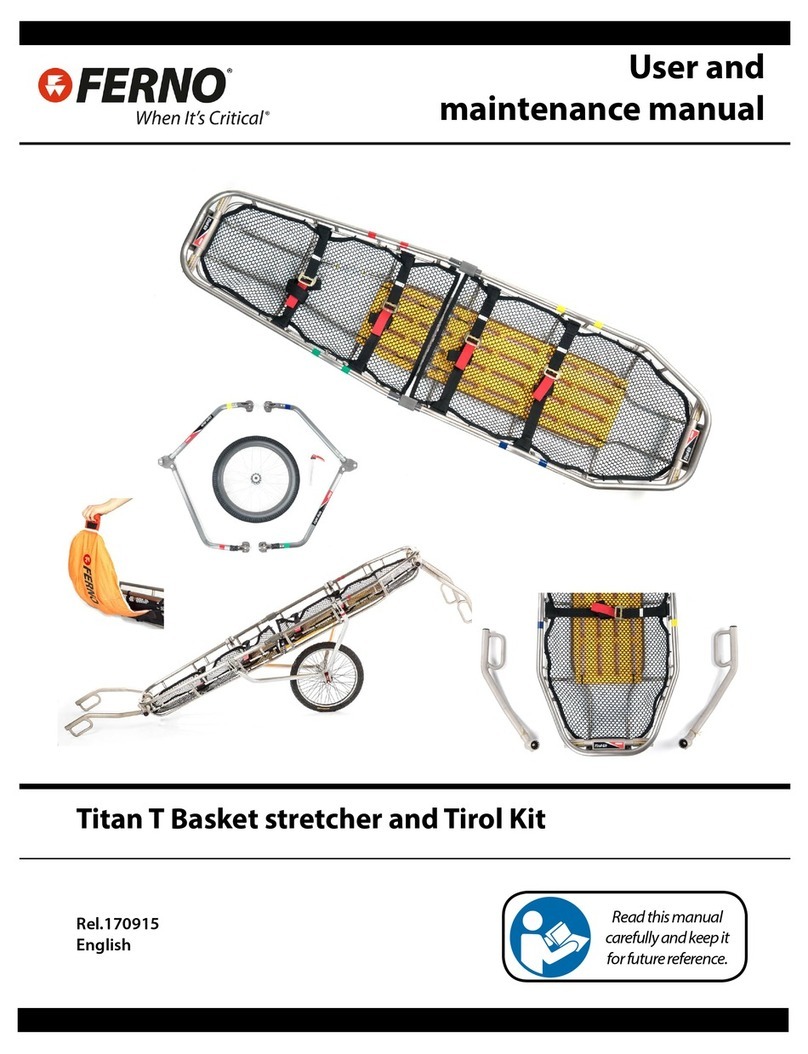
Ferno Titan T Basket stretcher Operating instructions

Ferno

Ferno Titan T Basket stretcher Operating instructions

Ferno iNLINE User manual

Ferno

Ferno iNLINE User manual

Ferno Traverse Rescue 15-0105 User manual

Ferno

Ferno Traverse Rescue 15-0105 User manual

Ferno AquaBoard User manual

Ferno

Ferno AquaBoard User manual

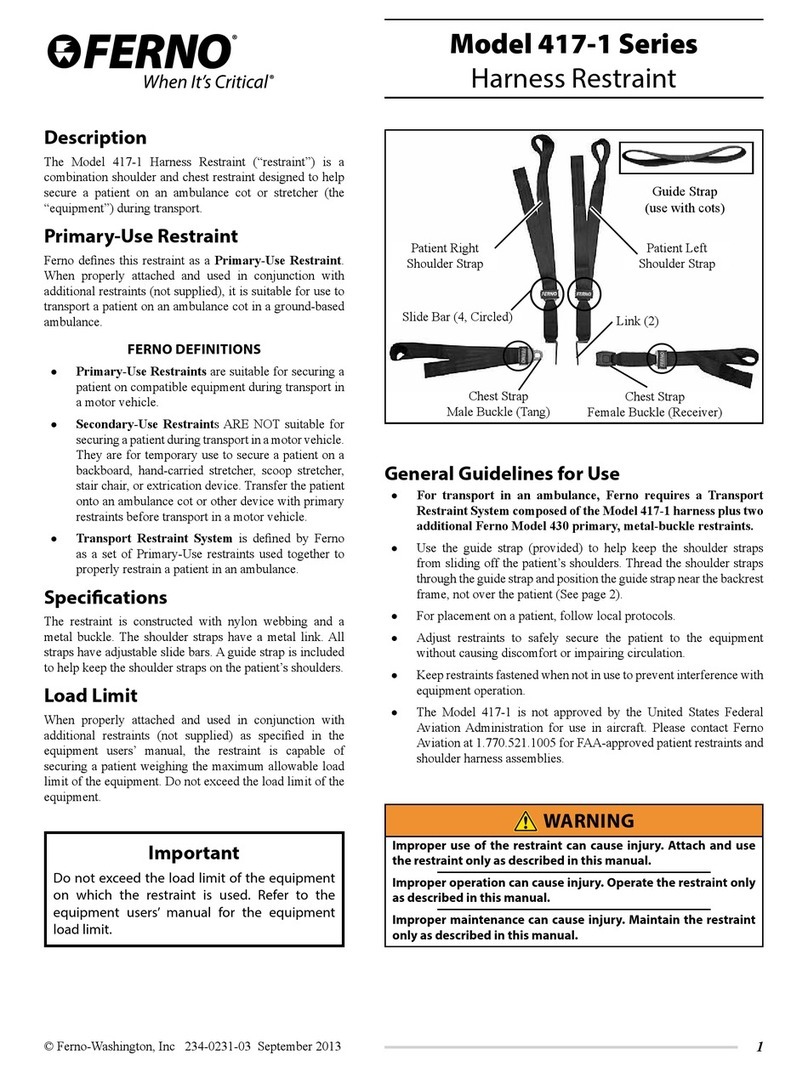
Ferno 417-1 Series User manual

Ferno

Ferno 417-1 Series User manual

Ferno Paraguard Excel Stretcher User manual

Ferno

Ferno Paraguard Excel Stretcher User manual

Ferno KED Pro User manual

Ferno

Ferno KED Pro User manual

Ferno Traverse rescue Gazelle Series User manual

Ferno

Ferno Traverse rescue Gazelle Series User manual

Ferno ITC-HL Operating instructions

Ferno

Ferno ITC-HL Operating instructions

Ferno Scoop EXL TSL User manual

Ferno

Ferno Scoop EXL TSL User manual

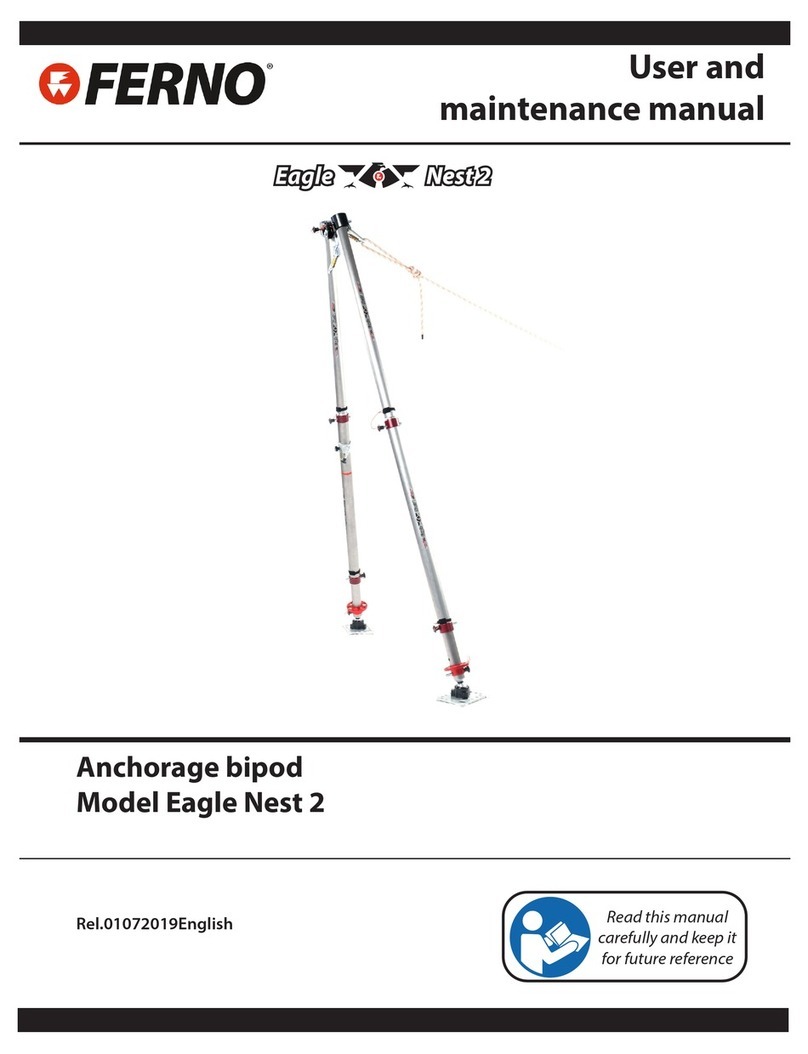
Ferno Eagle Nest 2 Operating instructions

Ferno

Ferno Eagle Nest 2 Operating instructions

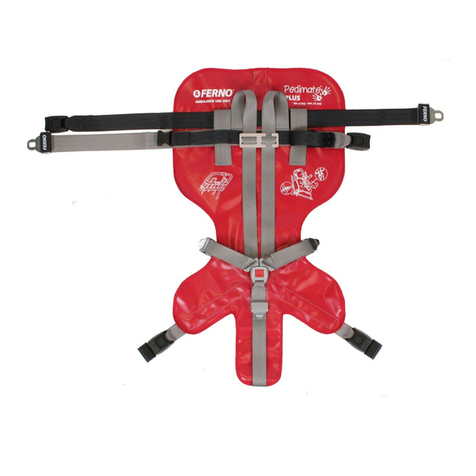
Ferno Pedi-Mate Plus 678 User manual

Ferno

Ferno Pedi-Mate Plus 678 User manual

Popular Safety Equipment manuals by other brands

AJAX StreetSiren quick start guide

AJAX

AJAX StreetSiren quick start guide

BIRD TERMALINE 8745 Series Instruction book

BIRD

BIRD TERMALINE 8745 Series Instruction book

hepco & becker 501948 00 01 instructions

hepco & becker

hepco & becker 501948 00 01 instructions

Safety 1st Wide & Sturdy Sliding Gate GA089 user guide

Safety 1st

Safety 1st Wide & Sturdy Sliding Gate GA089 user guide

Weber Rescue Systems STAB FAST MK2 ALU user manual

Weber Rescue Systems

Weber Rescue Systems STAB FAST MK2 ALU user manual

Climbing Technology Tec Static Pro 11 instruction manual

Climbing Technology

Climbing Technology Tec Static Pro 11 instruction manual

3M DBI SALA KM419 User instruction manual

3M

3M DBI SALA KM419 User instruction manual

Kentek KOL-8808 instructions

Kentek

Kentek KOL-8808 instructions

E2S GNExCP6A-BG instruction manual

E2S

E2S GNExCP6A-BG instruction manual

MSA NC-217 operating manual

MSA

MSA NC-217 operating manual

SECUMAR 17 Instructions for use

SECUMAR

SECUMAR 17 Instructions for use

Dometic Air Screen FTA installation manual

Dometic

Dometic Air Screen FTA installation manual

Reliance 3092 operating instructions

Reliance

Reliance 3092 operating instructions

Merlino RED-RL Series user manual

Merlino

Merlino RED-RL Series user manual

CSE SCSR Training

CSE

CSE SCSR Training

Protekt PB-30 instruction manual

Protekt

Protekt PB-30 instruction manual

Metacon-Next RGC / OHD-C installation instructions

Metacon-Next

Metacon-Next RGC / OHD-C installation instructions

PDQ 6300 Installation instruction

PDQ

PDQ 6300 Installation instruction

manuals.online logo
manuals.online logoBrands
  • About & Mission
  • Contact us
  • Privacy Policy
  • Terms and Conditions

Copyright 2025 Manuals.Online. All Rights Reserved.