8 9
Warning symbol:
Carefully read the sections preceded by this symbol meticulously following the
instructions indicated for the safety of the operator and the device.
Covered place symbol:
The operations preceded by this symbol must always be carried out in a dry, covered
area.
Symbol of the open book with i:
Indicates the need to consult the instruction manual.
Symbol of the open book:
Tells the operator to read the user manual before using the device.
Disposal symbol:
Carefully read the sections marked with this symbol for disposing of the appliance.
SYMBOLS USED IN THE MANUAL
PURPOSE AND CONTENT OF THE MANUAL
The aim of this manual is to provide customers with all the information needed to use the appliance in
the safest, most appropriate and most autonomous way. It includes information concerning technical
aspects, safety, operation, appliance downtime, maintenance, spare parts and scrapping.
Operators and qualied technicians must read the instructions in this manual carefully
before carrying out any operation on the appliance. If you have any doubts about the
correct interpretation of the instructions, contact your nearest assistance centre to obtain
the necessary clarication.
TECHNICAL DESCRIPTION
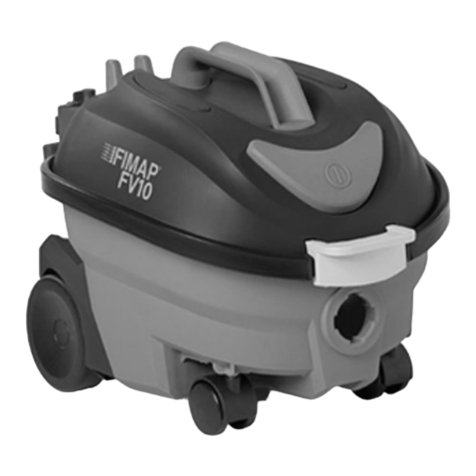
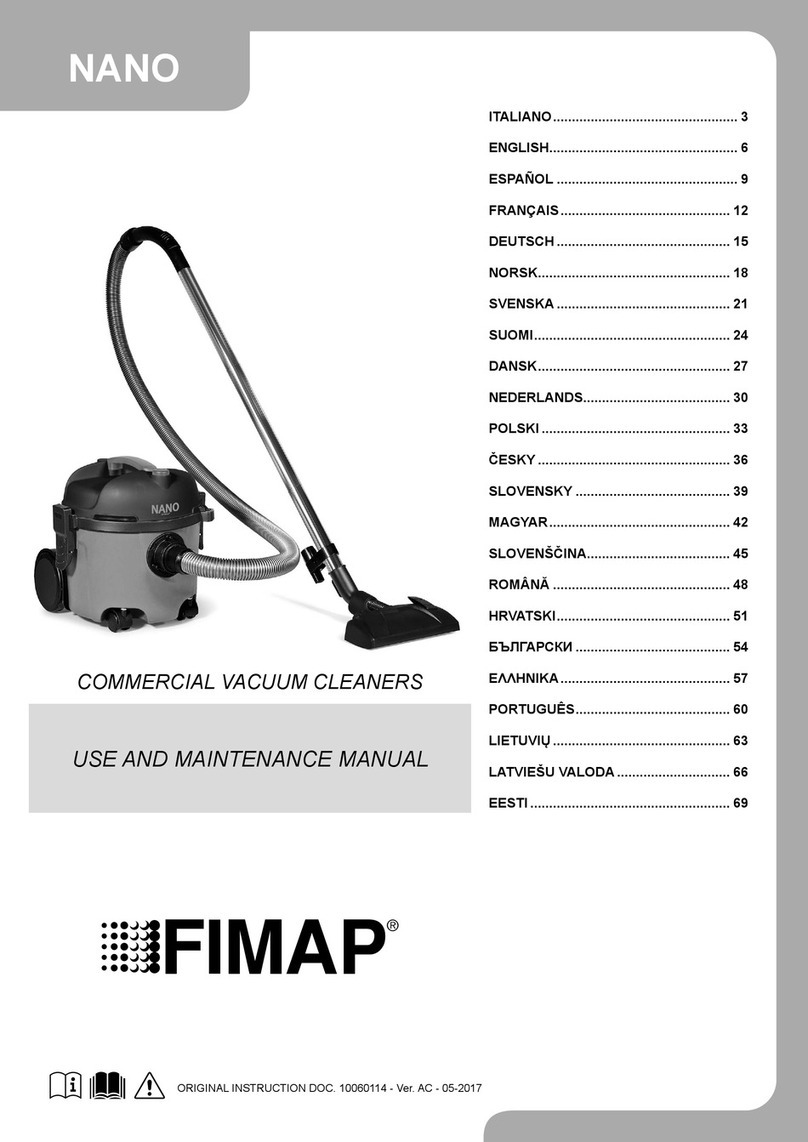
NANO is a vacuum cleaner which uses the vacuum created in the collection tank by the fan (enabled
by the electrical motor) to pick up dust and dry solid elements measuring up to 2cm at ambient
temperature, as the accessories brush against the oor and furnishings. The vacuum hose channels
the air into the collection tank, where the dust and solid residues are trapped by lters. The appliance
must only be used for this purpose.
INTENDED USE
This appliance is designed and built to be used by a qualied operator to clean (by vacuuming solid,
dry elements) smooth, compact ooring in the commercial, residential and industrial sectors, in proven
safety conditions.
The appliance is only suitable for use in indoor - or at least covered - areas. The appliance is
not suitable for use in the rain, or under jets of water.
IT IS FORBIDDEN to use the appliance for picking up dangerous dusts or inammable liquids in
places with an explosive atmosphere. In addition, it is not suitable as a means of transport for people
or objects.
PREPARING TO WORK
Before beginning to work for the rst time, it is necessary to:
1. Place the lower part of the outer packaging in contact with the oor.
WARNING: Use the pictograms printed on the box as reference.
2. Open the outer box.
3. Remove the accessories from the box and carefully lay them on the ground.
4. Remove the appliance from the packaging using the handle designed for this purpose (Fig.1).
5. Remove the appliance from the protective bag using the handle designed for this purpose.
WARNING: it is recommended that all the packaging components be kept for any future
transportation of the appliance.
WARNING: these operations must be carried out using protective gloves to avoid any possible
contact with the edges or tips of metal objects.
6. Fix the rear wheel on the rear wheel support, insert the rear wheel pin into the slot of the support
(Fig.2).
WARNING: The wheel is correctly positioned when the stops of the wheel are completely
inside the slot of the support.
7. Insert the rear wheel supports onto the tank of the vacuum cleaner, insert the support pins into
the slots of the tank (Fig.3).
WARNING: To facilitate this operation on both the tank and on the supports, the letters "R" and
"L" are printed to indicate right and left.
8. Fix the rear wheel supports on the vacuum cleaner tank using the supplied screws (Fig.4).
WARNING: the screwdriver is not supplied.
9. Secure the pivoting wheel on the vacuum cleaner tank, insert the pivoting wheel pin in the support
hole (Fig.5).
WARNING: The pivoting wheel is correctly positioned when the stops of the wheel are
completely inside the slot of the tank.
WARNING: before using the appliance, make sure it is in order and safe to use with the work
equipment, especially the power cable and the extension cable. If everything is not in order, the
appliance must not be used.
10. Insert the vacuum hose from the vacuum nozzle present in the collection tank, to lock the vacuum
hose inside the nozzle rotate it according to the direction of the arrow (Fig.6).
WARNING: Refer also to the symbols printed on the device itself.
11. Assemble the steel extension tube (Fig.7).
12. Insert the extension tube into the vacuum hose (Fig.8) .
13. Insert the selected accessory into the extension tube (Fig.9).
14. Release the vacuum cover retaining hinges on the side of the tank (Fig.13).
WARNING: Refer also to the symbols printed on the device itself.
15. Using the handle on the vacuum tank cover, (Fig.1), remove the vacuum tank cover from the
collection tank. Put the vacuum tank lid gently on the oor.
16. Take out the air intake lter from inside the collection tank (Fig.14).
17. Insert the paper lter bag inside the collection tank, taking care to insert the lter correctly into the
vacuum nozzle inside the collection tank and making sure not to damage the cardboard support
in the bag itself (Fig.15).
WARNING: operation valid only if the optional paper lter bag is used.
18. Using the handle on the vacuum tank lid, position the vacuum tank lid on the collection tank.
19. Secure the suction cover stop hinges, located at the side of the tank.
WARNING: Never use the unit without the supplied vacuum motor inlet air lter.
20. Insert the plug of the power supply cable in the mains socket (Fig.10).
21. Turn on the appliance by pressing the main switch (Fig.11).
22. If the “combined nozzle” is used, set the switch in the brush to “HARD SURFACES” or else
“CARPET FLOORS”. Start vacuuming (Fig.12).
CONTENTS
GENERAL SAFETY REGULATIONS ..................................................................... 4
DANGER LEVELS ..................................................................................................................... 4
CONNECTION TO THE ELECTRICITY GRID .......................................................................... 4
USE - EMPLOYMENT ............................................................................................................... 5
TRANSPORT............................................................................................................................. 6
MAINTENANCE......................................................................................................................... 6
ACCESSORIES AND SPARE PARTS....................................................................................... 7
EXTENSION CABLES ............................................................................................................... 7
DRY VACUUM CLEANER ......................................................................................................... 7
CONTENTS............................................................................................................. 8
SYMBOLS USED IN THE MANUAL ...................................................................... 8
PURPOSE AND CONTENT OF THE MANUAL ..................................................... 8
TECHNICAL DESCRIPTION .................................................................................. 8
INTENDED USE...................................................................................................... 8
TECHNICAL DATA ................................................................................................. 8
PREPARING TO WORK ......................................................................................... 8
AT THE END OF THE WORK................................................................................. 9
MAINTENANCE ...................................................................................................... 9
DISPOSAL .............................................................................................................. 9
TROUBLESHOOTING ............................................................................................ 9
EC DECLARATION OF CONFORMITY.................................................................. 9
TECHNICAL DATA U/M NANO
230V
NANO
115V
Power supply voltage V230 115
Frequency Hz 50 60
Rated power W 700 1200
Type of vacuum cleaner Dry Dry
Vacuum kPa 18 21
Air ow rate m3/h 96 108
Collection tank capacity l 10 10
Barrel material PP+CaCo3 PP+CaCo3
Length of power supply cable m 10 10
Dry weight kg 6.3 5.3
Dimensions (L x H x W) mm 335 x 390
x 305
333 x 320
x 327
Accessories diameter mm 32 32
Sound pressure level (ISO 11201) dB (A) 76 82
Uncertainty KpA dB (A) 1.5 1.5
