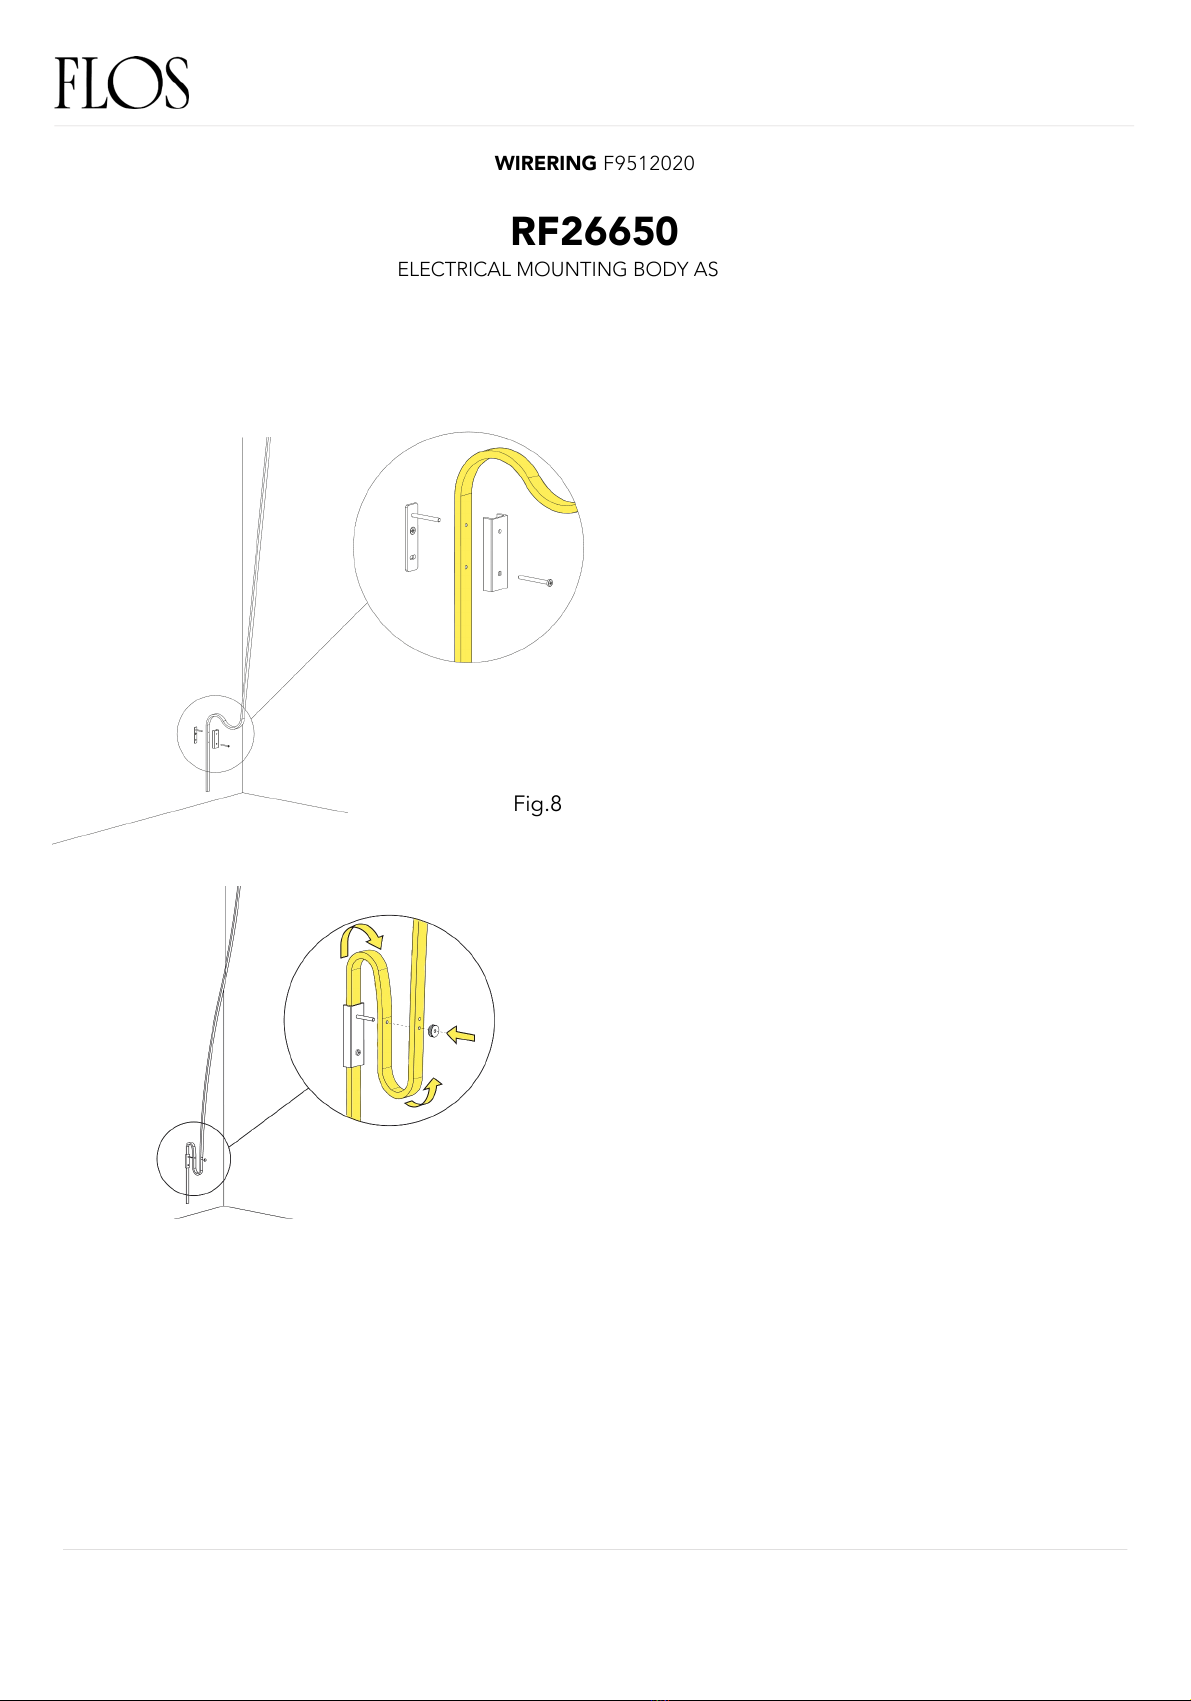
FLOS WIRERING F9512020 User manual


Other FLOS Home Lighting manuals

FLOS
FLOS TAB T LED User manual

FLOS
FLOS TAB T LED User manual

FLOS
FLOS SPUN LIGHT T1 User manual

FLOS
FLOS TAB T LED User manual

FLOS
FLOS FU317935 User manual

FLOS
FLOS BRERA F1 User manual

FLOS
FLOS Sarfatti 1063 User manual

FLOS
FLOS SUPERLOON F6630030 User manual

FLOS
FLOS Extra Table F2130046 User manual

FLOS
FLOS GOLDMAN User manual

FLOS
FLOS Tatou F User manual

FLOS
FLOS BON JOUR UNPLUGGED OPTIC User manual

FLOS
FLOS TAB T LED User manual

FLOS
FLOS NOCTAMBULE F User manual

FLOS
FLOS GLO-BALL BASIC 2 User manual

FLOS
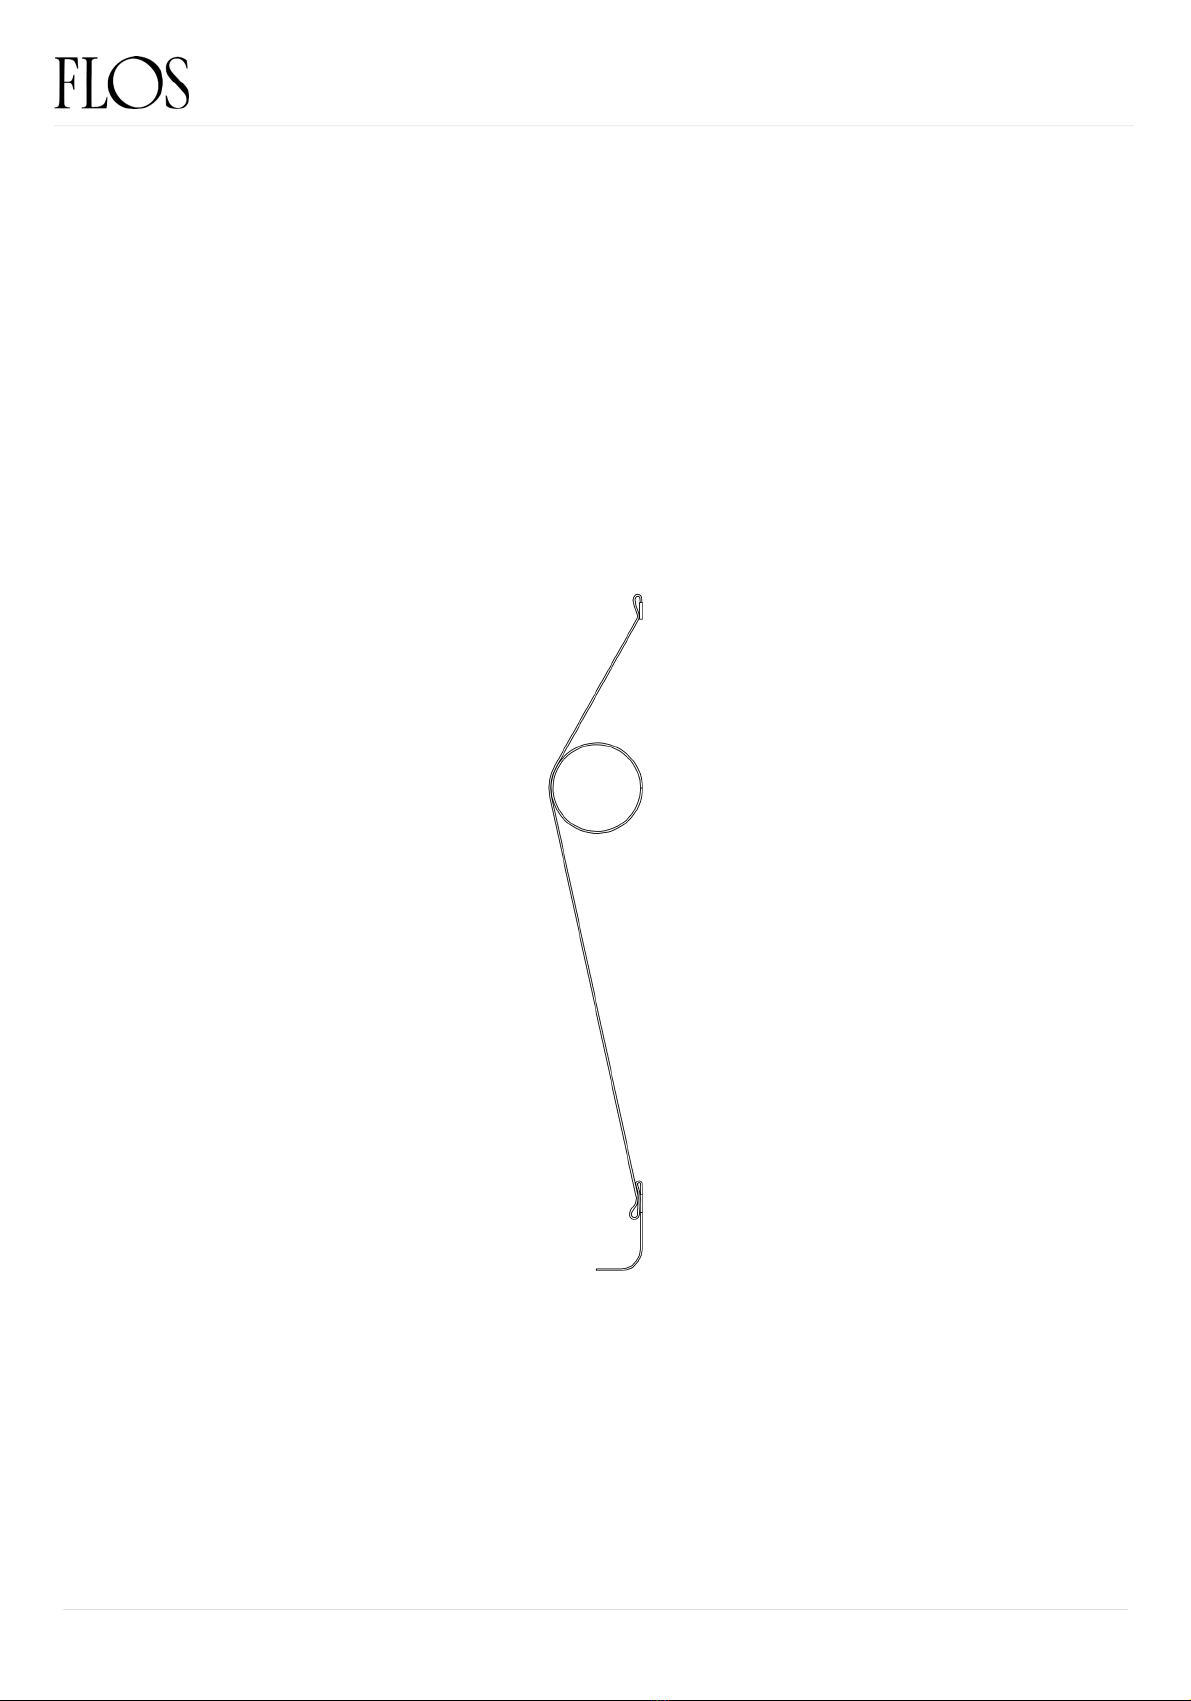
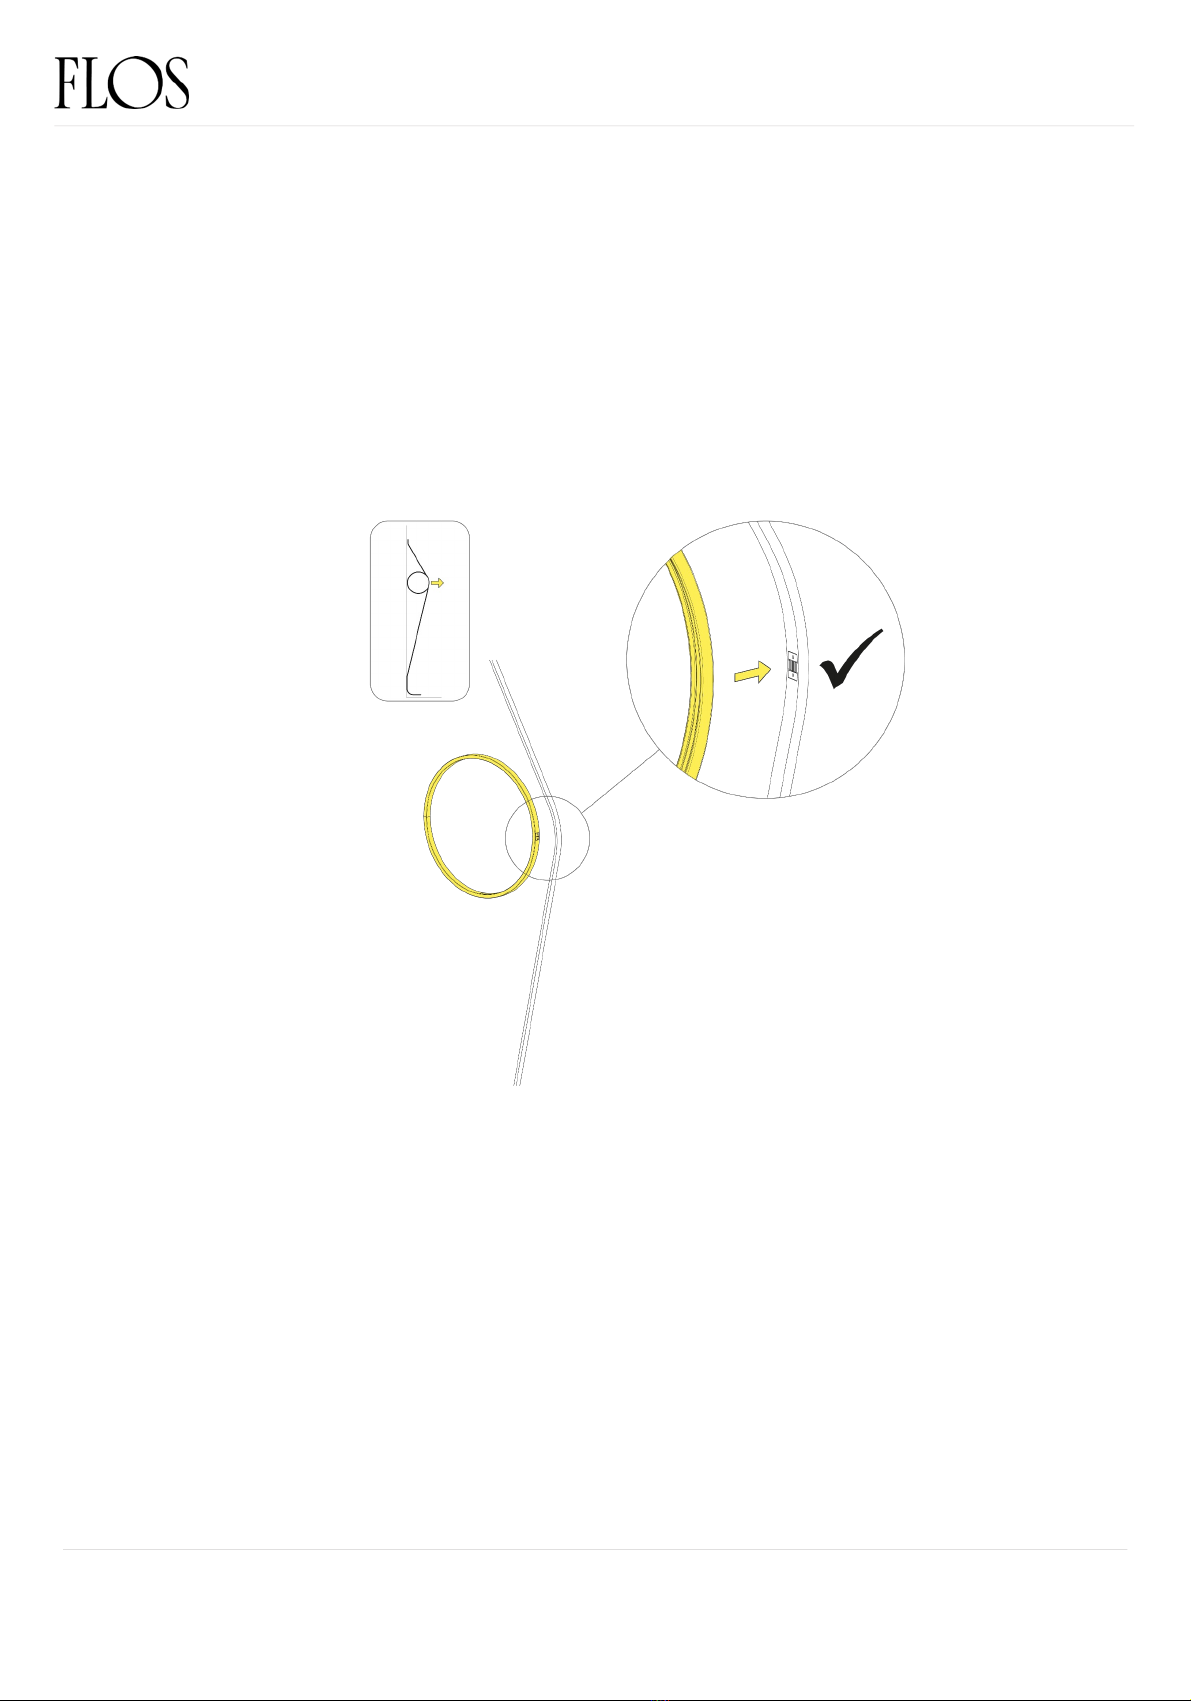
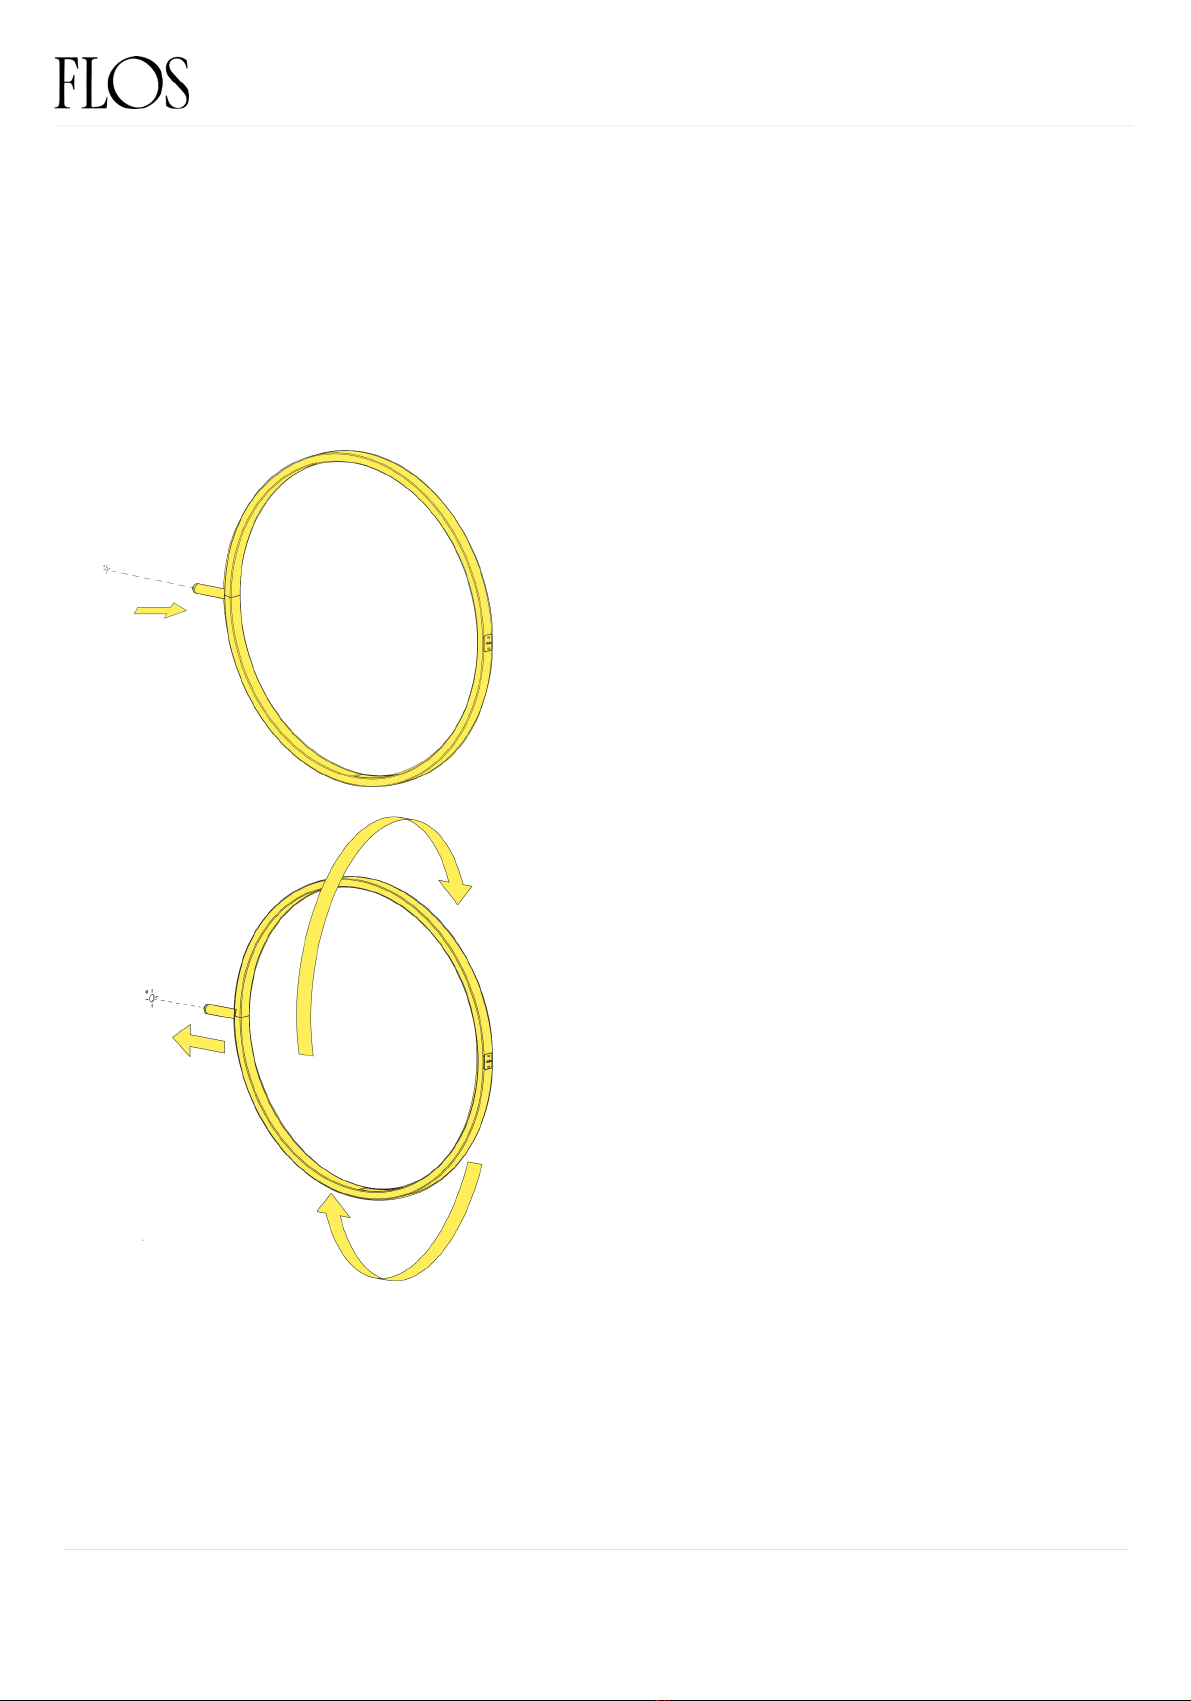
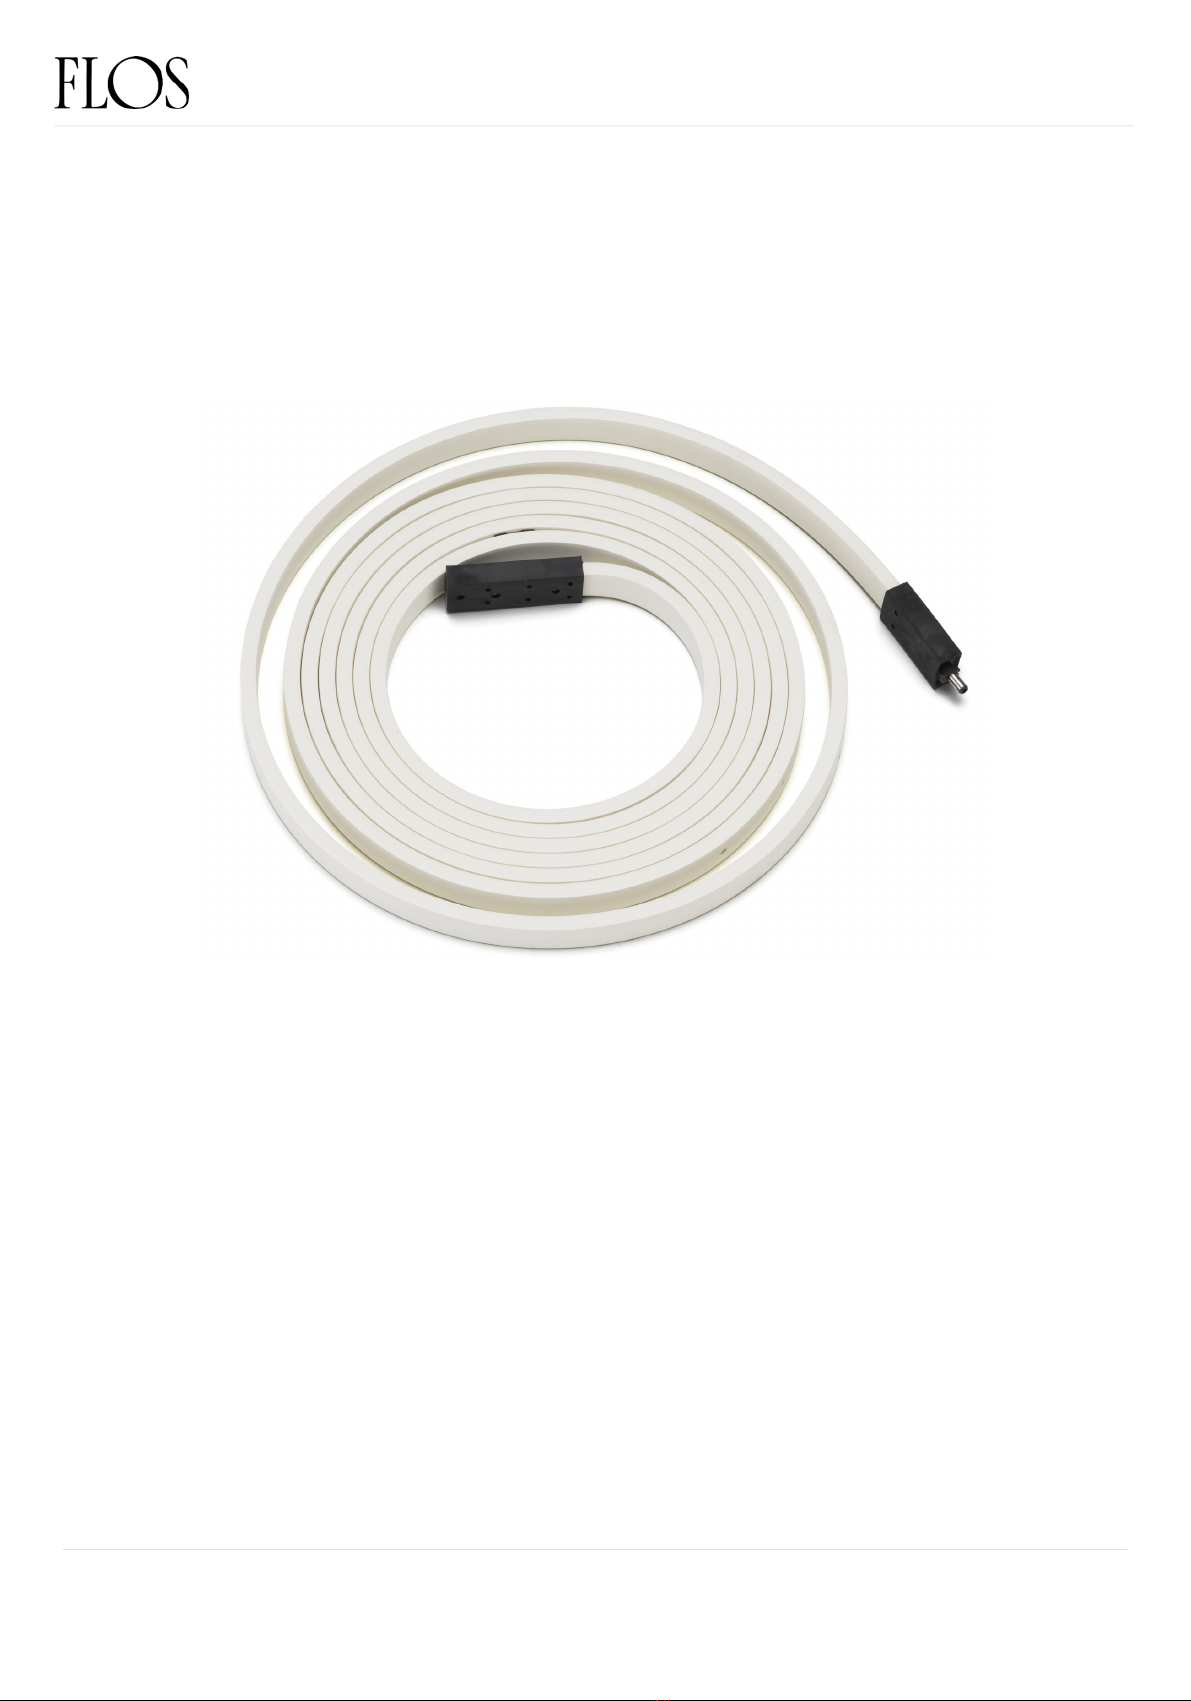
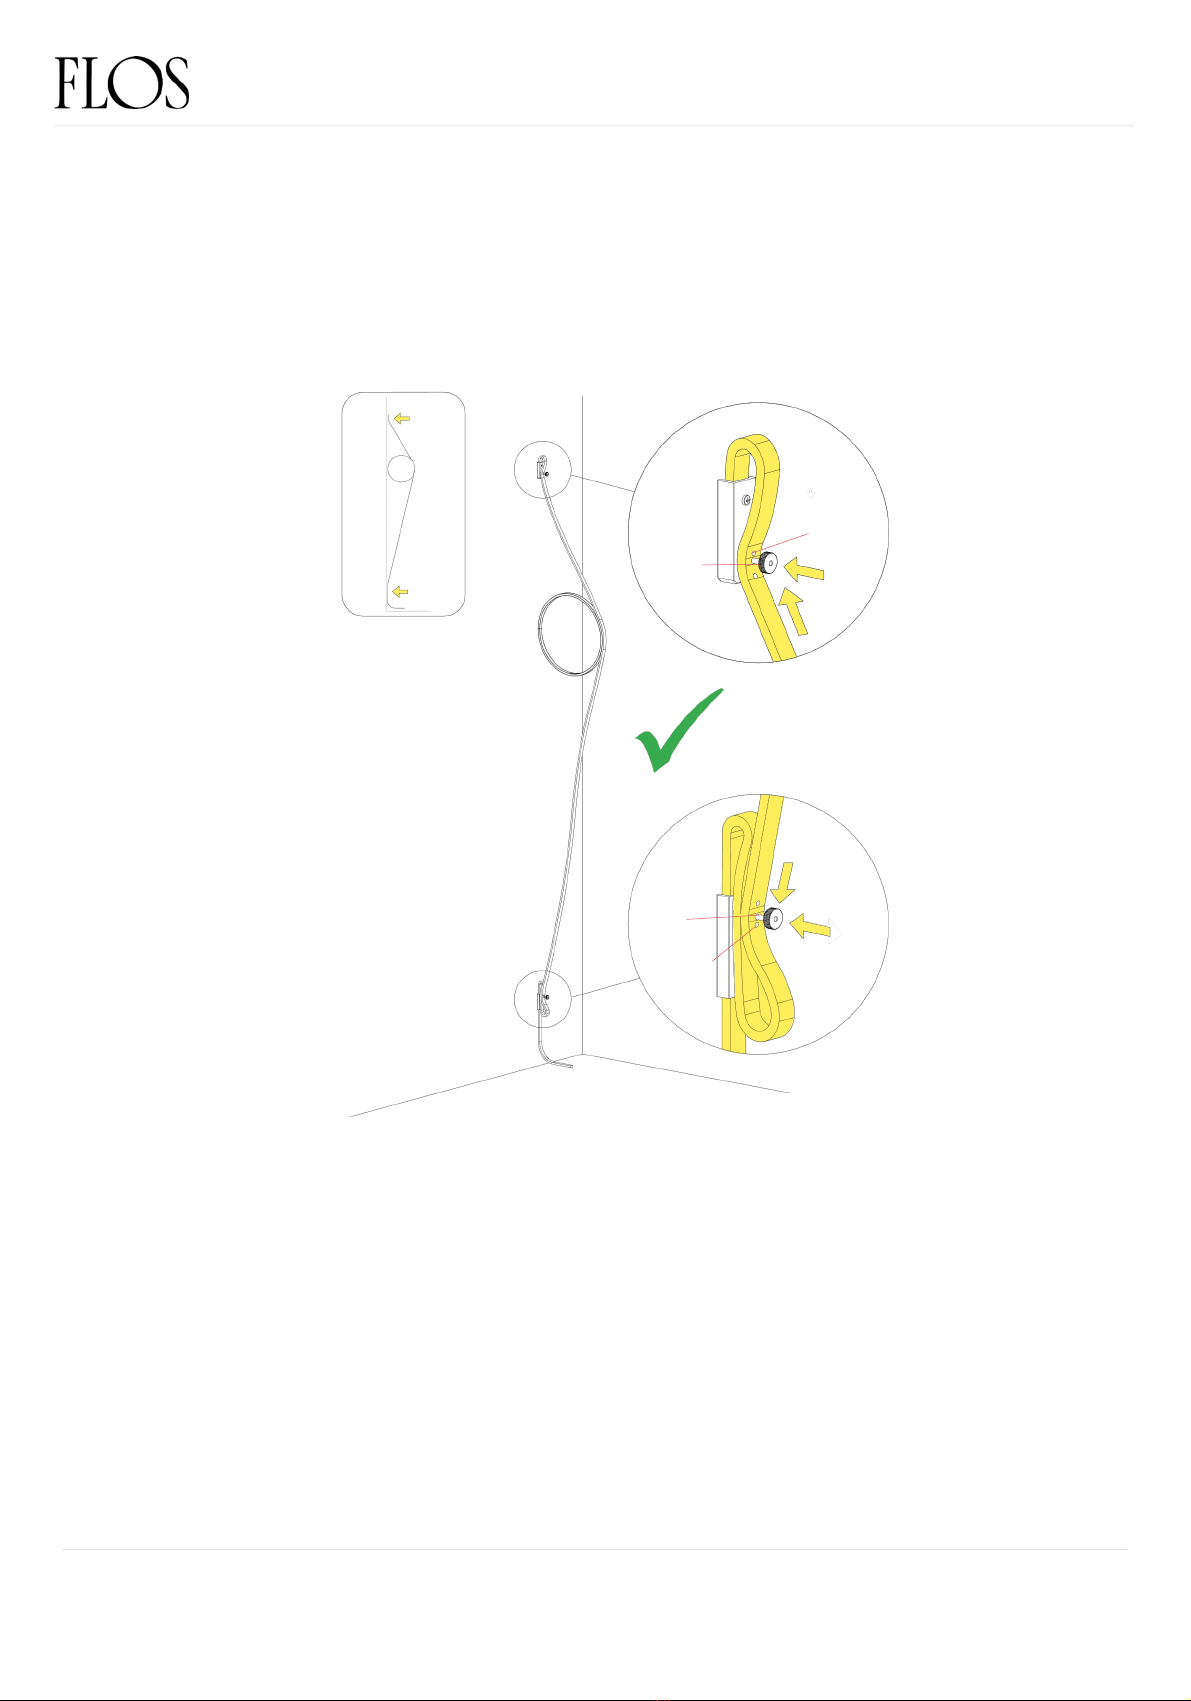
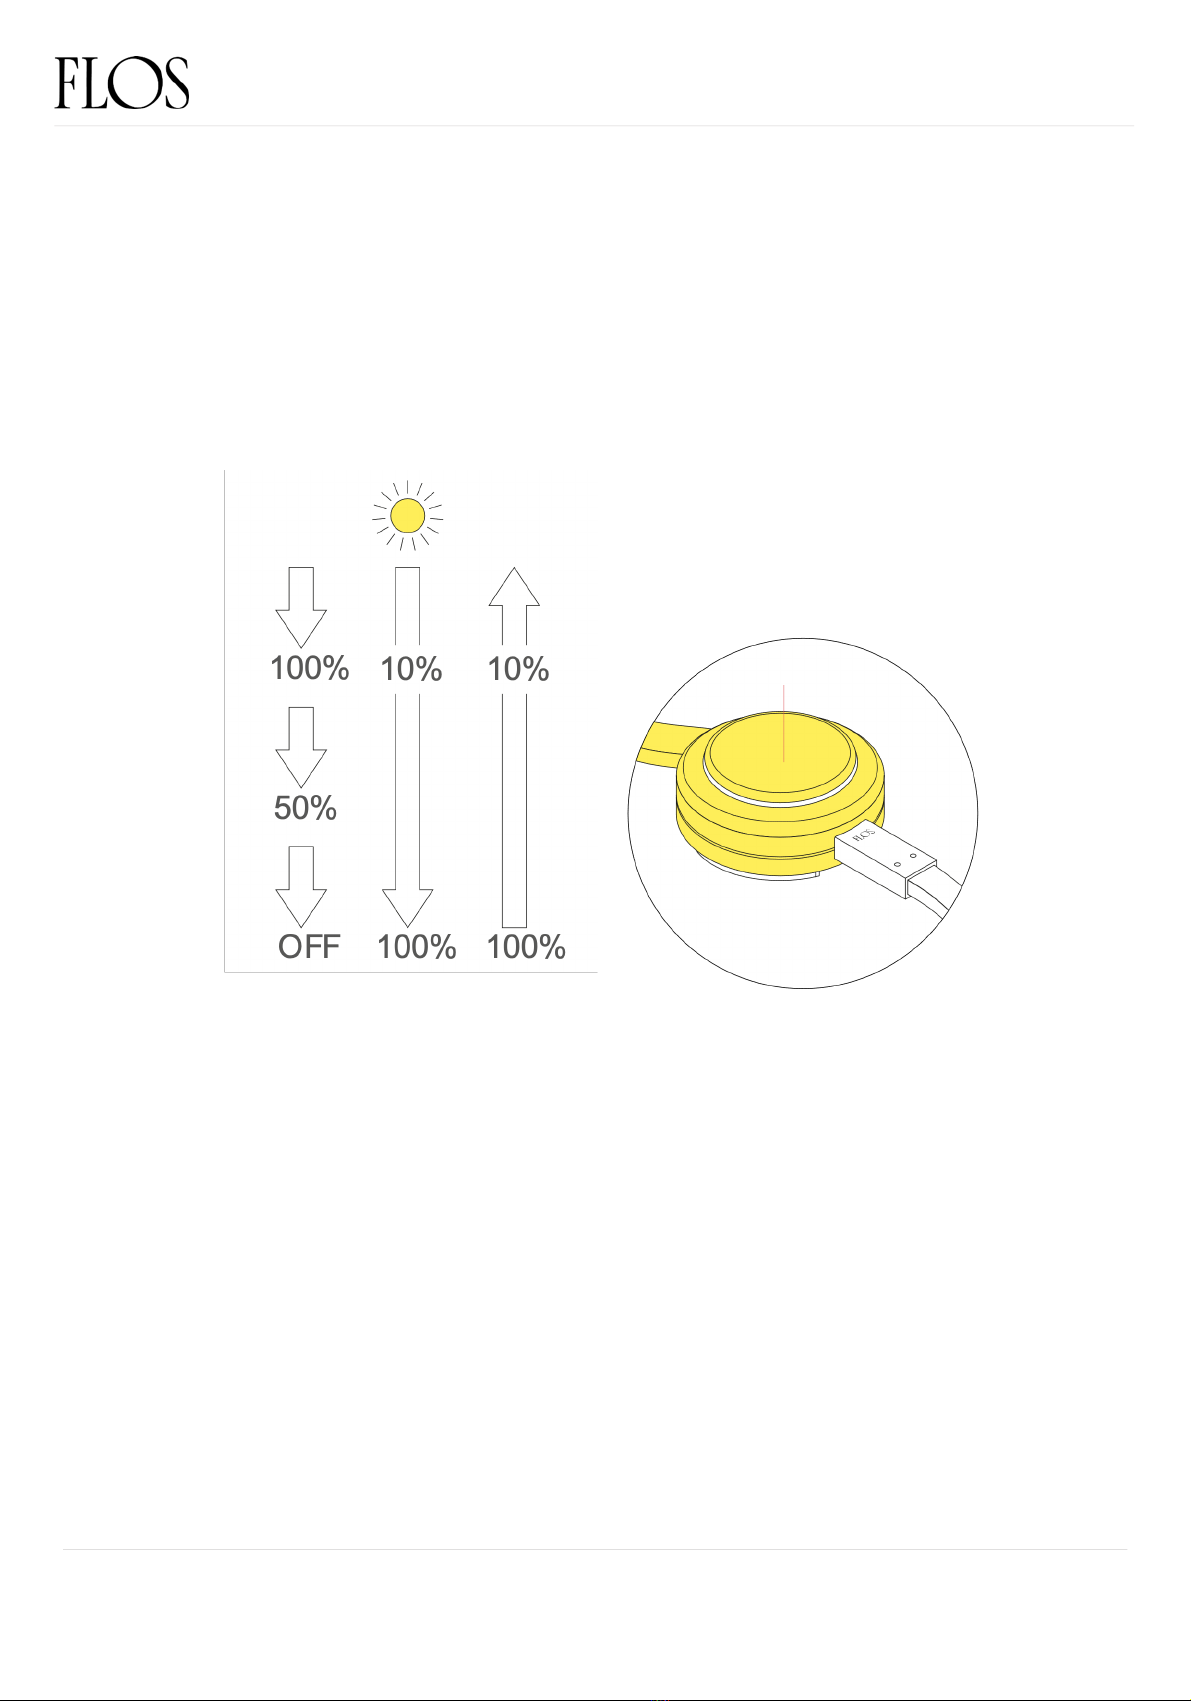
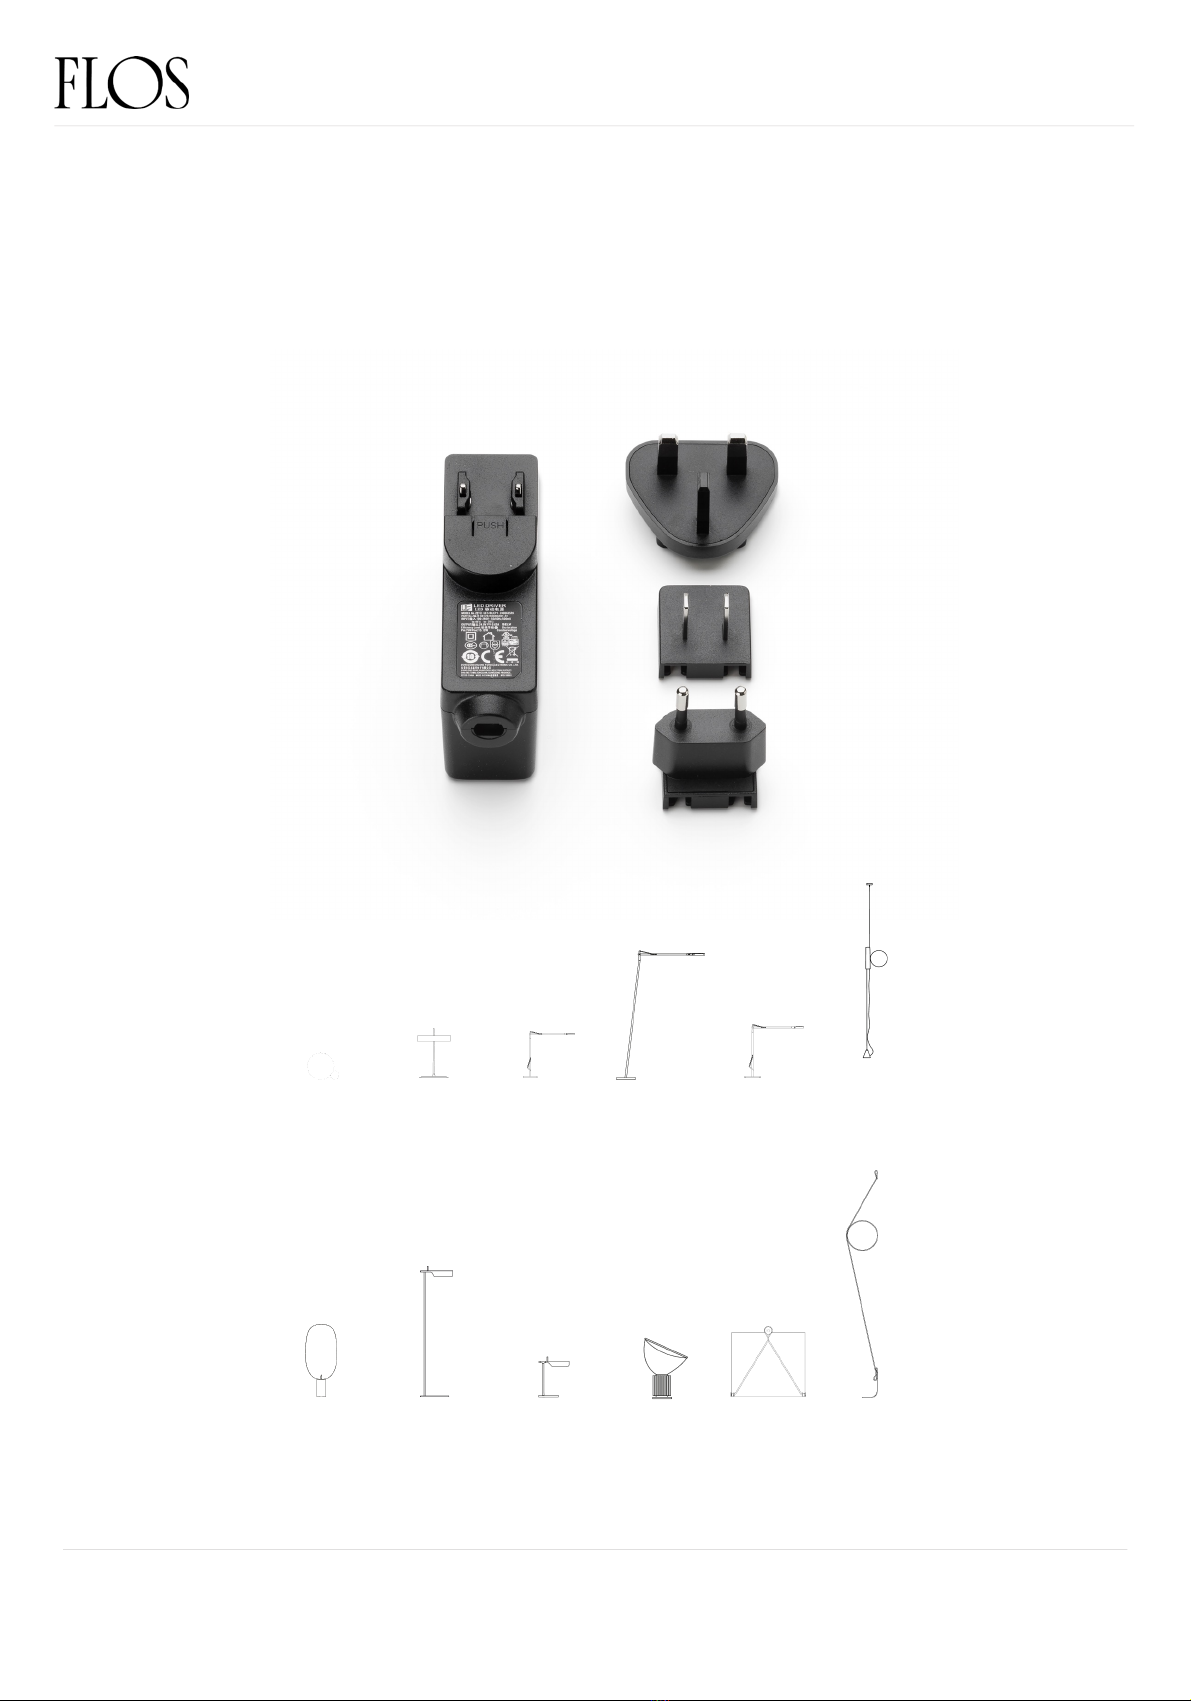
FLOS WireRing User manual

FLOS
FLOS ARCHIMOON SOFT User manual

FLOS
FLOS RF26678 User manual

FLOS
FLOS RF05861 User manual

FLOS
FLOS TOIO F7600009 User manual


Popular Home Lighting manuals by other brands


Safavieh Lighting
Safavieh Lighting CAMDEN TBL4200A manual

HUDSON VALLEY LIGHTING
HUDSON VALLEY LIGHTING mitzi CAROLINE HL641201 installation instructions

Dale Tiffany
Dale Tiffany TF100683 Assembly instructions

Anglepoise
Anglepoise Original 1227 Mini manual

hudson valley
hudson valley L1297 installation instructions

Dale Tiffany
Dale Tiffany GT10231 Assembly instructions


