manuals.online logo
Brands
  1. Home
  2. •
  3. Brands
  4. •
  5. Fracarro
  6. •
  7. Switch
  8. •
  9. Fracarro SCD2-5416W User manual

Fracarro SCD2-5416W User manual

ITA: ISTRUZIONI PER L’USO
EN: OPERATING INSTRUCTIONS
MULTISWITCH
5 inputs, 4/8 Outputs SCR/dCSS/LEGACY
SCD2-5416W - SCD2-5816W
SWI8504 dSCR UK - SWI8508 dSCR UK
AVVERTENZE PER LA SICUREZZA
L’installazione del prodotto deve essere eseguita da personale qualificato in
conformità alle leggi e normative locali sulla sicurezza. Fracarro
Radioindustrie di conseguenza è esonerata da qualsivoglia responsabilità
civile o penale conseguente a violazioni delle norme giuridiche vigenti in
materia e derivanti dall’uso del prodotto da parte dell’installatore,
dell’utilizzatore o di terzi. L'installazione del prodotto deve essere eseguita
secondo le indicazioni di installazione fornite, al fine di preservare
l'operatore da eventuali incidenti e il prodotto da eventuali danneggiamenti.
Avvertenze per l’installazione
●Il prodotto non deve essere esposto a gocciolamento o a spruzzi
d’acqua e va pertanto installato in un ambiente asciutto, all’interno
di edifici.
●Umidità e gocce di condensa potrebbero danneggiare il prodotto.
●In caso di condensa, prima di utilizzare il prodotto, attendere che sia
completamente asciutto.
●Maneggiare con cura. Urti impropri potrebbero danneggiare il
prodotto.
●Lasciare spazio attorno al prodotto per garantire una ventilazione
sufficiente.
●L’eccessiva temperatura di lavoro e/o un eccessivo riscaldamento
possono compromettere il funzionamento e la durata del prodotto.
●Non installare il prodotto sopra o vicino a fonti di calore o in luoghi
polverosi o dove potrebbe venire a contatto con sostanze corrosive.
●In caso di montaggio a muro utilizzare tasselli ad espansione
adeguati alle caratteristiche del supporto di fissaggio.
La parete ed il sistema di fissaggio devono essere in grado di
sostenere almeno 4 volte il peso dell’apparecchiatura.
●Attenzione: per evitare di ferirsi, questo apparecchio deve essere
assicurato alla parete/pavimento secondo le istruzioni di
installazione.
●Per“APPARECCHIATURE INSTALLATE PERMANENTEMENTE”, un
dispositivo di sezionamento facilmente accessibile deve essere
incorporato all’esterno dell’apparecchiatura; per
“APPARECCHIATURE CON SPINA DI CORRENTE”, la presa deve
essere installata vicino all’apparecchiatura ed essere facilmente
accessibile.
●Il prodotto deve essere collegato all’elettrodo di terra dell’impianto
d’antenna conformemente alla norma EN 60728-11. La vite
predisposta per tale scopo è contrassegnata con il simbolo .
●Si raccomanda di attenersi alle disposizioni della norma EN 60728-
11 e di non collegare tale vite alla terra di protezione della rete
elettrica di alimentazione.
Simbolo di terra dell’impianto d’antenna.
Avvertenze generali
In caso di guasto non tentate di riparare il prodotto altrimenti la garanzia
non sarà più valida. Le informazioni riportate in questo manuale sono state
compilate con cura, tuttavia Fracarro Radioindustrie S.r.l. si riserva il diritto
di apportare in ogni momento e senza preavviso, miglioramenti e/o
modifiche ai prodotti descritti nel presente manuale. Consultare il sito
www.fracarro.com per le condizioni di assistenza e garanzia.
SAFETY WARNING
The product must only be installed by qualified persons, according to the
local safety standards and regulations. Fracarro Radioindustrie is free from
all civil and criminal responsibilities due to breaches of the current
legislation derived from the improper use of the product by the installer,
user or third parties. The product must be used in full compliance with the
instructions given in this manual in order to protect the operator against all
possible injuries and the product from being damaged.
Installation warnings
●The product must not be exposed to any dripping or splashing and
thus it should be installed indoors and in a dry location.
●Humidity and condensation could damage the product. In case of
condensation, wait until the product is dry before using it.
●Handle the product carefully. Impacts can damage the product.
●Leave enough space around the product to ensure sufficient
ventilation.
●Excessive temperatures and/or an overheating may affect the
performance and the life of the product. Don’t install the product
above or near any heat sources, in dusty places or where it might
come into contact with corrosive substances..
●In the event that the unit is fixed to the wall, use the proper screw
anchors suitable to the characteristics of the fixing support. The
wall and the anchoring system must be able to support at least 4
times the weight of the unit.
●Warning: to avoid injury, this appliance must be secured to the wall
/ floor depending on the installation instructions.
●For "PERMANENTLY INSTALLED APPLIANCES", an easily accessible
cutting device must be added to the exterior of the appliance; for
"APPLIANCES WITH A POWER PLUG", the socket must be installed
close to the appliance and easily accessible.
●The product must be connected to the grounding electrode of the
antenna system in compliance with standard EN 60728-11. The
screw provided for this purpose is marked with the symbol.
●We recommend that you comply with the provisions of standard
EN 60728-11 and do not connect this screw to the Protective Earth
of the electricity supply.
Earth screw/Faston connector symbol.
General warnings
In the event of a malfunctioning, do not try to fix the product as the
guarantee would be invalidated. Although the information given in this
manual has been prepared carefully and thoughtfully, Fracarro
Radioindustrie S.r.l. reserves the right to modify it without notice and to
improve and/or modify the product described in this manual. See the
website www.fracarro.com to have information relevant to the technical
support and product guarantee.
ITA: AVVERTENZE PER LA SICUREZZA
EN: SAFETY WARNING
ITA: DESCRIZIONE DEL PRODOTTO
EN: PRODUCT DESCRIPTION
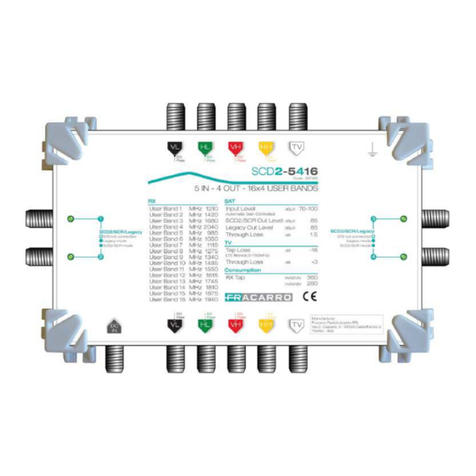
EN: SCD2 (dCSS) 5 input cascade multiswitch with 4/8 user
outputs. The 4-polarity input fits the Automatic Gain Control (AGC)
which keeps a definite output level despite the input signal
variations. The SWI8504 dSCR UK and SWI8508 dSCR UK models
come with a manual output level regulation for each user output
and the TV gain regulation. The product manages up to 4
independent SCR users or 16 independent SCD2 users
(dCSS/dSCR) on each one of the 4/8 user outputs, depending on
the model, by means of a single cable distribution. Alternatively, a
standard STB can be connected to each user output. The wideband
function can be enabled by means of the dip-switch, which allows
the signals from two different satellites to be distributed by means
of 4 cables coming from 2 Wideband LNBs.
ITA: Multiswitch SCD2 (dCSS) in cascata con 5 ingressi, a 4/8
derivate utente; Nell’ingresso delle 4 polarità è presente un
Controllo Automatico del Guadagno (CAG) grazie al quale viene
mantenuto un determinato livello di uscita, nonostante le variazioni
del segnale di ingresso. Per i modelli SWI8504 dSCR UK e SWI8508
dSCR UK è presente una regolazione manuale del livello d’uscita
per ogni derivata utente, e regolazione del guadagno TV. Il prodotto
permette di gestire fino a 4 utenze SCR o 16 utenze SCD2
(dCSS/dSCR) indipendenti su ciascuna delle 4/8 derivate a
seconda del modello, mediante distribuzione monocavo; in
alternativa, su ciascuna derivata, è possibile collegare un STB
tradizionale. Funzione Wideband attivabile tramite dip-switch, che
permette tramite apposito LNB di distribuire tramite 4 cavi
provenienti dai due LNB Wideband, i segnali da due diversi satelliti.
Fig. 1
ITA: Trimmer di regolazione livello segnale TV e SAT (solo per
modelli “dSCR UK”).
EN: Regulation trimmer of TV and SAT signal level (for “dSCR
UK” models only).
ITA:
Vite di Messa a Terra
EN:
Earth screw
Fig. 2
ITA:Dip-switch per la selezione della funzione Quattro o Wideband.
Posizione Quattro: il multiswitch accetta in ingresso le quattro
polarità VL-HL-VH-HH.
Posizione Wideband: il multiswitch accetta in ingresso fino a una
o due coppie di polarità, Verticale e Orizzontale, alta e bassa,
funzione compatibile solamente con LNB wideband.
EN: Dip-switch for selecting the Quattro function or Wideband.
Position Quattro: the multiswitch accepts the four VL-HL-VH-HH
polarities at the input.
Position Wideband: the multiswitch accepts up to one or two pairs
of polarities at the input, i.e. Vertical and Horizontal, high and low;
the function is compatible with wideband LNB only.
Fig. 3
ITA:
Led di segnalazione che indica la corretta alimentazione del
multiswitch.
LED VERDE:
Multiswitch alimentato attraverso il connettore F
DC-IN, o tramite colonna montante (connettore V/L).
LED ARANCIONE:
alimentazione delle uscite utente tramite
decoder.
EN:
Signalization Led that shows the multiswitch is fed properly.
GREEN LED:
the multiswitch is fed by the F DC-IN connector or by
the rising main (V/L connector).
ORANGE LED:
the user’s outputs are fed by the decoder.
Fig. 6
ITA :
Classificazione impianti secondo la norma CEI 100-7;V2 che
attribuisce la classe A plus agli impianti realizzati con una uscita di
un multiswitch dCSS dedicata a ciascuna unità immobiliare.
EN:
Classification of the installations in accordance with the CEI
100-7 version 2 standard that assigns the A plus Class to the
installations made with a dCSS multiswitch output dedicated to
each flat.
ITA:
I multiswitch compatibili con i piani di frequenza SCR e dCSS di Sky Italia.
L’assegnazione delle uscite derivate del multiswitch, a ciascun appartamento
rende l’impianto compatibile SKY ready.
EN:
Multiswitches compatible with SCR and dCSS frequencies of Sky Italy.
The assignment of the multiswitch’s user outputs to each flat makes the
installation compatible to SKY ready.
Fig. 5
Fig. 4
ITA: I modelli SWI8504 dSCR UK e SWI8508 dSCR UK sono dotati di un dissipatore di
calore sulla faccia posteriore, capace di assicurare un ottimo livello di affidabilità anche
al massimo carico previsto. Per il corretto funzionamento del dissipatore di calore è
necessario installare il prodotto ad una parete in posizione verticale, come indicato in
figura. Installazioni diverse da quanto indicato possono comportare una riduzione della
vita utile del prodotto e possono causare rischi per la sicurezza.
EN: The SWI8504 dSCR UK and SWI8508 dSCR UK models fit a front heat sink that make
the installation very reliable even with a maximum load. Install the product on the wall in
a vertical position as shown in the figure so that the heat sink works properly. A different
installation can decrease the product duration and be hazardous.
Fig. 7
DC
ITA :
Il multiswitch e LNB devono essere alimentati con un
alimentatore esterno che può essere inserito in testa o a valle
dell’impianto in diverse configurazioni (vedi Fig, 8-9-10-11-12).
Utilizzare decoder che supportano il protocolloSCD2 dCSS
(EN50602), SCR (EN50494) o un decoder classico. Possibilità di
integrazione con impianti già esistenti. Nel modello WTA è presente
il passaggio delle alimentazioni sulla linea TV (max 200mA vedi Fig.
11), in presenza dell’apposito alimentatore. Installare i carichi a
75Ohm Isolati (T75IF) su tutti gli ingressi e le uscite non utilizzati. Il
multiswitch passa automaticamente alla modalità Legaci, SCR o
SCD2 (dCSS) al primo comando DiSEqC ricevuto da un decoder
collegato.
Il multiswitch può essere alimentato in tre differenti modalità, di
seguito vengono elencate in ordine di priorità con cui il multiswitch
le utilizza:
ITA: Modalità 1: multiswitch alimentato tramite ingresso DC-IN(led verde acceso).
Questa modalità è l’ideale per inserire il multiswitch in un impianto esistente senza introdurre un
carico aggiuntivo sull’alimentazione dell’impianto. In questa modalità le linee della colonna
montante si comportano in modo puramente passante, non assorbono e non erogano alcuna
alimentazione. L’unica azione svolta dal multiswitch è di far passare l’eventuale tensione già
presente sulla linea VL e/o HL anche verso la linea VH qualora ne sia priva, in modo tale da garantire
l’alimentazione contemporanea anche di due LNB.
EN: Mode 1: the multiswitch is fed by the DC-IN input (green led on).
This mode is suitable for inserting the multiswitch into an existing installation without adding an
additional load on the installation power supply. In this mode, the lines of the rising main are only
fed-through and don’t absorb or provide any power supply. The only action taken by the multiswitch
is to pass on any voltage on the VL and/or HL lines as well as to the VH line if this line has no tension
so that two LNBs can be fed simultaneously.
Fig. 8
EN:
The multiswitch and the LNB must be fed by an external
feeder that can be inserted upstream or downstream of the
installation with different configurations (see figures 8-9-10-11-
12). Use the decoder that supports the SCD2 dCSS (EN50602)
protocol or SCR (EN50494) protocol or a standard decoder. It
can be integrated in already made installations. The WTA model
provides the power supply passage to the TV line (max 200mA,
the Fig. 11) if the proper feeder is fitted. Install the 75Ohm
insulated loads (T75IF) on all inputs and outputs that are not
used. The multiswitch automatically goes to the Legacy mode or
SCR or SCD2 (dCSS) when the first DiSEqC control is received
from a connected decoder.
The Multiswitch can be fed in three different modes that are listed
according to their priority of use. The modes are the following:
ITA: INSTALLAZIONE DEL PRODOTTO
EN: PRODUCT INSTALLATION
DC DC
DC DC
DC DC
DC
Fig. 9 Fig.10
ITA: Modalità 2: multiswitch alimentato tramite la colonna montante (led
verde acceso).
Se la colonna montante dell’impianto viene dotata di un alimentatore con tensione
e corrente sufficiente, questa modalità può essere molto vantaggiosa perchè non
richiede l’installazione di alcun alimentatore aggiuntivo. La modalità si realizza
nello specifico fornendo alimentazione al multiswitch attraverso la linea VL; se la
sorgente di alimentazione è costituita da più linee in parallelo, utilizzare una
seconda per fornire alimentazione al multiswitch anche attraverso la linea VH. La
tensione applicata alla lina VL viene propagata dal multiswitch anche verso la linea
VH, qualora ne sia priva, in modo tale da permettere anche in questo caso
l’alimentazione contemporanea anche di due LNB.
EN: ITA: Mode 2: multiswitch fed by the rising main (green led on).
If the installation’s rising main fits a feeder with sufficient tension and current, this
mode can be suitable because no additional feeder needs to be installed. The
multiswitch is fed by the VL line; if the power source is made by more lines in
parallel, use another source to feed the multiswitch through the VH line as well.
The tension applied to the VL line is diffused by the multiswitch through the VH
line too, if it has no tension, and so two LNBs can be fed simultaneously.
ITA: Modalità 3: multiswitch alimentato in modo misto tramite decoder e
colona montante (led arancione acceso).
Si consiglia se i decoder collegati al multiswitch erogano la corrente sufficiente
(maggiore di 500mA) o, in alternativa, si può alimentare tramite un inseritore di
tensione e alimentatore collegato alle uscite derivate del multiswitch. Questa
modalità può risultare vantaggiosa perché riduce considerevolmente
l’assorbimento da parte del multiswitch lungo la colonna montante rispetto a
quanto avviene con la Modalità 2. Nello specifico si realizza fornendo
alimentazione al multiswitch attraverso la linea HL e eventualmente anche nella
VH. Nel caso in cui nell’impianto fosse presente alimentazione anche lungo la
linea VL, applicare degli isolatori DC in ingresso e in uscita del multiswitch per
evitare di ricadere nel caso della Modalità 2 La tensione applicata alla linea HL
viene propagata dal multiswitch anche verso la line VH, in modo tale da
permettere di alimentare contemporaneamente due LNB.
EN: Mode 3: multiswitch fed by the decoder and the rising main (orange led
on).
This mode is recommended if the decoders connected to the multiswitch supply
sufficient power (higher than 500mA) or, alternatively, the multiswitch can be
fed by a voltage inserter and a feeder connected to the user outputs of the
multiswitch. Compared to mode 2, this mode can be advantageous because it
considerably reduces the absorption of the multiswitch along the rising main.
The multiswitch is fed through the HL line and possibly in the VH line. If there is
also tension along the VL line, apply some DC insulators at the input and output
of the multiswitch. To avoid from being in the case of Mode 2, the voltage applied
to the HL line is distributed by the multiswitch to the line VH as well so that two
DC DC
DC
DC
DC DC
DC DC
Fig. 11 Fig. 12
DC
DC
DC
DC
DC
DC
DC
DC
DC
DC
DC
DC
DC
DC
DC
ITA: ISTRUZIONI PER L’UTILIZZO
EN: USER’S INSTRUCTIONS
ITA:
Ricordiamo che in fase di installazione il multiswitch e LNB
devono essere alimentati vedi paragrafo 2.INSTALLAZIONE DEL
PRODOTTO. La linea H/H non fornisce alimentazione al multiwitch
e può essere usata come semplice linea di transito per una
eventuale alimentazione destinata per altri parti dell’impianto.Per
un corretto funzionamento del CAG (controlloautomatico del
guadagno) accertarsi di entrare con un livello corretto del segnale
(60-90 dBµV). A seconda dei modelli, il prodotto può essere
utilizzato sia con decoder che supportano il protocolli SCR/(SCD2)
dCSS/dSCR , sia ancora con decoder LEGACY classici (vedi tabelle)
ATTENZIONE:
NON utilizzare Derivatori perché non permettono
il passaggio dei toni di comando dal decoder al Multiswitch. Se si
usano decoder classici tra presa e Multiswitch deve essere fatto
un collegamento diretto, in questo caso non possono essere
utilizzati i partitori. Quando si usano invece LNB di tipo WIDEBAND,
l’interruttore sul lato destro deve essere impostato sulla posizione
bassa “Wideband”, In questo caso si possono distribuire i segnali
provenienti da due diversi satelliti, collegando il primo satellite alle
porte VL e HL, e il secondo satellite alle porte VH e HH. E’ consigliato
togliere e ridare alimentazione ad ogni modifica di impostazione
legate al multiswitch e decoder.
EN:
Remember that the multiswitch and the LNB must be fed in
the installation phase. See Paragraph 2. INSTALLATION OF THE
PRODUCT. The H/H line does not feed the multiswitch and can be
used as a passing line for other parts of the installation. For the
correct operation of the AGC (automatic gain control), make sure
the signal has the correct level (i.e. 60-90 dBµV). According to the
models, the product can be used either with a decoder that
supports the SCR/(SCD2) dCSS/dSCR protocol or with a standard
LEGACY decoder (see tables).
ATTENTION:
DON’T use taps
because they don’t allow the passage of commands from the
decoder to the Multiswitch. If standard decoders are used, make
a direct connection between the outlet and the Multiswitch and
don’t use dividers. When a WIDEBAND LNB is used, set the switch
positioned on the right side to the “Wideband” low position. In this
case, the signals from two different satellites can be distributed
by connecting the first satellite to the VL and HL ports and the
second satellite to the VH and HH ports. Cut the power off and feed
the unit again after each change of settings of the multiswitch and
decoder.
Standard dCSS
Standard SCRStandard dCSS
Utenza Frequenza d’uscita
SCD2-5416W
SCD2-5816W
RX1 1210 MHz
RX2 1420 MHz
RX3 1680 MHz
RX4 2040 MHz
RX5 984 MHz
RX6 1050 MHz
RX7 1115 MHz
RX8 1275 MHz
Utenza Frequenza d’uscita
RX9 1340 MHz
RX10 1485 MHz
RX11 1550 MHz
RX12 1615 MHz
RX13 1745 MHz
RX14 1810 MHz
RX15 1875 MHz
RX16 1940 MHz
Tab. 1
ITA: Lista frequenze associate ad ogni utenza
(modelli SCD2-5416W e SCD2-5816W).
EN: Frequency list associated to each user
(SCD2-5416W and SCD2-5816W models)
.
Tab.3
ITA:
Livello Ingresso e uscita
EN:
Input and output level.
SCD2-5416W
SCD2-5816W
SWI8504 dSCR UK
SWI8508 dSCR UK
60-90 dBµV
60-90 dBµV
SCD2 (dCSS) /SCR: 84 dBµV
Legacy: 77 dBµV
SCD2 (dCSS) /SCR: 95 dBµV
Legacy: 92 dBµV
Utenza Frequenza d’uscita
RX19 1530 MHz
RX20 1580 MHz
RX21 1630 MHz
RX22 1730 MHz
RX23 1780 MHz
RX24 1830 MHz
RX25 1880 MHz
RX26 1930 MHz
Utenza Frequenza d’uscita
SWI8504 dSCR UK
SWI8508 dSCR UK
RX3 1680 MHz
RX9 1280 MHz
RX11 1380 MHz
RX14 1480 MHz
RX15 980 MHz
RX16 1030 MHz
RX17 1080 MHz
RX18 1130 MHz
Tab.2
ITA:
Lista frequenze associate ad ogni utenza
(modelli SWI8504 dSCR UK e SWI8508 dSCR UK ).
EN:
Frequency list associated to each user
(SWI8504 dSCR UK and SWI8508 dSCR UK models).
BSkyB
BSkyB
ITA:
Funzione wideband.
EN:
wideband function
ITA: CONFORMITÀ ALLE DIRETTIVE EUROPEE
EN: CONFORMITY TO EUROPEAN LAWS
ITA:
Fracarro dichiara che il prodotto è conforme alle direttive 2014/53/UE e 2011/65/UE. Il testo completo della dichiarazione di
conformità UE è disponibile al seguente indirizzo internet ce.fracarro.com
EN:
Fracarro declares that the product complies with EU Directive 2014/53/EU and 2011/65/EU. The full text of the EU Declaration of
Conformity is available on the following website ce.fracarro.com
ITA: SPECIFICHE TECNICHE
EN: TECHNICAL SPECIFICATIONS
SCD2-5416W SCD2-5816W SWI8504 dSCR
UK
SWI8508 dSCR
UK
ITA: Numero d'uscite:
EN: Output number:
4 8 4 8
ITA: Numero d'ingressi:
EN: Input number:
4 SAT + 1TV
ITA: Banda di
funzionamento SAT:
EN: SAT operating band: 290 - 2400 MHz
ITA: Livello d'ingresso
SAT: EN: SAT
input level: 60 - 90 dBµV 58 - 90 dBµV
ITA: Livello di uscita SAT:
EN: SAT output level:
SCD2 (dCSS) /SCR: 84 dBµV
Legacy: 77 dBµV
SCD2 (dCSS) /SCR: 95 dBµV
Legacy: 92 dBµV
ITA: Frequenza d'uscita
SCR:
EN: SCR output
frequency:
1210, 1420, 1680, 2040 MHz
(conforme ai comandi EN50494) /
ITA: Frequenza d'uscita
dCSS:
EN: dCSS output
frequency:
985, 1050, 1115, 1275 MHz
1340, 1485, 1550, 1615 MHz
1745, 1810, 1875, 1940 MHz
(conforme ai comandi EN50607)
980, 1030, 1080, 1130 Mhz
(compliant with EN50494 commands);
1280, 1380, 1480,1530 MHz
1580, 1630, 1680, 1730 MHz
1780, 1830, 1880, 1930 MHz
(compliant with SKY UK commands)
ITA: Perdita di inserzione
SAT:
EN: SAT insertion loss: 3 4 2.5 db 3.5 dB
ITA: Alimentazione :
EN: Power supply 12 - 18V
ITA: Consumo se
alimentato da STB (LNB a
parte) :
EN: Consumption when
fed by STB (LNB not
included):
358mA@13V
257mA@18V
385mA@13V
277mA@18V
500mA@13V
360mA@18V
500mA@13V
360mA@18V
ITA: Consumo se
alimentato da connettore
DC-IN:
EN: Consumption when
fed by DC-IN connector:
750mA@13V
540mA@18V
1500mA@13V
1080mA@18V
750mA@13V
540mA@18V
1400mA@13V
1010mA@18V
ITA: Consumo se
alimentato interamante
da colonna montante:
EN: Consumption when
fed by rising main:
750mA@13V
540mA@18V
1500mA@13V
1080mA@18V
750mA@13V
540mA@18V
1400mA@13V
1010mA@18V
ITA: Consumo da STB
quando alimentato
interamente da PSU :
EN: Consumption from
STB when fed by PSU
only:
35mA@13V
25mA18V
100mA@13V
70mA@18V
SCD2-5416W SCD2-5816W SWI8504 dSCR
UK
SWI8508 dSCR
UK
ITA: Consumo con TV
attivo da colonna
montante quando
alimentato da STB:
EN: TV consumption from
rising line when fed by
STB:
/ / 110mA 100mA
ITA: Isolamento tra
ingressi SAT:
EN: Insulation between
SAT inputs:
25dB
ITA: Protocollo STB:
EN: STB protocol:
LEGACY
DiSEqC-SCR (SCD) per comandare RX1-RX4
DiSEqC-SCD2 (dCSS) per comandare RX5-RX16
DiSEqC-SCR (SCD) to control RX1-RX4
DiSEqC-SCD2 (dCSS) to control RX5-RX16
ITA: Funzione Widebande:
EN: Wideband function:
Si
ITA: Banda di
funzionamento TV:
EN:TV operating band:
40 - 790 MHz
ITA: Perdita di passaggio
TV:
EN:TV passage loss: 3 6 2 2
ITA: Perdita in derivata
TV:
EN: Loss of TV user
output:
-19dB -21dB / /
ITA: Guadagno TV:
EN:TV gain:
/ / 3-5dB 3-5dB
ITA: Regolazione
guadagno TV:
EN: TV gain regulation: / / 20dB 20dB
ITA: Livello d'uscita TV:
EN:T V output level:
/ / 107dBµV 105dBµV
ITA: Dimensione:
EN:Dimensions:
109 x 179 x 31 mm 109 x 259 x 50 mm 109 x 179 x 31 mm 109 x 259 x 50 mm
ITA: Temperatura di
funzionamento:
EN: Operating
temperature:
-10 to +55°C
ITA:
I dati tecnici sono nominali e riferiti alla temperatura di 25°.
EN:
The technical data are nominal values and refer to an operating temperature of 25° C.
3IS744 Rev.0 23/07/2019
Garantito da/ Guaranteed by/ Garanti par/ Garantizado por
Fracarro Radioindustrie SRL Via Cazzaro n. 3, 31033 Castelfranco Veneto (Tv) – Italy
Fracarro Radioindustrie SRL
Via Cazzaro n.3 - 31033 Castelfranco Veneto (TV) - ITALIA - Tel: +39 0423 7361 - Fax: +39 0423 736220
Fracarro France S.A.S.
7/14 rue du Fossé Blanc Bâtiment C1 - 92622 Gennevilliers Cedex - FRANCE Tel: +33 1 47283400 - Fax: +33 1 47283421
Fracarro (UK) - Ltd
Suite F9A, Whiteleaf Business Centre, Little Balmer, Buckingham, MK18 1TF UK - Tel: +44(0)1908 571571 - Fax: +44(0)1908 571570
www.fracarro.com - [email protected] - [email protected] - chat whatsapp +39 335 7762667

This manual suits for next models

5

Other Fracarro Switch manuals

Fracarro XS4 Series User manual

Fracarro

Fracarro XS4 Series User manual

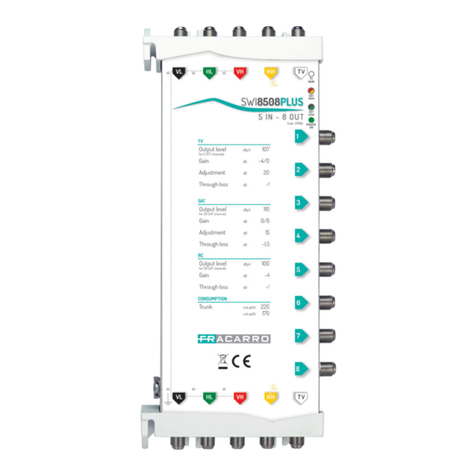
Fracarro SWI908TS User manual

Fracarro

Fracarro SWI908TS User manual

Fracarro SWP908TS User manual

Fracarro

Fracarro SWP908TS User manual

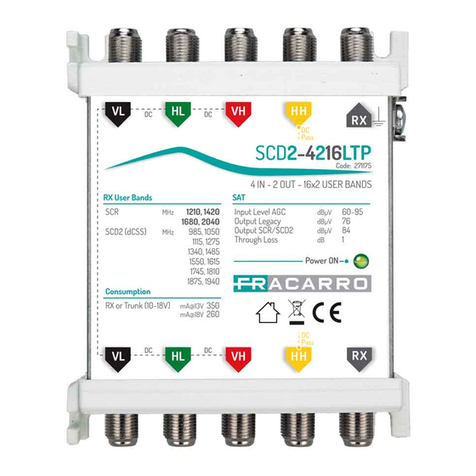
Fracarro SCD2-4216LTP User manual

Fracarro

Fracarro SCD2-4216LTP User manual

Fracarro AMP435SA User manual

Fracarro

Fracarro AMP435SA User manual

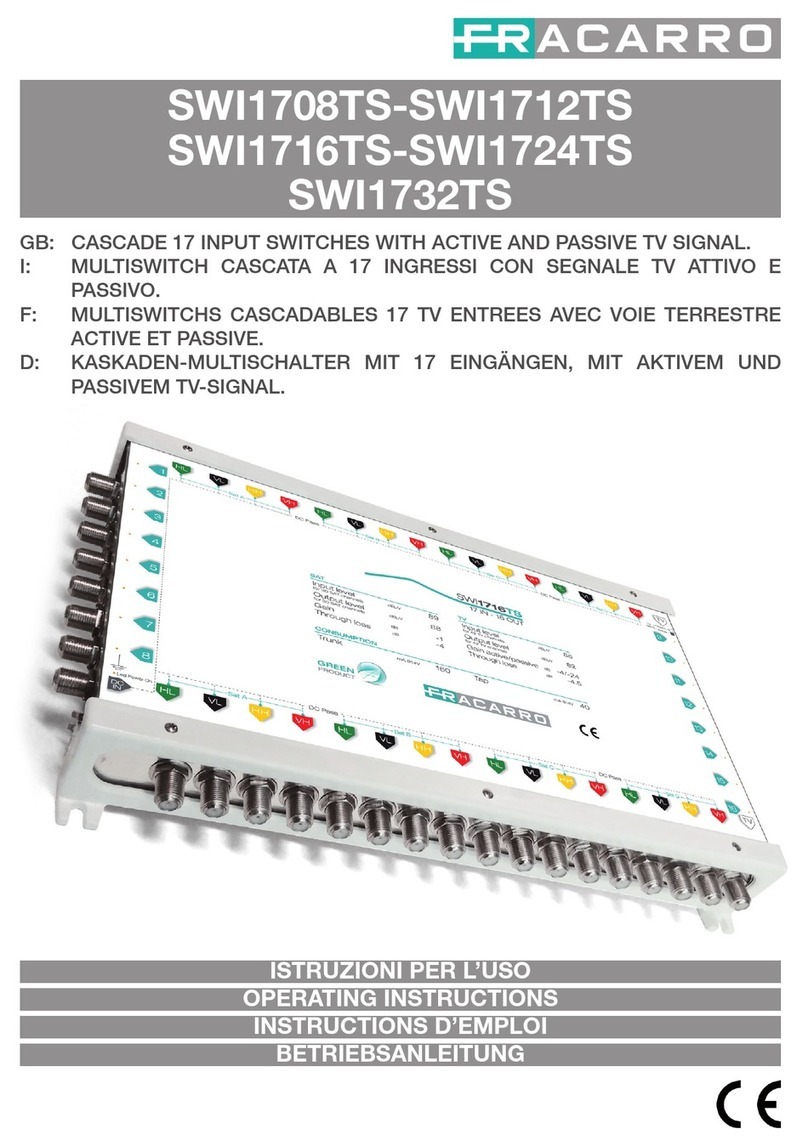
Fracarro SWI1732TS User manual

Fracarro

Fracarro SWI1732TS User manual

Fracarro XS5+ User manual

Fracarro

Fracarro XS5+ User manual

Fracarro GALAXIA User manual

Fracarro

Fracarro GALAXIA User manual

Fracarro SCD2-5216W User manual

Fracarro

Fracarro SCD2-5216W User manual

Fracarro Smart Switchline SWI85 STPLUS Series User manual

Fracarro

Fracarro Smart Switchline SWI85 STPLUS Series User manual

Fracarro SCD2-4216 User manual

Fracarro

Fracarro SCD2-4216 User manual

Fracarro SCD2-5216W User manual

Fracarro

Fracarro SCD2-5216W User manual

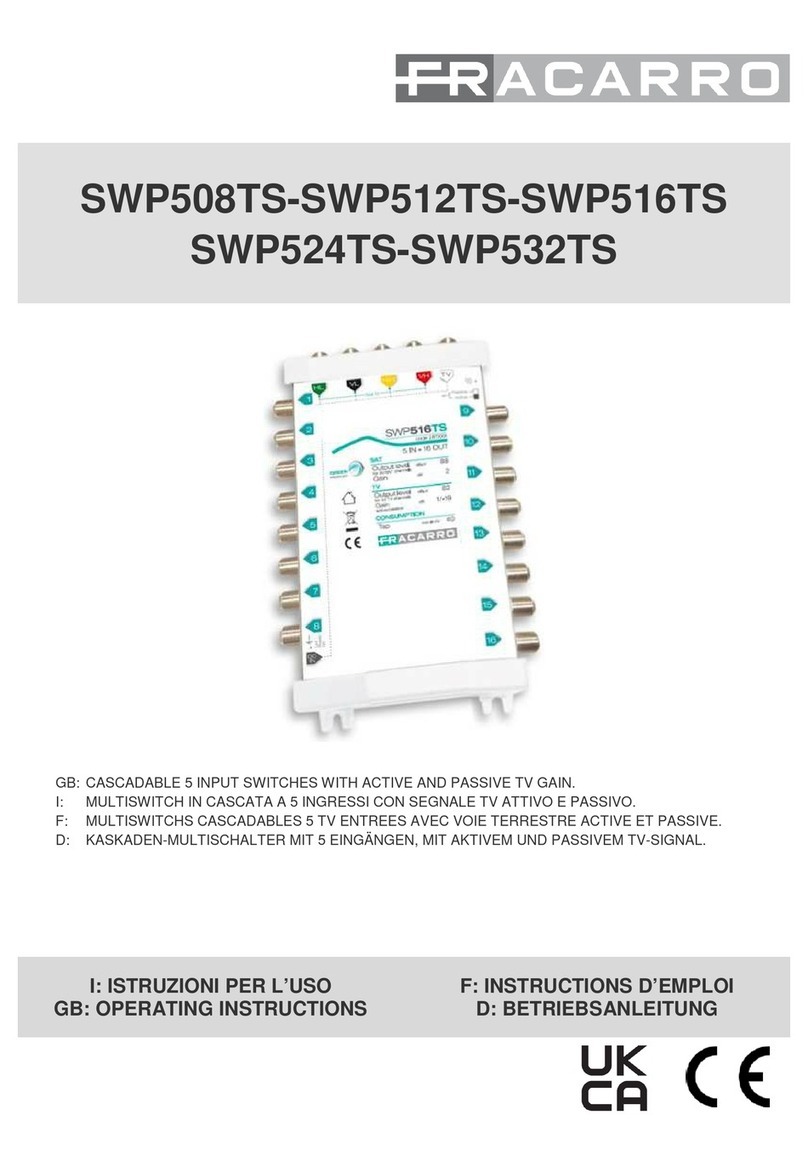
Fracarro SWP508TS User manual

Fracarro

Fracarro SWP508TS User manual

Fracarro SWP1708TS User manual

Fracarro

Fracarro SWP1708TS User manual

Fracarro SWI4532DT User manual

Fracarro

Fracarro SWI4532DT User manual

Fracarro SWP508QD User manual

Fracarro

Fracarro SWP508QD User manual

Fracarro SWI5906AS User manual

Fracarro

Fracarro SWI5906AS User manual

Fracarro SWI1308TS User manual

Fracarro

Fracarro SWI1308TS User manual

Fracarro SCD2-5416 User manual

Fracarro

Fracarro SCD2-5416 User manual

Fracarro SWP524TS User manual

Fracarro

Fracarro SWP524TS User manual

Fracarro MULTISWITCH SWI504SA User manual

Fracarro

Fracarro MULTISWITCH SWI504SA User manual

Fracarro SMART SWITCHLINE SWI85 PLUS Series User manual

Fracarro

Fracarro SMART SWITCHLINE SWI85 PLUS Series User manual

Popular Switch manuals by other brands

Siemens 3VA9978-0AA2 operating instructions

Siemens

Siemens 3VA9978-0AA2 operating instructions

Advantech EKI-6528TI user manual

Advantech

Advantech EKI-6528TI user manual

Lantech IES-2208CA-DNV user manual

Lantech

Lantech IES-2208CA-DNV user manual

ALFAtron ALF-MMX3232A-N manual

ALFAtron

ALFAtron ALF-MMX3232A-N manual

HITROL HTM-930 instruction manual

HITROL

HITROL HTM-930 instruction manual

Belkin OmniView Secure F1DN104U user manual

Belkin

Belkin OmniView Secure F1DN104U user manual

Quartz Q256-DA/AA System manual

Quartz

Quartz Q256-DA/AA System manual

IBM Global console manager Decision maker's guide

IBM

IBM Global console manager Decision maker's guide

Marshall Electronics VMV-402-SH user manual

Marshall Electronics

Marshall Electronics VMV-402-SH user manual

Juniper QFX5120 Series Hardware guide

Juniper

Juniper QFX5120 Series Hardware guide

Linksys SLM248G4S (G5) user guide

Linksys

Linksys SLM248G4S (G5) user guide

Huawei Quidway S6500 Series Operation manual

Huawei

Huawei Quidway S6500 Series Operation manual

Pilz PSEN 1.2p-22 operating instructions

Pilz

Pilz PSEN 1.2p-22 operating instructions

MiLAN MIL-SM808G user guide

MiLAN

MiLAN MIL-SM808G user guide

Yolink SpeakerHub YS1604-UC Setup & user guide

Yolink

Yolink SpeakerHub YS1604-UC Setup & user guide

Cisco Nexus 93240YC-FX2 Hardware installation guide

Cisco

Cisco Nexus 93240YC-FX2 Hardware installation guide

GESTRA NRS 1-52 Original Installation Instructions

GESTRA

GESTRA NRS 1-52 Original Installation Instructions

GSS PDSP 504 Assembly instructions

GSS

GSS PDSP 504 Assembly instructions

manuals.online logo
manuals.online logoBrands
  • About & Mission
  • Contact us
  • Privacy Policy
  • Terms and Conditions

Copyright 2025 Manuals.Online. All Rights Reserved.