manuals.online logo
Brands
  1. Home
  2. •
  3. Brands
  4. •
  5. FUFU & GAGA
  6. •
  7. Indoor Furnishing
  8. •
  9. FUFU & GAGA WSD22028 User manual

FUFU & GAGA WSD22028 User manual

Version:09/21/2022 1/20
Display Cabinet
2/20
please read the entire manual before starting to assemble
and/or using this product.follow the manual thoroughly and
keep it for further reference.
IMPORTANT INFORMATION!
It is important that any product which is assembled using any kind of screw is re-tightened
2 weeks after assembly,and once every 3 months - in order to assure stability through-out
the lifespan of the product.
For regular maintenance and cleaning of the product, for the frame, please use a rag dipped
in neutral detergent to fully wipe it, and then dry it with a clean rag.For glass materials, wipe
with a rag dampened with water glass cleaner, and then dry with a dry rag.
Do not use an electric screwdriver, and do not use too much force when installing, because
the board is easy to break.
IMPORTANT !
Overturned furniture can cause serious or fatal crush injuries. To prevent tipping over, be sure
to use the wall attachment, if not included with this product. Please purchase the wall
attachment that fit your wall. If unsure, seek professional advice. Please read and follow each
step of the instructions carefully.
ANTI-TOPPLE WARNING !
Try to find a partner to install
with you, which can speed up
the installation efficiency and
shorten the time.
IMPROVE EFFICIENCY !
In order to avoid scratching this
furnuture should be assembled
on a soft layer-could be a rug.
AVOID SCRATCHES!
3/20
Ax12(+1) Ax12(+1)
Ø6x35mm
Ø4x14mm
Ø15x10mm
Cx32(+3) Dx28(+2)
Ø6x30mm Ø4x40mm
Ex72(+3) Fx8 Gx6 Hx16
Ix24(+2) Jx2 Kx2 Lx4
Please prepare the following tools
When installing, please carefully confirm whether
each screw corresponds to the manual, accessories
with similar shapes can be distinguished by size
K-1 K-2 K-3J-1 J-2 J-3
Ø3x12mm
G-1 G-2
Mx36(+3) Nx20(+2) Ox6
4/20
13
18 19
18 17
1
2
3
4
5
6
7
8
20
21
9
10
11
12
13
14
14
15 16
17
20
21
22
22
22
8
8
15
5/20
1Ax3
2
Ø6x35mm
A
5
A
A
A
Bx3 Cx2
Ø15x10mm Ø6x30mm
IIIIII
B
B
B
B
C
C
5
6
C
Insert quickfit screw(A) into
corresponding holes in No.5 plate
with a screwdriver as shown.
Connect No.6 with No.5 plate using
wooden dowel(C) and turn cam lock(B)
clockwise to tighten as shown.
6/20
3
4
Cx2
Ø6x30mm
Dx2
Ø4x40mm
N
Cx2
Ø6x30mm
Dx3
Ø4x40mm
Nx3
D
D
C
C
Connect the component with No.4 plate using
wooden dowel(C), and fix with screw(D)
as shown.
4
5
D
N
D
D
D
C
C
N
N
4
5
6
2
D
Connect No.2 plate with the
component using wooden dowel(C),
and fix with screw(D)as shown.
Use sticker(N) to cover screws.
7/20
5
6Cx6
Ø6x30mm
Dx6
Ø4x40mm
Nx6
Cx2
Ø6x30mm
Dx3
Ø4x40mm
Nx3
C
C
N
N
N
5
6
3D
D
D
C
C
C
C
C
C
ND
ND
ND
ND
ND
ND
1
2
5
4
3
N
D
D
N
Connect No.3 plate with the
component using wooden dowel(C),
and fix with screw(D)as shown.
Cover No.1 to the top of the unit using wooden dowel(C) and
Use sticker(N) to cover screws.
fix with screw(D) as shown.
Use sticker(N) to cover
screws.
8/20
7
Cx4
Ø6x30mm
Dx4
Ø4x40mm
8
Insert quickfit screw(A) into
corresponding holes in No.7 plate
with a screwdriver as shown.
A
Ax6
Ø6x35mm
A
A
A
A
A
A
7
D
D
C
C
D
D
C
C
7
3
2
D
Attach No.7 to No.2 and No.3
plate using wooden dowel(C)
and fix with screw(D)
as shown.
9/20
9
10
A
A
A
12
Insert quickfit screw(A) into
corresponding holes in No.12 plate
with a screwdriver as shown.
A
Ax3
Ø6x35mm
B
B
B
C
C
12
13
Bx3 Cx2
Ø15x10mm Ø6x30mm
BC
Connect No.13 with No.12 plate using
wooden dowel(C) and turn cam lock(B)
clockwise to tighten as shown.
IIIIII
10/20
11
12
Cx2
Ø6x30mm
Dx4
Ø4x40mm
Nx4
Cx2
Ø6x30mm
Dx2
Ø4x40mm
D
D
C
C
12
13
10
D
D
D
D
C
C12
9
N
NN
N
D
13
D
N
Attach No.10 to No.12 plate using
wooden dowel(C), and fix with screw(D)
as shown.
Connect No.7 plate with the component using wooden
dowel(C), and fix with screw(D)as shown.
Use sticker(N) to cover screws.
11/20
14
13
Cx2
Ø6x30mm
Dx4
Ø4x40mm
Mx4
C
C
12
13
11
N
N
N
D
D
D
N
D
12
13
10
11
9
Ox6
O
O
O
O
O
OO
N
D
Connect No.11 plate with the
component using wooden dowel(C),
and fix with screw(D)as shown.
Use sticker(N) to cover screws.
Konck foot peg(O) into the bottom.
12/20
15
Bx6 Cx6
Ø15x10mm Ø6x30mm
C
C
C
C
C
C
B
C
B
B
B
B
B
B
IIIIII
10
11
9
7
Recommend more than 2 people
Connect the two assembled
components with wooden dowel(C)
and turn cam lock(B) clockwise to
tighten as shown.
to assemble!
13/20
16 Ø3x12mm
Ix24 Kx2 Mx36
K-1 K-2 K-3
I
I
I
I
M
I
MMM
M
MMM
M
14
15
15
16
14
17
18
18
19
17
I
MM
M
M
M
M
M
M
I
I
I
IMMM
M
MMM
M
MM
M
M
M
M
M
M
M
M
M
M
I
II
II
I
I
II
I
I
II
I
I
K-2
K-3
K-1
K-2
K-3
K-1
K-2
K-3
K-1
Fix No.14, No.16, No,17 and No.19 back plate with screw(I) and nail
(M) as shown.
Please note No.14, No.16 plate are connected with No.15; No.17, No.
19 plate are connected with No.18.
Fix part(K-1) to back plate with washer(K-2) and
screw (K-3) as shown.
14/20
17
Hx16
H
H
H
H
H
H
H
H
H
H
H
H
H
H
H
20
21
11
10
9
20
21
2
3
4
Insert part(H) into No.2, No.4, No.3, No.7
and No.8 plates.Put No.15 shelf in.
15/20
Fix hinge(F) to No.8(x2) plate with screw(E) as
shown. Fix handle(G-2) with screw(G-1).
Please don't use an electric drill or use force to
rotate, may cause crack.
18 Ø4x14mm
Ex8 Fx4 Gx2
G-1 G-2
Fix hinge(F) to No.22(x2) plate with screw(E)
as shown. Fix handle(G-2) with screw(G-1).
Please don't use an electric drill or use force to
rotate, may cause crack.
19 Ø4x14mm
Ex8 Fx4 Gx2
G-1 G-2
G-1
G-2
F
EE
F
E
E
8
G-1
G-2
G-1
G-2
F
F
E
E
EE
G-1
G-2
22
x2
x2
F L
F L
16/20
Fix hinge(L) to another No.8 plate with screw(E)
as shown. Fix handle(G-2) with screw(G-1).
Please don't use an electric drill or use force to
rotate, may cause crack.
20 Ø4x14mm
Ex4 Lx2Gx1
G-1 G-2
Fix hinge(L) to another No.22 plate with screw(E)
as shown. Fix handle(G-2) with screw(G-1).
Please don't use an electric drill or use force to
rotate, may cause crack.
21 Ø4x14mm
Ex4
G-1
G-2 8
G-1
G-2
G-1
G-2
G-1
G-2
22
L
EEL
EE
L
EE
L
EE
Lx2Gx1
G-1 G-2
L F
L F
3
11
2
922
22
17/20
22 Ø4x14mm
Ex32
Attach No.8 plate to No.2 and No.3;
No.22 plate to No.9 and No.11 by
fixing hinge(F) with screw(E) as shown.
Please don't use an electric drill or use
force to rotate, may cause crack.
Ex4
F
Ex4
F
F
Ex4
Ex4
F
F
F L
E
E
EE
8
8
18/20
23 Ø4x14mm
Ex16
Ex4
L
Ex4
L
Ex4
L
Ex4
L
11
3
2
9
Ex4
Attach No.8 plate to No.4;
No.22 plate to No.10 by
fixing hinge(L) with screw(E) as shown.
Please don't use an electric drill or use
force to rotate, may cause crack.
L
22
8
L F
19/20
24
If there is misalignment after you install,
adjust the screw to the best condition.
20/20
WALL
J-3
J-2
J-3
J-2
25
Jx2
J-1 J-3J-2
WALL
WALL
J-1
drilling hole
Ø6x30mm
WALL
x2
x2
x2
J-3
J-2

Other manuals for WSD22028

1

This manual suits for next models

1

Other FUFU & GAGA Indoor Furnishing manuals
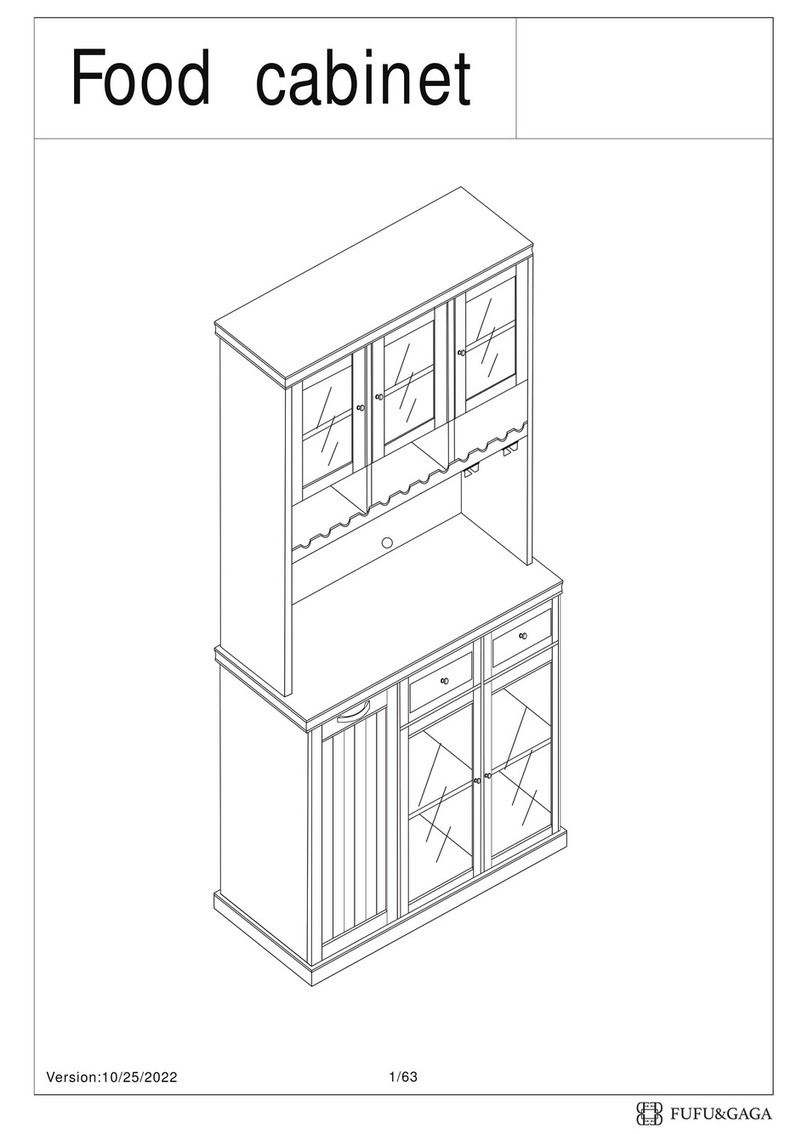
FUFU & GAGA WSD22028 User manual

FUFU & GAGA

FUFU & GAGA WSD22028 User manual

FUFU & GAGA KF200198-01 User manual

FUFU & GAGA

FUFU & GAGA KF200198-01 User manual

FUFU & GAGA Shoe cabinet User manual

FUFU & GAGA

FUFU & GAGA Shoe cabinet User manual

FUFU & GAGA Shoe Storage Cabinet User manual

FUFU & GAGA

FUFU & GAGA Shoe Storage Cabinet User manual

FUFU & GAGA Cabinet User manual

FUFU & GAGA

FUFU & GAGA Cabinet User manual

FUFU & GAGA KF200163-02SY User manual

FUFU & GAGA

FUFU & GAGA KF200163-02SY User manual
FUFU & GAGA Lockers User manual

FUFU & GAGA

FUFU & GAGA Lockers User manual

FUFU & GAGA KF200148 User manual

FUFU & GAGA

FUFU & GAGA KF200148 User manual

FUFU & GAGA KF170295 User manual

FUFU & GAGA

FUFU & GAGA KF170295 User manual

FUFU & GAGA KF250004-01 User manual

FUFU & GAGA

FUFU & GAGA KF250004-01 User manual

FUFU & GAGA Food Cabinet User manual

FUFU & GAGA

FUFU & GAGA Food Cabinet User manual
FUFU & GAGA KF330036 User manual

FUFU & GAGA

FUFU & GAGA KF330036 User manual

FUFU & GAGA KF200053 User manual

FUFU & GAGA

FUFU & GAGA KF200053 User manual
FUFU & GAGA KF200053-01 User manual

FUFU & GAGA

FUFU & GAGA KF200053-01 User manual

FUFU & GAGA ZSJJ22019 User manual

FUFU & GAGA

FUFU & GAGA ZSJJ22019 User manual

FUFU & GAGA KF020309-01 User manual

FUFU & GAGA

FUFU & GAGA KF020309-01 User manual

FUFU & GAGA KF020246-01 User manual

FUFU & GAGA

FUFU & GAGA KF020246-01 User manual

FUFU & GAGA L-Shaped Desk User manual

FUFU & GAGA

FUFU & GAGA L-Shaped Desk User manual

FUFU & GAGA WFKF210095 User manual

FUFU & GAGA

FUFU & GAGA WFKF210095 User manual

FUFU & GAGA KF330038 User manual

FUFU & GAGA

FUFU & GAGA KF330038 User manual

FUFU & GAGA Dresser User manual

FUFU & GAGA

FUFU & GAGA Dresser User manual

FUFU & GAGA KF210173-01 User manual

FUFU & GAGA

FUFU & GAGA KF210173-01 User manual

FUFU & GAGA Chest User manual

FUFU & GAGA

FUFU & GAGA Chest User manual

FUFU & GAGA Dresser User manual

FUFU & GAGA

FUFU & GAGA Dresser User manual

Popular Indoor Furnishing manuals by other brands

SCIAE NEVA CAC Assembling instructions

SCIAE

SCIAE NEVA CAC Assembling instructions

Argos SASHA 609/5600 Assembly instructions

Argos

Argos SASHA 609/5600 Assembly instructions

Naterial DORA Fix 2022R09P01-0304 manual

Naterial

Naterial DORA Fix 2022R09P01-0304 manual

kincrome 51065 Operation manual

kincrome

kincrome 51065 Operation manual

ROOMS TO GO 78-159 Assembly instructions

ROOMS TO GO

ROOMS TO GO 78-159 Assembly instructions

Raynor Gaming Energy Pro Series Assembly and operating instructions

Raynor Gaming

Raynor Gaming Energy Pro Series Assembly and operating instructions

CONFORAMA DD6228-4 Assembly instructions

CONFORAMA

CONFORAMA DD6228-4 Assembly instructions

Atualle ANAPOLIS BC-4330 Assembly instructions

Atualle

Atualle ANAPOLIS BC-4330 Assembly instructions

BOPITA COMBIFLEX Assembly instruction

BOPITA

BOPITA COMBIFLEX Assembly instruction

IKEA PATRULL KLÄMMA instructions

IKEA

IKEA PATRULL KLÄMMA instructions

Moveis Estrela 20A instruction manual

Moveis Estrela

Moveis Estrela 20A instruction manual

Gima 28516 Use and maintenance book

Gima

Gima 28516 Use and maintenance book

Forte KLZH031 Assembling Instruction

Forte

Forte KLZH031 Assembling Instruction

Vermeiren Normandie E instruction manual

Vermeiren

Vermeiren Normandie E instruction manual

BLACK RED WHITE GRACE B186-LAW2D Assembly

BLACK RED WHITE

BLACK RED WHITE GRACE B186-LAW2D Assembly

Winners Only BFC2001CK Assembly instructions

Winners Only

Winners Only BFC2001CK Assembly instructions

Sareer Rome Side 3' Bed manual

Sareer

Sareer Rome Side 3' Bed manual

modway EEI-6399 Assembly instructions

modway

modway EEI-6399 Assembly instructions

manuals.online logo
manuals.online logoBrands
  • About & Mission
  • Contact us
  • Privacy Policy
  • Terms and Conditions

Copyright 2025 Manuals.Online. All Rights Reserved.