4
Installing the INSTAX MINI LINK App
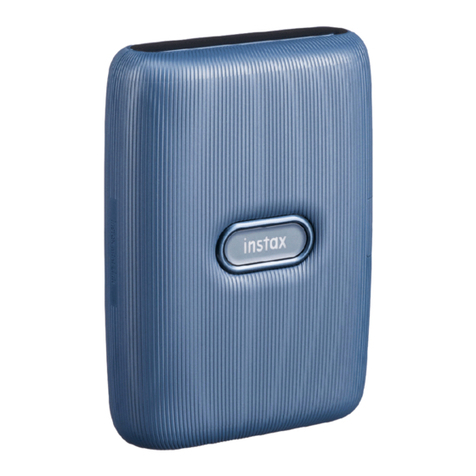
Please install the INSTAX MINI LINK Smartphone App on your
Smartphone before using the printer.
• If you are using an Android OS Smartphone, please search for
the INSTAX MINI LINK Smartphone App in the Google Play Store
and install it.
*Requirements for Android OS Smartphones: Android Ver. 7.0
or higher with Google Play Store installed
• If you are using an iOS Smartphone, please search for the
INSTAX MINI LINK Smartphone App in the App Store and install
it.
*Requirements for iOS Smartphones: iOS Ver. 12.0 or higher
• Depending on your Smartphone model, you may not be able to
use the INSTAX MINI LINK Smartphone App even if you have
installed it and your Smartphone meets the above
requirements.
Access the INSTAX MINI LINK App download site for the latest
information on system requirements�
Android OSiOS
Scan to download the INSTAX MINI LINK Smartphone
App
The text QR Code itself is a registered trademark and wordmark of
Denso Wave Incorporated.
Charging the Battery
Be sure to properly attach the Micro USB cable as indicated.
Plug USB AC adapter
into an indoor power
outlet
Note that a USB AC adapter is not included,
but is typically provided with your
Smartphone or otherwise purchased
separately.
Connect the printer with a USB AC adapter supplied with your
Smartphone (not included with INSTAX MINI LINK 2 printer) using
the supplied USB cable, then connect the USB AC adapter to an
indoor power outlet.
• You can print an image while charging is in progress.
• Charging time is approximately 80 to 120 minutes.
Charging status indication with the LED
Check the charging status with your Smartphone when connected
with the free INSTAX MINI LINK App.
For instructions on how to download the App, please see the
“Installing the INSTAX MINI LINK App”section on this page.
Indication Charging status
LED lights up in white Not charging
LED flashes in white Charging
* When the printer is turned off, the LED goes off after the
charging is completed. When the printer is turned on and not
connected with the App, the LED lights up in white after the
charging is completed.
Charging from a PC:
• Connect the printer and PC directly. Do not connect via a USB
hub or keyboard.
• If the PC goes into sleep mode while charging, charging is
discontinued. To continue charging, exit sleep mode and then
reconnect the Micro USB cable.
• The battery may not be able to charge depending on the
specifications and settings or conditions of the PC.
Notes
• The battery has not been fully charged at the factory. Be sure
to charge the battery before using the printer.
• The battery cannot be removed.
• For notes about the battery, see “Printer Care”. (p.14)
