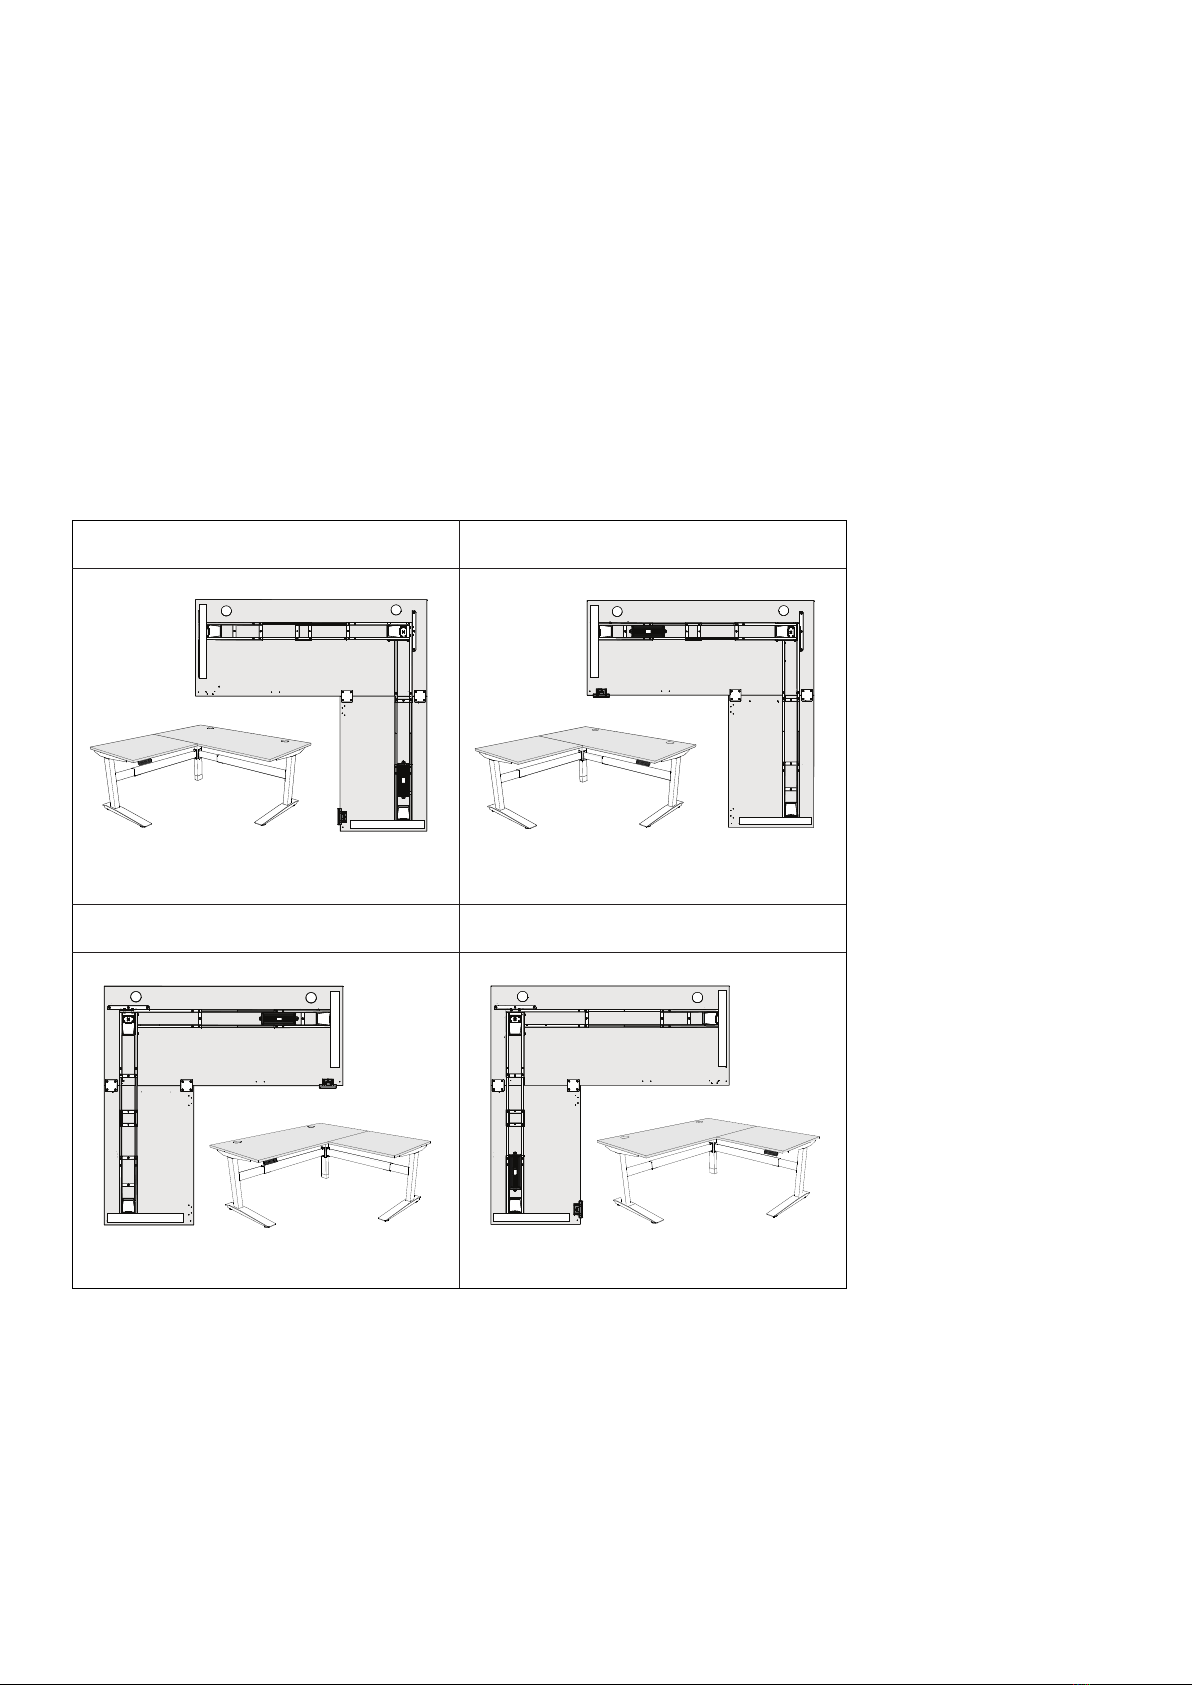
fully Jarvis L-shaped standing desk User manual
Other fully Indoor Furnishing manuals


fully
fully Remi User manual

fully
fully Remi User manual

fully
fully Balans User manual

fully
fully Jarvis User manual

fully
fully Jarvis User manual

fully
fully Colbe User manual

fully
fully Jarvis User manual

fully
fully Jarvis L-shaped standing desk User manual

fully
fully Sidekick User manual

fully
fully Cooper User manual


Popular Indoor Furnishing manuals by other brands


Coaster
Coaster 4799N Assembly instructions

Stor-It-All
Stor-It-All WS39MP Assembly/installation instructions

Lexicon
Lexicon 194840161868 Assembly instruction

Next
Next AMELIA NEW 462947 Assembly instructions

impekk
impekk Manual II Assembly And Instructions

Elements
Elements Ember Nightstand CEB700NSE Assembly instructions