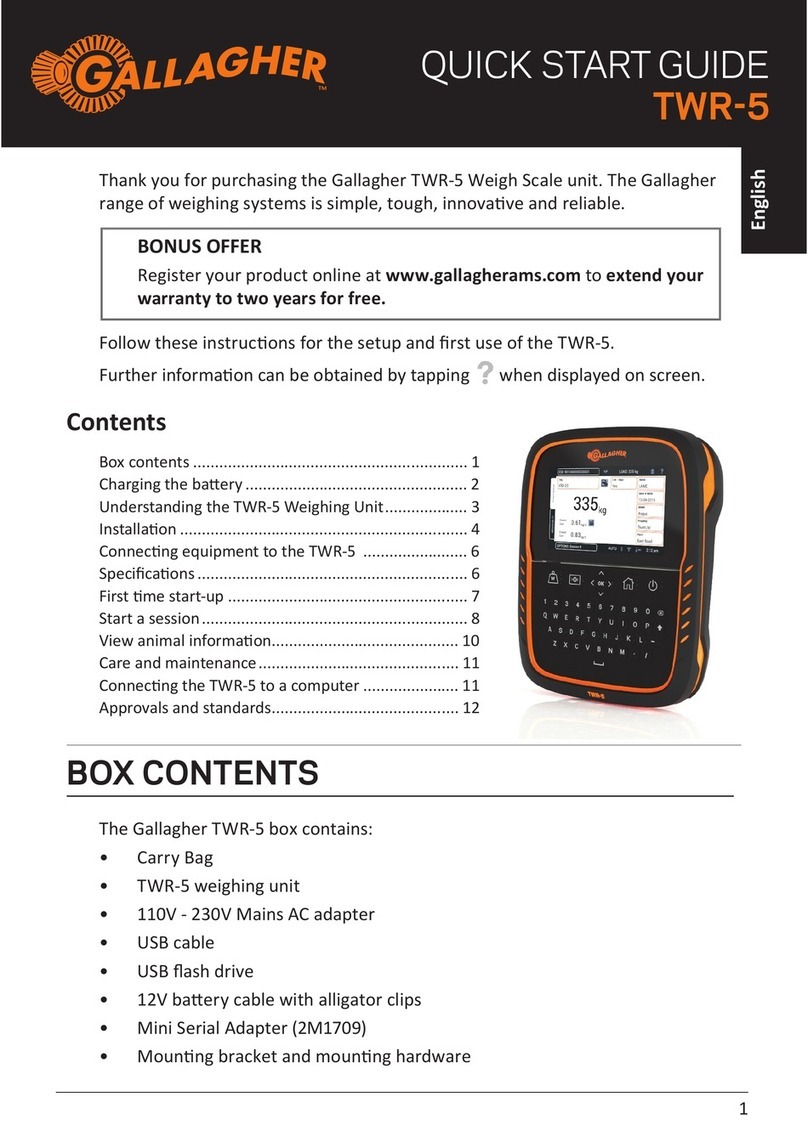
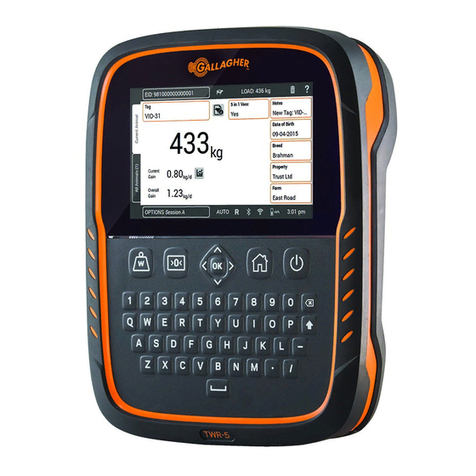
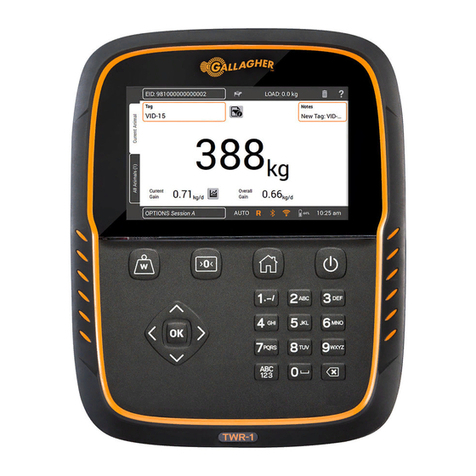
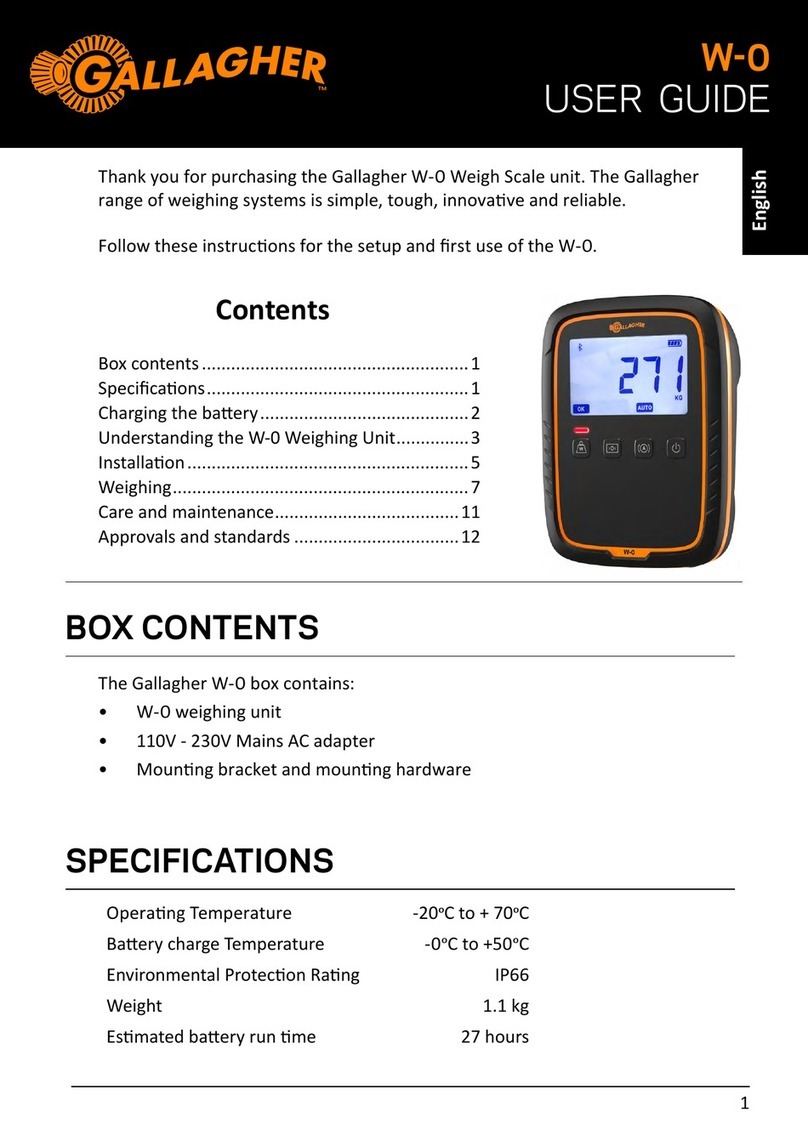
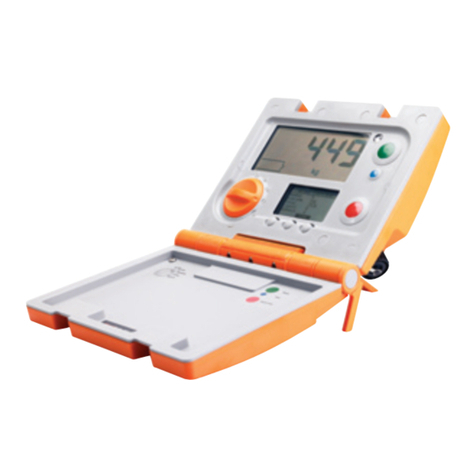
Gallagher SmartScale 700 User manual

SmartScale 700 User Manual
Page i
SmartScale 700

Page ii
User Manual SmartScale 700
PUBLISHED BY
Gallagher Group Limited
Kahikatea Drive, Private Bag 3026
Hamilton, New Zealand
Copyright© Gallagher Group Limited 2007.
All rights reserved. Patents Pending.
SmartScale 700
User Manual
3E1134 - Edition 6 – March 2014
DISCLAIMER Whilst every effort has been made
to ensure accuracy, neither Gallagher Group
Limited nor any employee of the company, shall be
liable on any ground whatsoever to any party in
respect of decisions or actions they may make as a
result of using this information.
In accordance with the Gallagher policy of
continuing development, design and specifications
are subject to change without notice.
Developed and manufactured by Gallagher Group
Limited, an ISO 9001:2000 Certified Supplier.

SmartScale 700 User Manual
Page iii
Table of contents
Introduction................................................................................................................1
Care and maintenance ..............................................................................................2
First-time use ......................................................................................................2
Installation..................................................................................................................3
Installing the Scale bracket .................................................................................3
Installing the loadbars .........................................................................................4
Installing the Scale ..............................................................................................4
Power and batteries ..................................................................................................5
The Scale's controls..................................................................................................8
Setup ........................................................................................................................10
Selecting a setup option....................................................................................11
Draft menu ........................................................................................................12
Session menu ...................................................................................................16
Set the time and date ........................................................................................20
User options......................................................................................................21
Communications ...............................................................................................23
Select a country ................................................................................................26
Using Electronic IDs................................................................................................27
Cross-referencing Visual Tag Numbers ............................................................27
Sessions...................................................................................................................30
Sessions overview ............................................................................................30
Session naming formats....................................................................................32
Storage capacity ...............................................................................................33
Session statistics...............................................................................................33
Selecting a view ................................................................................................34
Statistics screen ................................................................................................34
Weight gain screen ...........................................................................................37
Weight records screen ......................................................................................38
Carcass weight screen......................................................................................40
Preparing to weigh ..................................................................................................41
Weighing modes ...............................................................................................41
Scale layout ......................................................................................................43
Connecting the Scale to the loadbars ...............................................................44
Setting the tag prefix .........................................................................................44
Weighing in a standard session.............................................................................45
Creating a new standard weighing session.......................................................45
Procedure for weighing animals in a standard session .....................................46
Procedure for weighing static loads standard ...................................................50
At the end of the weighing session....................................................................51
Drafting by weight .............................................................................................51

Page iv
User Manual SmartScale 700
Weighing in a trait session .....................................................................................52
Creating a new trait weighing session...............................................................52
Procedure for weighing animals in a trait session .............................................53
Procedure for weighing static trait loads ...........................................................57
At the end of the weighing session....................................................................57
Weighing while drafting by list...............................................................................58
What is a Draft List?..........................................................................................58
Setting up the Draft List.....................................................................................59
Connecting the equipment ................................................................................60
Selecting the Draft List and setting gates..........................................................61
Procedure for weighing and drafting animals ....................................................62
Drafting by list without weighing ........................................................................66
At the end of the weighing session....................................................................67
Editing weight records............................................................................................68
About editing weight records.............................................................................68
Editing a weight record from a standard or draft list session.............................69
Deleting a weight record in the current session.................................................70
Recording animal information without weighing..................................................71
Automatic storing of Electronic IDs ...................................................................71
Recording standard animal information.............................................................72
Recording animal traits .....................................................................................73
Checking for duplicate Visual Tag Numbers.........................................................71
Editing a duplicate Visual Tag Number .............................................................75
Accepting duplicate Visual Tag Numbers..........................................................75
Updating the Cross-Reference Table with Tag Checking .................................76
Additional features ..................................................................................................77
Memory full warning ..........................................................................................77
Weight-on-scale memory ..................................................................................77
Zero tracking .....................................................................................................78
Printing..............................................................................................................79
Interfacing software: MyScale Pro .........................................................................81
Loadbar and platform options................................................................................82
Gallagher Standard Loadbars ...........................................................................82
Gallagher Heavy Duty Loadbars .......................................................................83
Gallagher Super Heavy Duty Loadbars.............................................................83
Gallagher Suspension Load Cell 250 kg ...........................................................84
Gallagher Suspension Load Cell 500 kg ...........................................................84
Specifications ..........................................................................................................85
SmartScale 700 Dimensions .............................................................................85
General .............................................................................................................85
Weight increments ............................................................................................86
SmartScale 700 User Manual
Page 1
Introduction
Thank you for purchasing the SmartScale 700.
Gallagher has been making agricultural weighing equipment for over
60 years. In that time we have earned a reputation for the manufacture
of quality equipment that is simple, tough, innovative and reliable.
The SmartScale range of Scales is specifically designed to accurately
weigh live animals. However the Gallagher range is also well suited
to weighing static loads and can be used for this purpose in industrial
applications.
As well as weighing, SmartScale 700 includes the following features;
You can type animal management information in plain text
using the QWERTY keyboard.
You can identify animals using Electronic IDs and/or Visual
Tag Numbers.
You can record a condition score or note for each animal, or
up to eight animal traits.
You can use graphs as an aid to analysing changes in animal
weight over time.
You can draft up to nine ways either by weight or from a list.
You can view session statistics, analysed by draft group.

User Manual SmartScale 700
Page 2
Care and maintenance
The SmartScale 700 is a tough and reliable product designed for use in
typical livestock environments. However proper care and maintenance
can extend its life.
Listed below are guidelines for keeping the SmartScale Scale in good
condition.
Don't submerge the Scale in any liquid.
Store the Scale in a cool, dry place. Avoid storing it in direct
sunlight.
After use, clean the Scale with a damp cloth. Take care not to
scratch the display.
Fit the connector caps to keep the connections clean and dry.
First-time use
When you open the Scale the first time, you will find that the display
screen is covered with a transparent overlay. The overlay is printed
with the number 630 and other characters.
Remove this overlay before starting to use the Scale. The overlay is
easily removed after first grasping the tab.

SmartScale 700 User Manual
Page 3
Installation
Installing the Scale bracket
The bracket can be mounted on a flat vertical surface, or on a round
post.
To mount the bracket
on a flat vertical
surface, for example a
square post or board,
use the outer holes.
To mount the bracket
on a round post, use
the inner holes.
Don't mount the Scale bracket on the weighing crate or chute.

User Manual SmartScale 700
Page 4
Installing the loadbars
To install the loadbars, follow these steps:
Note: Fit the loadbars as per the manufacturer's instructions.
1. Bolt the platform to the loadbars.
2. Ensure the platform is placed on a flat and level surface. Make
sure it is not touching any rails or gates.
3. Either bolt the loadbars to the concrete pad or locate them on studs
set into the concrete. This will prevent the platform from moving
during the weighing session.
4. Connect the loadbar cables to the Scale.
Note: If you are using non Gallagher loadbars ensure the loadbars are
correctly calibrated.
Installing the Scale
The Scale can be placed on a table top or mounted on the Scale
bracket supplied.
Position the Scale:
clear of the platform to ensure it does not interfere with the
flow of animals during the weighing cycle
within easy reach of the loadbar leads
within easy reach of the operator (for manual weighing)
in a well-lit area

SmartScale 700 User Manual
Page 5
Power and batteries
During a weighing session, the Scale can be powered by its internal
battery alone or by its internal battery and either the battery charger or
an external 12 volt battery.
The battery charger connects between an AC outlet and the Scale.
If either the battery charger or an external 12 volt battery is connected
to the Scale, the Scale's internal battery will be charged while the
Scale is in use.
For optimum performance, switch off the Scale and charge its internal
battery for at least five hours. When fully charged, the internal battery
on its own will power the Scale continuously for a minimum of eight
hours.
Battery life may be reduced if the Scale is being used to power an
Electronic ID reader.
Charging the battery
The battery in the Scale can be recharged using either a battery
charger or an external 12 volt battery.
Recharging the battery will take up to five hours depending on the
level of charge already in the battery. The Scale can be in use or can
be switched off while the battery is being charged.

User Manual SmartScale 700
Page 6
Using the battery charger
To charge the battery using the battery charger, follow these steps.
1. Connect the lead between the battery charger and the Scale.
2. Plug the battery charger into an AC outlet and switch on.
3. Open the Scale case and make sure the battery charge icon
on the main screen is flashing. This indicates that the battery is
charging and will be displayed whether the Scale is turned on or
off.
Using an external 12 volt battery
To charge the Scale's internal battery using an external 12 volt battery,
follow these steps.
1. Connect the supplied black and red battery leads to the Scale.
2. Connect the other end of the battery leads to the 12 volt battery.
Connect the Red clip to the Positive terminal
Connect the Black clip to the Negative terminal
3. Open the Scale case and make sure the battery charge icon
on the main screen is flashing. This indicates that the battery is
charging and will be displayed whether the Scale is turned on or
off.

SmartScale 700 User Manual
Page 7
Battery charge status
The battery icon displays in the bottom left corner of the Scale's upper
screen.
It is important to note that the battery icon will only ever show the
actual amount of charge left in the battery when the Scale is turned on
and disconnected from external power.
Fully
Charged
Battery Icon bars are all
displayed constantly.
Partially
Charged
Battery Icon shows first
four bars constantly.
Battery Flat No Battery Icon bars are
displayed.
When the Scale is connected to the external power supply the battery
icon will display the charging status.
Charging Battery Icon shows all the
bars constantly filling and
then disappearing.
Topping Up Battery Icon shows the first
four bars constantly full and
the remainder filling and
then disappearing.
Trickle
Charge
Battery Icon shows only one
empty bar that is constantly
travelling the length of the
full Icon.
Low battery warning
When the charge remaining in the battery drops to a very low level,
the Scale will beep and the battery charge icon will start to flash. At
this stage, about 15 minutes remain before the Scale shuts down.
Low voltage shutdown
When the battery charge drops to a critical level, the Scale will shut
down. At this stage it is necessary to recharge the battery.

User Manual SmartScale 700
Page 8
The Scale's controls
Soft Keys
Five soft keys are arranged along the bottom of the lower screen. The
function of these soft keys changes depending on what the lower
screen displays. For any given screen, not all soft keys have a
function. Those that do are labelled in the screen.
Buttons like , and allow
movement vertically up and down the screen.
Buttons like and allow movement
horizontally across the screen.
The function of other buttons is described elsewhere in this user
manual.

SmartScale 700 User Manual
Page 9
The mode select switch
The Scale can operate in three weighing modes and a setup mode.
The mode select switch is located on the left hand side of the Scale.
The mode select switch has five positions: , A, M, Fand S.
Immediately after you turn the switch to any position except ,
explanatory information will display on the lower of the two Scale
screens. The explanatory information will display only for a few
seconds; after it disappears, the screen displays information relevant to
the selected option.
This position turns the Scale off.
AThis position selects weighing in Automatic mode.
You can also store Electronic IDs and update the Scale's cross-
reference table when there are no loadbars connected.
MThis position selects weighing in Manual mode.
You can also record animal information, without weighing,
when there are no loadbars connected.
FThis position selects weighing in Fine mode. It is designed for
static-load weighing. Static-load weighing can occur in
standard or trait sessions.
SThis position accesses the setup options.

User Manual SmartScale 700
Page 10
Setup
To access the Setup menu, turn the mode select switch to S.
The setup menu displays on the lower of the two screens on the Scale.
In setup mode, the main screen normally displays the time in 24 hour
format. Every minute the main screen momentarily displays the date,
then automatically reverts to displaying the time again.
The setup menu contains six options:
1. DRAFT MENU - select the drafting mode and specify the drafting
limit(s).
2. SESSION MENU - select a session and view, print or delete the
session.
3. SET TIME AND DATE - set the current time and date.
4. USER OPTIONS - select weight units, turn Visual Tag Number
checking on or off, turn live printing on or off.
5. COMMUNICATIONS - set up a connection to a computer,
printer, Electronic ID reader or other external device and enable
drafting via the auto Drafter.
6. SELECT COUNTRY - for a specific country, selects a language
and country-specific terminology and weight unit.

SmartScale 700 User Manual
Page 11
Selecting a setup option
When you turn the mode select switch to S, one of the setup menu
options displays.
To select an option from the Setup menu:
1. Press the or soft key to display the required
menu option.
2. Press .
Alternatively, using the keypad, you can press the number of the menu
item that you want to select.
For example:
to select the Session Menu, press 2,
to select Communications, press 5.
For more information about each of the setup menu items, see the
following sections.

User Manual SmartScale 700
Page 12
Draft menu
The Draft menu lets you set:
the drafting mode,
the drafting limits, and
the drafting gate number (if you have set up auto drafting).
Drafting can be completed:
Manually
For manual drafting the Scale displays the appropriate drafting
gate to open.
Automatically
Using an autodrafter.
About drafters
A drafter uses the weight of the animal or a Draft list (requiring EID
tags on animals) on the Scale to determine which draft gate to open
for the animal. For manual drafting the Scale displays the appropriate
draft gate. For autodrafting the Scale sends the drafting gate number
to the drafter controller which opens the correct gate or gates.
Depending on the drafter used the Scale can control up to nine
drafting gates.

SmartScale 700 User Manual
Page 13
Manual drafting
To set up the Scale for manual drafting, complete the following:
1. Ensure that no port is set for drafting. For further details see
Communications (p 23).
2. Set the required draft mode.
a. Turn the mode selection switch to S.
b. Select DRAFT MENU.
The current mode displays at the top of the screen.
c. Press the soft key until the required drafting mode
is displayed.
The drafting mode cycles between Drafting Off and Drafting
from 2-way up to 9-way.
3. Set the required draft limits.
a. Press the soft key to select the draft limit you wish
to change.
b. To change a gate number:
Note: If no Drafter is enabled in the Communications menu,
then gate numbers are not displayed.
Press to delete the existing gate number.
Use the keypad to enter the new gate number (0 to 9).
c. To change a draft limit:
Press to delete the existing draft limit.
Use the keypad to enter the new draft limit.
Note:
Set up the draft limits so that the smallest is at the top and the
largest is at the bottom. If you enter the draft limits out of
order, the Scale reorders them once you press .
d. Repeat steps for all required changes.
4. Press to save the changes and return to the SET UP
menu.

User Manual SmartScale 700
Page 14
Notes:
On the 2 WAY DRAFTING screen, gate numbers are shown
against the H Gates and L Gates labels.
H Gates sets the gate number for animals that weigh
anything higher than the Draft Limit.
L Gates sets the gate number for animals that weigh the
Draft Limit or anything lower than the Draft Limit.
On the 3 WAY DRAFTING screen, gate numbers are shown
against the H Gates, C Gates and L Gates labels.
H Gates sets the gate number for animals that weigh the
Upper Limit or anything higher than the Upper Limit.
C Gates sets the gate number for animals that weigh the
Lower Limit or anything higher than the Lower Limit and
lower than the Upper Limit.
L Gates sets the gate number for animals that weigh anything
lower than the Lower Limit.
On the 4 WAY or more DRAFTING screen, gate numbers are
shown as numbers, with gate 1 as the lowest limit.

SmartScale 700 User Manual
Page 15
Automatic drafting
To set up the Scale for auto drafting, complete the following:
1. Configure the connection between the Scale and the Drafter. For
further details see Communications (p 23).
2. Select the required draft mode.
a. Turn the mode selection switch to S.
b. Select DRAFT MENU.
The current mode displays at the top of the screen.
c. Press the soft key until the required drafting mode
is displayed.
The drafting mode cycles between Drafting Off and Drafting
from 2-way up to 9-way.
3. Set the required draft limits and gates.
a. Press the soft key to select the draft limit you wish
to change.
b. To change a gate number:
Press to delete the existing gate number.
Use the keypad to enter the new gate number (0 to 9).
c. To change a draft limit:
Press to delete the existing draft limit.
Use the keypad to enter the new draft limit.
Note:
Set up the draft limits so that the smallest is at the top and the
largest is at the bottom. If you enter the draft limits out of
order, the Scale reorders them once you press .
d. Repeat steps for all required changes.
4. Press to save the changes and return to the SET UP
menu.

User Manual SmartScale 700
Page 16
Session menu
The SESSION MENU lets you select and then view, print, rename or
delete sessions.
To display the Session Menu screen:
1. Turn the mode selection switch to S.
2. Select SESSION MENU.
The following screen displays:
The currently selected session displays in the title bar of the screen.
You can use the and buttons to move between
the options.
Note: Depending on the type of session (Standard, Trait or Draft list)
currently selected the soft keys displayed will change.
Table of contents
Other Gallagher Scale manuals

Gallagher
Gallagher W-1 User manual

Gallagher
Gallagher TWR-5 User manual

Gallagher
Gallagher W-1 User manual

Gallagher
Gallagher TWR-1 User manual

Gallagher
Gallagher W810 User manual

Gallagher
Gallagher TW-1 User manual

Gallagher
Gallagher W-0 User manual

Gallagher
Gallagher TWR-5 User manual

Gallagher
Gallagher W310 v2 User manual

Gallagher
Gallagher DS5000 User manual

Gallagher
Gallagher DAIRY SCALE XDS5000 User guide

Gallagher
Gallagher W210 User manual

Gallagher
Gallagher W-0 User manual

Gallagher
Gallagher SmartScale 600 User manual

Gallagher
Gallagher W110 User manual

Gallagher
Gallagher SmartScale 300 User manual

Gallagher
Gallagher SmartScale 800 User manual

Gallagher
Gallagher 026015 User manual