GE MIFII GEK-106237P User manual

GE Multilin
215 Anderson Avenue
L6E 1B3 Markham, ON -CANADA
Tel: (905) 294 6222 Fax: (905) 294 8512
E-mail: [email protected]
Internet: www.GEDigitalEnergy.com
Copyright © 2009 GE Multilin
MIFII
Digital Feeder Protection with
Recloser
Instruction manual
GEK-106237P
GE Multilin
Avda. Pinoa, 10
48170 Zamudio SPAIN
Tel: +34 94 485 88 00 Fax: +34 94 485 88 45
E-mail: [email protected]
gGE
Digital Energy

GEK-106237P MIFII Digital Feeder Relay 1
TABLE OF CONTENTS
1. GETTING STARTED 1.1 INSPECTION CHECKLIST
1.2 ENERVISTA MII SETUP SOFTWARE
1.2.1 SYSTEM REQUIREMENTS .............................................................................. 1-4
1.2.2 SAFETY INSTRUCTIONS ................................................................................. 1-4
1.2.3 INSTALLATION.................................................................................................. 1-5
1.3 MII RELAY FAMILY HARDWARE
1.3.1 MOUNTING & WIRING.................................................................................... 1-11
1.3.2 COMMUNICATIONS........................................................................................ 1-11
1.3.3 FACEPLATE KEYPAD & DISPLAY ................................................................. 1-11
1.4 USING THE KEYPAD AND DISPLAY
1.4.1 HIERARCHICAL MENUS ................................................................................ 1-12
2. PRODUCT DESCRIPTION 2.1 SUMMARY
2.1.1 GENERAL OVERVIEW...................................................................................... 2-1
2.2 INTRODUCTION
2.3 ACCESS SECURITY FEATURES
2.4 OVERCURRENT ELEMENTS
2.4.1 PHASE TIME OVERCURRENT ELEMENT (51P)DIFFERENTIAL UNITS (87-1)
(87-2) 2-4
2.4.2 PHASE(50P1, 50P2) ......................................................................................... 2-6
2.4.3 GROUND TIME OVERCURRENT ELEMENT (51G)......................................... 2-6
2.4.4 GROUND INSTANTANEOUS OVERCURRENT ELEMENTS (50G1, 50G2).... 2-6
2.5 THERMAL IMAGE ELEMENT (49)
2.6 RECLOSER ELEMENT
2.6.1 INTRODUCTION................................................................................................ 2-8
2.6.2 RECLOSER STATUSES ................................................................................... 2-8
2.6.3 RECLOSER SETTINGS ................................................................................. 2-12
2.7 COLD LOAD PICKUP (AVAILABLE ONLY IN OPTION 2 MODELS)
2.8 BREAKER FAILURE TO OPEN (AVAILABLE ONLY IN OPTION 2
MODELS)
2.9 I2 COUNTER (AVAILABLE ONLY IN OPTION 2 MODELS)
2.10 EVENTS (AVAILABLE IN OPTION 1 AND OPTION 2 MODELS)
2.11 OSCILLOGRAPHY (AVAILABLE IN OPTION 1 AND OPTION 2 MODELS)
2.12 MULTIPLE SETTING GROUPS
2.13 MEASUREMENT AND SELF-TEST
2.13.1 MEASUREMENT ............................................................................................. 2-21
2.13.2 SELF-TEST...................................................................................................... 2-21
2.14 USER INTERFACE
2.14.1 LED TARGETS ................................................................................................ 2-22
2.14.2 KEYPAD AND DISPLAY.................................................................................. 2-23
2.14.3 COMMUNICATION PORTS............................................................................. 2-23
2.14.4 SOFTWARE..................................................................................................... 2-23
2.15 ORDERING CODES
2.16 TECHNICAL SPECIFICATIONS
2.16.1 PROTECTION ELEMENTS ........................................................................... 2-25
2.16.2 METERING FUNCTIONS ................................................................................ 2-26
2.16.3 INPUTS ............................................................................................................ 2-26
2.16.4 POWER SUPPLY ............................................................................................ 2-27
2.16.5 OUTPUTS ........................................................................................................ 2-27
2.16.6 COMMUNICATIONS........................................................................................ 2-28
2.16.7 ENVIRONMENTAL .......................................................................................... 2-28
2.16.8 TYPE TESTS AND CERTIFICATIONS............................................................ 2-28
2.16.9 PRODUCTION TESTS .................................................................................... 2-30

2 MIFII Digital Feeder Relay GEK-106237P
TABLE OF CONTENTS
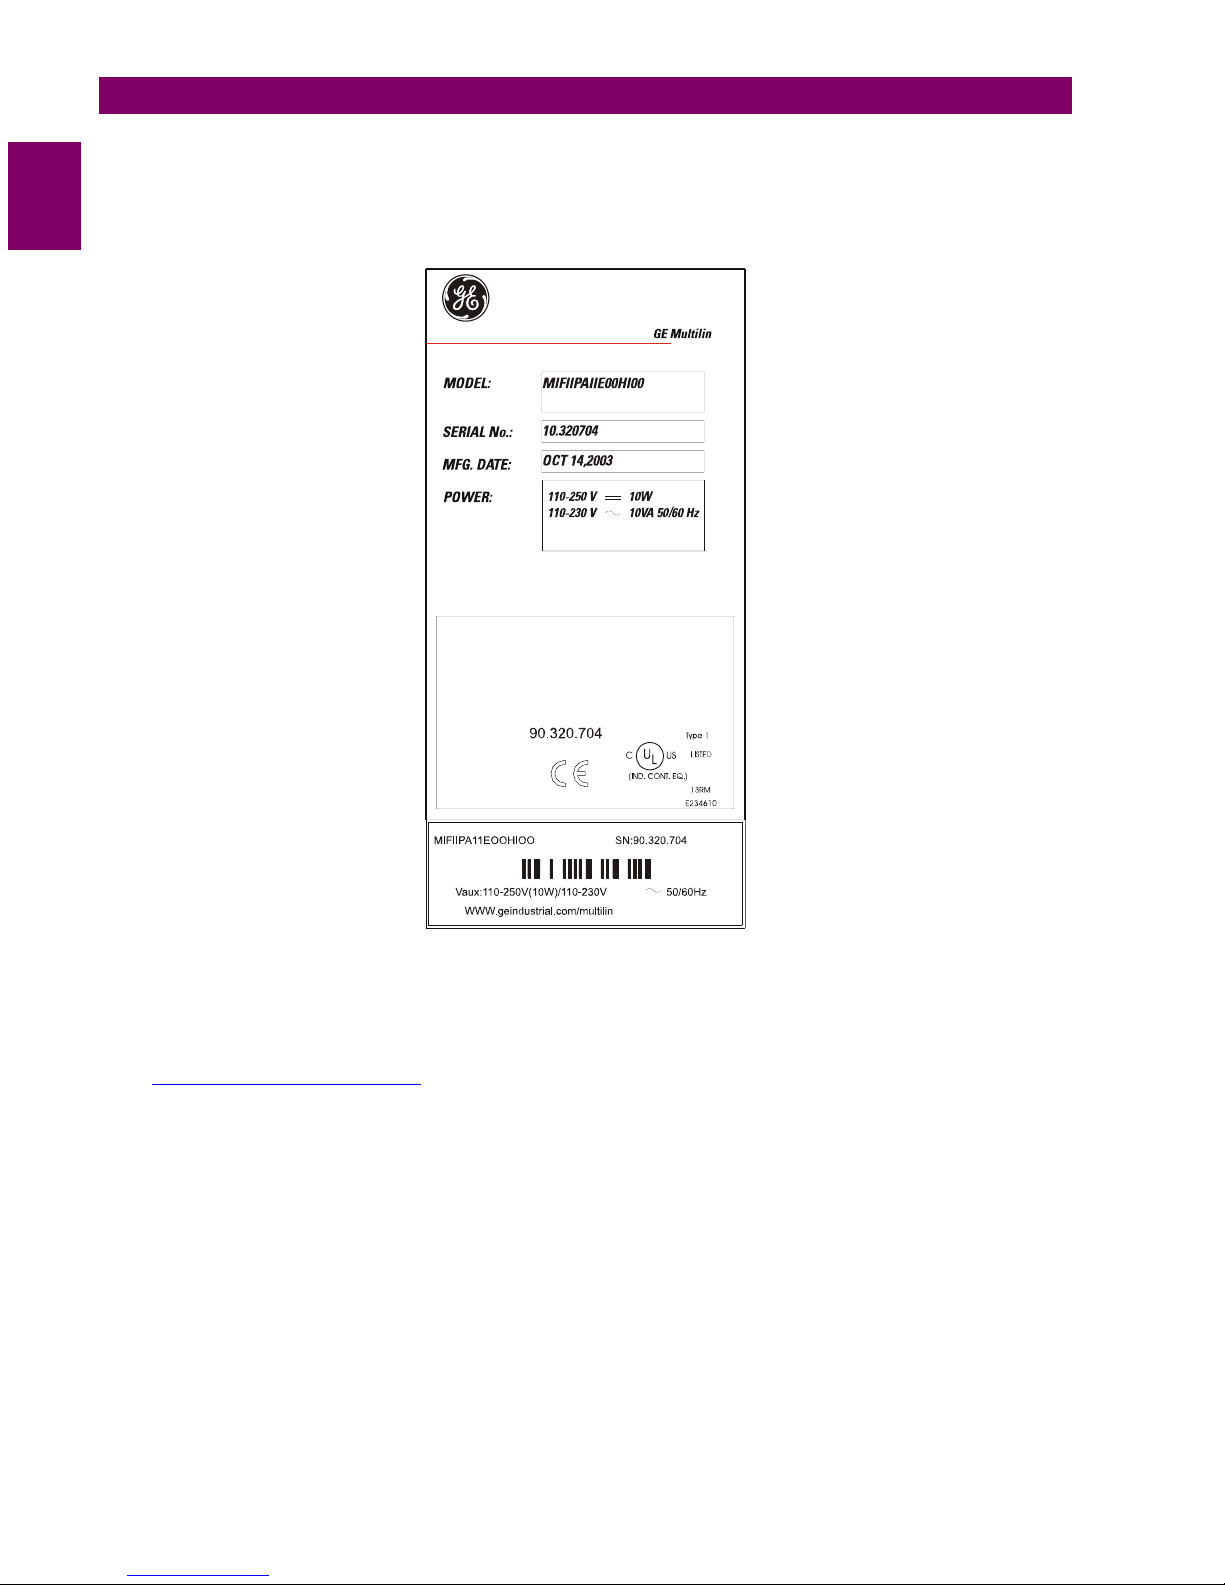
2.16.10 APPROVALS ....................................................................................................2-30
3. HARDWARE 3.1 DESCRIPTION
3.1.1 MECHANICAL DESCRIPTION..........................................................................3-1
3.1.2 MOUNTING ........................................................................................................3-2
3.1.3 REAR DESCRIPTION ........................................................................................3-3
3.1.4 TYPICAL WIRING DIAGRAM.............................................................................3-4
3.1.5 CONTROL POWER............................................................................................3-6
3.1.6 AC CURRENT TRANSFORMER INPUTS .........................................................3-7
3.1.7 CONTACT INPUTS / OUTPUTS .......................................................................3-8
3.1.8 OUTPUT CONTACTS CONFIGURATION .........................................................3-9
3.1.9 OUTPUTS ISOLATION ....................................................................................3-10
3.1.10 RS232 FRONT COMMUNICATIONS PORT....................................................3-13
3.1.11 RS485 COMMUNICATIONS PORT .................................................................3-14
4. COMMUNICATIONS 4.1 ENERVISTA MII SETUP SOFTWARE
4.1.1 OVERVIEW ........................................................................................................4-1
4.1.2 STARTING COMMUNICATION..........................................................................4-2
4.1.3 MAIN SCREEN...................................................................................................4-2
4.2 FILE
4.2.1 NEW ...................................................................................................................4-3
4.2.2 OPEN..................................................................................................................4-3
4.2.3 SETTINGS FILE CONVERTER..........................................................................4-4
4.2.4 PROPERTIES.....................................................................................................4-4
4.2.5 GET INFO FROM RELAY ..................................................................................4-5
4.2.6 SEND INFO TO RELAY .....................................................................................4-5
4.2.7 PRINT SETUP ....................................................................................................4-5
4.2.8 PRINT PREVIEW ...............................................................................................4-5
4.2.9 PRINT .................................................................................................................4-6
4.2.10 CLOSE................................................................................................................4-6
4.3 SETPOINT
4.3.1 SETTINGS..........................................................................................................4-7
4.3.2 MAIN SETTINGS................................................................................................4-8
4.3.3 ADVANCED SETTINGS.....................................................................................4-8
4.3.4 RELAY CONFIGURATION.................................................................................4-9
4.3.5 LOGIC CONFIGURATION ...............................................................................4-11
4.3.6 DATE /TIME......................................................................................................4-12
4.4 ACTUAL
4.4.1 ACTUAL VALUES ............................................................................................4-13
4.4.2 EVENT RECORDER ........................................................................................4-14
4.4.3 WAVEFORM CAPTURE ..................................................................................4-15
4.5 OPERATIONS
4.6 COMMUNICATION
4.6.1 COMPUTER .....................................................................................................4-17
4.6.2 TROUBLESHOOTING......................................................................................4-20
4.6.3 UPGRADE FIRMWARE VERSION ..................................................................4-21
4.7 VIEW
4.7.1 TRACES ...........................................................................................................4-25
4.7.2 MODBUS MEMORY MAP ................................................................................4-26
4.7.3 LANGUAGES ...................................................................................................4-27
5. SETTINGS 5.1 SETTINGS STRUCTURE
5.2 MAIN SETTINGS
5.2.1 GENERAL SETTINGS........................................................................................5-2
5.2.2 PHASE / GROUND TOC SETTINGS (51P / 51G) ( ..........................................5-3

GEK-106237P MIFII Digital Feeder Relay 3
TABLE OF CONTENTS
5.2.3 THERMAL IMAGE SETTINGS (49) ................................................................... 5-4
5.2.4 AUTORECLOSER SETTINGS (79) ................................................................... 5-5
5.3 ADVANCED SETTINGS
5.3.1 PHASE / GROUND TOC SETTINGS (51P/ 51G) (GROUP 2) ......................... 5-8
5.3.2 PHASE / GROUND IOC SETTINGS (50P1/ 50P2/ 50G1/ 50G2) (GROUP 2) ( 5-8
5.3.3 THERMAL IMAGE SETTINGS (49) (GROUP 2) ............................................... 5-9
5.3.4 EVENTS AND OSCILLOGRAPHY MASKS (ONLY ENERVISTA MII SETUP) 5-10
5.3.5 OSCILLOGRAPHY MASKS............................................................................. 5-11
5.3.6 I2 COUNTER ................................................................................................... 5-11
5.3.7 BREAKER FAILURE TO OPEN....................................................................... 5-11
5.3.8 COLD LOAD PICKUP ...................................................................................... 5-11
5.4 TIME SYNCHRONIZATION
6. I/0 CONFIGURATION 6.1 INPUT CONFIGURATION (FOR OPTIONS 1 AND 2)
6.1.1 DESCRIPTION OF INPUTS .............................................................................. 6-1
6.1.2 INPUT ELEMENTS ............................................................................................ 6-4
6.2 OUTPUTS AND LEDS CONFIGURATION (FOR OPTIONS 1 AND 2)
6.2.1 DESCRIPTION OF OUTPUTS AND LEDS ....................................................... 6-5
6.2.2 OUTPUT AND LED ELEMENTS ....................................................................... 6-7
7. LOGIC CONFIGURATION
(ONLY OPTION 2 MODELS) 7.1 LOGIC DESCRIPTION
7.2 LOGIC ELEMENTS
8. KEYPAD AND DISPLAY 8.1 DESCRIPTION
8.2 FACEPLATE KEYPAD
8.3 ALPHANUMERIC DISPLAY AND LEDS
8.3.1 DISPLAY ............................................................................................................ 8-3
8.3.2 LEDS.................................................................................................................. 8-3
8.4 OPERATIONS
8.4.1 ONE KEY OPERATION AND LAST TRIP DATA............................................... 8-5
8.4.2 HMI PASSWORD............................................................................................... 8-6
8.5 MENU TREE
9. RELAY COMMISSIONING 9.1 VISUAL INSPECTION
9.2 COMMENTS ON THE TEST EQUIPMENT
9.3 WIRING AND NECESSARY EQUIPMENT
9.4 TARGET LEDS
9.5 POWER SUPPLY TEST
9.6 COMMUNICATIONS
9.7 RELAY SETTING
9.8 CONTACT INPUTS
9.9 CONTACT OUTPUTS
9.10 RELAY METERING
9.10.1 CURRENT METERING.................................................................................... 9-10

4 MIFII Digital Feeder Relay GEK-106237P
TABLE OF CONTENTS
9.11 PHASE IOC HIGH SETTING ELEMENT (50P1)
9.12 PHASE IOC LOW SETTING ELEMENT (50P2)
9.13 MODEL E: GROUND IOC HIGH SETTING ELEMENT (50G1)
9.14 GROUND IOC LOW SETTING ELEMENT (50G2)
9.15 PHASE TOC ELEMENT (51P)
9.15.1 IEC INVERSE CURVE .....................................................................................9-15
9.15.2 IEC VERY INVERSE CURVE...........................................................................9-15
9.15.3 IEC EXTREMELY INVERSE CURVE...............................................................9-15
9.15.4 ANSI INVERSE CURVE ...................................................................................9-16
9.15.5 ANSI VERY INVERSE CURVE ........................................................................9-16
9.15.6 ANSI EXTREMELY INVERSE CURVE ............................................................9-16
9.15.7 IAC INVERSE CURVE .....................................................................................9-16
9.15.8 IAC VERY INVERSE CURVE...........................................................................9-17
9.15.9 IAC EXTREMELY INVERSE CURVE...............................................................9-17
9.15.10 IAC INVERSE LONG CURVE ..........................................................................9-17
9.15.11 IAC INVERSE SHORT CURVE........................................................................9-17
9.15.12 DEFINITE TIME................................................................................................9-18
9.16 GROUND TOC ELEMENT (51G)
9.16.1 IEC INVERSE CURVE .....................................................................................9-19
9.16.2 IEC VERY INVERSE CURVE...........................................................................9-19
9.16.3 IEC EXTREMELY INVERSE CURVE...............................................................9-20
9.16.4 ANSI INVERSE CURVE ...................................................................................9-20
9.16.5 ANSI VERY INVERSE CURVE ........................................................................9-21
9.16.6 ANSI EXTREMELY INVERSE CURVE ............................................................9-21
9.16.7 IAC INVERSE CURVE .....................................................................................9-21
9.16.8 IAC VERY INVERSE CURVE...........................................................................9-21
9.16.9 IAC EXTREMELY INVERSE CURVE...............................................................9-22
9.16.10 IAC INVERSE LONG CURVE ..........................................................................9-22
9.16.11 IAC INVERSE SHORT CURVE........................................................................9-22
9.16.12 EPTAR C CURVE.............................................................................................9-22
9.16.13 DEFINITE TIME................................................................................................9-23
9.17 THERMAL IMAGE ELEMENT (49)
9.18 TIME SYNCHRONIZATION
9.19 USER SETTINGS
9.19.1 MAIN SETTINGS..............................................................................................9-26
9.19.2 ADVANCED SETTINGS...................................................................................9-29

GEK-106237P MIFII Digital Feeder Relay 5
TABLE OF CONTENTS
10. INSTALLATION AND
MAINTENANCE 10.1 INSTALLATION
10.2 GROUND CONNECTION AND DISTURBANCES SUPPRESSION
10.3 MAINTENANCE
10.4 CLEANING INSTRUCTIONS
11. MII FAMILY FAQ
(FREQUENTLY ASKED
QUESTIONS)
11.1 MIFII FAQ
12. MIFII DO’S AND DON’TS 12.1 DO’S
12.2 DON’TS
13. TROUBLESHOOTING
GUIDE 13.1 MIFII TROUBLESHOOTING GUIDE
A. THERMAL IMAGE UNIT A.1 INTRODUCTION
A.2 OPERATING PRINCIPLE
A.3 ALGORITHMS
A.4 DIGITAL TECHNOLOGY AND THERMAL IMAGE RELAYS
A.5 THERMAL CURVE
A.6 MIFII THERMAL CURVES
B. TIME-CURRENT CURVES
FOR 51P AND 51N UNITS B.1 IEC/BS142 CURVES
B.2 ANSI CURVES
B.3 IAC CURVES
C. MODBUS C.1 MODBUS FORMAT
C.2 READING VALUES
C.3 COMMAND EXECUTION
C.4 SYNCHRONIZATION
C.5 WRITING SETTINGS
C.5.1 FRAME STRUCTURE .......................................................................................C-8
C.6 ERRORS
C.7 MODBUS MAP - SETTINGS
C.8 MODBUS MAP- STATUS

6 MIFII Digital Feeder Relay GEK-106237P
TABLE OF CONTENTS
D. APPLICATION NOTES D.1 TRIP CIRCUIT SUPERVISION FOR MII-FAMILY RELAYS
D.1.1 SETTINGS AND CONFIGURATION ................................................................. D-3
E. OPTION C MODELS E.1 INTRODUCTION
E.2 COMUNICATION PORTS
E.3 IEC 60870-5-103
E.3.1 PHYSICAL LAYER ........................................................................................... E-4
E.3.2 LINK LAYER ..................................................................................................... E-5
E.3.3 APPLICATION LAYER ..................................................................................... E-7
F. TIMING ACCURACY FOR 51
ELEMENT F.1 INTRODUCTION
F.2 TIME OVERCURRENT ELEMENTS
F.3 ANALYSIS OF A PRACTICAL CASE
F.4 INTERNATIONAL STANDARD
F.5 CONCLUSIONS

GEK-106237P MIFII Digital Feeder Relay 1-1
1 GETTING STARTED
1
1 GETTING STARTED
To help ensure years of trouble free operation, please read through the following chapter for information to help guide you
through the initial installation procedures of your new relay.
CAUTION: THE OPERATOR OF THIS INSTRUMENT IS ADVISED THAT IF THE EQUIPMENT IS USED IN A MANNER
NOT SPECIFIED IN THIS MANUAL, THE PROTECTION PROVIDED BY THE EQUIPMENT MAY BE IMPAIRED
INSTALLATION MUST BE ACCORDING TO THE NATIONAL ELECTRIC CODE OF THE APPROPRIATE COUNTRY
IMPORTANT WARNING: For upgrading the relay firmware to version 4.00 or later, it is mandatory that the
EnerVista MII Setup version is 1.10 or higher. For firmware version 5.00 or later, the EnerVista MII Setup
version must be 2.10 or later. Otherwise it may result in damage to the relay
It will take a few seconds for the relay to restart after the completion of the update process. Therefore, before
unplugging the relay, please make sure that the relay main screen shows the analog inputs values.

1-2 MIFII Digital Feeder Relay GEK-106237P
1.1 INSPECTION CHECKLIST 1 GETTING STARTED
1
1.1INSPECTION CHECKLIST
Open the relay packaging and inspect the relay for physical damage.
Check the label at the side of the relay and check that the relay model is the same model ordered.
Figure 1–1: RELAY IDENTIFICATION LABEL (A4454P3)
Ensure that the mounting screws have been included with the relay.
For product information, instruction manual updates, and the latest software updates, please visit the GE Multilin Home
Page (www.GEdigitalenergy.com/multilin).

GEK-106237P MIFII Digital Feeder Relay 1-3
1 GETTING STARTED 1.1 INSPECTION CHECKLIST
1
Note: If there is any physical damage detected on the relay, or any of the contents listed are missing, please
contact GE Multilin immediately at:
EUROPE, MIDDLE EAST AND AFRICA:
GE MULTILIN
Av. Pinoa, 10
48170 Zamudio, Vizcaya (SPAIN)
Tel.: +34 94-485 88 54, Fax: +34 94-485 88 38
E-mail: [email protected]
AMERICA, ASIA AND AUSTRALIA:
GE MULTILIN
215, Anderson Avenue
L6E 1B3 Markham, ON (CANADA)
Tel.: +1 905 294 6222, Fax: +1 905 201 2098
E-mail: [email protected]
The information provided herein does not intend to cover all details of variations of the equipment nor does it take
into account the circumstances that may be present in your installation, operating or maintenance activities.
Should you wish to receive additional information, or for any particular problem that cannot be solved by referring
to the information contained herein, please contact GENERAL ELECTRIC MULTILIN.

1-4 MIFII Digital Feeder Relay GEK-106237P
1.2 ENERVISTA MII SETUP SOFTWARE 1 GETTING STARTED
1
1.2ENERVISTA MII SETUP SOFTWARE 1.2.1 SYSTEM REQUIREMENTS
The EnerVista MII SETUP software interface is the preferred method to edit settings and view actual values because the
PC monitor can display more information in a simple comprehensible format.
The following minimum requirements must be met for the EnerVista MII SETUP software to properly operate on a PC:
• Pentium® class or higher processor (Pentium® II 300 MHz or higher recommended)
• Windows® NT 4.0 (Service Pack 3 or higher), Windows® 2000, Windows® XP
• Internet Explorer® 5.0 or higher
• 64 MB of RAM (128 MB recommended)
• 40 MB of available space on system drive and 40 MB of available space on installation drive
• RS232C serial and Ethernet port for communications to the relay
1.2.2 SAFETY INSTRUCTIONS
The ground screw shown in the following figure must be correctly grounded.
Figure 1–2: GROUNDING SCREW LOCATION
If you want to communicate with the relay using a computer through the front serial port, please ensure that the computer
is grounded to the same ground as the relay.
In case of using a portable computer, it is recommended to have it disconnected to its power supply, as in many cases
they are not correctly grounded either due to the power supply itself or to the connector cables used. Powering the
portable PC with its internal battery drastically decreases the possibility of producing permanent damage to the computer
or the relay. Beware of the possibility of losing communication in firmware change processes
This is required not only for personal protection, but also for avoiding a voltage difference between the relay
serial port and the computer port, which could produce permanent damage to the computer or the relay.
GE Multilin will not be responsible for any damage in the relay or connected equipment whenever this elemental
safety rule is not followed.
In case of a firmware flashing process, due to the risk of losing communication, GE Multilin will not be
responsible in case of a communication failure if the relay and PC are not grounded to the same point.
Grounding
screw

GEK-106237P MIFII Digital Feeder Relay 1-5
1 GETTING STARTED 1.2 ENERVISTA MII SETUP SOFTWARE
1
1.2.3 INSTALLATION
After ensuring the minimum requirements for using ENERVISTA MII Setup are met (see previous section), use the
following procedure to install the ENERVISTA MII Setup from the enclosed GE ENERVISTA CD.
1. Insert the GE ENERVISTA CD into your CD-ROM drive.
2. Click the Install Now button and follow the installation instructions to install the no-charge ENERVISTA software.
3. When installation is complete, start the ENERVISTA Launchpad application.
4. Click the IED Setup section of the Launch Pad window.
Figure 1–3: ENERVISTA LAUNCH PAD WINDOW
5. In the ENERVISTA Launch Pad window, click the Add Product button and select the relay from the Install Software
window as shown below. Select the “Web” option to ensure the most recent software release, or select “CD” if you do
not have a web connection, then click the Add Now button to list software items for the corresponding relay model.

1-6 MIFII Digital Feeder Relay GEK-106237P
1.2 ENERVISTA MII SETUP SOFTWARE 1 GETTING STARTED
1
Figure 1–4: ADD PRODUCT
6. If “Web” option is selected, choose from the list the software program related to the specific model and click the
Download Now button to obtain the installation program.
7. When ENERVISTA detects that there is already a version of the program in the Software Library, you can choose
whether to install it directly or to check for more versions.
Figure 1–5: CHECK FOR UPDATED VERSIONS?

GEK-106237P MIFII Digital Feeder Relay 1-7
1 GETTING STARTED 1.2 ENERVISTA MII SETUP SOFTWARE
1
8. If we click the “Check for Updated Versions” button, the program will proceed to search for the different versions of set-
up program from the Web.
9. ENERVISTA Launchpad will obtain the installation program from the Web. If the version you already have is the last
one on the Web, the following screen will appear
10. If there were more versions on the Web, ENERVISTA will then show the user the different setup programs available for
upgrade, with their version, size and release date.
11. Double-click the installation program once its download is complete, to install the EnerVista MII SETUP software.
12. Select the complete path, including the new directory name, where the EnerVista MII SETUP will be installed.

1-8 MIFII Digital Feeder Relay GEK-106237P
1.2 ENERVISTA MII SETUP SOFTWARE 1 GETTING STARTED
1
13. Click on Next to begin the installation. The files will be installed in the directory indicated and the installation program
will automatically create icons and add EnerVista MII SETUP to the Windows start menu.
14. Follow the on-screen instructions to install the EnerVista MII SETUP software. When the Welcome window appears,
click on Next to continue with the installation procedure.
Figure 1–6: WELCOME TO INSTALLATION WINDOW
15. When the Choose Destination Location window appears, and if the software is not to be located in the default
directory, click Change… and type in the complete path name including the new directory name and click Next to
continue with the installation procedure.
Figure 1–7: CHOOSE DESTINATION LOCATION WINDOW
16. The default program group where the application will be added to is shown in the Selected Program Folder window.
Click Next to begin the installation process, and all the necessary program files will be copied into the chosen directory.

GEK-106237P MIFII Digital Feeder Relay 1-9
1 GETTING STARTED 1.2 ENERVISTA MII SETUP SOFTWARE
1
Figure 1–8: PROGRAM FOLDER
17. To finish with the installation process, select the desired language for startup
Figure 1–9: LANGUAGE SELECTION

1-10 MIFII Digital Feeder Relay GEK-106237P
1.2 ENERVISTA MII SETUP SOFTWARE 1 GETTING STARTED
1
18. Click Finish to end the installation. The MII device will be added to the list of installed IEDs in the ENERVISTA
Launchpad window, as shown below.

GEK-106237P MIFII Digital Feeder Relay 1-11
1 GETTING STARTED 1.3 MII RELAY FAMILY HARDWARE
1
1.3MII RELAY FAMILY HARDWARE 1.3.1 MOUNTING & WIRING
Please refer to the HARDWARE chapter for detailed relay mounting and wiring instructions. Review all WARNINGS and
CAUTIONS.
1.3.2 COMMUNICATIONS
The EnerVista MII SETUP software can communicate to the relay via the faceplate RS232 port, or the rear panel RS485
port. To communicate with the relay via the RS232 port, a standard “straight through” serial cable is used. The DB9 male
end is connected to the relay and the DB9 or DB25 female end is connected to the PC COM1 or COM2 port as described
in the HARDWARE chapter.
To communicate with the relay’s RS485 port from a computer’s RS232 port, a RS232/RS485 converter box is required. GE
Multilin offers F485, DAC300 and RS232/485 converters. This converter box is connected to the computer using a “straight
through” serial cable. A shielded twisted pair (20, 22 or 24 AWG; 0.25, 0.34 or 0.5 mm2) cable is used to connect the
converter box to the relay rear communication terminals. The converter box (-, +, GND) terminals are connected to the
relay (SDA, SDB, GND) terminals respectively. For long communication cables (longer than 1 Km), the RS485 circuit must
be terminated in a RC network (i.e. 120 ohm, 1 nF) as described in the HARDWARE chapter.
1.3.3 FACEPLATE KEYPAD & DISPLAY
Display messages are organized into menus under the main headings: Actual Values, Main Settings, Advanced Settings,
Operations and Change Date&Time. A 5-key keypad and a 16x2 character LCD display (shown below) are used as
elementary local HMI.
Figure 1–10: RELAY KEYPAD AND DISPLAY
Using this keypad it is possible to access all the different menus in the relay and to view and change settings.

1-12 MIFII Digital Feeder Relay GEK-106237P
1.4 USING THE KEYPAD AND DISPLAY 1 GETTING STARTED
1
1.4USING THE KEYPAD AND DISPLAY 1.4.1 HIERARCHICAL MENUS
Figure 1–11: MOVING THROUGH THE HIERARCHICAL MENU (
As shown in Figure 1–11:, there are 3 hierarchical levels to access the information in the relay. The first level (Main screen)
shows the current value for each phase (Ia, Ib, Ic, Ig)
Pressing the Menu button accesses the second level. To access information within the same hierarchical level (horizontal
movement), push the up/down arrow buttons. To access the third level push the “Enter” button when the desired heading is
shown in the display.
To return back to the previous level (from the third to the second level, or from the second to the first one), push the “ESC/
RESET” button.
Refer to chapter 8, for more information on the use of the local keypad and display to access information and change
settings.

GEK-106237P MIFII Digital Feeder Relay 2-1
2 PRODUCT DESCRIPTION 2.1 SUMMARY
2
2 PRODUCT DESCRIPTION 2.1SUMMARY 2.1.1 GENERAL OVERVIEW
PROTECTION
• Phase time overcurrent (51P)
• Two Phase instantaneous overcurrent (high level and
low level) (50P-1, 50P-2)
• Ground time overcurrent (51G)
• Two ground instantaneous overcurrent (high level and
low level) (50G-1, 50G-2)
• Thermal Image (49)
• Cold load pickup (available only in Option 2 models)
• Breaker failure to open (available only in Option 2
models)
• Breaker health (available only in Option 2 models)
•I
2Counter (available only in Option 2 models)
CONTROL
• 2 Setting groups
• Open/close breaker operations
METERING
• Phase and ground currents
• Thermal image
INPUTS/OUTPUTS
• 4 Current inputs (3 phases, 1 ground)Programmable
digital inputs and outputs (available only in Option 1
and Option 2 models)
COMMUNICATIONS
• Front RS232 port
• Rear RS485 port
USER INTERFACE
• 2x16 LCD Display
• 6 LEDs (4 programmable with Option 1 and Option 2
models)
SECURITY
• Access password for setting changes
• Local access priority
OTHERS
• 1 Oscillography record (available only in Option 1 and
Option 2 models)
• 32 Event recorder (available only in Option 1 and
Option 2 models)
• Configurable Logic (available only in Option 2 models)
Table of contents
Other GE Accessories manuals

GE
GE ZW6305 User manual

GE
GE Learn Mode Shock Sensor User manual

GE
GE WARRANTY CARD Instruction Manual

GE
GE 60 Series User manual

GE
GE 19298 User manual

GE
GE Aritech PB501 User manual

GE
GE WR72X10313 Configuration guide

GE
GE PowerBank M540 User manual

GE
GE VE736AM User manual

GE
GE Telaire Vaporstat 9002 User manual