manuals.online logo
Brands
  1. Home
  2. •
  3. Brands
  4. •
  5. Gecko
  6. •
  7. Keypad
  8. •
  9. Gecko IN.K19-2OP Reference guide

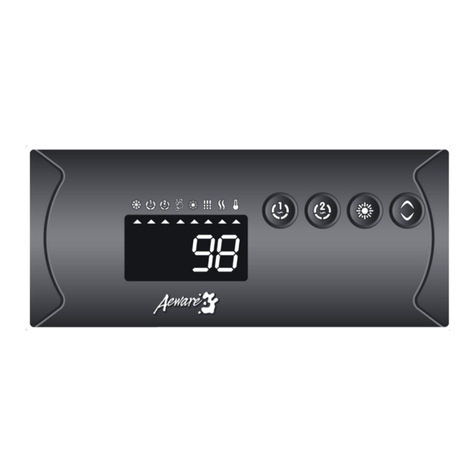
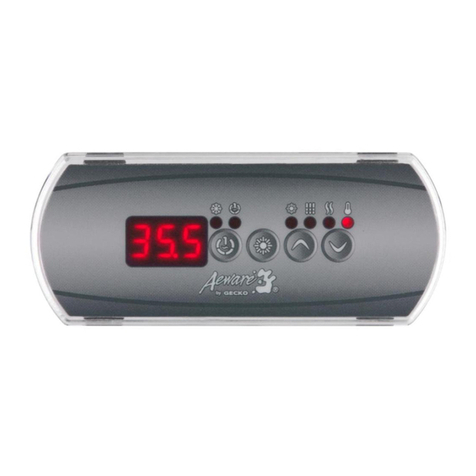
Gecko IN.K19-2OP Reference guide

This manual suits for next models

3

Other Gecko Keypad manuals

Gecko Aeware in.k200 series Reference guide

Gecko

Gecko Aeware in.k200 series Reference guide

Gecko in.k800 Reference guide

Gecko

Gecko in.k800 Reference guide

Gecko Aeware k-19-in Reference guide

Gecko

Gecko Aeware k-19-in Reference guide

Gecko iTouch Reference guide

Gecko

Gecko iTouch Reference guide

Gecko in.k800 Reference guide

Gecko

Gecko in.k800 Reference guide

Gecko in.xe Technical manual

Gecko

Gecko in.xe Technical manual

Gecko in.k175 Aeware Operating instructions

Gecko

Gecko in.k175 Aeware Operating instructions

Gecko INK 500 Specification sheet

Gecko

Gecko INK 500 Specification sheet

Gecko in.k1000 Reference guide

Gecko

Gecko in.k1000 Reference guide

Gecko k-35-in Series Reference guide

Gecko

Gecko k-35-in Series Reference guide

Gecko Aeware Advanced in.k600 Reference guide

Gecko

Gecko Aeware Advanced in.k600 Reference guide

Gecko in.k800 User manual

Gecko

Gecko in.k800 User manual

Gecko in.k1000 Reference guide

Gecko

Gecko in.k1000 Reference guide

Gecko in.k300 User manual

Gecko

Gecko in.k300 User manual

Gecko Aeware in.k100 Series User manual

Gecko

Gecko Aeware in.k100 Series User manual

Popular Keypad manuals by other brands

AAA 6150RFAAA Installation and setup guide

AAA

AAA 6150RFAAA Installation and setup guide

Fermax MDS Installation and programming manual

Fermax

Fermax MDS Installation and programming manual

ACT ACT PRO 1030 manual

ACT

ACT ACT PRO 1030 manual

Cardin SSB Series manual

Cardin

Cardin SSB Series manual

Harman Kardon KP 1 Specifications

Harman Kardon

Harman Kardon KP 1 Specifications

CYP CR-KP1 Operation manual

CYP

CYP CR-KP1 Operation manual

Aeware k-35 Series Quick reference card

Aeware

Aeware k-35 Series Quick reference card

Aritech CS-175 Series user guide

Aritech

Aritech CS-175 Series user guide

Lenze AC Tech MC SERIES installation instructions

Lenze AC Tech

Lenze AC Tech MC SERIES installation instructions

Burg Wächter secuENTRY 7711 operating instructions

Burg Wächter

Burg Wächter secuENTRY 7711 operating instructions

Aeware in.k450 Tech book

Aeware

Aeware in.k450 Tech book

Lenze EPM-H410 operating instructions

Lenze

Lenze EPM-H410 operating instructions

Toshiba RKP007Z user manual

Toshiba

Toshiba RKP007Z user manual

Elmes Electronic KB1 quick start guide

Elmes Electronic

Elmes Electronic KB1 quick start guide

Clare Controls ClareOne CLR-C1-PNC Installation sheet

Clare Controls

Clare Controls ClareOne CLR-C1-PNC Installation sheet

FM Electronics 4180 quick start guide

FM Electronics

FM Electronics 4180 quick start guide

AMX MIO-PRESTIGE-S Dimensional drawing

AMX

AMX MIO-PRESTIGE-S Dimensional drawing

why pro WHY-KP user manual

why pro

why pro WHY-KP user manual

manuals.online logo
manuals.online logoBrands
  • About & Mission
  • Contact us
  • Privacy Policy
  • Terms and Conditions

Copyright 2025 Manuals.Online. All Rights Reserved.

The Quick Reference Card provides a quick overview of your spa’s
main functions and the operations accessible with your digital control pad.
Key 1
Press Key 1 key to turn Pump 1 on at low speed. Press a
second time to turn pump to high speed (with a dual-speed
pump). A third time turns pump off.
A built-in timer automatically turns pump off after 20 minu-
tes, unless pump has been manually deactivated first.
The “Pump 1” indicator lights up when Pump 1 is on.
With dual-speed pump, indicator will flash when
Pump 1 is on at low speed.
Spa functions
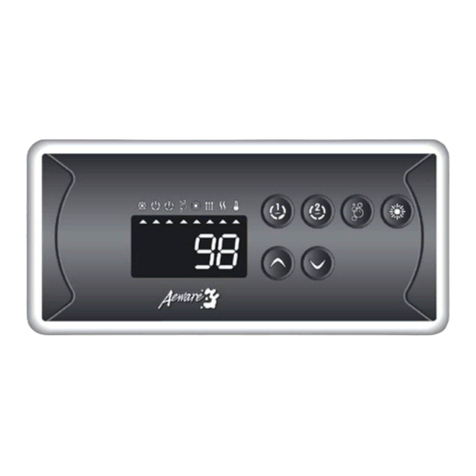
k-19-in
series of k-19 keypads for in.xe spa systems
Key 2 (2 Pump System)
Press Key 2 key to turn Pump 2 on at low speed. Press
a second time to turn pump to high speed. A third time
turns pump off. A built-in timer automatically turns pump
off after a prede-termined period of time, unless it has been
manually deactivated first.
The “Pump 2” indicator lights up when Pump 2 is on.
The indicator will flash when Pump 2 is on at low speed.
Troubleshooting
Hr
An internal hardware error has been detected in in.xe.
Contact dealer or service supplier.
HL
The system has shut the heater down because the temperature at the
heater has reached 119°F (48°C). Do not enter the water! Remove the spa
cover and allow the water to cool down, then shut power off and power
your spa up again to reset the system.
Prr
A problem is detected with the temperature probe.
Call your dealer or service supplier.
AOH
Temperature inside the spa skirt is too high, causing the internal
temperature in the in.xe to increase above normal limits.
Open skirt and wait until error clears.
OH
The water temperature in the spa has reached 108°F (42°C).
Do not enter the water! Remove the spa cover and allow the water to
cool down to a lower temperature. Call your dealer or service supplier if
problem persists.
FLO
The system does not detect any water flow while the primary pump is
running. Check and open water valves. Check for water level.
Clean filter. If the problem persists, call your dealer or service supplier.
rLy
The system has detected a stuck relay error in in.xe.
Call your dealer or service supplier.
UPL
No low level configuration software has been installed into the system.
Call your dealer or service supplier.
Key 2 (2-Pump/Blower System)
Press Key 2 to turn Pump 2 on at high speed. Pressing a sec-
ond time turns blower on. A third press turns Pump 2 off but
leaves blower on. A final press turns blower off. A built-in
timer automatically turns Pump 2/blower off after 20 minutes,
unless Pump 2/blower has been manually deactivated first.
The “Pump 2” indicator
lights up when Pump 2 is on.
The “Blower” indicator
lights up when blower is on.
9919-100805 www.geckoalliance.com
Programming the purge / filter cycles
Light key
Press Light key to turn light on. Press a second time to turn
light off. A built-in timer automatically turns light off after
2 hours, unless it has been manually deactivated first.
The “Light” indicator lights up
when light is on.
Up/Down keys
Use Up or Down key to set desired water temperature.
The temperature setting will be displayed for 5 seconds to
confirm your new selection.
The "Set Point" icon indicates that the display shows the
desired temperature, NOT the current water temperature!
Setting filter cycle duration
Press and hold Light key until the display shows dxx, with
"xx" representing the duration in hours. (Default: 2 hours).
Use Up or Down key to change setting.
0 = no filtration 24 = continuous filtration
Note: it's not recommended to set this to "0".
Programming filter cycles
Depending on system configuration the system performs either purge cycles or filter cycles.
To program the filter cycles, you must enter these parameters: duration and frequency.
During a filter cycle, pumps & blower run at high speed for one minute to purge the
plumbing. Pump 1 or CP then runs at low speed for the remaining of the cycle.
Filter cycle frequency
Press Light key again. The display will show Fx, with "x"
representing the number of filter cycles per day (up to 4).
(Default: twice a day).
Use Up or Down key to change setting.
When the desired setting is displayed, press Light key
to confirm. A filter cycle will start immediately.
The “Filter” indicator lights up
when a filter cycle is on.
Purge cycle frequency
Press and hold Light key until the display shows Fx, with "x"
representing the number of purge cycles per day (up to 4).
Use Up or Down key to change setting.
When the desired setting is displayed, press Light
key to confirm. A purge cycle will start immediately.
The “Filter” indicator lights up
when a purge cycle is on.
Programming purge cycles
To program the purge cycles, you must select the frequency. During a purge cycle, all pumps
and the blower run for one minute. To set purge cycles:
Off Mode
This mode allows you to stop all outputs for 30 minutes to
perform a quick spa maintenance.
Press and hold Key 1 key for 5 secs to activate the Off mode.
Quick press Key 1 key to reactivate the system before the ex-
piration of the 30-minute delay.
While the Off mode is engaged, the display will toggle
between OFF and the water temperature.
Setting the temperature display units
Quick press Light key again. The display will show either°F or °C.
Use Up or Down key to change units.
Press Light key a last time to go back to normal mode.
°F = Fahrenheit - °C = Celsius
OFF
Water temperature regulation
In a regulation cycle, the system first gener-
ates water flow through the heater housing
and the plumbing, in order to ensure accu-
rate water temperature readings as well as
avoiding heater activation in dry conditions.
After verifying pump activation and taking a
water temperature reading if required, the
system automatically turns the heater on to
reach and maintain water temperature at
Set Point.
The “Heater” indicator lights up when
the heater is on. It flashes when there
is a request for more heat but the
heater has not yet started.
Cooldown
While performing this task, the heater is not
allowed to turn on and its icon flashes.
Smart Winter Mode
Our Smart Winter Mode protects your
system from the cold by turning pumps on
several times a day to prevent water from
freezing in pipes.
The “Smart Winter Mode” indicator
lights up when the Smart Winter Mode
is on.