manuals.online logo
Brands
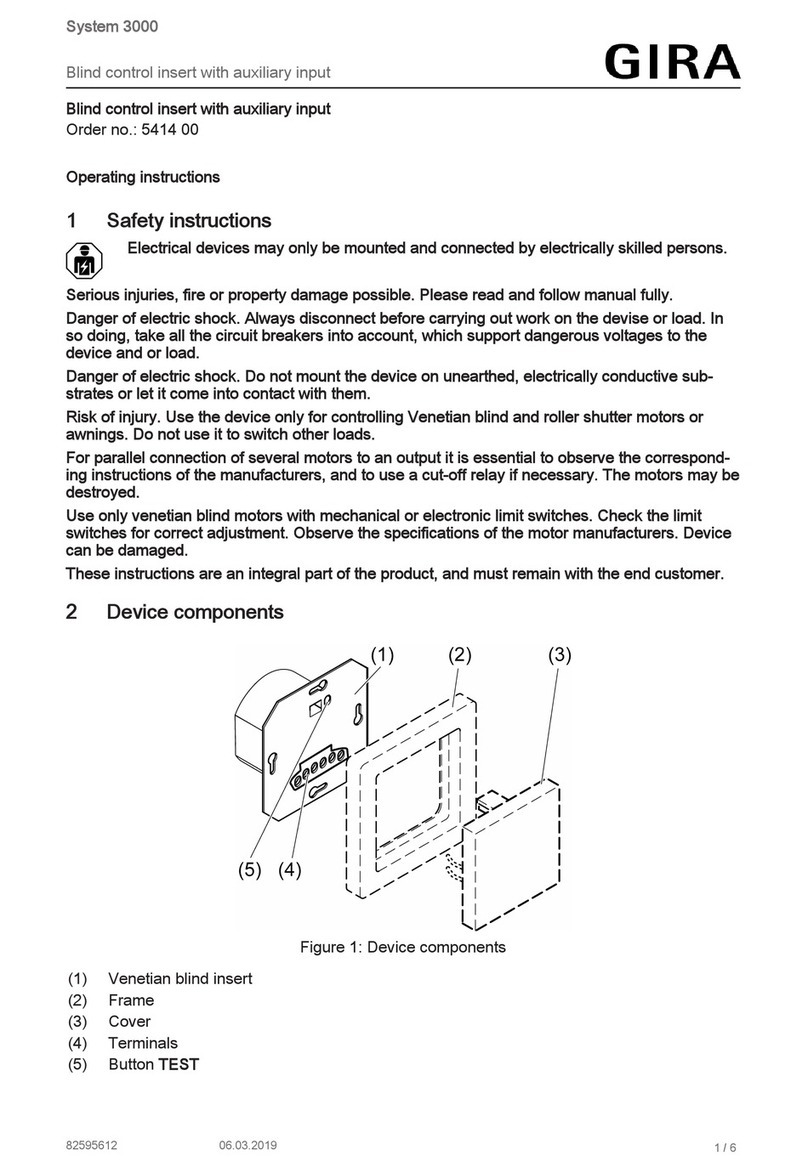
  1. Home
  2. •
  3. Brands
  4. •
  5. Gira
  6. •
  7. Control Unit
  8. •
  9. Gira 0644 Series User manual

Gira 0644 Series User manual

GIRA
Info
Blind/shutter control pushbutton
Installation Instructions
Blind/shutter control pushbutton 12/04 Page 1 of 4
Blind/shutter control pushbutton
Function
The control pushbutton is a component of the blind/
shutter control system and can only be used in con-
junction with the blind/shutter control insert.
A press on the Sbutton raises the blind/shutter while
a press on the Tbutton lowers the blind/shutter.
The moving time of the blind/shutter can be individu-
ally selected between 4 seconds and 2 minutes (pre-
set value = 2 minutes).
The attachment is additionally equipped with a lock-
ing function to prevent any inadvertent automatic low-
ering of the blind/shutter.
Blind/shutter control pushbutton
Blind/shutter control pushbutton with sen-
sor input
Order no.: 0644 xx
Order no.: 0820 xx
Safety warnings
Attention: Electrical equipment must be installed
and fitted by qualified electricians only.
Failure to observe the warnings may cause dam-
age to the device and result in fire or other haz-
ards.
To prevent electric shocks, disconnect the
mains supply (by cutting out the circuit breaker)
before working on the device or on the load.
The blind/shutter control system has been devel-
oped for the control of window blinds and win-
dow shutters. Do not switch other loads.
Using the device for other applications such as
the control of roller-shutter doors may involve
hazards.
These hazards must be excluded by the user by
taking appropriate safety measures (e.g. light
barriers).
Observe also the safety warnings set out in the
operating instructions of the respective blind/
shutter control insert used.
GIRA
Info
Blind/shutter control pushbutton
Installation Instructions
Blind/shutter control pushbutton 12/04 Page 2 of 4
Operation
Brief press on the button (less than 1 second):
A pulse corresponding in length to the duration of the
press is generated. This function is used for the ad-
justment of the slats of blinds.
Press on the Tbutton (longer than 1 second):
The shutter control is in the self-locking mode („con-
tinuous move“).
From the upper limit position, the programmed mov-
ing time is executed; from all other positions, the mov-
ing time executed is 2 minutes.
Press on the Tbutton (longer than 4 seconds)
individual moving time setting:
If shutter is to be prevented from moving down com-
pletely to the lower limit position („ventilation func-
tion“), a shorter moving time can be programmed.
Before doing this, the blind/shutter must be moved in
the „continuous mode“ (moving time = 2 minutes) to
the upper limit stop.
The individual moving time can be set only after 2
minutes have elapsed.
Depress the Tbutton until the blind/shutter has
reached the desired position.
When the button is released, the blind/shutter stops
and the new moving time is programmed.
To execute the programmed moving time, the blind/
shutter must be moved in the „continuous mode“ up
to the upper limit position.
Reprogramming the moving time replaces the old val-
ue by the new one.
Press on the Sbutton (longer than 1 second):
The shutter control is in the self-sustaining mode. The
moving time executed is 2 minutes.
Press on the Sbutton (longer than 3 seconds)
Lockout protection:
The LED in the middle of the attachment is lit up.
The shutter moves to the upper limit stop and the
lock-out protection is active.
Commands from the central unit, extension units and
the sensors are disregarded.
This function can be deactivated with a press on the
Sor Tbuttons.
After a mains failure, the lock-out protection is deacti-
vated and the individual moving time is erased.
Fitting (Fig. A):
The control pushbutton is installed together with a
blind/shutter control insert (order. no. 0398 00,
0399 00, 0395 00, 0388 00) in a flush-mounting box
in acc. with DIN 49073 (deep box recommended).
The connecting terminals of the insert must be at the
bottom.
Description, fitting and connection of the insert: see
separate instructions.
Plug the control pushbutton (2) together with frame
(3) onto the insert (1).
The electrical contact is established via connectors
(4) and (5).
Important:
When using sensors, observe the fitting informa-
tion set out in the instructions of the respective
blind/shutter control insert.
Fig. A)
c
e
d
g
f
GIRA
Info
Blind/shutter control pushbutton
Installation Instructions
Blind/shutter control pushbutton 12/04 Page 3 of 4
Blind/shutter control pushbutton with sensor input
Sun protection function:
A sun sensor permits automatic lowering of the blind/
shutter in strong sunshine. To execute this function,
the blind/shutter must be raised in the „continuous
mode“ to the upper limit position.
The attachment activates the sun protection function
after 2 minutes. Any manual operation deactivates
the sun protection function.
The sun protection function begins ca. 2 minutes after
the preset brightness level has been exceeded (level
presettable ca. 5.000 - 80.000 lux) and the blind/shut-
ter moves down.
When the ambient brightness has been below the
preset threshold for at least 15 minutes, the blind/
shutter is raised again (short brightness variations
have no effect).
The attachment distinguishes between an inside or
outside sun sensor.
To determine the type of sensor installed, the blind/
shutter performs an initialization move when the sun
protection function is activated for the first time.
The sensor installed is identified as an outside sen-
sor, if no shading of the sensor is detected.
Otherwise, the sensor is an inside type.
Sun sensor on the inside:
The sun sensor is installed on the window pane.
The installation height on the pane determines the po-
sition to which the blind/shutter moves when the
brightness threshold is exceeded.
Sun sensor on the outside:
After the initialization move, the blind/shutter is raised
again and then lowered again with the programmed
moving time. From now on, the attachment always
executes the programmed moving time when in the
sun protection mode.
With glass breakage sensor:
The glass breakage sensor is attached to the window
pane. When the pane breaks, the shutter moves
down to the lower limit stop. Application: protection
against the weather in the event of glass breakage.
The glass breakage message is reset by pressing the
Sbutton and the shutter moves up again.
Important:
When the lock-out protection is active, the signal from
the glass breakage sensor is disregarded.
Setting the brightness threshold for the Blind/
shutter control pushbutton with sensor input
(Fig. B):
The brightness level at which the shutter is to be low-
ered can be adjusted with potentiometer (1) at the
back of the control pushbutton within a range of ca.
5.000 to 80.000 lux.
setting 5: ca. 80.000 lux
setting Ñ: ca. 5.000 lux
The potentiometer is factory-adjusted to a value of ca.
15.000 lux (position as shown in fig. B).
Fig. B)
Attention!
Glass breakage sensors must not be used in
combination with the wind sensor.
The wind protection function via the extension
input S(shutter moving up) is disabled after a
glass breakage. The blind or shutter remains
closed.
c
LUX
GIRA
Info
Blind/shutter control pushbutton
Installation Instructions
Blind/shutter control pushbutton 12/04 Page 4 of 4
Technical data
Connection: by plugging onto the blind/
shutter control insert
Moving time: 4 to 120 seconds
Switch-over time: 1 second
Ambient temperature: 0 ... +45 °C
Storage temperature: -10 °C ... +60 °C
Brightness
setting range: ca. 5.000 to 80.000 lux
(sensor model only)
Acceptance of guarantee
We accept the guarantee in accordance with the corresponding legal provisions.
Please return the unit postage paid to our central service department giving a brief description of the
fault:
Gira
Giersiepen GmbH & Co. KG
Service Center
Dahlienstrasse 12
D-42477 Radevormwald
The CE sign is a free trade sign addressed exclusively to the authorities and does not include
any warranty of any properties.
Gira
Giersiepen GmbH & Co. KG
Postfach 1220
D-42461 Radevormwald
Telefon: +49 / 21 95 / 602 - 0
Telefax: +49 / 21 95 / 602 - 339
Internet: www.gira.de

This manual suits for next models

1

Other Gira Control Unit manuals

Gira System 3000 User manual

Gira

Gira System 3000 User manual

Gira 1345 26 User manual

Gira

Gira 1345 26 User manual

Gira Dual 2347 00 User manual

Gira

Gira Dual 2347 00 User manual

Gira eNet User manual

Gira

Gira eNet User manual

Gira System 106 Fingerprint Module 5551 User manual

Gira

Gira System 106 Fingerprint Module 5551 User manual

Gira 5204 00 User manual

Gira

Gira 5204 00 User manual

Gira System 3000 User manual

Gira

Gira System 3000 User manual

Gira 1283 00 User manual

Gira

Gira 1283 00 User manual

Gira System 3000 User manual

Gira

Gira System 3000 User manual

Gira 1019 00 User manual

Gira

Gira 1019 00 User manual

Gira LEDOTRON User manual

Gira

Gira LEDOTRON User manual

Gira 5567 000 User manual

Gira

Gira 5567 000 User manual

Gira DALI  5422 00 User manual

Gira

Gira DALI 5422 00 User manual

Gira 5201 00 User manual

Gira

Gira 5201 00 User manual

Popular Control Unit manuals by other brands

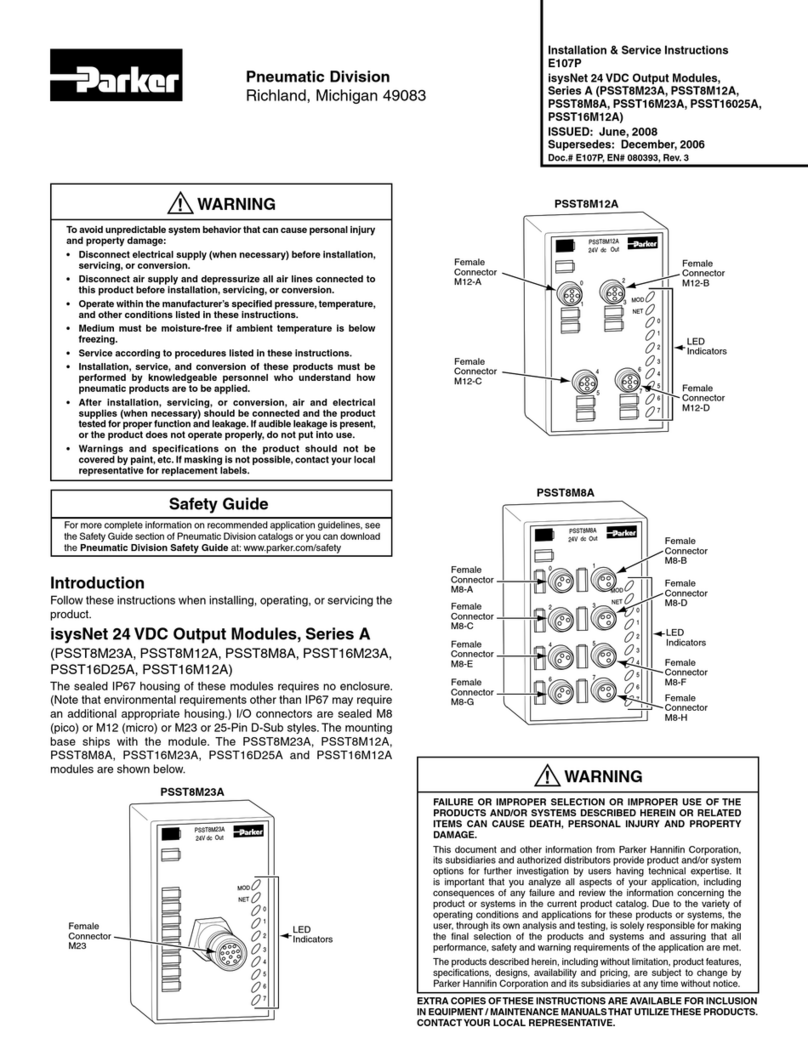
Parker PSST8M23A Installation & service instructions

Parker

Parker PSST8M23A Installation & service instructions

Pickering 40-220A user manual

Pickering

Pickering 40-220A user manual

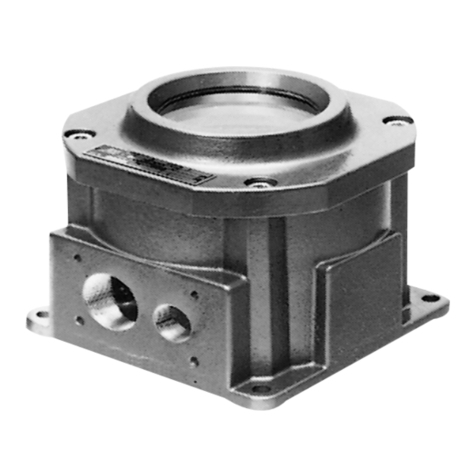
Bartec 07-4230 Series Operational Instruction

Bartec

Bartec 07-4230 Series Operational Instruction

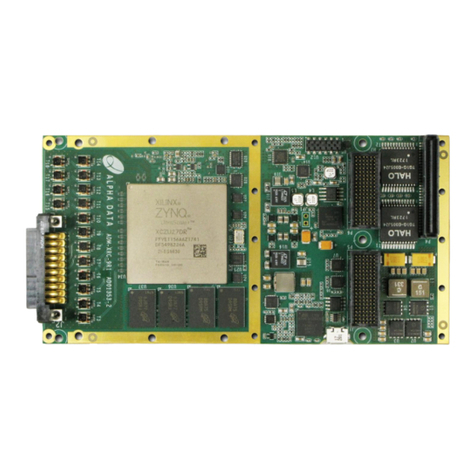
Alpha Data ADM-XRC-9R1 user manual

Alpha Data

Alpha Data ADM-XRC-9R1 user manual

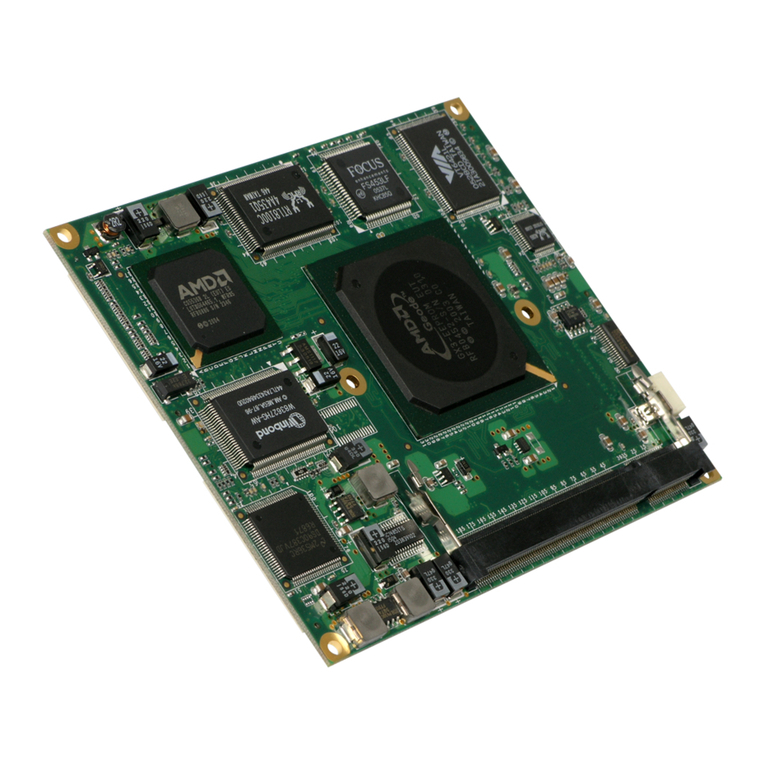
Congatec XTX conga-XLX user guide

Congatec

Congatec XTX conga-XLX user guide

Parker CEV-S user manual

Parker

Parker CEV-S user manual

Roger Technology B70/1DCHP Instruction and warnings for the installer

Roger Technology

Roger Technology B70/1DCHP Instruction and warnings for the installer

Tyco Fire Product AV-1-300 General description

Tyco Fire Product

Tyco Fire Product AV-1-300 General description

IDEC HR6S-S Original instructions

IDEC

IDEC HR6S-S Original instructions

BDE Matter Over Thread Demo quick start guide

BDE

BDE Matter Over Thread Demo quick start guide

Emerson Rosemount Ultrasonic 3410 Series manual

Emerson

Emerson Rosemount Ultrasonic 3410 Series manual

Kohler TOUCHLESS K-13686 installation guide

Kohler

Kohler TOUCHLESS K-13686 installation guide

Nordson Rhino SD2CE instruction sheet

Nordson

Nordson Rhino SD2CE instruction sheet

i3-TECHNOLOGIES iMO-LEARN - MDM user manual

i3-TECHNOLOGIES

i3-TECHNOLOGIES iMO-LEARN - MDM user manual

intatec ZERO001 Installation and maintenance instructions

intatec

intatec ZERO001 Installation and maintenance instructions

V2 EASY1 user manual

V2

V2 EASY1 user manual

Bardiani BBYQ Instruction, use and maintenance manual

Bardiani

Bardiani BBYQ Instruction, use and maintenance manual

Texas Instruments LMK04832EVM-CVAL user guide

Texas Instruments

Texas Instruments LMK04832EVM-CVAL user guide

manuals.online logo
manuals.online logoBrands
  • About & Mission
  • Contact us
  • Privacy Policy
  • Terms and Conditions

Copyright 2025 Manuals.Online. All Rights Reserved.