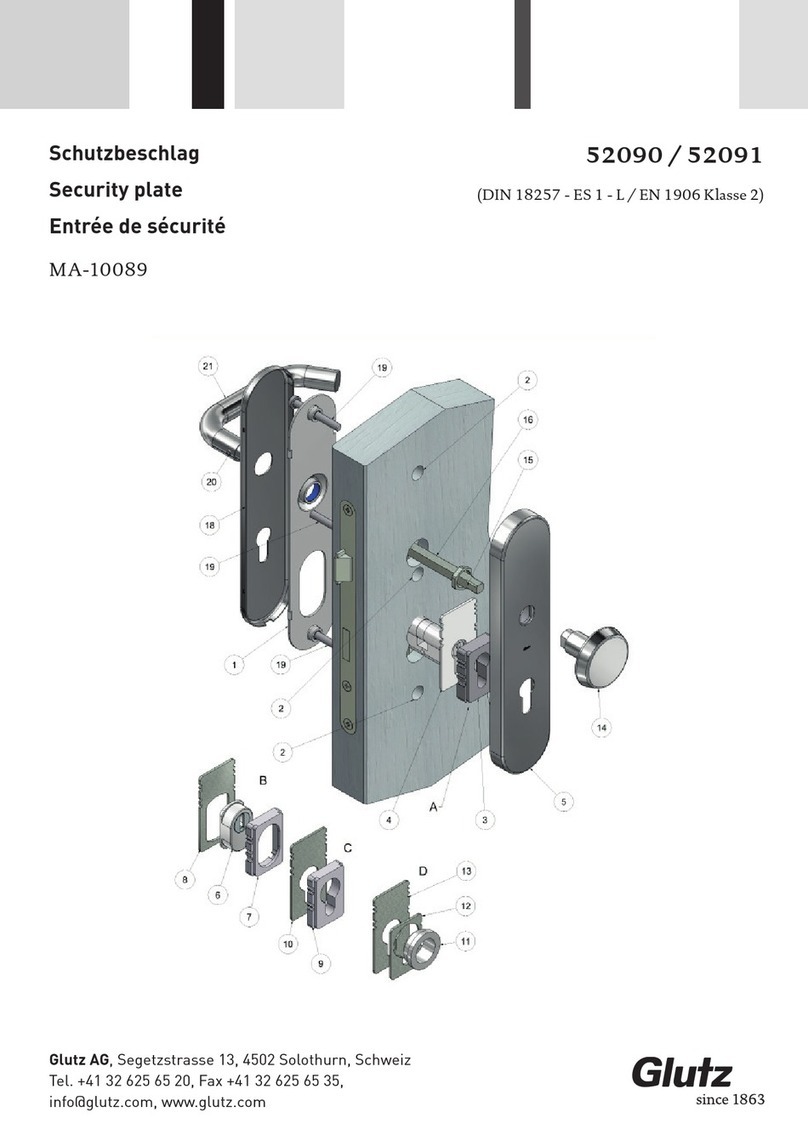
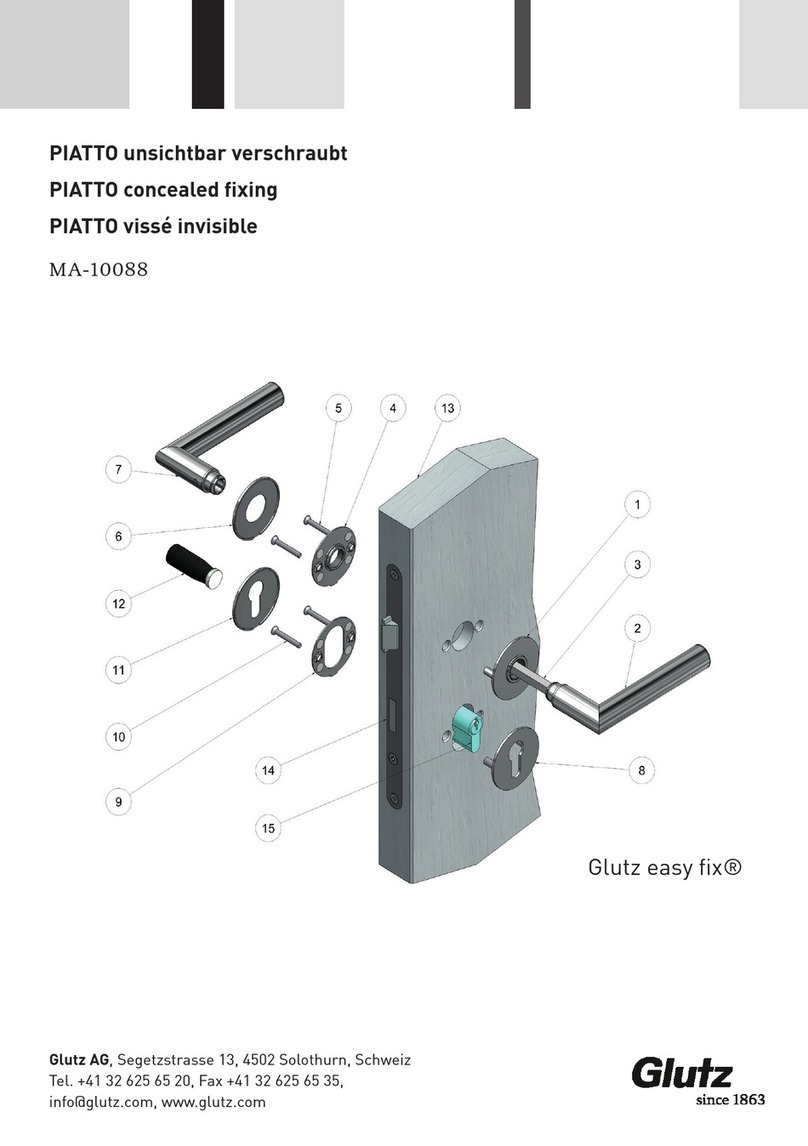
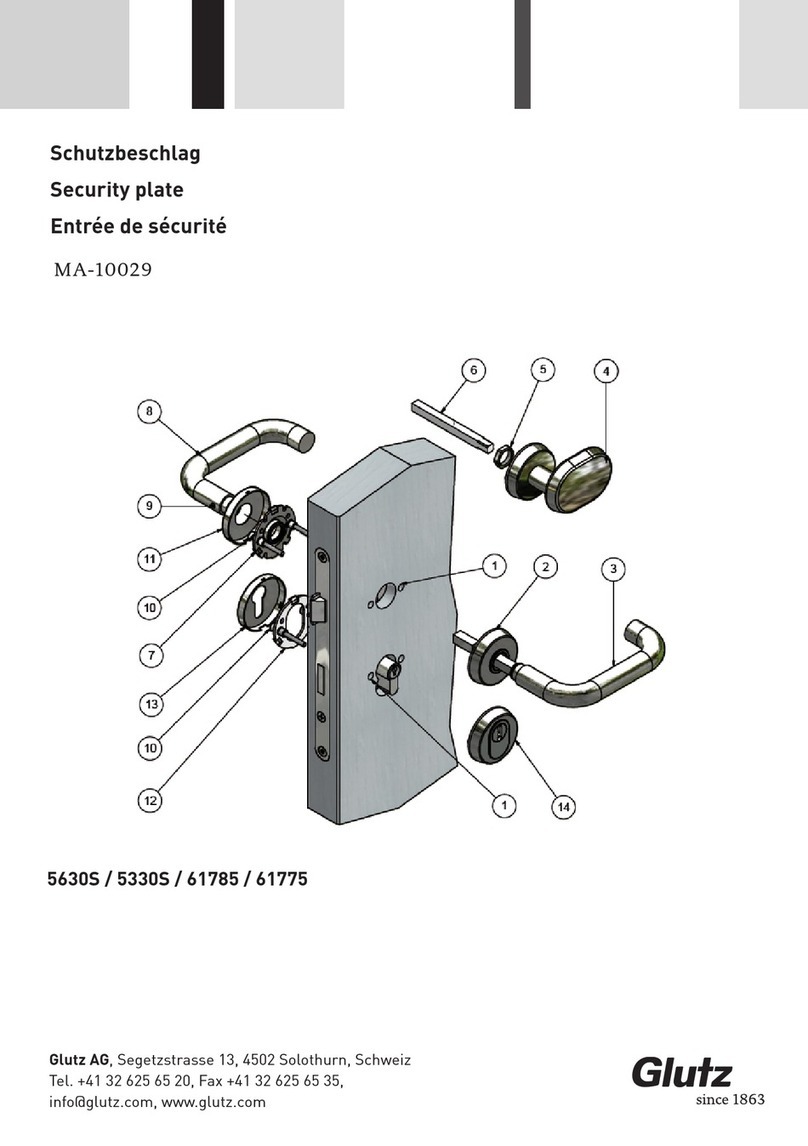
Glutz eAccess User manual

«eAccess» instruction manual:
card programming
www.glutz.com


- 3 -
Dear Customer
Thank you for your interest in our eAccess product range.
To make optimal use of your Glutz eAccess system, please read the instruction manual carefully.
If you have any questions, please contact the specialist retailer or the manufacturer directly.
www.glutz.com - 3 -


- 5 -
Table of contents
1 General information......................................................................................................7
1.1 Target users...................................................................................................................................... 7
1.2 Intended use..................................................................................................................................... 7
1.3 Installation instructions ................................................................................................................... 7
1.4 Hazard Warnings .............................................................................................................................. 7
1.5 Disposal............................................................................................................................................ 8
2 System overview ...........................................................................................................9
2.1 Glutz «eAccess» ............................................................................................................................... 9
2.2 Technical data................................................................................................................................. 10
2.3 Identification media........................................................................................................................ 11
2.4 Identifiers ....................................................................................................................................... 12
2.5 Pairing ............................................................................................................................................ 13
2.6 Programming media ...................................................................................................................... 13
2.7 Operating modes............................................................................................................................ 14
2.8 Programming cards ....................................................................................................................... 15
2.9 User media ..................................................................................................................................... 16
3 Commissioning in SINGLE operating mode.................................................................17
3.1 Prerequisites .................................................................................................................................. 17
3.2 Initialisation.................................................................................................................................... 17
3.3 Reset............................................................................................................................................... 17
4 Operation ....................................................................................................................18
4.1 Prerequisites .................................................................................................................................. 18
4.2 Adding user medium...................................................................................................................... 18
4.3 Adding multiple media ................................................................................................................... 18
4.4 Deleting medium............................................................................................................................ 19
4.5 Deleting a medium with media ID.................................................................................................. 20
4.6 Adding a code ................................................................................................................................. 20
4.7 Deleting a code............................................................................................................................... 21
4.8 Delete all identification media ....................................................................................................... 21
4.9 Selective deletion ........................................................................................................................... 22
4.10 Switching on Freepass ................................................................................................................... 22
4.11 Switching off Freepass ................................................................................................................... 23
4.12 Pairing ............................................................................................................................................ 23
4.13 Replacing lost or defective plus/minus cards................................................................................ 24
4.14 Replacing a lost or defective system card ..................................................................................... 24
5 Device configuration....................................................................................................25
5.1 Prerequisites .................................................................................................................................. 25
5.2 Setting the unlocking time............................................................................................................. 25
5.3 Setting the unlocking time for remote opening............................................................................. 25
5.4 Configuring the buzzer .................................................................................................................. 26
5.5 Configuring the LED....................................................................................................................... 26
5.6 UID Mode ........................................................................................................................................ 26
5.7 Keypad: fixed code length .............................................................................................................. 27
5.8 Battery type (security plate only) ................................................................................................... 27

www.glutz.com - 6 -
Table of contents
6 Maintenance................................................................................................................28
6.1 Cleaning.......................................................................................................................................... 28
6.2 Replacing batteries ........................................................................................................................ 28
6.3 Emergency power supply ............................................................................................................... 32
7 Troubleshooting ..........................................................................................................33
7.1 Error signals during normal operation.......................................................................................... 33
7.2 Troubleshooting specific symptoms .............................................................................................. 33
8 Signals ........................................................................................................................34
8.1 Identification device signals........................................................................................................... 34
8.2 Typical examples of the LED colours ............................................................................................. 35
8.3 Signals during normal operation................................................................................................... 35
8.4 Signals during card programming................................................................................................. 36

- 7 -
1.3 Installation instructions
1.4 Hazard Warnings
1 General information
1.1 Target users
This document is intended for persons who are:
fInstalling and commissioning the system (tters, specialists, door technicians, etc.)
fMaintaining and managing the system (owners, administrators, company technicians, etc.)
1.2 Intended use
Your Glutz eAccess system is a locking system and should only be used for the application intended by the
manufacturer: the locking and unlocking of doors/gates. No other use is intended beyond that specied.
The Glutz eAccess system has been designed for specic areas of application (permissible environmental
conditions are described in section 2.2 Technical Data).
NOTE
Battery mode
Glutz identification devices are battery operated. Failure may occur if battery warnings are not observed.
Various configuration settings can be used to optimise battery life.
TIP
Device installation
The devices should be installed by a qualified specialist.
Installation instructions are supplied with the product.
WARNING
Potential immediate danger
Indicates a potential danger that could result in serious injury or death.
Personal risk

www.glutz.com - 8 -
General information
1.5 Disposal
CAUTION
Potential danger
Indicates a potential danger that could lead to light injury.
NOTE
Product damage
Indicates a situation where non-compliance could damage the device or the functioning of the device.
Material risk
TIP
Tip
Instructions that will help you to get optimal use from the device and to improve the device’s performance.
Tips and tricks for daily use.
Batteries and electronics should not be placed in household waste and are therefore labelled with this
symbol. Consumers are legally obliged to return used batteries. Old batteries can be handed in at public
collection points or retail outlets or sent directly to Glutz:
Glutz AG | Segetzstrasse 13 | CH-4500 Solothurn

- 9 -
2 System overview
2.1 Glutz «eAccess»
The new wireless «eAccess» system from swiss technology leader Glutz guarantees barrier-free living and
working.
As a virtually unrestricted, scalable and comprehensive solution, the system can be adapted seamlessly to
meet all your needs and t any structural conditions: simple, convenient and secure.
«eAccess» enables easy access management in just a few steps. Access for tradespeople, cleaning companies
etc., can be controlled easily and securely.
Every door can be tted with the robust Glutz system. «eAccess» consists of proven mechanical components
that are uncompromising in enduring security. Sophisticated technologies like wireless and RFID (Radio
Frequency Identication) facilitate easy programming and daily use of this access solution.

www.glutz.com - 10 -
2.2 Technical data
System overview
Glutz eAccess
Number of systems 8,000,000
Number of access points 100,000 per system
Communication Wireless 868 Mhz
RFID technology Mifare DESFire EV1/2, 13.56MHz
Identification devices
RFID media Mifare DESFire EV1/2 and ISO 14443-A (UID)
Number of access authorisations 3,000 to 15,000 dynamic
Log data Min. 3,000 entries (ID media, date, time, event)
Operating modes FACTORY, SINGLE
Programming Cards or software
Communication Data exchange takes place wirelessly (868 MHz) or via a
cable
Encryption 3DES/AES
Battery life 50,000 cycles or up to 3 years in standby at room tempera-
ture, with lithium batteries
Protection classes (E-fittings) • Outside: Steel, ES1, ES3
• Inside: Steel
Temperature -20°C to +70°C; lithium batteries
must be used below 0°C.
Rooms Do not use in rooms where there is a risk of explosion

- 11 -
2.3 Identification media
Clips can be used in addition to the practical access cards. All electronic identication media use RFID and
are based on the DESFire Standard.
System overview
G-Line card Specification
fMifare DESFire EV1/2 4kB, 13.56MHz
fThird-party applications are supported
fCredit card format, 86 x 54 mm
fDesign: G-Line or C-Line (customer-specific)
G-Line clip Specification
fMifare DESFire EV1/2 4kB, 13.56MHz
fThird-party applications are supported
f55 x 32 x 7 mm, black and white
fG-Line design
fWaterproof to 3metres
Code Specification
fE-reader with code input
fCode length can be configured from 2 to 8 digits or remain
dynamic
mAccess key Specification
fMechanical key with design bow and RFID

www.glutz.com - 12 -
System overview
2.4 Identifiers
Dierent identiers (ID) are required in the «eAccess» system for dierent purposes. The number of deci-
mal places used in the identier issued enables you to recognise what kind of identier it is:
f8 decimal places: system ID
f9 decimal places: device ID
f10 decimal places: media ID
System ID
The system ID allows a system to be clearly identied throughout Glutz. It is used in communication with
Glutz Support and also as part of the procedure for ordering a subsequent system card.
Media ID
The user media and plus and minus cards sold by Glutz are marked with a media ID. The user medium
can be clearly identied via this 10-digit identier. Knowing the ID allows the media to be deleted from
the device without physical access. User media produced by third-party manufacturers do not have a Glutz
Media ID.
Device ID
The device can be clearly identied via the device ID. Each device has a unique device ID. It is used for the
specic identication of that device.
UID Media
Third-party media can also be used on the eAccess system (e.g. media for drink vending machines, etc.).
Using UID media is less secure when compared to the Glutz system standard. In order to use UID media,
the devices must be activated individually. For security reasons, the device standard for UID media is de-
activated.
Categories Sample identifier
Programming cards
System cards System ID: 1234.5678
Plus/minus cards 123.456.789.0
Number cards -
Function card for pairing 123.456.789.0
User media
G-Line card
G-Line clip
mAccess key
123.456.789.0

- 13 -
System overview
2.5 Pairing
Wireless from the E-reader to the E-fitting/E-cylinder
If required, the E-reader can communicate wirelessly with the E-tting/E-cylinder.
Example:
An E-reader next to the door can be paired with the E-tting/E-cylinder. This means that access can be
granted using a code if the user media has been forgotten.
Wireless from the E-reader to the I/O module
Communication between the external reader and the I/O module in a protected area is wireless (optionally
also via cable).
Cards
Using the cards enables programming to take place without using a PC. This is particularly suitable for
clearly structured applications with only a few users. Various programming cards are available.
2.6 Programming media

www.glutz.com - 14 -
Dierent operating modes are supported on the identication devices that can be programmed quite easily
using cards. The following graphic gives an overview of the dierent operating modes and the possible
crossovers between them.
2.7 Operating modes
System overview
(FACTORY) (SINGLE)
Operating mode crossovers
NOTE
Access control
This operating mode does not offer any protection against unwanted access and should therefore be re-
placed with a secure operating mode as soon as possible.
SINGLE operating mode
FACTORY operating mode
Symbol Specification
All identification devices are supplied in FACTORY operating
mode. No authorisations can be configured in this mode. This
mode focusses on installation. In FACTORY operating mode,
access can be gained using any readable RFID media (exclud-
ing system cards) or with an optional code. Each time the door
opens, a signal is given to the user that they are using a non-se-
cure mode as the orange LED lights up instead of the green
LED. No special card set is required.
(FACTORY)
Symbol Specification
The SINGLE operating mode allows easy recording and hand-
ling of media in an individual system. All identification media
must be recorded on all devices. All authorisations are stored
on the E-devices.
(SINGLE)

- 15 -
Using the RFID cards enables programming to take place without using a PC. This is particularly suitable
for clearly structured applications with only a few users.
Various programming cards are available.
2.8 Programming cards
System overview
System cards
Number cards
0–9 No identifier
Cards 0...9
fRemoving identification media
fSetting configurations
SINGLE system card Sample identifier: System ID: 1234.5678
fSystem initialisation (and reset)
fConfiguration of the +/- cards
fChange of operating mode
fDevice configuration
SINGLE plus/minus cards Sample identifier: Media ID: 123.456.789.0
Plus card
fAdding identification media
fActivating functions
Minus card
fRemoving identification media
fDeactivating functions
123.456.789.0
123.456.789.0
123.456.789.0
1234.5678
123.456.789.0

www.glutz.com - 16 -
System overview
Function cards
2.9 User media
Freepass card No identifier
Freepass
• Activation and deactivation of the Freepass function
G-Line card Sample identifier: 123.456.789.0
User card
• Access card, according to authorisation
G-Line clip Sample identifier: 123.456.789.0
User clip
• Access clip as an alternative to a user card
• Access according to authorisation
mAccess key Sample identifier: 123.456.789.0
User key
• Mechanical key with design bow and RFID
Pairing card Sample identifier: 123.456.789.0
Pairing
• Pairing of two devices
123.456.789.0
123.456.789.0
123.456.789.0

- 17 -
fThe devices are already installed and connected to the mains or the batteries are inserted.
fThe devices have been tested during installation (signal given when batteries are inserted) and are
ready to use in FACTORY operating mode.
fThe SINGLE card set is complete and available on site.
3.1 Prerequisites
3.2 Initialisation
3.3 Reset
3 Commissioning in SINGLE operating mode
Application
After the initial commissioning, the device is switched from FACTORY operating mode to SINGLE oper-
ating mode so that only authorised persons (end users) can gain access.
Description
The initialisation process switches the operating mode from FACTORY to SINGLE. The system is then in
a secure mode. (The system can only be overwritten via a reset)
Card order:
Application
Should a reset be necessary, the device can easily put back into FACTORY operating mode.
Description
The reset puts everything back to FACTORY mode.
All recorded indentication media are deleted.
The device reverts back to FACTORY operating mode.
Card order:
123.456.789.0
123.456.789.0 123.456.789.0
123.456.789.0123.456.789.0
1234.5678 123.456.789.0
1234.5678
123.456.789.0
1234.5678

www.glutz.com - 18 -
fThe devices are initialised and commissioned.
fThe relevant card set for the operating mode is complete and available on site.
4.1 Prerequisites
4.2 Adding user medium
4.3 Adding multiple media
4 Operation
Application
Users can only gain access once their medium is recognised by the locking system.
Description
By presenting the plus card, the device switches to programming mode and the user medium can be cong-
ured. If successful, the medium will be immediately authorised for access.
Card order:
Application
Users can only gain access once their medium is recognised by the locking system. Multiple media can also
be congured at the same time.
Description
By presenting the plus card, the device switches to programming mode and the user medium can be cong-
ured. To record multiple media, the plus card must be presented twice.
Present the media one after another, with a gap of no more than 10 seconds between each one otherwise
the process will be aborted.
The process can be conrmed using the plus card.
Card order:
TIP
Lost media
Note down the media ID so that it can be deleted if lost.
123.456.789.0
123.456.789.0 123.456.789.0
123.456.789.0
123.456.789.0 123.456.789.0 123.456.789.0

- 19 -
Operation
Application
If a medium is no longer going to be used (e.g. an employee leaves, etc.), it can be deleted. This process
deletes user media authorisations from a device.
Description
By presenting the minus card, the device switches to programming mode and the user medium can now be
deleted. The removed medium is now blocked.
Card order:
Application
If a multiple number of media are no longer going to be used (e.g. employees leave, etc.), they can be de-
leted. This process deletes user media authorisations from a device. Multiple media can be removed at the
same time.
Description
By presenting the minus card, the device switches to programming mode and the user media can be deleted.
To delete multiple media, the minus card must be presented twice. Present the media one after another, with
a gap of no more than 10 seconds between each one otherwise the process will be aborted. The process
should be conrmed using the minus card.
Card order:
TIP
Completion step forgotten
If the process is not completed using the plus card, all the media recorded so far will stay on the device and
the device will exit programming mode.
4.4 Deleting medium
Deleting multiple media
123.456.789.0
123.456.789.0 123.456.789.0 123.456.789.0
123.456.789.0
123.456.789.0 123.456.789.0

www.glutz.com - 20 -
4.5 Deleting a medium with media ID
Operation
Application
This process can be used if a medium is lost and needs to be deleted. The media ID is required for this. The
medium can be deleted using the number cards.
Description
By presenting the minus card, the device switches to programming mode and the user medium can be de-
leted using its media ID.
Present the number cards one after another, with a gap of no more than 10 seconds between each one oth-
erwise the process will be aborted. The process should be conrmed using the minus card.
Card order:
4.6 Adding a code
Application
If a code needs to be added to an E-reader, this can be done using a combination of cards and keys.
Description
By presenting the plus card, the device switches to programming mode and a new code can be added. After
showing the plus card, enter the new code.
If a dynamic code length is used, it must be conrmed with the OK key.
Card/key order:
...
* only necessary if a dynamic code length has been programmed. For a xed-length code (e.g. 4-digit), the
conrmation is not necessary.
*
123.456.789.0 123.456.789.0
123.456.789.0
8.5 3
123.456.789.0
8.6 6
123.456.789.0
TIP
Complete input
All 10 digits of the media ID must be presented, including the zeros.
Table of contents
Other Glutz Door Lock manuals
Popular Door Lock manuals by other brands

Schlage
Schlage SchlageTouch BE375 manual

hager
hager 47PN instructions

Command access
Command access LPM110 installation instructions

Assa Abloy
Assa Abloy SECURITRON DPA-12 Installation and operating instructions

Allegion
Allegion Schlage L-Series Service manual

EUCHNER
EUCHNER MGB2-Ixx-MLI series operating instructions