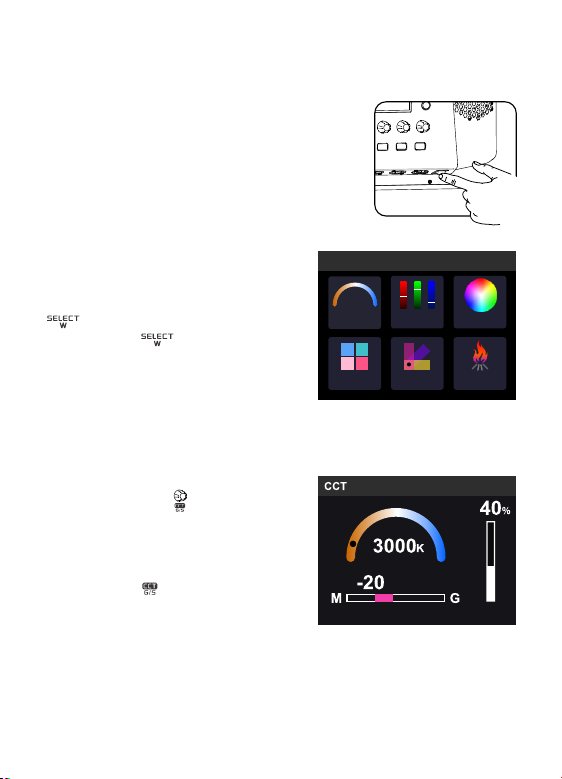
2.3.1 In HSI interface, turn the select dial to
adjust hue value from 0 to 360°. Turn the
select dial leftwards to decrease the value
while rightwards to increase.
2.3.2 Turn the select dial to adjust S value
(saturation) from 0% to 100%. Turn the select
dial leftwards to decrease the value while
rightwards to increase. Turn the select dial
to adjust I value (brightness) from 0 to 100.
After setting all these parameters, press
MODE or BACK button to back to the MODE
interface.
Adjust the value in each level: adjust 1 value
in normal operation while 10 values in quick
operation.
2.2.1 In RGB interface, turn the select dial
to adjust R value from 0 to 255. Turn the
select dial leftwards to decrease the value
while rightwards to increase.
2.2.2 Turn the select dial to adjust G value
from 0 to 255. Turn the select dial leftwards to
decrease the value while rightwards to
increase.
2.2.3 Turn the select dial to adjust B value
from 0 to 255. Turn the select dial leftwards to
decrease the value while rightwards to
increase.
2.2.4 Turn the select dial to adjust W value
(saturation) from 0 to 255. Then, short press
the select dial to adjust I value (brightness)
from 0 to 100.
After setting all these parameters, press
MODE or BACK button to back to the MODE
interface.
CH GRA32
R
123
GBW/I
34 34 34
HSI CH GRA32
360
46 40%
°
S I
2.2 RGB Mode Setting
2.3 HSI Mode
2.5.1 Enter FX interface and turn the
select dial to choose light effects modes
from 1 to 14 categories.
Brightness Adjustment:Turn select dial
to adjust brightness from 0% to 100%.
2.4.1 R-GEL selection: enter R-GEL
interface and turn the select dial to
choose from 20 gels in recycle.
Brightness Adjustment:Turn select
dial to adjust brightness from 0% to
100%.
2.4.2 L-GEL selection: enter L-GEL
interface and turn the select dial to
choose from 20 gels in recycle.
Brightness Adjustment:Turn select
dial to adjust brightness from 0% to
100%.
After setting all these parameters, press
MODE or BACK button to back to the
MODE interface.
2.4 R-GEL & L-GEL Mode
2.5 FX Light Effect Modes
L-GEL CH GR A32
40%
DIM
153
156
165
128
R-GEL
40%
DIM
CH GRA32
1:
2:
3:
4:
FX
FX CH GRA32
DIM
- 27 - - 28 -
156
165
243
244