manuals.online logo
Brands
  1. Home
  2. •
  3. Brands
  4. •
  5. Grange
  6. •
  7. Outdoor Furnishing
  8. •
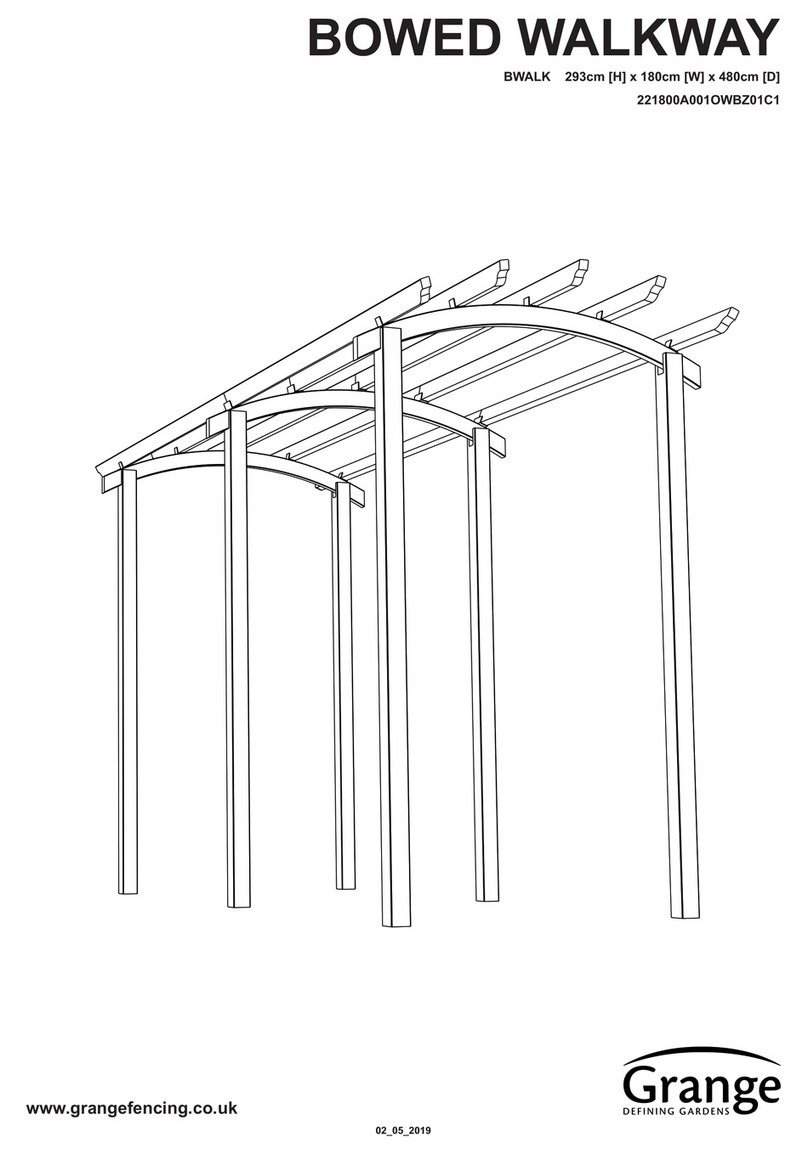
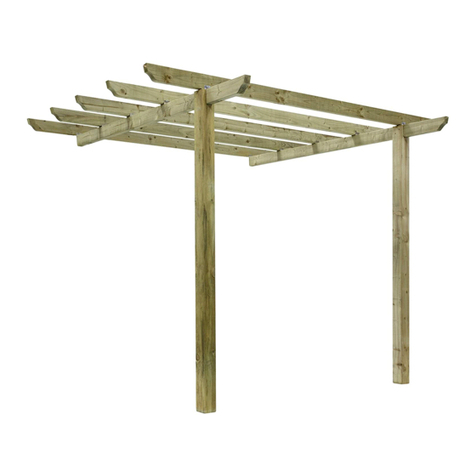
  9. Grange BOWED WALKWAY User manual

Grange BOWED WALKWAY User manual

STEP 7
Fix five of the longer brackets
(x)to the Curved Beam (2)at
Posts CDspaced equally as
Step 6.
STEP 8
Site the two remaining posts
and curved beam at EF as
Steps 3 and 4.
STEP 9
Fix the remaining five smaller
brackets (
w
)to the Curved
Beam (2)equally spaced as
step 6
STEP 10
Locate one of the Rafters (3)
into the centre brackets at
AB and CD.The straight end
of the rafter should be fixed
centrally in the longer bracket
(
x
)at CD
STEP 11
Locate a second rafter in line
with the rafter just fitted,
between CD and EF.Fix in
place.
STEP 12
Repeat Step 11 for the
remaining rafters.
NB.
The structure is designed to
accept standard fence panels
of 183cm.
To allow180cmpanels to be
fitted the distance between
the posts may be adjusted to
suit.
B
A
D
C
z
z
x
2
F
E
1
2
3
STEPS 7 - 9
x
w
To ensure longevity of your structure it is recommended that it is treated with a wood preservative on a yearly basis.
AFTERCARE
BWALK - 293cm [H] x 180cm [W] x 480cm [D]
BOWED WALKWAY
Self-Assembly required Home Delivery available Pre-Painted available
www.grangefen.co.uk
All products and related emblems featured are
trademarks of Grange Fencing Ltd.
©2015 Grange Fencing Ltd All rights reserved.
In line with the Company’s policy of
continuous product development, the right
is reserved to change and improve product
design without prior notice.
CODE: BWALK
PLAN
480cm
180cm
160cm
141cm
180cm
293cm
293cm
270cm
BWALK [A5 4page instructions] 4/2/16 10:22 Page 1
192.5cm 192.5cm
BOWED WALKWAY PERGOLA PLAN
150.5cm
160cm
183cm 183cm
A
A
B
B
C
D
E
F
BEFORE YOU START
•Please ensure that you check all the component parts for quantity and quality before you
commence building the product. Report any missing parts immediately. The manufacturer will
not accept any responsibility for damaged items once any part of the product has been fitted or
altered in any way.
•Timber is a natural material and will react to varying levels of moisture content - ie. will swell or
shrink. All of the Timber components are pressure treated green. However, should extra
protection be required, they should be treated using a wood preservative treatment, following the
manufacturers instructions.
HEALTH AND SAFETY
Do not lean or stand on the roof assembly at any time - the structure is not of a load bearing design.
Do not overstretch when working from the step ladder.
In order to reduce the risk of suffocation please keep all plastic bags and small parts away from children.
•When you are ready to start, make sure you have the right tools to hand, plenty of space and a
clean,dry area for assembly. It is recommended that two people erect the structure.
Thank you for choosing this garden structure from Grange. In order to gain the most
benefit from it please read the following instructions carefully.
TOOLS REQUIRED (Not Supplied)
POWER DRILL
(+ crosshead screwdiver bit)
SPIRIT LEVEL
TAPE MEASURE
STEPLADDER
SQUARE
PARTS LIST
TIMBER POSTS 6
CURVED BEAMS 3
RAFTERS 10
BRACKETS (SHORT) 10
BRACKETS (LONG) 5
HARDWARE PACK
SCREWS No.10 x3” 12
SCREWS No.8 x 1.25” 60
ASSEMBLY INSTRUCTIONS
STEP 1
Using the layout shown above mark
out the areawhere the structure is to
be sited.
STEP 2
Prepare the holes for the posts (1).
Each hole should be a minimum of
30cm deep. Make sure the depths are
the same to ensure the structure is
level when all the posts are sited.
Allow adequate room for the preferred
method of fixing (ie. Carlton FP-Ecofix).
STEP 3
Site posts AandBintothe prepared
holes. Ensure the correct orientation of
the cutouts and that the posts are the
same height and upright.
Note: Posts must be fixed before
attempting to complete build.
STEP 4
Take one of the Curved Beams (2)and
place it into the top of the posts. Make
sure the overhang is equally spaced.
Fix in place with two screws (y)in each
post.
STEP 5
Repeat steps 3 and 4 for posts Cand D.
STEP 6
Fix five of the smaller brackets (w)to
the Curved Beam (2)at posts AB at
equally spaced intervals using screws
(z).
(continued overleaf)
3
2
1
y
z
2
3
w
x
z
y
30cm
=
STEP 2
STEP 1
1
B
A
D
C
STEP 3
STEP 4
STEP 5
y
z
z
y
1
11
2
1
2
w
2
2
STEP 6
=
====
w x
BWALK [A5 4page instructions] 4/2/16 10:22 Page 2

Other Grange Outdoor Furnishing manuals

Grange RGTBR User manual

Grange

Grange RGTBR User manual

Grange BOWED WALKWAY 221800A001OWBZ01C1 User manual

Grange

Grange BOWED WALKWAY 221800A001OWBZ01C1 User manual

Grange TRADITIONAL PATIO PERGOLA User manual

Grange

Grange TRADITIONAL PATIO PERGOLA User manual

Grange Dragon Pergola User manual

Grange

Grange Dragon Pergola User manual

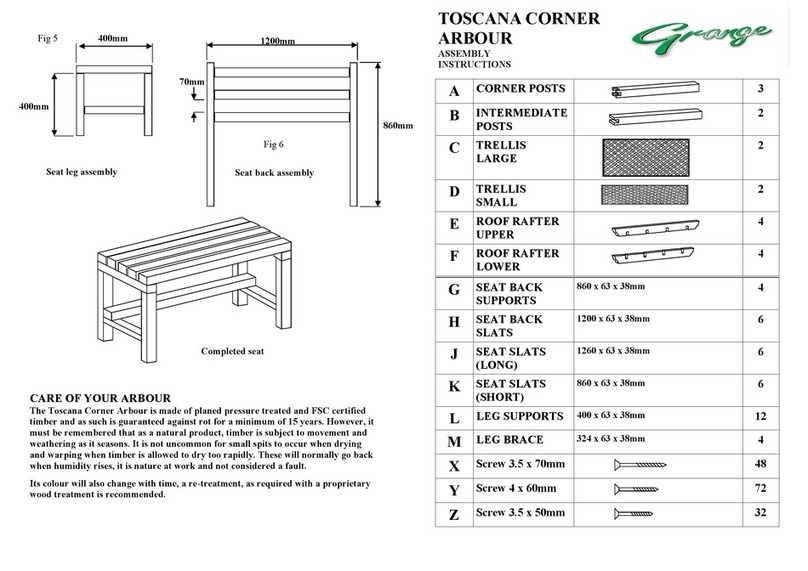
Grange TOSCANA CORNER ARBOUR User manual

Grange

Grange TOSCANA CORNER ARBOUR User manual

Grange ELITE GRANVILLE ARCH User manual

Grange

Grange ELITE GRANVILLE ARCH User manual

Grange Romana Arbour User manual

Grange

Grange Romana Arbour User manual

Grange CONTEMPORARY PKCPERGA User manual

Grange

Grange CONTEMPORARY PKCPERGA User manual

Grange Romana Arbour User manual

Grange

Grange Romana Arbour User manual

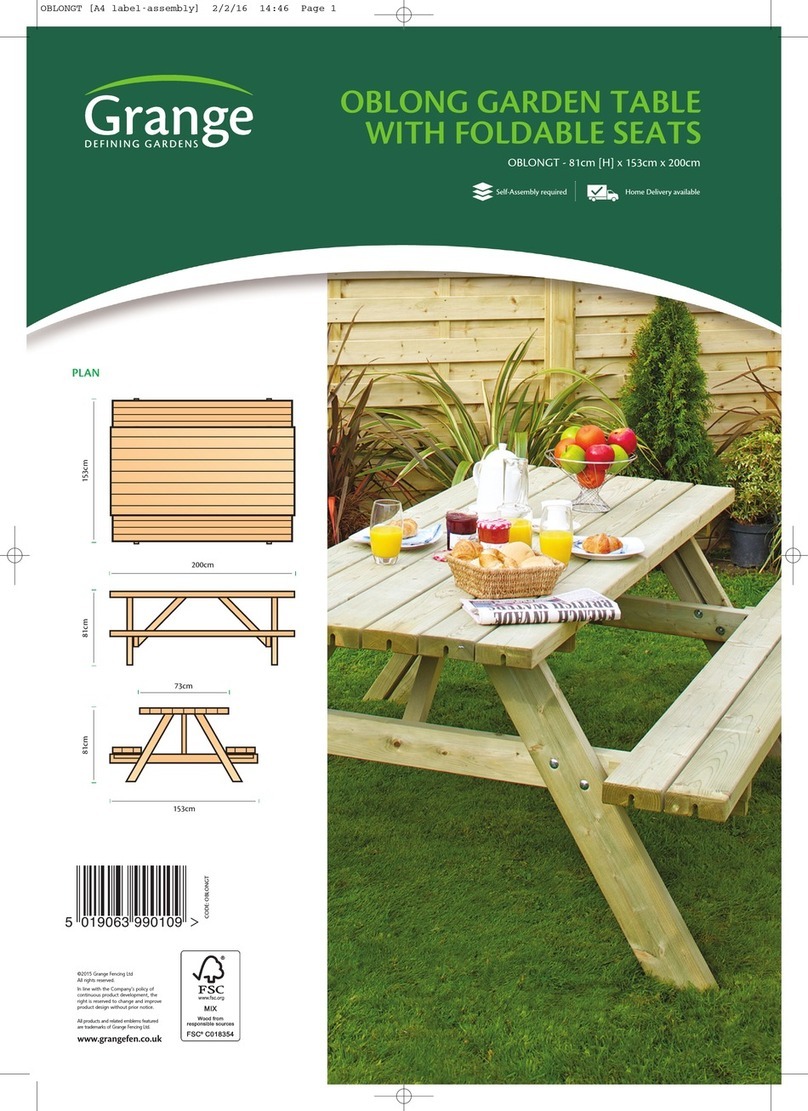
Grange OBLONG User manual

Grange

Grange OBLONG User manual

Grange MONTEBELLO ARBOUR User manual

Grange

Grange MONTEBELLO ARBOUR User manual

Grange MONTEBELLO User manual

Grange

Grange MONTEBELLO User manual

Grange Elite Arch User manual

Grange

Grange Elite Arch User manual

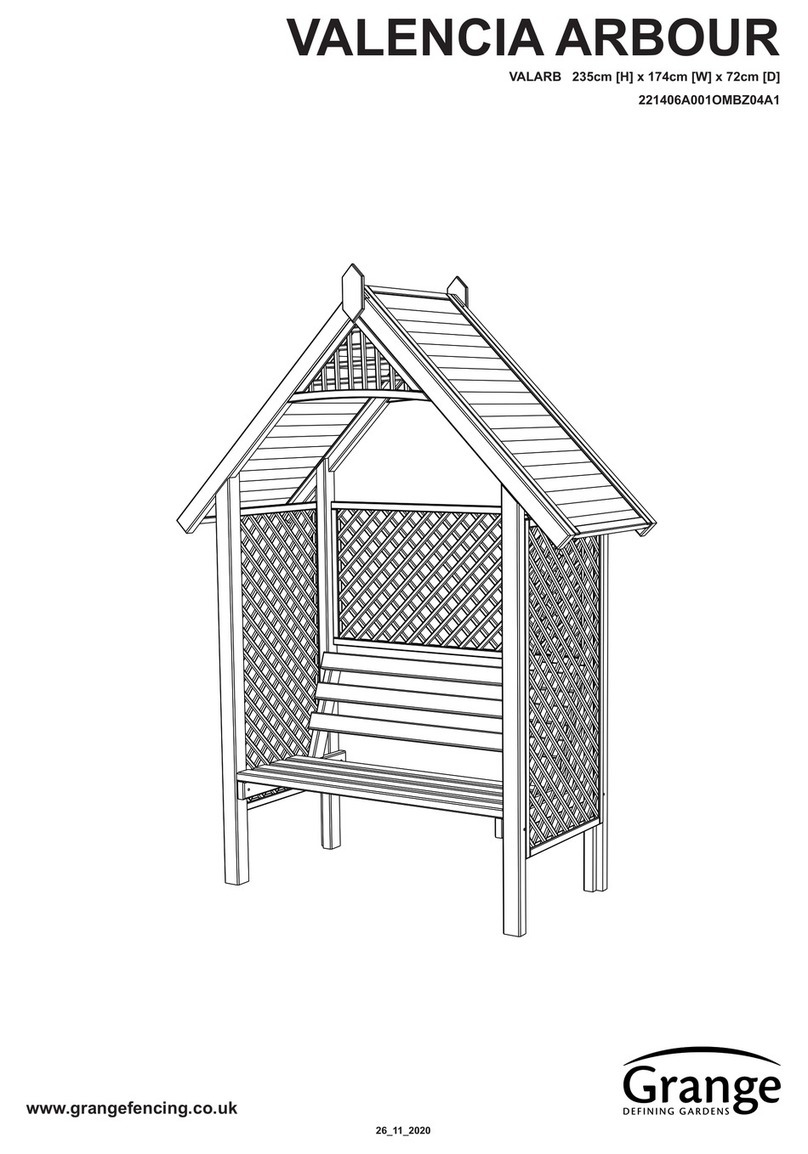
Grange VALENCIA ARBOUR User manual

Grange

Grange VALENCIA ARBOUR User manual

Grange TRADITIONAL PERGOLA User manual

Grange

Grange TRADITIONAL PERGOLA User manual

Grange PORTICO PERGOLA User manual

Grange

Grange PORTICO PERGOLA User manual

Grange AREZZO ARBOUR User manual

Grange

Grange AREZZO ARBOUR User manual

Popular Outdoor Furnishing manuals by other brands

vita Classic Regency Trellis VT68198 Assembly guide

vita

vita Classic Regency Trellis VT68198 Assembly guide

Hanover Manor MANDN9PCOVSW8 manual

Hanover

Hanover Manor MANDN9PCOVSW8 manual

Decovi FRAMESET Series owner's manual

Decovi

Decovi FRAMESET Series owner's manual

Costco A102009800 manual

Costco

Costco A102009800 manual

Garden Treasures CV-15A120X manual

Garden Treasures

Garden Treasures CV-15A120X manual

supremo LEISURE Barcelona Cushion Box Product Assembly

supremo LEISURE

supremo LEISURE Barcelona Cushion Box Product Assembly

Voyager Dock Titan quick start guide

Voyager Dock

Voyager Dock Titan quick start guide

Costway HW63212 user manual

Costway

Costway HW63212 user manual

Hanover TRAD5PCCFP-BLU Assembly instructions

Hanover

Hanover TRAD5PCCFP-BLU Assembly instructions

Garden Trading CHRA05 Assembly instructions

Garden Trading

Garden Trading CHRA05 Assembly instructions

Sojag 500-9167849 Assembly manual

Sojag

Sojag 500-9167849 Assembly manual

PARK WAREHOUSE ZipCrank 685se275-4 Installation

PARK WAREHOUSE

PARK WAREHOUSE ZipCrank 685se275-4 Installation

Courtyard 5535 Product instructions

Courtyard

Courtyard 5535 Product instructions

sweeek. ROSARIO ACROPE3109 manual

sweeek.

sweeek. ROSARIO ACROPE3109 manual

BCP SKY3407 instruction manual

BCP

BCP SKY3407 instruction manual

YOTRIO FTS00026F quick start guide

YOTRIO

YOTRIO FTS00026F quick start guide

Monzana MZTG165 installation instructions

Monzana

Monzana MZTG165 installation instructions

Eagle Peak HTDH168-BLK instruction manual

Eagle Peak

Eagle Peak HTDH168-BLK instruction manual

manuals.online logo
manuals.online logoBrands
  • About & Mission
  • Contact us
  • Privacy Policy
  • Terms and Conditions

Copyright 2025 Manuals.Online. All Rights Reserved.