manuals.online logo
Brands
  1. Home
  2. •
  3. Brands
  4. •
  5. Grange
  6. •
  7. Outdoor Furnishing
  8. •
  9. Grange Elite Arch User manual

Grange Elite Arch User manual

ELITE
ARCH
2.04m 2.54m
1m 0.45m
Will fit paths
up to 910mm
wide
FRONT
ELEVATION
SIDE
ELEVATION
ELITE ARCH (ELITEARCH)
PLAN
GRANGE FENCING LIMITED Halesfield 21, TelfordTF7 4PA
Tel:01952 588088 Fax:01952 581522 Email:[email protected] Web:www.grangefen.co.uk
OUT OF HOURS MESSAGE SERVICE: 01952 588088
JULY 2011 - ISSUE 2
PLEASE SEE
OVERLEAF FOR
ASSEMBLY
INSTRUCTIONS
ALL PRODUCTS ARE
MEASURED TO THE HIGHEST
AND WIDEST POINT AND ALL
SIZES ARE APPROXIMATE
Elite Arch illustrated with feet
bedded into ground approx. 300mm
Grange Code: ELITEARCH
Elite Arch Instructions 8/7/11 10:09 Page 1
BEFORE YOU START
ASSEMBLY
•Check the pack/s and make sure that you have
all of the parts listed above. If not, contact
your retailer who will be able to help you.
•When you are ready to start, make sureyou
have the right tools to hand, plenty of space
and a clean, dry area for assembly.
•It is advisable for two people to carry out
the work.
Ref.
POZIDRIVE SCREWDRIVER
ELECTRIC DRILL
SPIRIT LEVEL
PARTS SUPPLIED
TOOLS REQUIRED (not supplied)
Description Qty.
A
B
C
ARCH
SIDE
SECTIONS
CURVED
ROOF
SECTIONS
DOWLING
BEAMS
2
2
9
xScrews 8 x 3.5 10
1x HARDWARE PACK:
SITE PREPARATION
Excavate a 300mm
square hole (approx)
for each post to a depth
of at least 300mm. (see
Fig.A.right)
We would recommend
that you use MetCrete,
fast set post fixing
concrete to fix your
posts. Easy to use, it
sets in just 10 minutes.
STEP 1
Take one of the Curved Roof Sections (B)and
insert one of the Dowling Beams (C)into each
of the holes provided.
STEP 2
Take the second Curved Roof Section and position
it onto the free end of the Dowling Beams.
STEP 3
Carefully position the roof
assembly to enable one of
the Side Sections (A)to be
fitted. Using two screws
(x)in each side, attach the
Side Section to the roof
assembly.
Fix at the
centre of the
curve either
side with one
screw (x)as
shown in Fig.1
STEP 4
Turn this assembly
to allow the other
side assembly to be
fitted.
STEP 5
The arch may now
be positioned into
the prepared holes.
STEP 6
Ensurethe arch is
vertical and square.
STEP 7
Fill the holes
with the chosen
method of
fixing.
Fig A.
300mm
Fig.1
B
B
C
A
x
B
Fig.2
SCREW THROUGH
INSIDE OF POSTS
=
=
B
A
ELITE ARCH
ASSEMBLY INSTRUCTIONS
x
x
To ensure longevity of your structure it is
recommended that it is treated with a wood
preservative on a yearly basis.
AFTERCARE
Elite Arch Instructions 8/7/11 10:09 Page 2

Other Grange Outdoor Furnishing manuals
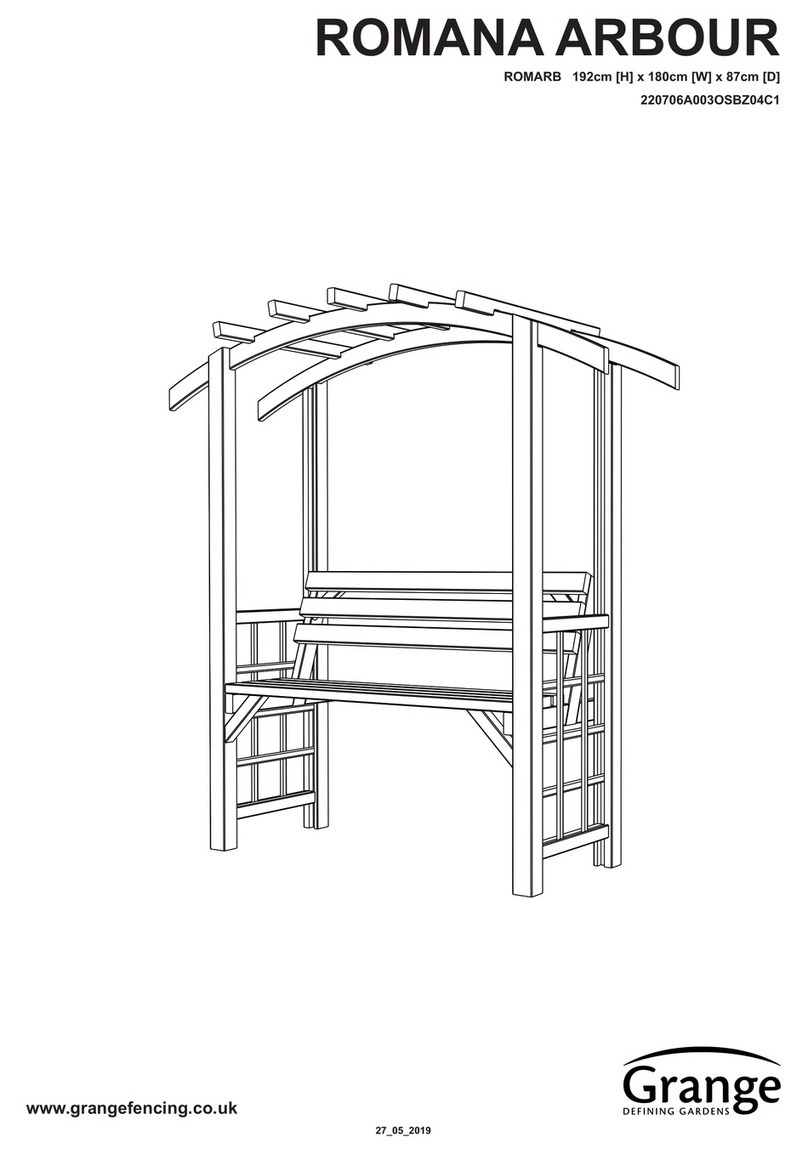
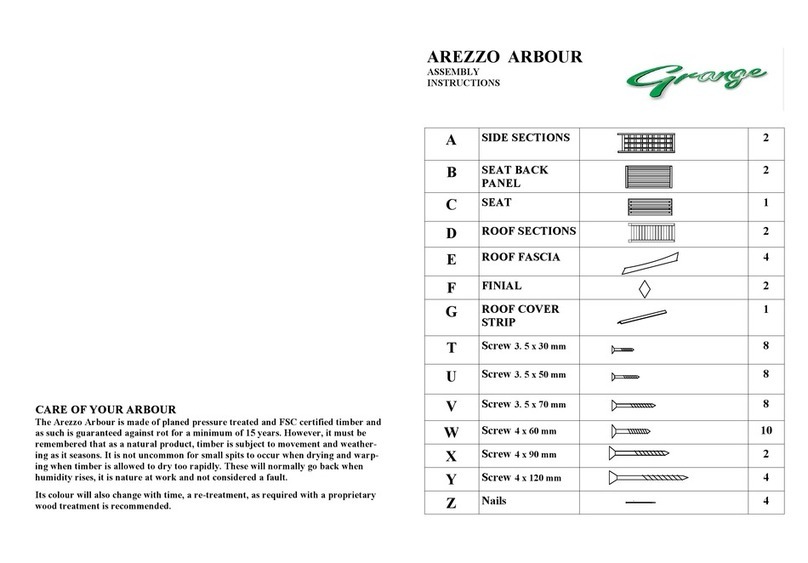
Grange BOWED WALKWAY User manual

Grange

Grange BOWED WALKWAY User manual

Grange CONTEMPORARY PKCPERGA User manual

Grange

Grange CONTEMPORARY PKCPERGA User manual

Grange Dragon Pergola User manual

Grange

Grange Dragon Pergola User manual

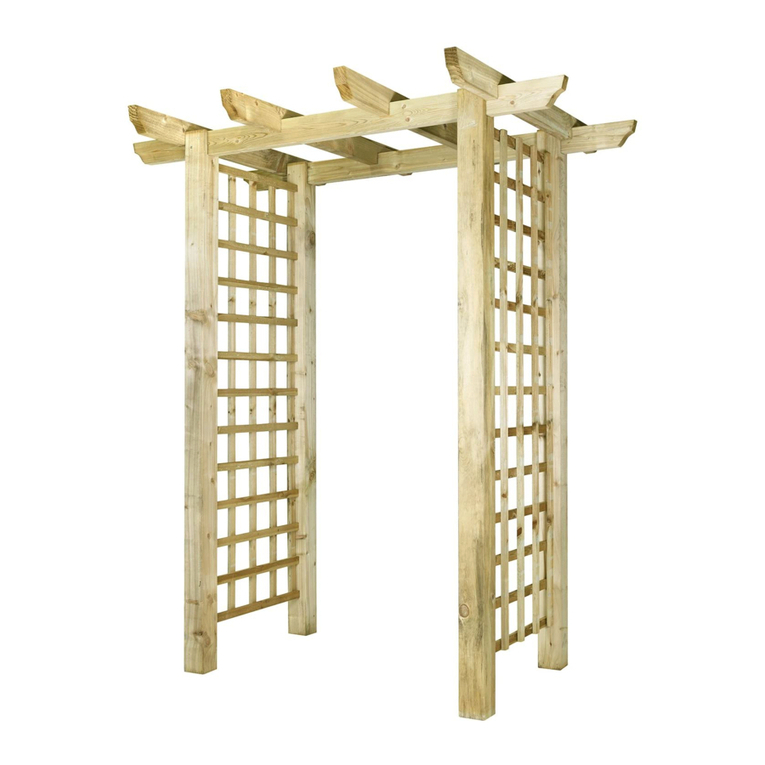
Grange ELITE GRANVILLE ARCH User manual

Grange

Grange ELITE GRANVILLE ARCH User manual

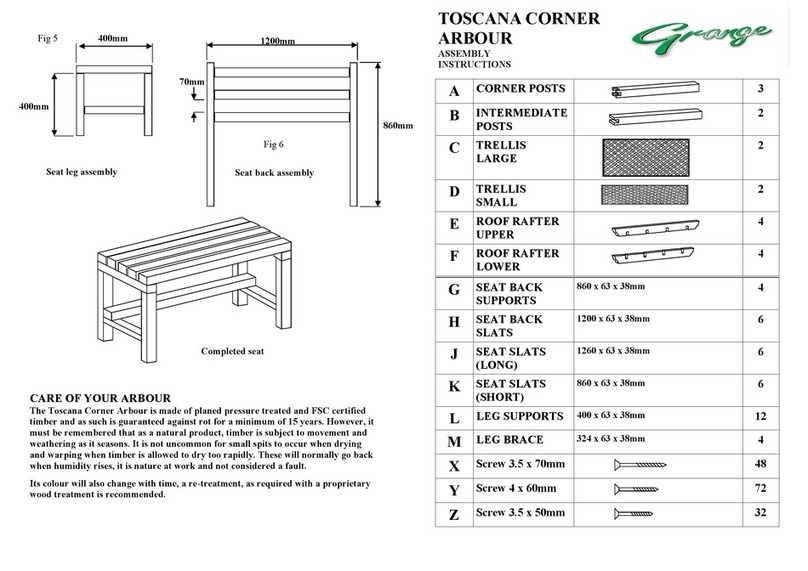
Grange TOSCANA CORNER ARBOUR User manual

Grange

Grange TOSCANA CORNER ARBOUR User manual

Grange TRADITIONAL PATIO PERGOLA User manual

Grange

Grange TRADITIONAL PATIO PERGOLA User manual

Grange RGTBR User manual

Grange

Grange RGTBR User manual

Grange MONTEBELLO User manual

Grange

Grange MONTEBELLO User manual

Grange Romana Arbour User manual

Grange

Grange Romana Arbour User manual
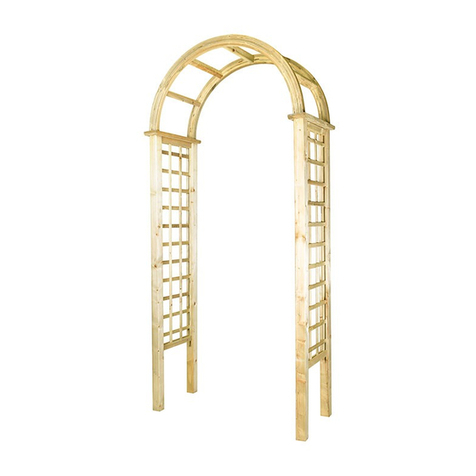
Grange OBLONG User manual

Grange

Grange OBLONG User manual

Grange PORTICO PERGOLA User manual

Grange

Grange PORTICO PERGOLA User manual

Grange AREZZO ARBOUR User manual

Grange

Grange AREZZO ARBOUR User manual

Grange Romana Arbour User manual

Grange

Grange Romana Arbour User manual

Grange TRADITIONAL PERGOLA User manual

Grange

Grange TRADITIONAL PERGOLA User manual

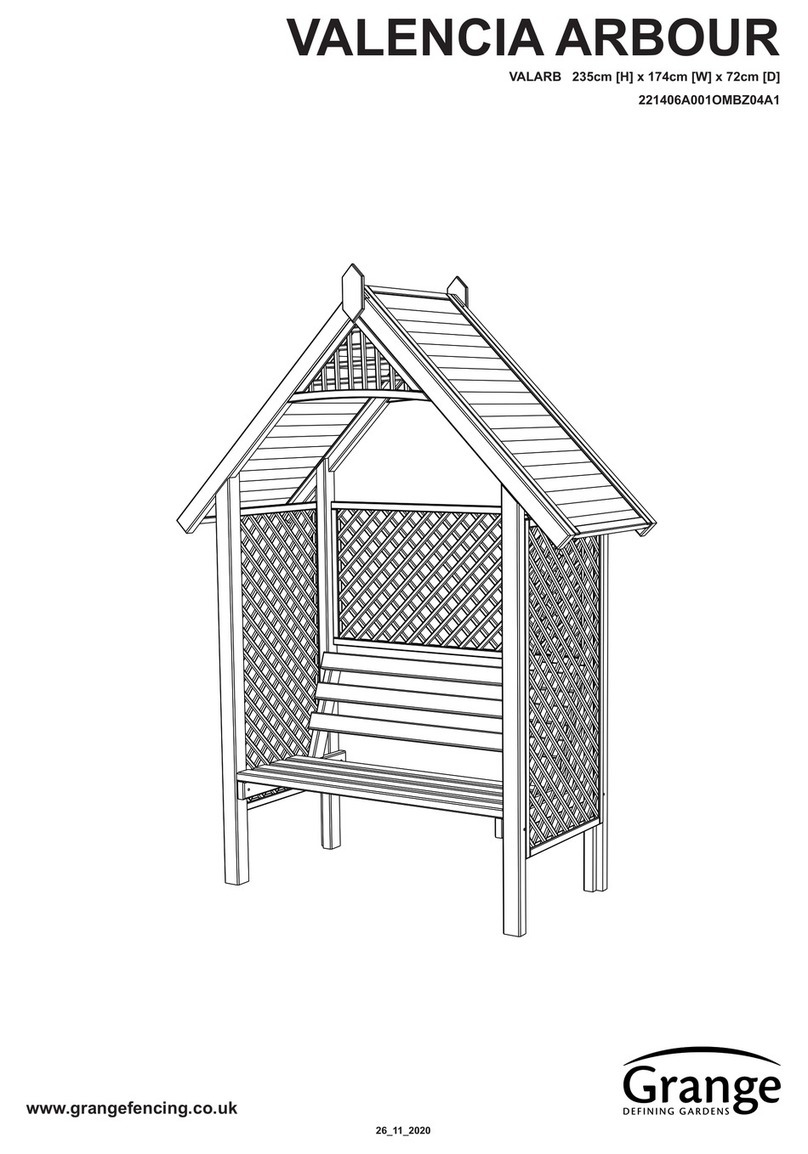
Grange VALENCIA ARBOUR User manual

Grange

Grange VALENCIA ARBOUR User manual

Grange BOWED WALKWAY 221800A001OWBZ01C1 User manual

Grange

Grange BOWED WALKWAY 221800A001OWBZ01C1 User manual

Grange MONTEBELLO ARBOUR User manual

Grange

Grange MONTEBELLO ARBOUR User manual
Popular Outdoor Furnishing manuals by other brands

Next 394304 Assembly instructions

Next

Next 394304 Assembly instructions

Good Directions 8613387 Assembly instructions

Good Directions

Good Directions 8613387 Assembly instructions

kleankin 834-619V81 manual

kleankin

kleankin 834-619V81 manual

Outdoor living today 8x8 Sunshed Garden Shed Assembly manual

Outdoor living today

Outdoor living today 8x8 Sunshed Garden Shed Assembly manual

Tesco Pop Up Gazebo manual

Tesco

Tesco Pop Up Gazebo manual

Sunjoy L-GZ1140PST-C1 Assembly instruction

Sunjoy

Sunjoy L-GZ1140PST-C1 Assembly instruction

Forever Redwood DIY Wood Gazebo Assembly instructions

Forever Redwood

Forever Redwood DIY Wood Gazebo Assembly instructions

MyOUTDOORKITCHEN HUI-SSA20-V Assembly and operating manual

MyOUTDOORKITCHEN

MyOUTDOORKITCHEN HUI-SSA20-V Assembly and operating manual

Forever Redwood CHERRY HILL OUTDOOR PERGOLA Assembly instructions

Forever Redwood

Forever Redwood CHERRY HILL OUTDOOR PERGOLA Assembly instructions

Tuuci equinox Assembly instructions

Tuuci

Tuuci equinox Assembly instructions

BIRCH LANE RCLF2864 manual

BIRCH LANE

BIRCH LANE RCLF2864 manual

Sister Bay MHYA-F Assembly instructions

Sister Bay

Sister Bay MHYA-F Assembly instructions

TMG PRO Series product manual

TMG

TMG PRO Series product manual

AmazonBasics 4-Piece Patio PE Rattan Wicker Sofa Set manual

AmazonBasics

AmazonBasics 4-Piece Patio PE Rattan Wicker Sofa Set manual

DTY OF-1015 Assembly instructions

DTY

DTY OF-1015 Assembly instructions

deVRIES TRENDY Willington 40465N Assembly instructions

deVRIES

deVRIES TRENDY Willington 40465N Assembly instructions

Barbeques Galore JETEXTT220G Assembly instructions

Barbeques Galore

Barbeques Galore JETEXTT220G Assembly instructions

Safavieh Outdoor PAT7508 Assembly instructions

Safavieh Outdoor

Safavieh Outdoor PAT7508 Assembly instructions

manuals.online logo
manuals.online logoBrands
  • About & Mission
  • Contact us
  • Privacy Policy
  • Terms and Conditions

Copyright 2025 Manuals.Online. All Rights Reserved.