manuals.online logo
Brands
  1. Home
  2. •
  3. Brands
  4. •
  5. Green Brook
  6. •
  7. Security Sensor
  8. •
  9. Green Brook Orion Range User manual

Green Brook Orion Range User manual

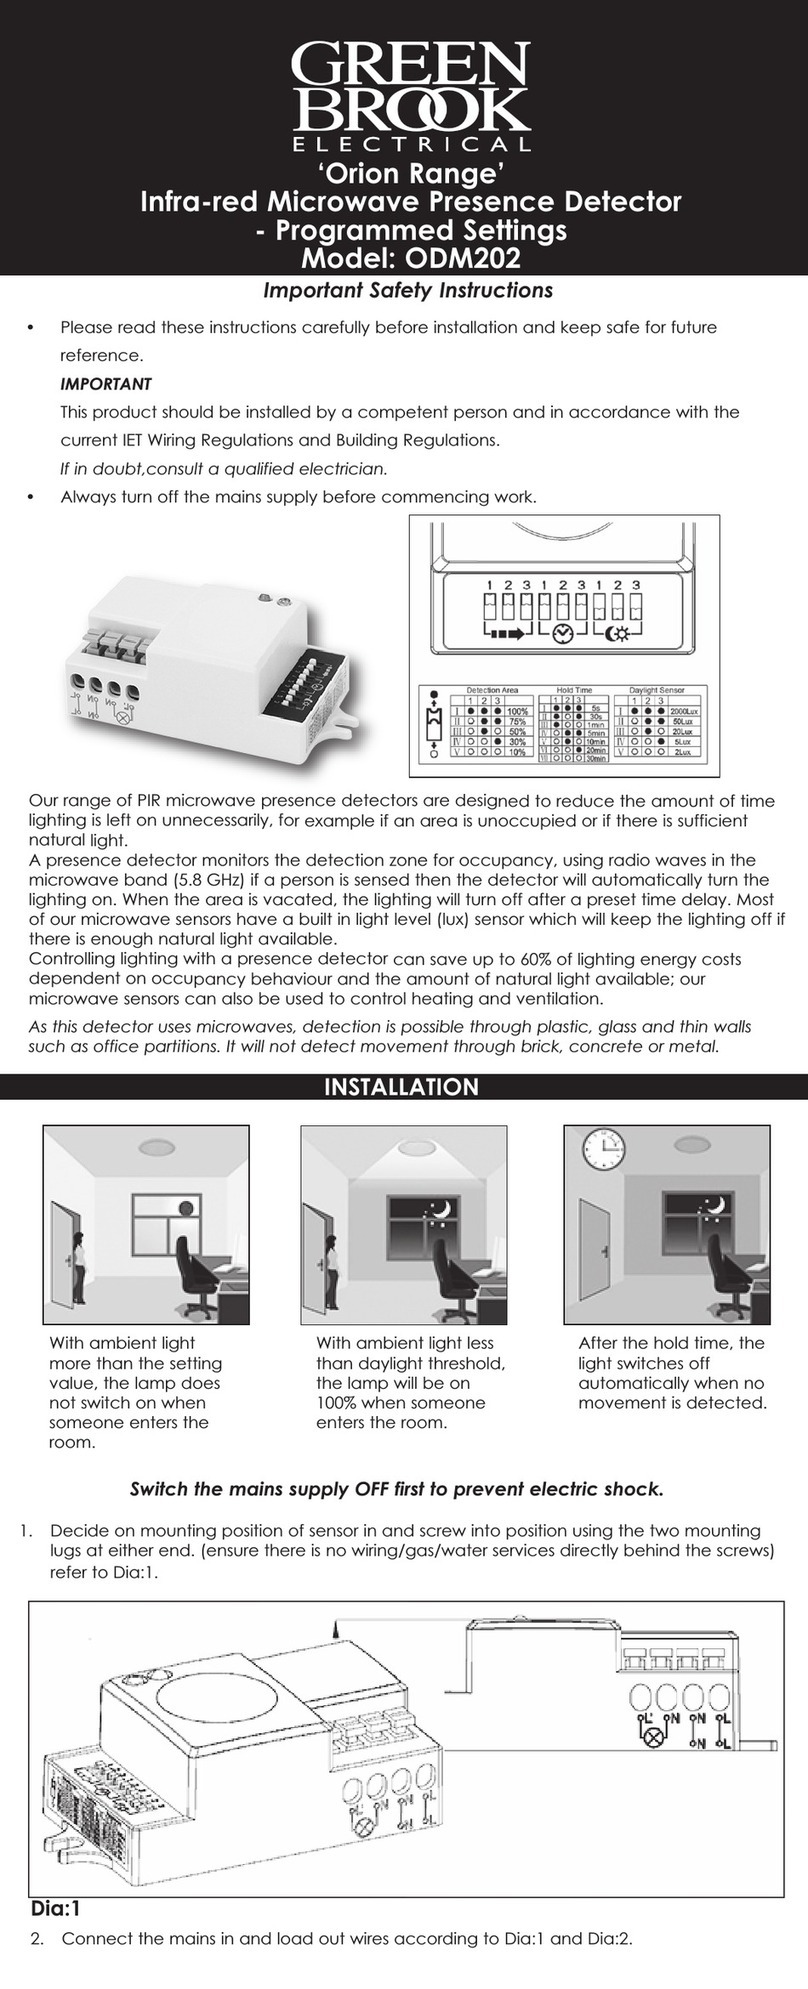
‘Orion Range’
Infra-red Microwave Presence Detector - 1-10 Dimmable
Model: ODM203
Important Safety Instructions
• Please read these instructions carefully before installation and keep safe for future reference.
IMPORTANT
This product should be installed by a competent person and in accordance with the current ET Wiring
Regulations and Building Regulations.
If in doubt,consult a qualified electrician.
• Always turn off the mains supply before commencing work.
Our range of P R microwave presence detectors are designed to reduce the amount of time lighting is left on
unnecessarily, for example if an area is unoccupied or if there is sufficient natural light.
A presence detector monitors the detection zone for occupancy, using radio waves in the microwave band (5.8
GHz) if a person is sensed then the detector will automatically turn the lighting on. When the area is vacated, the
lighting will turn off after a preset time delay. Most of our microwave sensors have a built in light level (lux) sensor
which will keep the lighting off if there is enough natural light available.
Controlling lighting with a presence detector can save up to 60% of lighting energy costs dependent on
occupancy behaviour and the amount of natural light available; our microwave sensors can also be used to con-
trol heating and ventilation.
As this detector uses microwaves, detection is possible through plastic, glass and thin walls such as office partitions.
t will not detect movement through brick, concrete or metal.
Our ODM203 is a multi-function detector, incorporating 1 - 10 volt dimming, adjustable dim levels, adjustable
sensitivity, adjustable hold-on time and a variable manual over ride.
With ambient light more
than daylight threshold,
the lamp does not switch
on when someone enters
the room.
INSTALLATION
With ambient light less than
daylight threshold, the
lamp will be on 100% when
someone enters the room.
People left, light dims to
10%/20%/30%/50%
(optional) stand-by level
after hold time.
Light switches off
automatically after the
stand-by period
elapsed.
TECHNICAL INFORMATION
Rated Voltage: 230V~50Hz
P Rating: P20
Detection Angle: 360°
Ambient Light: 2 LUX, 10 LUX, 50 LUX,
2000 LUX (choice)
Transmission Power: <0.2mW
HF System: 5.8GHz CW radar, SM band
Hold Time: 5s, 30s, 1min, 5min, 10min,
20min, 30min (choice)
Stand-by Periods: 10s, 1min, 5min, 10min,
30min, +∞, 0S (choice)
Rated Load: Max 600W
Max 600W
Detection (Sensitivity)
Range: 10%, 50%, 75%, 100% (choice)
Detection Distance: Wall = 5 - 15M adj
Ceiling = 1 - 8M (radius) adj
Power Consumption: 0.9W approx
nstallation Height: Wall = 1.5 - 3.5M
Ceiling = 2 - 8M
Detection Moving Speed: 0.6 - 1.5m/s
Stand-by Dimming Level: 10%, 20%, 30%, 50% (choice)
Dimensions: 77.7 x 45 x 25.5mm
Li ht not comin on
• Check that lamp is good.
• Check there is nothing obscuring the microwave sensor.
Intermittent operation
• Check there are no curtains that can move in the wind.
• Check there are no heating vents nearby.
TROUBLE SHOOTING
When the ‘push’ terminal is connected to a 230 volt AC supply via a push switch, the following override functions
are available.
1. Short push (less than 1 second) manual override on/off. On to Off: the lamp turns off immediately and
cannot be turned back on for 1 minute, even if movement is detected. After this period the sensor goes
back into auto sensor mode. Off to On, the lamp turns on to 100% brightness and goes into sensor mode.
2. Long push (greater than 1 second). Dims up and down dimming level between 10% and 50% while button is
held.
MANUAL O ERRIDE
/LED
ssue no: 704793
WEST ROAD . HARLOW
ESSEX . CM20 2BG . UK
info@greenbrook.co.uk
www.greenbrook.co.uk
PLEASE KEEP THESE INSTRUCTIONS
SAFE FOR FUTURE REFERENCE
GUARANTEE
Your GreenBrook Microwave Presence Detector
ODM203 is uaranteed for 1 year
from the date of purchase.
This is in addition to your statutory ri hts.
ODM203 Ins Mar.qxp_Layo t 1 07/04/2017 14:10 Page 1

Switch the mains supply OFF first to prevent electric shock.
1. Decide on mounting position of sensor in and
screw into position using the two mounting lugs
at either end. (ensure there is no
wiring/gas/water services directly behind the
screws) refer to Dia:1.
Dia:1
2. Connect the mains in and load out wires according to Dia:1 and Dia:2.
Dia:2
Note: Full dim functions only available when sensor used with a compatible 1 - 10V driver.
or Lamp or Lamp
or Lamp or Lamp
1. First connection-wire diagram (without push switch override)
2. Second connection-wire diagram (with push switch override)
TESTING
1. Slide all 9 slide switches to the ‘Up’ position .
2. Re-connect mains supply, allow 30 seconds for the sensor to warm-up, and then perform a walk-by in front of the
sensor; lamp should turn on and stay on for approximately 5 seconds, and will go off if no further
movement is detected.
1. Time control for lamp full brightness ‘ON’can be adjusted
between 5 seconds and 30 minutes, using a combination of
slide switches, see Table 2.
2. Set control to operate at your required time period.
1. Lux levels can be set between 2000 Lux (daylight) and 2 Lux
(night), using a combination of slide switches, see Table 1.
2. Set control to operate at your required daylight level.
ADJUSTING THE ‘TIME HOLD-ON’ CONTROL
ADJUSTING THE DAYLIGHT SENSOR (LUX) CONTROL
1. Sensitivity can be adjusted between a detection cone of 1
meter (10%) and a detection cone of 8 meters (100%)
using a combination of slide switches, see Table 3.
2. Set control to operate at your required time period.
ADJUSTING THE DETECTION RANGE (SENSITI ITY) CONTROL
ADJUSTING THE STAND-BY DIMMING LE EL CONTROL
10%
50%
Adjusts the brightness of the lamp in dimmed standby mode
after 100% light level has timed out.
1. Dimming light level can be set to between 10% and 50%,
using a combination of slide switches, see Table 4.
Table:2
Table:1
Table:3
Table:5
Table:4
ADJUSTING THE ‘DIMMED STAND BY PERIOD’
Adjusts the length of time the lamp stays in dimmed mode.
1. Standby dim period can be set between 10 seconds and
1 hour, using a combination of slide switches, see Table 5.
2. ‘+ ∞’means lamp stays on standby dimming level and
never turns off.
3. Os means no dimming function.
ODM203 Ins Mar.qxp_Layo t 1 07/04/2017 14:10 Page 2

This manual suits for next models

1

Other Green Brook Security Sensor manuals

Green Brook Orion Range OD101 User manual

Green Brook

Green Brook Orion Range OD101 User manual

Green Brook Orion Range OD103 User manual

Green Brook

Green Brook Orion Range OD103 User manual

Green Brook Orion ODM202 User manual

Green Brook

Green Brook Orion ODM202 User manual

Green Brook Orion Range OD102 User manual

Green Brook

Green Brook Orion Range OD102 User manual

Green Brook Orion ODM202 User manual

Green Brook

Green Brook Orion ODM202 User manual

Green Brook Orion OD104 User manual

Green Brook

Green Brook Orion OD104 User manual

Green Brook Orion Range User manual

Green Brook

Green Brook Orion Range User manual

Green Brook Orion ODM200 User manual

Green Brook

Green Brook Orion ODM200 User manual

Green Brook Orion Range ODPS300 User manual

Green Brook

Green Brook Orion Range ODPS300 User manual

Green Brook T205 User manual

Green Brook

Green Brook T205 User manual

Green Brook OD105 User manual

Green Brook

Green Brook OD105 User manual

Green Brook Orion Series User manual

Green Brook

Green Brook Orion Series User manual

Popular Security Sensor manuals by other brands

Thermo Scientific Surveyor UV Plus Hardware manual

Thermo Scientific

Thermo Scientific Surveyor UV Plus Hardware manual

Selcom Security NT-R user manual

Selcom Security

Selcom Security NT-R user manual

Optex PROWAVE AIR-SLIDE 2 manual

Optex

Optex PROWAVE AIR-SLIDE 2 manual

Omron ZX-L manual

Omron

Omron ZX-L manual

CAME 001SDTEWL manual

CAME

CAME 001SDTEWL manual

DSC MAXSYS RF4164-433 instruction manual

DSC

DSC MAXSYS RF4164-433 instruction manual

SILENTRON 7175 manual

SILENTRON

SILENTRON 7175 manual

YUSHI PM-5 Series operating manual

YUSHI

YUSHI PM-5 Series operating manual

Berkeley Varitronics Systems Yorkie Quick start user guide

Berkeley Varitronics Systems

Berkeley Varitronics Systems Yorkie Quick start user guide

IFM Electronic efector500 PI2658 operating instructions

IFM Electronic

IFM Electronic efector500 PI2658 operating instructions

Emerson GDU-Incus Reference manual

Emerson

Emerson GDU-Incus Reference manual

System Sensor B224RB Installation and maintenance instructions

System Sensor

System Sensor B224RB Installation and maintenance instructions

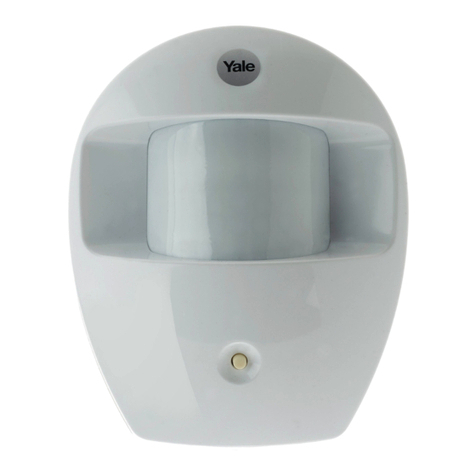
Assa Abloy Yale EF-PIR manual

Assa Abloy

Assa Abloy Yale EF-PIR manual

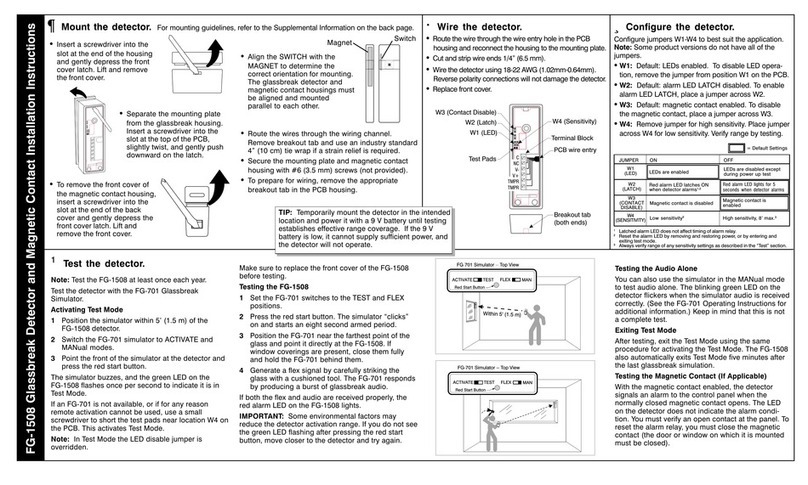
IntelliSense FG-1508 installation instructions

IntelliSense

IntelliSense FG-1508 installation instructions

Comelit 47SE192KM user manual

Comelit

Comelit 47SE192KM user manual

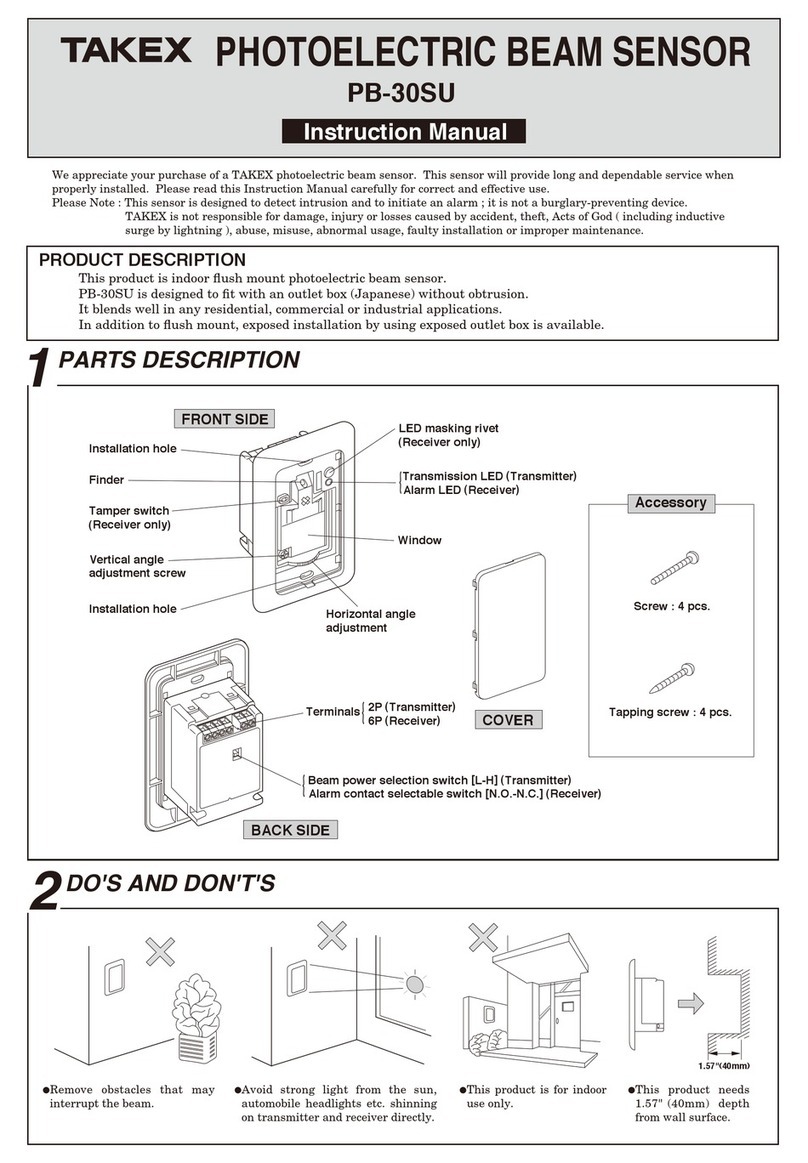
Takex PB-30SU instruction manual

Takex

Takex PB-30SU instruction manual

PASCO PS-2194 Product guide

PASCO

PASCO PS-2194 Product guide

iRay Technology Mars1717XU-VSI user manual

iRay Technology

iRay Technology Mars1717XU-VSI user manual

manuals.online logo
manuals.online logoBrands
  • About & Mission
  • Contact us
  • Privacy Policy
  • Terms and Conditions

Copyright 2025 Manuals.Online. All Rights Reserved.