•The appliance can lead to occasional voltage
fluctuations under unfavourable power conditions.
•The appliance is only designated to be used for
connection points not exceeding the maximum allowed
impedance of Zmax = 0,233 Ω.
•As a user, you must make sure your connection point on
which you want to use the appliance meets the above-
mentioned requirements – after agreement with your
electricity supplier if necessary.
Initial Operation Safety Instructions
•Before starting set-up or maintenance of the unit,
disconnect it from the source.
Connect the charger until the power supply, if all
the settings and the terminals are properly connected.
•Having removed the packing, make sure that the
condition of the unit and any of its component is perfect.
•Unwind the power cable completely and put it so the
pole terminals cannot get in touch with each other.
•If necessary, use an extension cable to extend the
power cable; it must be of the same cross section as the
power cable. Never use cable of smaller cross section.
•Keep the clamps, terminals and upper surface of the
battery clean, if necessary, use the wire brush to clean
the battery terminals. In this way, a good electrical
contact will be provided and better charging efficiency
secured.
•Never mix connections poling! ( (-) black; (+) red )
•The charging voltage should be same as that shown on
the battery i; the value is equal to the number of cells of
a storage battery multiplied by two (3 cells = 6 V; 6 cells
= 12 V; 12 cells = 24 V).
•Before charging, put the unit on a stable base and make
sure that noting will prevent air flow through the
respective holes. A good cooling system must be
guaranteed.
•Do not charge more batteries at a time.
•The battery closure should be removed after cleaning
the terminals not to have dust and dirt falling in the tubs.
•Provide for the electrolyte covering the plates up to the
height of 4-5 mm at least, If necessary, add distilled
water that may be obtained at shops for this purpose.
1. In the course of charging, explosive gases develop
abstain from smoking and naked fire or sparks.
2. The batteries should be charged in well ventilated
spaces. The charger is prohibited for use inside a
vehicle or closed car bonnet.
3. Never charge standard and maintenance-free batteries
jointly.
4. Never recharge disposable batteries.
5. Leave sufficient ventilation space behind the unit.
6. Follow the manufacturer’s instructions.
7. Check ion the right level of the acid Kin battery. .
8. Always check whether condition of the power cable and
clamping cable is perfect. If the power cable is
damaged, have it replaced at a specialist’s.
9. The unit should not be exposed to weather effects –
snow and rain.
10. Do not use the unit bare footed. Do not touch the unit
with wet or damp hands or feet .
11. Never unplug by pulling the cable.
12. Prevent unauthorised persons or children from using the
unit.
13. Apply in use, always gloves and eye protection and
be alert when working with acid!
Do not leave the switched-on unit unattended, it
could become a source of risk.
•If you do repairs of safety or protection devices, they
should be refit immediately after the job is completed.
•Injuries prevention regulations effective at a place of
particular use and any other generally recognised safety
rules must be known and observed.
•The safety devices should be checked on before the use
of unit. Make sure that even the parts, which are slightly
damaged seemingly, may work properly. .
•Unless otherwise stated in this manual, repairs and
replacement of damaged components and safety
devices should be done at an authorised servicing
centre.
•Have any damaged switches replaced at an authorised
servicing centre.
•This unit complies with any respective safety provisions.
The repairs are allowed to be done by skilled electricians
at authorised servicing centres only. Only genuine spare
parts may be used. A risk of injury is imminent if the
regulation is not observed.
Behaviour in case of emergency
Provide necessary first aid treatment corresponding to the
injury nature and seek qualified medical help as soon as
possible. Protect the injured person from other injuries and
calm him/her down. First aid kit must always be available
in the place of your work in case of accident in
accordance with DIN 13164. Material taken out of the first
aid kit needs to be supplemented right away. If help is
needed, please provide the following details:
1. Place of accident
2. Accident nature
3. Number of injured persons
4. Injury type
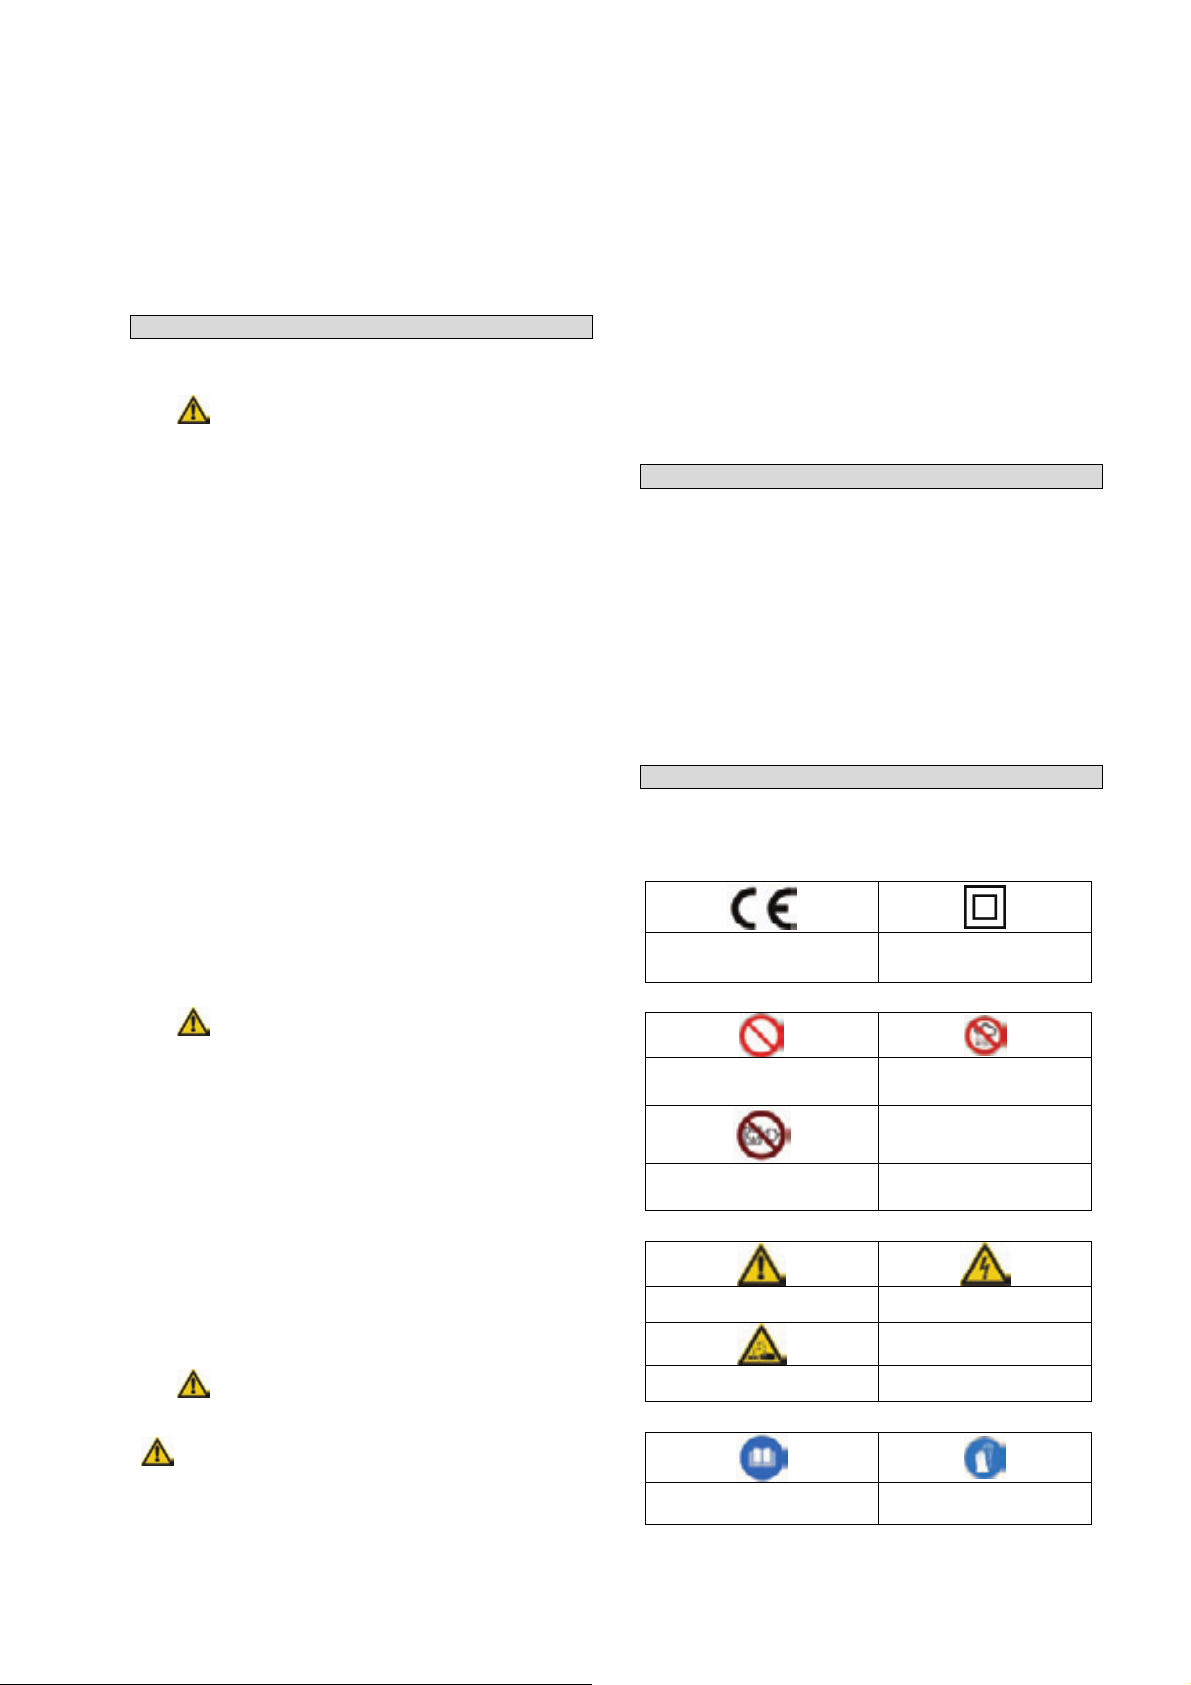
Meaning of Symbols
Symbols shown below are used throughout this manual
and/or on the unit:
Product Safety:
Product compliance with respective
EU standards There is protective insulation on
the unit.
Bans:
General ban (in combination with
another pictograph) Do not use the unit in rain
No pulling the cable
Precaution:
Warning/caution Beware of hazardous voltage
Warning against caustic
substances
Commands:
Read operating manual before use Use protection gloves