•When working with electrical installation, make sure
there is someone around who could help you in case
of emergency.
•To disconnect the appliance quickly from the power
supply, the outlet must be near the appliance and
easily accessible.
•Make sure the supply line and plug are dry before
putting the appliance into operation.
•Please be advised that some parts of the appliance
may remain under voltage even after activating the
protective device (fuse).
•Install the appliance in a dry place protected against
spraying water.
•Protect the devices against aggressive vapours and
moist air or salt-containing air.
•Protect the appliance and cables against rain and
moisture.
•Do not lay the cables over objects with sharp edges.
•Do not bend the cables at a sharp angle.
•Do not pull the cable.
•Ensure appropriate ventilation.
•A minimum distance of 20 cm from other objects
should be kept around the battery charger to all
directions.
•Keep all objects that may get damaged as a result of
high temperatures in a sufficient distance when the
charger is being operated.
•Do not use the appliance in an environment
with inflammable gases, e.g. in bilges powered by
petrol or near propane tanks.
•The appliance must always be switched off after
being used.
•Never let the charger unattended during the charging
process!
•Charging batteries should solely be used.
•Boat batteries must in principle be charged outside
the boat.
•Risk of injury! Batteries may contain an
aggressive and mordant acid. Prevent any contact of
your body with the liquid in the battery. Should you
get stained by the battery liquid, rinse thoroughly the
appropriate body part with water.
•Risk of explosion! Prevent metal objects from falling
on the battery. This could cause sparking and
consequently short circuit between the battery and
other parts of the wiring.
•Risk of explosion! Make sure the polarity is
right when connecting: - red clip: positive terminal, -
black clip: negative terminal.
•Wear protective goggles and clothes when
working with the battery.
•Do not touch your eyes when working with the
battery.
•Ensure stability! The appliance and the battery
charged must be positioned in a way they cannot turn
over or fall down.
•Follow the instructions of the manufacturer of the
battery, equipment or vehicle for which the battery is
used.
•Never try to charge frozen batteries.
•Do not smoke and make sure there is no
sparking near the battery.
•If the battery needs to be removed, ground
connection must first be disconnected. Disconnect all
connections and appliances from the battery before
removing.
•Do not charge common batteries.
•Caution! If pungent smell of gas is felt, there is
an acute risk of explosion. Switch the appliance off
and disconnect it from the power supply, ventilate
immediately and have both the appliance and battery
checked by a professional.
Use as designated
The automatic battery charger has been designed for
charging maintenance-free and maintenance starting
batteries of 12V/6V (lead accumulators) and gel batteries.
Any use beyond the above specification is in conflict with
the appliance designation. The manufacturer will not be
responsible for any damage incurred or injury caused by
failing to adhere to the above mentioned. Please be
advised that our appliances have not been designed to be
used for business purposes.
Putting the appliance into operation
Step 1
Unscrew or remove the battery plug (if any) from the
battery and make sure there is an appropriate acid level in
the charged battery.
It is necessary to follow instructions of the charged
battery manufacturer, especially as far as the acid level
and distilled water filling are concerned. Protective goggles
and gloves should always be worn for these works.
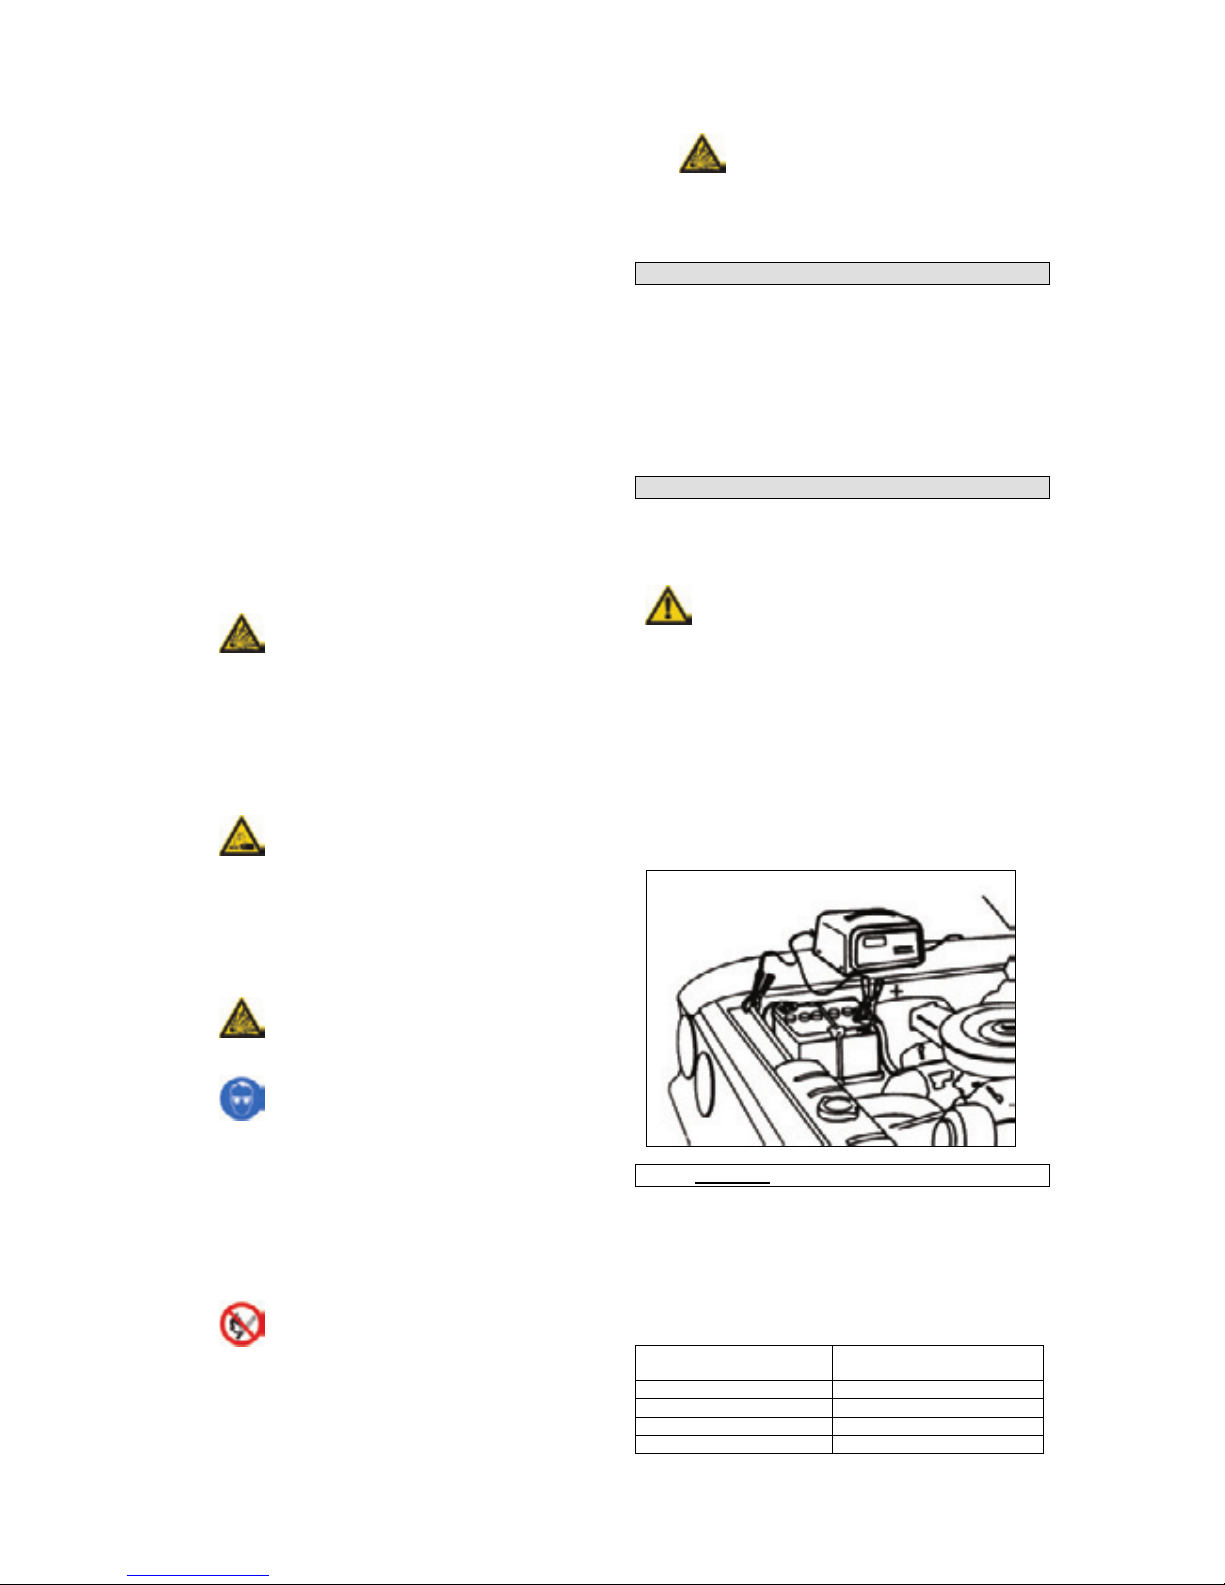
Step 2
First connect the battery clip not connected to the
chassis. The second connection is made with the body,
in a sufficient distance from the battery and petrol line.
The charger is then connected to the electrical network.
If you want to charge the battery outside the vehicle,
make sure there is the right polarity when connecting –
red clip: positive terminal, - black clip: negative terminal.
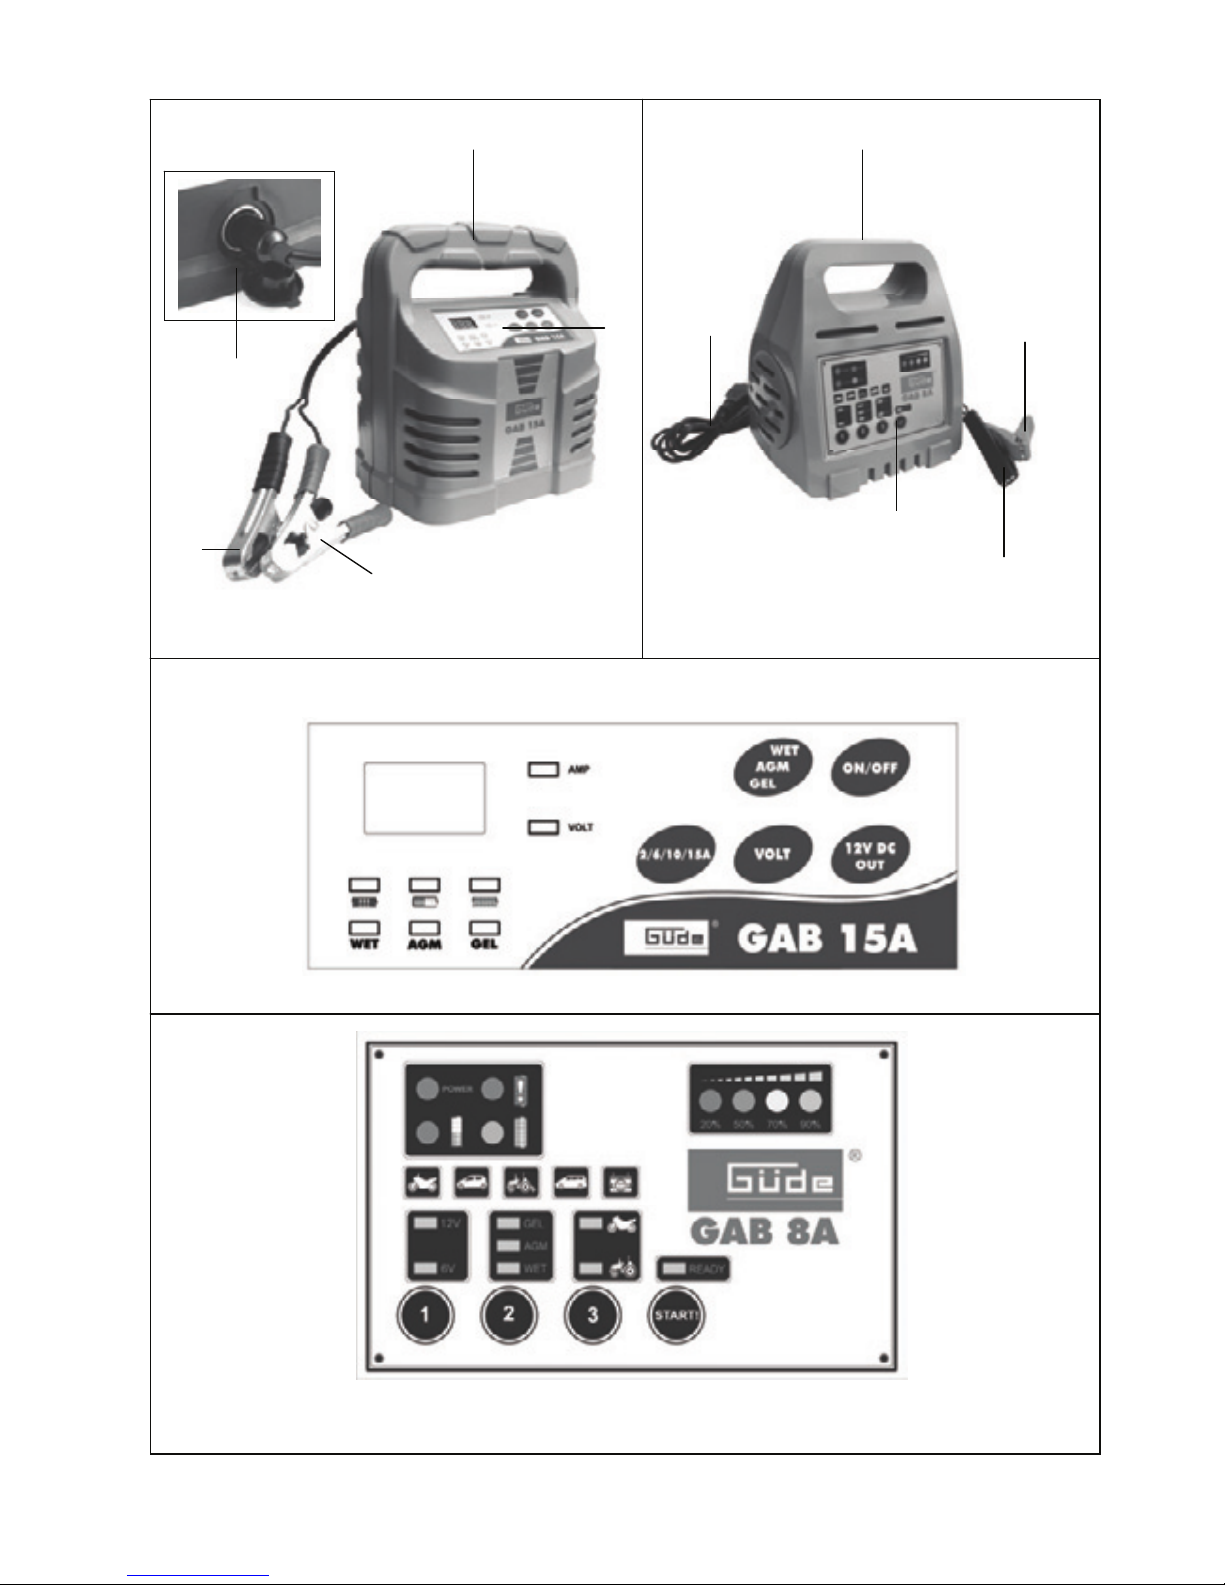
Step 3 (GAB 15A)
•Switch the appliance on by pressing the
“ON/OFF“ button.
•Depending on the type of the charged battery,
perform the settings described in the “Operating
elements“ section and using the buttons on the
display, choose the battery type and charging
current intensity.
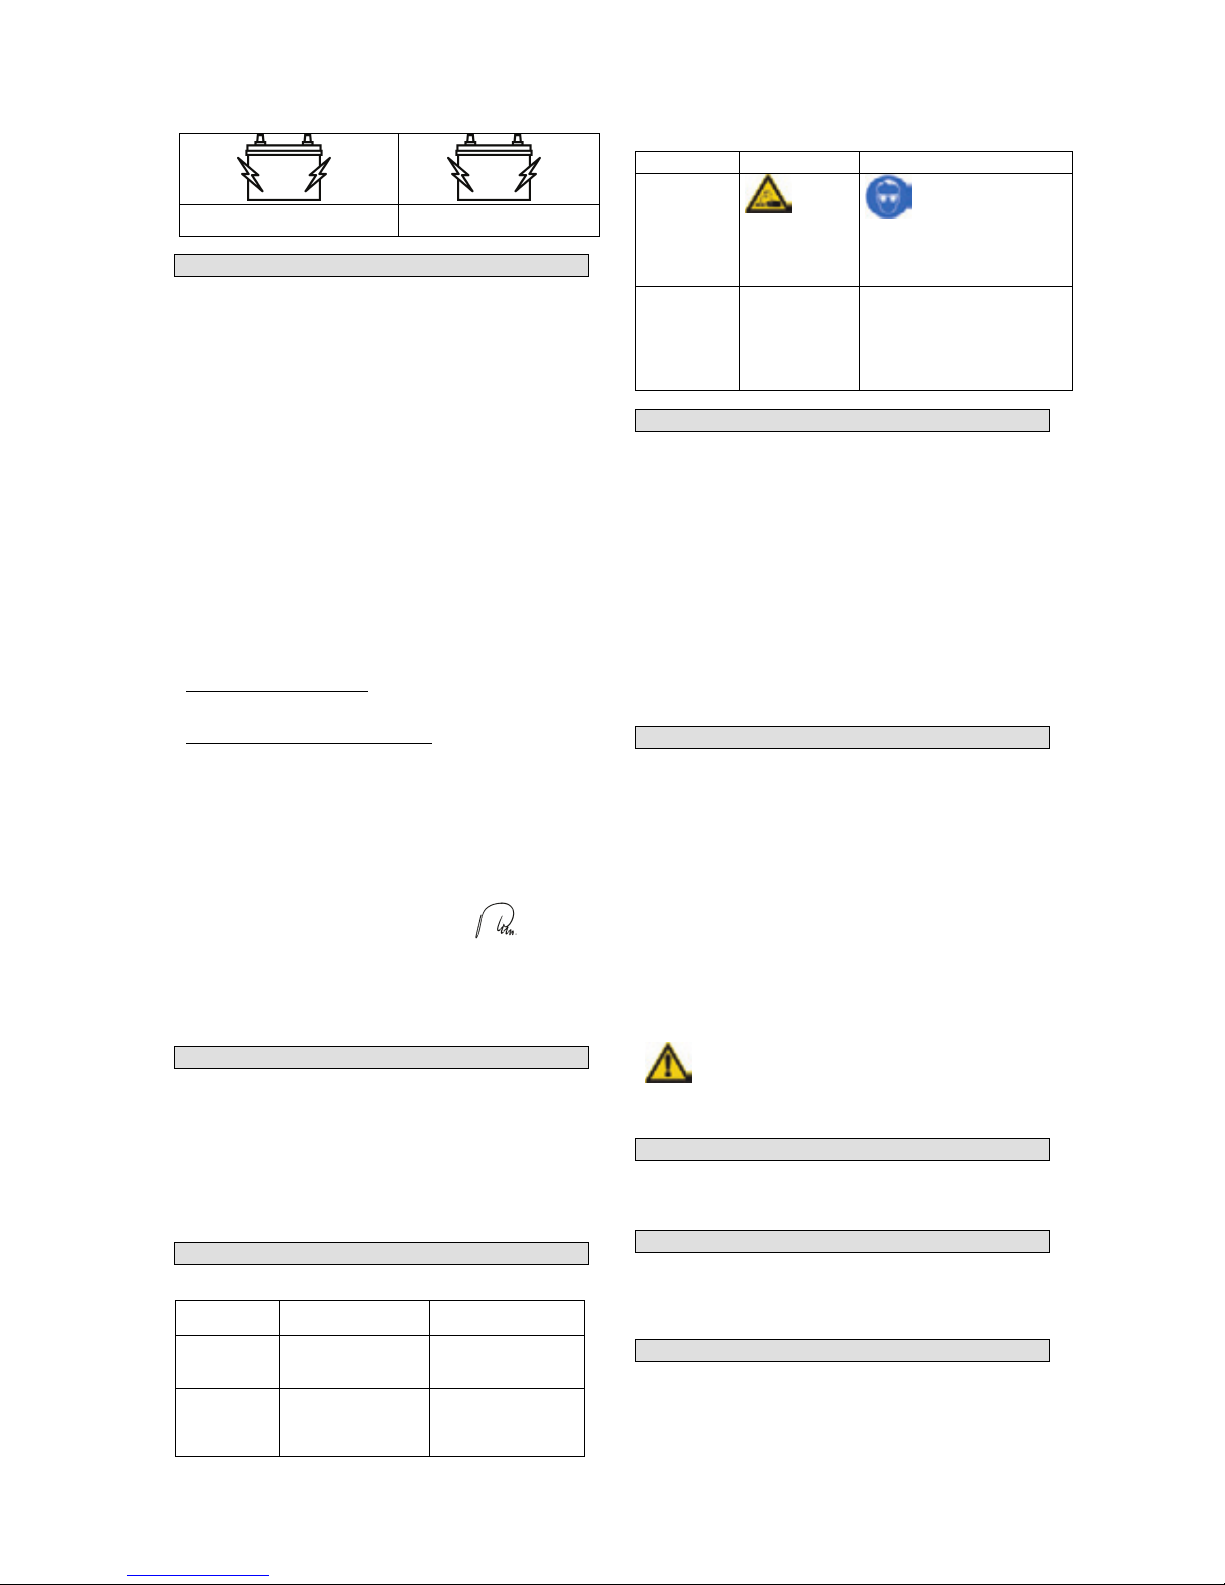
Charging current
intensity selection
Battery capacity
2 6-20Ah
6 20 -40Ah
10 40-100Ah
15 50-200Ah