manuals.online logo
Brands
  1. Home
  2. •
  3. Brands
  4. •
  5. Hakko Electronics
  6. •
  7. Soldering Gun
  8. •
  9. Hakko Electronics 853 User manual

Hakko Electronics 853 User manual

Other Hakko Electronics Soldering Gun manuals

Hakko Electronics FM-202 User manual

Hakko Electronics

Hakko Electronics FM-202 User manual

Hakko Electronics FX?801 User manual

Hakko Electronics

Hakko Electronics FX?801 User manual

Hakko Electronics FX-100 User manual

Hakko Electronics

Hakko Electronics FX-100 User manual
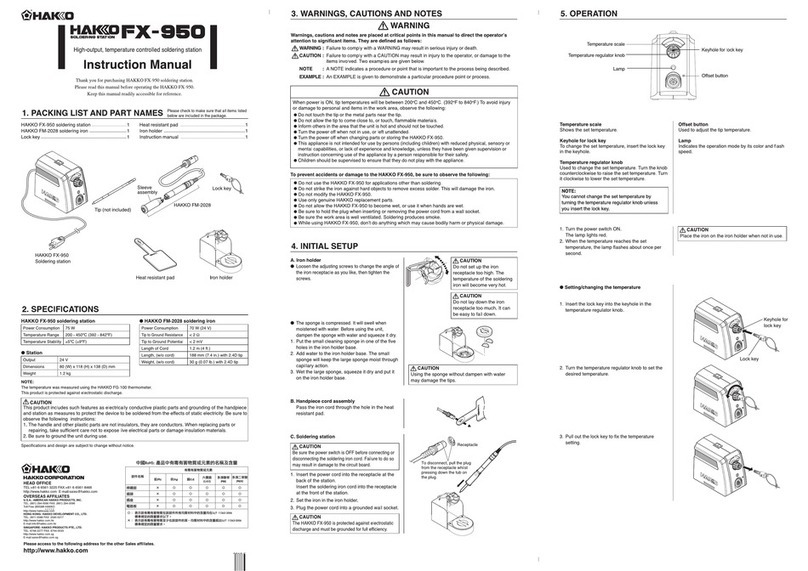
Hakko Electronics FM-203 User manual

Hakko Electronics

Hakko Electronics FM-203 User manual

Hakko Electronics FX-888D User manual

Hakko Electronics

Hakko Electronics FX-888D User manual

Hakko Electronics 475 User manual

Hakko Electronics

Hakko Electronics 475 User manual

Hakko Electronics FX-971 User manual

Hakko Electronics

Hakko Electronics FX-971 User manual

Hakko Electronics HU-200 User manual

Hakko Electronics

Hakko Electronics HU-200 User manual

Hakko Electronics FX?801 User manual

Hakko Electronics

Hakko Electronics FX?801 User manual

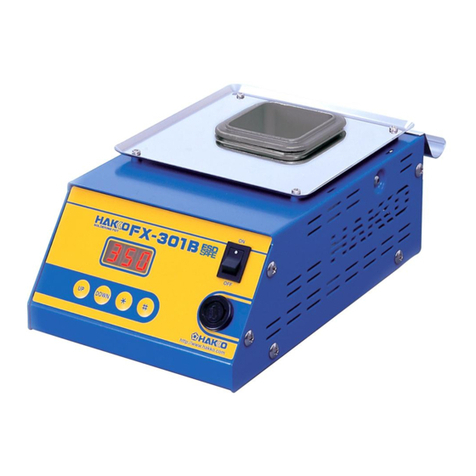
Hakko Electronics FX-301B User manual

Hakko Electronics

Hakko Electronics FX-301B User manual

Hakko Electronics 485 User manual

Hakko Electronics

Hakko Electronics 485 User manual

Hakko Electronics FX-889 User manual

Hakko Electronics

Hakko Electronics FX-889 User manual

Hakko Electronics 942 User manual

Hakko Electronics

Hakko Electronics 942 User manual

Hakko Electronics FR-803 User manual

Hakko Electronics

Hakko Electronics FR-803 User manual

Hakko Electronics 633 Series User manual

Hakko Electronics

Hakko Electronics 633 Series User manual

Hakko Electronics FM-202 User manual

Hakko Electronics

Hakko Electronics FM-202 User manual

Hakko Electronics FP-948 User manual

Hakko Electronics

Hakko Electronics FP-948 User manual

Hakko Electronics FX-100-05 User manual
Hakko Electronics

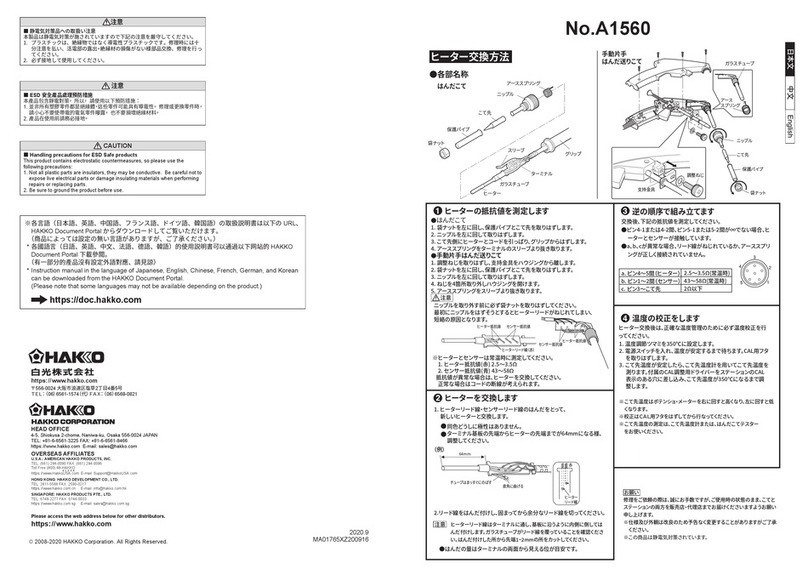
Hakko Electronics FX-100-05 User manual

Hakko Electronics FX-888D User instructions

Hakko Electronics

Hakko Electronics FX-888D User instructions

Hakko Electronics FU-500 User manual

Hakko Electronics

Hakko Electronics FU-500 User manual

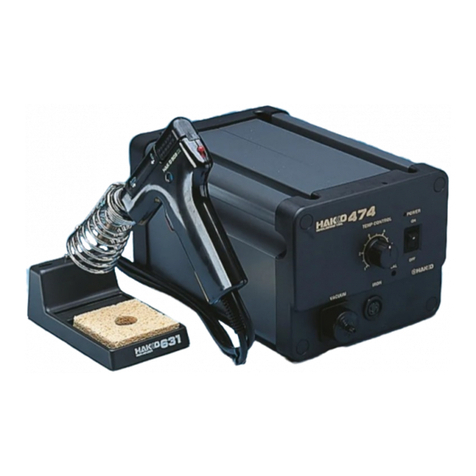
Hakko Electronics 474 User manual

Hakko Electronics

Hakko Electronics 474 User manual
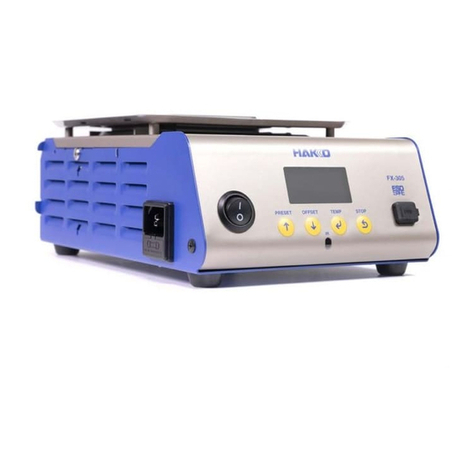
Hakko Electronics 941 User manual

Hakko Electronics

Hakko Electronics 941 User manual

Hakko Electronics 926 User manual

Hakko Electronics

Hakko Electronics 926 User manual

Hakko Electronics 702B User manual

Hakko Electronics

Hakko Electronics 702B User manual

Popular Soldering Gun manuals by other brands

FTM Technologies SI1R user manual

FTM Technologies

FTM Technologies SI1R user manual

Pace ST35 w/PS-90 Iron Operation and maintenance manual

Pace

Pace ST35 w/PS-90 Iron Operation and maintenance manual

Bakon 3200 instruction manual

Bakon

Bakon 3200 instruction manual

Proxxon Gaslotset MGS manual

Proxxon

Proxxon Gaslotset MGS manual

jbc SFR-A instruction manual

jbc

jbc SFR-A instruction manual

jbc CL8010 instruction manual

jbc

jbc CL8010 instruction manual

HAKO FX-8804 instruction manual

HAKO

HAKO FX-8804 instruction manual

SATA 02002A user manual

SATA

SATA 02002A user manual

Velleman HRJA151 user manual

Velleman

Velleman HRJA151 user manual

Weller WSM 1 operating instructions

Weller

Weller WSM 1 operating instructions

Vishay Precision Group Micro-Measurements Mark V Operating and maintaining

Vishay Precision Group

Vishay Precision Group Micro-Measurements Mark V Operating and maintaining

ersa i-CON 1V quick guide

ersa

ersa i-CON 1V quick guide

Atten ATETOOL AT-689A user manual

Atten

Atten ATETOOL AT-689A user manual

Surtek 112554 User manual and warranty

Surtek

Surtek 112554 User manual and warranty

Parkside PLBS 30 A1 Operation and safety notes

Parkside

Parkside PLBS 30 A1 Operation and safety notes

AlienTek T100 user manual

AlienTek

AlienTek T100 user manual

Weller FT12 operating instructions

Weller

Weller FT12 operating instructions

ersa RA 4500 D operating instructions

ersa

ersa RA 4500 D operating instructions

manuals.online logo
manuals.online logoBrands
  • About & Mission
  • Contact us
  • Privacy Policy
  • Terms and Conditions

Copyright 2025 Manuals.Online. All Rights Reserved.

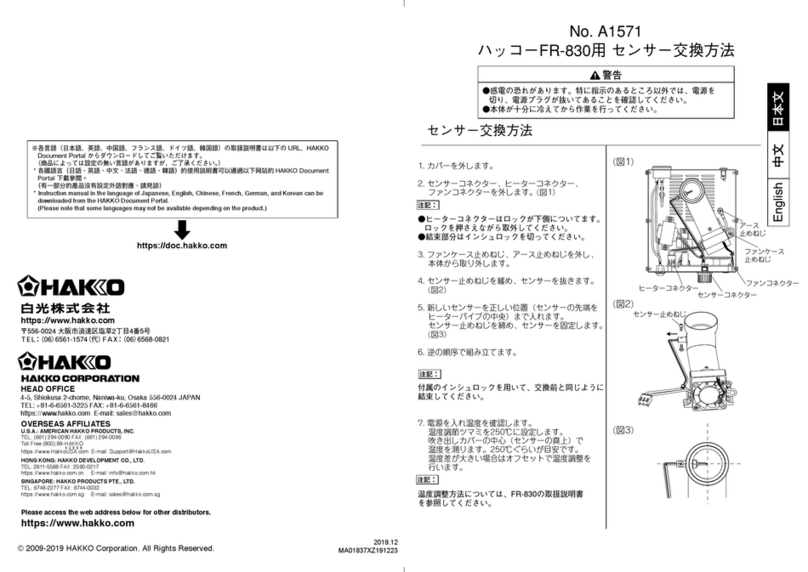
 !警告
・感電の恐れがあります。特に指示のあるところ以外では、電源を切り、
電源プラグが抜いてあることを確認してください。
・本体が十分冷えてから作業を行ってください。
①カバーをはずします。
②センサーコネクターとインシュロック
をはずします。
③ハトメをラジオペンチでひろげセンサー
 を抜きます。(図2、3参照)
④新しいセンサーに交換します。センサー
を正しい位置まで入れ、ハトメをラジオ
ペンチで押さえ固定します。(図4参照)
⑤逆の順序で組み立てます。

⑥電源を入れ、温度を確認します。温度調節ツマミ
を250℃に設定します。吹き出し口カバーの中心
で温度を測ります。250℃位が目安です。温度差
が大きい場合は基板上のボリュー
 ム(VR1)にて調整します。

温度調整方法
①本体を冷却後、電源スイッチを切り、電源プ
 ラグを抜きます。
②カバーをはずし、基板上にあるVR1をマイナス
ドライバーまたは小型のプラスドライバーで
調節してください。右にまわすと温度が高くなり、
左にまわすと低くなります。
③カバーを取り付けた後、電源を入れ温度を確認
 します。
! 注意
 温度調整で、温度を上げすぎると通電しつづけ
る恐れがあります。通電しつづける場合は、温
度の上げすぎなのでヒーター通電ランプが点滅
するまで温度を下げてください。
センサー
センサー
コネクター
11㎜
ハッコー853 センサー交換方法
図1
図2
図4
センサー
センサー
ハトメ
ハトメ
図3
ハトメが丸くなるまで挟んでください。
English 中
文 日本文
®
Oct. 2002
MA00082XU021008
OVERSEAS AFFILIATES
U.S.A.: AMERICAN HAKKO PRODUCTS, INC.
TEL: (661) 294-0090 FAX: (661) 294-0096
Toll Free (800)88-HAKKO
4 2 5 5 6
http://www.hakkousa.com
HONG KONG: HAKKO DEVELOPMENT CO., LTD.
TEL: 2811-5588 FAX: 2590-0217
http://www.hakko.com.hk
E-mail:info@hakko.com.hk
HEAD OFFICE
TEL:+81-6-6561-3225 FAX:+81-6-6561-8466
http://www.hakko.com E-mail:sales@hakko.com
SINGAPORE: HAKKO PRODUCTS PTE., LTD.
TEL: 6748-2277 FAX: 6744-0033
http://www.hakko.com.sg
E-mail:sales@hakko.com.sg
Please access to the following address for the other Sales affiliates.
http://www.hakko.com/address
 ! Warning
・Unless otherwise directed, carry out these procedures with the power
switch OFF and power cord UNPLUGGED.
・Make sure the unit is sufficiently cool before proceeding.
①Remove the cover.
②Disconnect the sensor connector from the printed
wiring board and remove wire ties.
③Slightly widen the eyelet connector with
needle nose pliers and disconnect the sensor
as shown in figure 2,3,4.
④Install the new sensor. Insert the sensor in
the correct position and squeeze the eyelet
connector with the needle nose pliers.
(Refer to figure 5.)
⑤Reassemble in the reverse order of assembly.
⑥Turn ON the power switch. Check the temperature.
Set the temperature control knob to 250℃(482 ).
Measure the temperature on the top of the outlet cover.
The temperature should be approximately 250℃(482 ).
If it is not, adjust by adjusting
potentiometer VR1 on the printed
wiring board as explained below.
 Temperature adjustment
①Make sure the unit is completely cool,
then turn the power OFF and unplug the
power cord.
②Remove the cover. Adjust VR1 with a
straight slot or small cross point
screwdriver. Turn clockwise to increase
temperature and turn counterclockwise to
decrease temperature.
③After the cover is attached, turn power ON,
and check the temperature.
 Caution :
 If the adjustment level is set too high, the heater
will operate continuously. If so, turn the VR1
counterclockwise till the lamp flashes. 11㎜
HAKKO 853 Replacing the sensor
Sensor
Sensor
connector
Figure 1
Figure 2
Figure 5 (0.43in.)
F
°
F
°
Warning:
Be sure to unplug the power cord when the
cover is removed. Failure to do so may
result in electric shock.
Sensor.
Sensor.
Eyelet
Eyelet
Figure 3
Figure4
Squeeze gently until eyelet is round.
English 中 文 日本文
®
HAKKO 853 晩云易高兎 勧湖匂厚算圭隈
少御
・氏嗤乾窮議裡⑫。茅掲嗤蒙艶峺幣岻侃參翌,萩鳩範窮坿厮購渠,
窮坿峨遊厮偉渠。
・字悶割蛍絶抜瘁壅序佩恬匍。
11㎜
勧湖匂
勧湖匂俊遊
(夕1)
①介和翌固。
②介和勧湖匂俊遊式鶴霜諏揮。
③參錫恁年嫖蝕署奉迅凛偉竃勧湖匂。(歌孚夕2、3)
④厚算仟勧湖匂。勧湖匂勣慧欺屎鳩岻了崔,
參錫恁年容儿署奉迅凛遇耕協岻。(歌孚夕4)
⑤參㌢郡乏會廾指肇。
⑥嬉蝕窮坿,鳩範梁業。繍梁業距屁傴泥譜協壓250℃。
勣壓患欠笥翌固岻嶄刹楚霞梁業。炎準寄埃頁250℃。
梁餓湊寄扮,參窮揃医貧岻楚柴(VR1)距屁岻。
①字悶絶抜瘁,購渠窮坿蝕購,偉渠窮坿峨遊。

②介和翌固,參弌侏噴忖侘賜匯忖侘苔某答距屁
窮揃医貧岻VR1。乏扮寞傴廬扮葎戻互梁業,
郡岻夸週詰。

③廾貧翌固瘁,嬉蝕窮坿,旺鳩範梁業。
梁業距屁圭隈
廣吭
距屁梁業扮,泌惚梁業湊互議三,辛嬬夛撹隔偬宥窮。
隔偬宥窮扮,萩週詰梁業,
岷欺窟犯圷周宥窮峺幣菊氏描妨葎峭。
勧湖匂
署奉迅凛
(夕2)
(夕3)
(夕4)
®
日本文
中 文
English
豫欺署奉迅凛撹垈侘葎峭.