Hama DR40BT User manual

Digital Radio
Digital Radio
Operating Instructions / Bedienungsanleitung / Mode d‘emploi / Instrucciones de uso /
Руководство по эксплуатации / Istruzioni per l‘uso / Gebruiksaanwijzing / Οδηγίες χρήσης / Instrukcja obsługi /
Használati útmutató / Návod k použití / Návod na použitie / Manual de instruções / Kullanma kılavuzu /
Manual de utilizare / Bruksanvisning / Käyttöohje / Работна инструкция / Betjeningsvejledning / Manuelt stasjonssøk
00054871
(DR40BT)

GOperating Instructions
Technical Data
Digital Radio DAB
ü
DAB+
ü
FM
ü
Internet
-
Spotify
-
- Bluetooth Bluetooth®4.1
Display 2" (5 cm) Liquid Crystal Display (LCD)
BT - Proles A2DPv1.2, AVRCPv1.0
Power input 100-240 V ~ 50/60 Hz
Power consumption Operation max. 5 WStandby<0.6 W
Frequency range DAB/DAB+
174 – 240 MHz
FM
87.5 – 108 MHz
Connections Antenna, Aux-In, Update Port
Presets
DAB / DAB+:
30
FM:
30
UI Languages English, German, Danish, Dutch, Finnish, French, Italian, Norwegian, Polish, Portuguese,
Spanish, Swedish, Turkish
Package contents Digital Radio "DR40BT", 3.5mm jack cable, wire antenna, short manual
Dimensions (WxHxD) 9 x 8.5 x 11 cm
Weight 280 g

volume navigate
OK
AUX INUPDATE
A
C D
B
2 3 4
5 6
1 7
8 9 10

1
Controls and Displays (Pic.1)
A
1Display
2Preset 1 / Rewind
3Preset 2 Play/Pause
4Preset / Forward
B
5[Mode/Settings]
6[Back/Info]
7[NAVIGATE/ENTER/VOLUME]
C
8Antenna
D
9Update port
10 Aux-In

2
1. Explanation of warning symbols and notes ............3
2. Explanation of symbols used on the product label ......3
3. Package contents ................................3
4. Safety instructions ...............................3
5. General notes on use..............................3
5.1 Switch On / Off / Standby .............................3
5.2 Navigation and control ..............................4
5.3 Volume adjustment .................................4
5.4 Entering passwords, search terms, and so on. .............4
5.5 Additional information ..............................4
6. Getting started ..................................4
6.1 Radio – Connecting and starting up.....................4
6.2 Language ........................................5
7. Modes .........................................5
8. Analogue radio (FM/UHF) ..........................5
8.1 Manual station setting...............................5
8.2 Automatic station setting.............................6
8.3 Scan setting.......................................6
8.4 Presets ..........................................6
8.4.1 Save presets ...................................6
8.4.2 Retrieving presets ...............................6
9. Bluetooth ......................................7
9.1. BIuetooth pairing ..................................7
9.2 Automatic Bluetooth connection .......................7
10. Auxiliary Input..................................8
11. Digital radio (DAB/DAB+) .........................8
11.1 Search / Automatic search ...........................8
11.2 Station list ......................................8
11.3 Edit station list....................................8
11.4 Presets .........................................9
11.4.1 Save presets ..................................9
11.4.2 Retrieving presets ..............................9
11.5 DRC (Dynamic Range Control) ........................9
12. Sleep ........................................10
13. Alarm ........................................10
13.1 Settings........................................10
13.2 Activating / deactivating the alarm....................11
13.3 Stopping the alarm / Snooze function..................11
14. Other system settings ...........................11
14.1 Equaliser .......................................11
14.2 Time settings ....................................11
15.5 Factory reset ....................................12
14.3 Software update .................................12
14.4 Information .....................................12
14.5 Backlight.......................................13
15. Care and Maintenance ..........................13
16. Warranty Disclaimer ............................13
17. Service and Support ............................13
18. Recycling Information ...........................13
19. Declaration of Conformity........................13
Content

3
Thank you for choosing a Hama product. Take your time
and read the following instructions and information
completely. Please keep these instructions in a safe place
for future reference. If you sell the device, please pass
these operating instructions on to the new owner.
1. Explanation of warning symbols and notes
Risk of electric shock
This symbol indicates a risk of electric shock from
touching product parts carrying hazardous voltage.
Warning
This symbol is used to indicate safety instructions or to
draw your attention to specic hazards and risks.
Note
This symbol is used to indicate additional information or
important notes.
2. Explanation of symbols used on the product label
Electrical device of safety class II.
Protection against electric shock thanks to
reinforced or double insulation of live parts.
The product must only be used with alternating
current.
3. Package contents
•DR40BT digital radio
•Dipole antenna
•3.5 mm audio cable
•Quick Guide
4. Safety instructions
•The product is intended for private, non-commercial use
only.
•The product is intended only for use inside buildings.
•Protect the product from dirt, moisture and overheating
and use it in dry rooms only.
•As with all electrical products, this device should be kept
out of the reach of children.
•Children must not play with the device. Cleaning and
user maintenance must not be carried out by children
without supervision.
•Do not drop the product and do not expose it to any
major shocks.
•Do not operate the product outside the power limits
specied in the technical data.
•Keep the packaging material out of the reach of children
due to the risk of suffocation.
•Dispose of packaging material immediately in
accordance with the locally applicable regulations.
•Do not modify the device in any way. Doing so voids the
warranty.
•Do not place any objects on the device and never use it
as a resting surface.
Risk of electric shock
•Do not open the device or continue to operate it if it
becomes damaged.
•Do not use the product if the
AC adapter, the adapter cable or the mains cable are
damaged.
•Do not attempt to service or repair the product
yourself. Leave any and all service work to qualied
experts.
5. General notes on use
Operating instructions
•If a choice from various buttons is to be made (such
as Yes or No), the button currently selected is
indicated with < >.
•In menus offering a variety of different options (such
as DRC,Language and so on), the currently selected
option is marked with *.
5.1 Switch On / Off / Standby
•Press [NAVIGATE/ENTER/VOLUME] to switch the radio
on.
•Press and hold [NAVIGATE/ENTER/VOLUME] for 3
seconds to switch the radio off (standby).
Note
To switch the radio off completely, disconnect it from the
power supply.

4
5.2 Navigation and control
[NAVIGATE/ENTER/VOLUME] (7) has a dual function:
•Turning [NAVIGATE/ENTER/VOLUME] (7) in the menu
allows you to select individual menu items.
•Conrm the selection by pressing [NAVIGATE/ENTER/
VOLUME] (7).
Press [Back/Info] (6) to return to the previous menu level.
After pressing a shortcut button, navigate amongst the
menu items using [VOLUME/ENTER/NAVIGATE].
5.3 Volume adjustment
Turning [NAVIGATE/ENTER/VOLUME] (7) increases /
reduces the volume.
5.4 Entering passwords, search terms, and so on.
•Select each successive letter and digit by turning
[VOLUME/ENTER/NAVIGATE] and conrm each
selection by pressing [VOLUME/ENTER/NAVIGATE].
•To make corrections, select the BKSP button and
conrm. The last input made is deleted.
•To cancel input, select the CANC button and conrm.
•Once your input is complete and you are ready to nish,
press the OK button.
5.5 Additional information
By pressing and holding [BACK/INFO] for 3 seconds,
additional information is displayed depending on the
operating mode and the stations available.
•Description
Indicates the radio station, the current programme,
contents, subjects, etc.
•Programme genre/country
Indicates the genre (music style) and the country or
region of the station.
•Reliability
•Bit rate
The currently received digital bit rate of the received
station is displayed.
•Today’s date
•Artist
•Album
6. Getting started
Note – Optimising reception
•For best reception, ensure that the antenna is fully
rolled out.
•Try various different positions if necessary to get the
best reception.
6.1 Radio – Connecting and starting up
Connect the device to a properly installed socket.
The integrated power supply unit is suitable for mains
voltages between 100 and 240 V, and is thus operable on
almost any AC power grid. Please note that a country-
specic adapter may be necessary.
You can nd an appropriate selection of Hama products at
www.hama.com.
Warning
•Only operate the product from a socket that has been
approved for the device. The socket must be installed
close to the product and must be easily accessible.
•Disconnect the product from the power supply using
the On/Off switch – if this is not available, unplug the
power cord from the socket.
•If using a multi-socket power strip, make sure that
the total power consumption of all connected
devices does not exceed the power strip's maximum
throughput rating.
•If you will not be using the product for a prolonged
period, disconnect it from mains power.
When you switch the radio on for the rst time, the
station search is started automatically in DAB operating
mode. English is the default language for the radio’s menu
structure.
Set up your desired language as described in 6.2
Language.

5
6.2 Language
The rst time it is used, the radio's default language is
English. Proceed as follows to adjust the language:
•Press and hold [Mode/Settings] (5) for around 3
seconds to access the Settings menu.
•Turn [VOLUME/ENTER/NAVIGATE] to navigate to the
"System" menu item.
•Conrm the selection by pressing [VOLUME/ENTER/
NAVIGATE].
•Turning [VOLUME/ENTER/NAVIGATE] takes you to
the "Language" entry. Conrm the selection by pressing
[VOLUME/ENTER/NAVIGATE].
•Select your preferred system language by turning
[VOLUME/ENTER/NAVIGATE].
•Conrm this by pressing [VOLUME/ENTER/NAVIGATE].
Note
• The following languages are available:
English, German, Danish, Dutch, Finnish, French,
Italian, Norwegian, Polish, Portuguese, Spanish,
Swedish, Turkish
7. Modes
The menu contains the various operating modes and other
direct access options that are explained separately in the
following chapters:
8. FM
9. Bluetooth
10. Auxiliary Input
11. DAB/DAB+
12. Sleep
13. Alarm
The individual operating modes can also be selected by
repeatedly pressing [ ]/[ ].
[ ] [ ]
8.Analogue radio (FM/UHF)
8.1 Manual station setting
When you make station settings manually, you can dene
the desired frequency yourself and tune into stations that
were ignored during automatic station search because
their signals were too weak.
•In FM mode, repeatedly press [ /i] to switch
between the volume control and the station setting.
•Select the "Set station" menu item and conrm the
selection with [VOLUME/ENTER/NAVIGATE].
•Turn [VOLUME/ENTER/NAVIGATE] (left: - 0.05 MHz
/ right: + 0.05 MHz) until the desired frequency is
displayed. Wait a moment until playback of the received
station signal begins.
Note
After a few seconds, the radio automatically returns to
volume control. If you do not make any changes to the
frequency setting, you may need to use the [ / i]
button again to access the station settings.

6
8.2 Automatic station setting
The radio can search for stations automatically. The
analogue radio receiver's entire frequency range is
searched. The radio stops the search and starts playback
when it nds a station.
•In FM mode, repeatedly press [ / i] to switch
between the volume control and the station setting.
•Select the "Set station" menu item and conrm the
selection with [VOLUME/ENTER/NAVIGATE].
•Turn [VOLUME/ENTER/NAVIGATE] (left: - 0.05 MHz /
right: + 0.05 MHz), to enter the required direction of the
scan and then press [VOLUME/ENTER/NAVIGATE] to
start the automatic station search.
8.3 Scan setting
The scan setting allows you to dene whether stations
with a weak signal strength are to be included during the
automatic search.
Proceed as follows:
•Press and hold [ ]/[ ] to access the "Search settings"
menu item.
•Conrm your selection with [VOLUME/ENTER/
NAVIGATE].
•Select "Strong stations only" in order to only stop during
the automatic search on stations with a strong signal.
Otherwise, the search run will stop at every station for
which a signal is received.
Note
By default, the "Strong stations only" method is
selected.
8.4 Presets
You can save up to 30 of your favourite stations for quick
and direct access.
8.4.1 Save presets
•Set the station that you would like to save as a station
preset.
•If the station is received, press and hold [Preset] on front
of the radio.
Press and hold
[ ]
An overview window with the station presets should open
after approx. 2 seconds.
•You can switch between the station presets (1 to 30) by
turning [VOLUME/ENTER/NAVIGATE].
•Press [VOLUME/ENTER/NAVIGATE] to save the station
to the desired station preset.
8.4.2 Retrieving presets
Press [Preset] to open the overview window with the list
of station presets.
Press and hold
[ ]
Use [VOLUME/ENTER/NAVIGATE] to select one of the
presets.
Note
•Favourites cannot be deleted.
•If all 30 station memory slots are lled and you wish
to save a new station, choose one of the occupied
slots. The station in this slot will be overwritten with
the new station.

7
9. Bluetooth
You can pair your terminal device with the radio using
Bluetooth and use it as a playback device. You can control
playback directly on the terminal device. You can adjust the
volume on the radio, as well.
Note – Bluetooth
•Check whether your mobile device (smartphone,
tablet PC. etc.) is Bluetooth-capable.
•Note that the maximum range for Bluetooth is 10
metres without obstacles such as walls, people, etc.
•The Bluetooth connection may be disrupted by other
Bluetooth devices/connections in the vicinity.
•It is only possible to connect the radio to one terminal
device.
•Note that compatibility depends on the supported
Bluetooth proles as well as the Bluetooth versions
being used. (See: Technical data in the operating
instructions for the respective device)
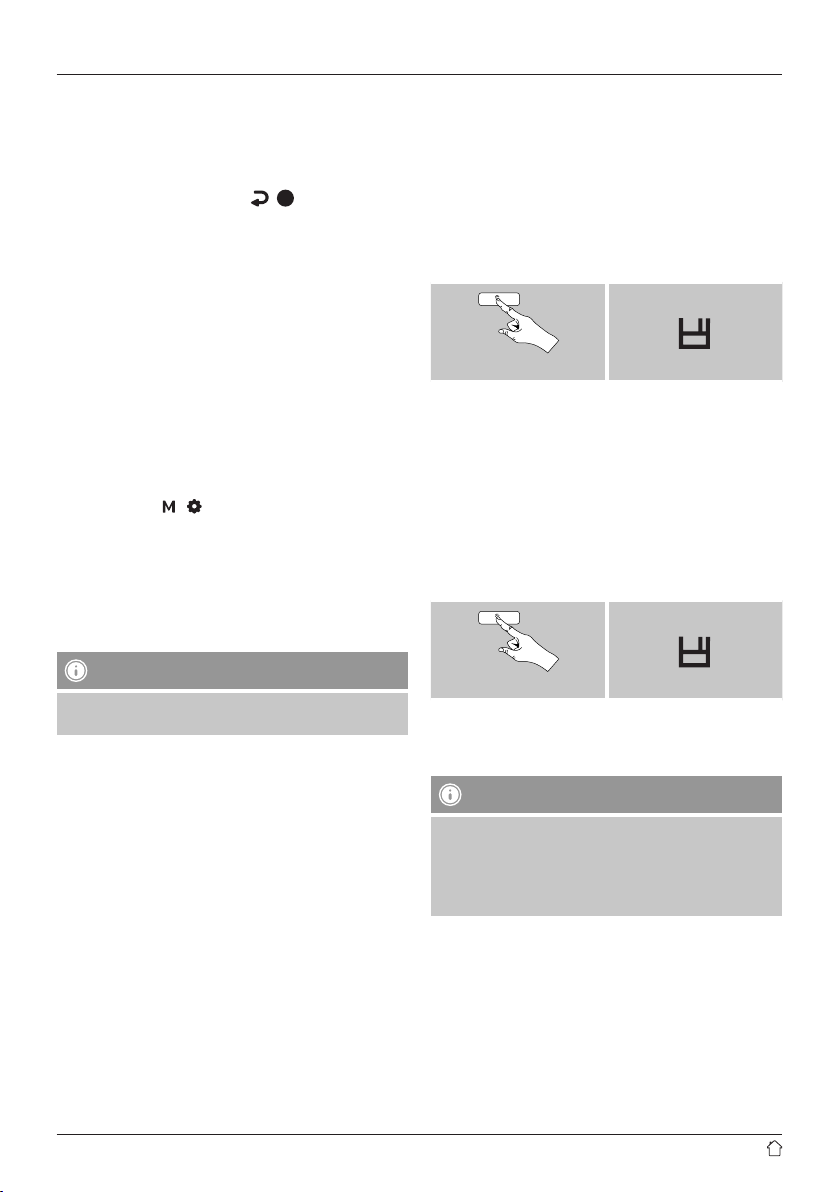
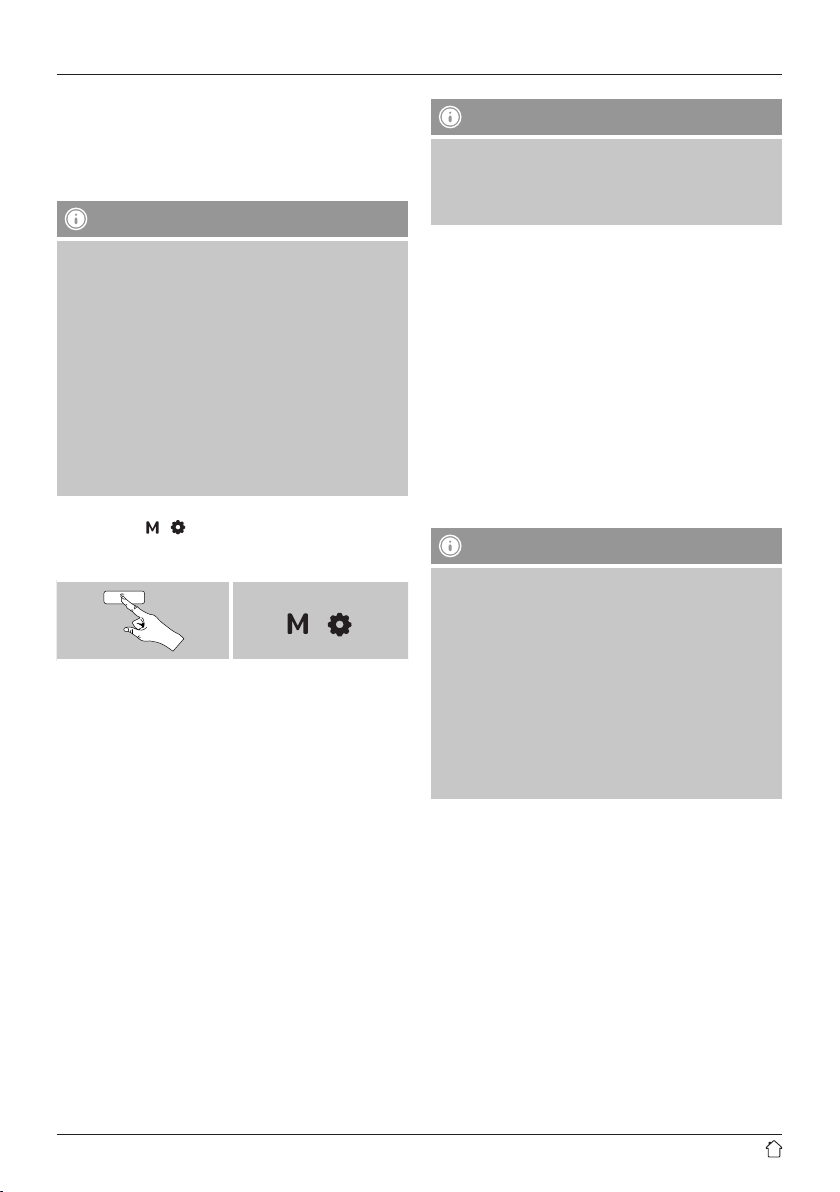
After pressing [ ]/[ ] repeatedly, activate Bluetooth
operating mode on the radio:
[ ] [ ]
9.1. BIuetooth pairing
•Ensure your Bluetooth-enabled device is switched on and
that Bluetooth is activated.
•Open the Bluetooth settings on your device and wait
until the list of found Bluetooth devices shows DR40BT.
•If necessary, start searching for Bluetooth devices on your
device.
•Select DR40BT and wait until radio is listed as
connected in the Bluetooth settings of your device.
•Your device is also shown as connected on the radio
display.
•Start and control audio playback using the controls on
your device.
Note – Bluetooth password
Some terminal devices require a password in order to
connect to another Bluetooth device.
•If your device requests a password to connect to the
radio, enter 0000.
9.2 Automatic Bluetooth connection
(once pairing has been performed)
•Devices already paired with the radio are automatically
saved on the radio.
•If you are pairing the terminal device with the radio for
the rst time, proceed as described in 9.1 BIuetooth
pairing.
•Ensure your Bluetooth-enabled device is switched on and
that Bluetooth is activated.
•The connection will be established automatically.
•If necessary, open the Bluetooth settings on your terminal
device and select DR40BT.
•Start and control audio playback using the controls on
your device.
Note - Connection impaired
After the radio and terminal device have been paired, a
connection is established automatically. If the Bluetooth
connection is not established automatically, check the
following:
•In your device's Bluetooth settings, check that
DR40BT is connected. If not, repeat the steps listed
under Bluetooth pairing.
•Check that your device and the radio are less than 10
metres apart. If not, move them closer together.
•Check whether obstacles are impairing the range. If
so, move the devices closer together.

8
10. Auxiliary Input
Via the analogue audio input (AUX IN socket) you can
connect mobile devices (for example smartphone, tablet
PC, M3 player etc.) to the radio and play the audio les
using the radio's speakers.
•After pressing [ ]/[ ] repeatedly, activate Auxiliary
Input (Aux In) operating mode.
•Connect your mobile terminal device and the audio input
(AUX IN socket) on the radio using a 3.5 mm audio
cable.
•Start and control audio playback accordingly via the
connected device.
11. Digital radio (DAB/DAB+)
The radio receives all established digital radio frequencies
in the range of 174 MHz to 240 MHz (band III, channel
5A to 13F).
•Press [ ]/[ ] repeatedly to activate DAB operating
mode.
11.1 Search / Automatic search
The automatic DAB channel search scans the DAB band
III for available stations. After the station search, all
interference-free stations are saved in alphabetical order.
The automatic DAB station search starts automatically
when DAB mode is started for the rst time; it is indicated
by Scanning… and a status bar on the display.
If you would like to start the search again, proceed as
follows:
Press and hold
[ ] [ ]
Full scan
11.2 Station list
You can call up the station list in DAB mode at any time.
•In DAB mode, press [ /i] to switch between the
volume control and station setting.
11.3 Edit station list
To remove stations that are not currently in the reception
area from your station list, proceed as follows:
Press and hold
[ ] [ ]
Empty memory
If you answer Yes, then all currently unavailable stations
will be removed from the station list.

9
11.4 Presets
You can save up to 30 of your favourite stations for quick
and direct access.
11.4.1 Save presets
•Set the station that you would like to save as a station
preset.
•If the station is received, press and hold [Preset] on front
of the radio.
Press and hold
[ ]
•An overview window with the station presets should
open after approx. 2 seconds.
•You can switch between the station presets (1 to 30) with
[VOLUME/ENTER/NAVIGATE].
•Press [VOLUME/ENTER/NAVIGATE] to save the station
to the desired station preset.
11.4.2 Retrieving presets
Press [Preset] to open the overview window with the list
of station presets.
Press and hold
[ ]
Use [VOLUME/ENTER/NAVIGATE] to select one of the
presets.
Note
•Favourites cannot be deleted.
•If all 30 station memory slots are lled and you wish
to save a new station, choose one of the occupied
slots. The station in this slot will be overwritten with
the new station.
11.5 DRC (Dynamic Range Control)
Some DAB network radio stations support a volume control
feature that actively takes effect during playback. If the
volume suddenly increases, DRC automatically lowers it. If
the volume suddenly becomes quieter, DRC automatically
raises it. The same happens when playback is suddenly
quiet. The radio then increases the volume again.
DRC high:
total equalisation of different volumes. Strong compression
can audibly reduce the dynamics of a music title.
DRC low:
partial equalisation of different volumes. More subtle
compression, without too much loss of dynamics.
DRC off:
no equalisation.
Proceed as follows to do the settings:
Press and hold
[ ] [ ]
DRC

10
12. Sleep
The radio has a timer function, which switches the radio to
standby mode after a pre-dened length of time.
Press and hold
[ ] [ ]
System
Sleep
•After the dened time the radio switches to standby
mode.
•Press [VOLUME/ENTER/NAVIGATE] to switch the radio
back on.
Note
During the active
timer function (sleep), the backlight can be set
separately - e.g. darker than in normal mode (see 14.5
Backlight)
13. Alarm
The radio has two individually adjustable alarm times.
13.1 Settings
Press and hold
[ ] [ ]
System
Sleep
•Alarm 1 and alarm 2 are congured identically and allow
two separate alarm times to be saved. Select alarm 1
or 2 and then make the following settings by means of
[VOLUME/ENTER/NAVIGATE]:
Mode:
Choose when the alarm is to activate:
Off – Daily – Once – Weekdays – Weekends
Date and time:
If you selected Once, enter the date and time for the
one-off alarm.
Time:
First choose the hour, then the minute at which the alarm
is to activate.
Mode:
Set whether you wish to be woken by an alarm tone (buzz)
or DAB.
Programme:
If you selected DAB, choose which station or podcast
you wish to be woken with. You can choose any of the 30
preset slots or the Last listened.
Volume:
You can set the volume at which the alarm sound should
be played. This setting makes it irrelevant how loud you
last listened to the radio.
Saving:
Conrm this button to complete your alarm settings.
Note
•It is recommended to allow the radio to update the
time automatically. This ensures that the time is
always correct even if there is a separation of power
supply – for example a power cut.

11
13.2 Activating / deactivating the alarm
•Conrm the menu item Save in alarm settings to activate
the alarm.
•Disable the alarm by setting the Mode to:
Off.
13.3 Stopping the alarm / Snooze function
•When the alarm activates, press [ ]/[ ] to stop it.
•The alarm turns off for the selected time interval
(5/10/15/30/60 minutes) before activating once again.
•If the alarm is not stopped, the radio automatically
switches into standby mode after one hour.
•Hold the [VOLUME/ENTER/NAVIGATE] down to nally
stop the alarm.
14. Other system settings
You can modify all settings and access important
information about the radio in the System settings.
14.1 Equaliser
The equaliser allows you to adjust the sound of the radio
to suit your preferences by amplifying or reducing the
amount of bass or treble in the audio .
You can choose from precongured proles, adjusted to
suit a variety of music genres, or create your own custom
prole.
•To set the equaliser, proceed as follows:
Press and hold
[ ] [ ]
System
Equaliser
•Use [VOLUME/ENTER/NAVIGATE] to select one of the
pre-congured proles.
•To create your own equaliser prole, choose the My EQ
setting option.
•This takes you to the bass,treble and loudness
settings (volume amplication).
•To adjust a particular value, press [VOLUME/ENTER/
NAVIGATE] on the corresponding selection and change
the values by turning [VOLUME/ENTER/NAVIGATE] to
the left or right. If playback is already started when you
modify these settings, you can hear the changes in the
audio immediately.
•Conrm the selection by pressing [VOLUME/ENTER/
NAVIGATE] again.
•Once you have made all your settings, press [BACK/
INFO] on the radio and conrm that the settings are to
be stored by pressing [VOLUME/ENTER/NAVIGATE].
•To use the new prole, choose the My EQ option.
14.2 Time settings
To access the time settings, proceed as follows:
Press and hold
[ ] [ ]
System
Time
Automatic update
If automatic time and date adjustment is activated, the
device receives time and date information from the station
over the FM/DAB/DAB+ radio network. This is the best way
to ensure that the clock will run accurately and the alarm
will trigger at the correct time, even after power outages.
•By turning [VOLUME/ENTER/NAVIGATE], select "Yes"
or "No" in order to enable or disable automatic updates.
•Conrm your selection by pressing [VOLUME/ENTER/
NAVIGATE].
•You are now returned to the time settings.

12
Setting the time format
Choose between the 12 and 24-hour format.
Setting the date format
Choose between the DD-MM-YYYY and MM-DD-YYYY date
format.
14.3 Factory reset
To reset the radio to the factory default settings, proceed
as follows:
Press and hold
[ ] [ ]
System
Factory reset
•Conrm the following prompt with YES to reset the radio
to the factory default settings.
All settings made previously are deleted.
Note
•Resetting to the factory default settings can remedy
some problems and malfunctions.
•However, all settings made previously, such as
equaliser presets, station presets and network proles,
will be permanently deleted.
14.4 Software update
We are constantly developing new software features
and improvements for our radios to x problems, add
functionality, etc.
We recommend that you keep your radio’s software up to
date.
•Proceed as follows:
Press and hold
[ ] [ ]
System
Software update
•Select Automatic updates (YES) to allow the radio
to automatically check for new software updates on a
regular basis. (Recommendation)
•Choose Check now to manually start a check for
software updates.
Warning
•Make sure that the radio has a stable power supply
before you start a software update.
•Power supply failure during a software update can
cause irreparable damage to the radio.
14.5 Information
•To have the radio display current information about
its hardware and software (version numbers, device
designation, radio ID, etc.), proceed as follows:
Press and hold
[ ] [ ]
System
Info

13
14.6 Backlight
The backlight can be congured for each operating mode
(Operation mode, Standby mode, Sleep mode) separately.
•Proceed as follows:
Press and hold
[ ] [ ]
System
Backlight
•For the Operation and Sleep modes, you can choose
various brightness levels.
•ForStandby mode, you can also choose a brightness
level for the backlight in standby (display lighting).
Alternatively, you can turn off the backlight completely in
standby (Display lighting Off).
•Choose a time interval under Timeout (sec). When
the radio is in standby, press any button to illuminate
the display at the brightness level set for that operating
mode for the selected interval of time.
•Alternatively, disable this feature (Timeout (sec)
Off).
15. Care and Maintenance
•Only clean this product with a slightly damp, lint-free
cloth and do not use aggressive cleaning agents.
•If you do not plan to use the product for a prolonged
period, turn off the device and disconnect it from the
power supply. Store it in a clean, dry place away from
direct sunlight.
16. Warranty Disclaimer
Hama GmbH & Co KG assumes no liability and provides no
warranty for damage resulting from improper installation/
mounting, improper use of the product or from failure to
observe the operating instructions and/or safety notes.
17. Service and Support
Please contact Hama Product Consulting if you have any
questions about this product.
Hotline: +49 9091 502-115 (German/English)
Further support information can be found here:
www.hama.com
18. Recycling Information
Note on environmental protection:
After the implementation of the European
Directives 2012/19/EU and 2006/66/EU in the
national legal system, the following applies:
electrical and electronic devices as well as batteries
must not be disposed of with household waste. Consumers
are obliged by law to return electrical and electronic
devices as well as batteries to the designated public
collection points or to the point of sale at the end of their
service lives. Detailed information on this topic is dened
in the national laws of the respective country. This presence
of the above symbol on the product, operating instructions
or package indicates that the product is subject to these
regulations. By recycling, reusing the materials or other
forms of utilising old devices/batteries, you are making an
important contribution to protecting our environment.
19. Declaration of Conformity
Hama GmbH & Co KG hereby declares that the
radio equipment type [00054871] is in compliance
with Directive 2014/53/EU. The full text of the EU
declaration of conformity is available at the following
internet address:
www.hama.com -> 00054871 -> Downloads.
Frequency band(s) BT: 2.402 - 2.480 GHz
Maximum radio-
frequency power
transmitted
BT: 2.4 GHz / 4 dBm (EIRP)

Alllistedbrands are trademarks of the corresponding companies.Errors andomissionsexcepted,
andsubjectto technicalchanges. Ourgeneral termsof deliveryand paymentare applied.
00054871/02.19
Hama GmbH &Co KG
86652 Monheim /Germany
www.hama.com
The
Bluetooth®
wordmark and logosare registered trademarksownedby BluetoothSIG, Inc. andany
useof suchmarksby Hama GmbH &Co KG is under license. Other trademarksandtradenamesare
thoseof theirrespective owners.
The Spotify software is subject to third party licenses found here:
www.spotify.com/connect/third-party-licenses
Other manuals for DR40BT
1
Table of contents
Other Hama Radio manuals