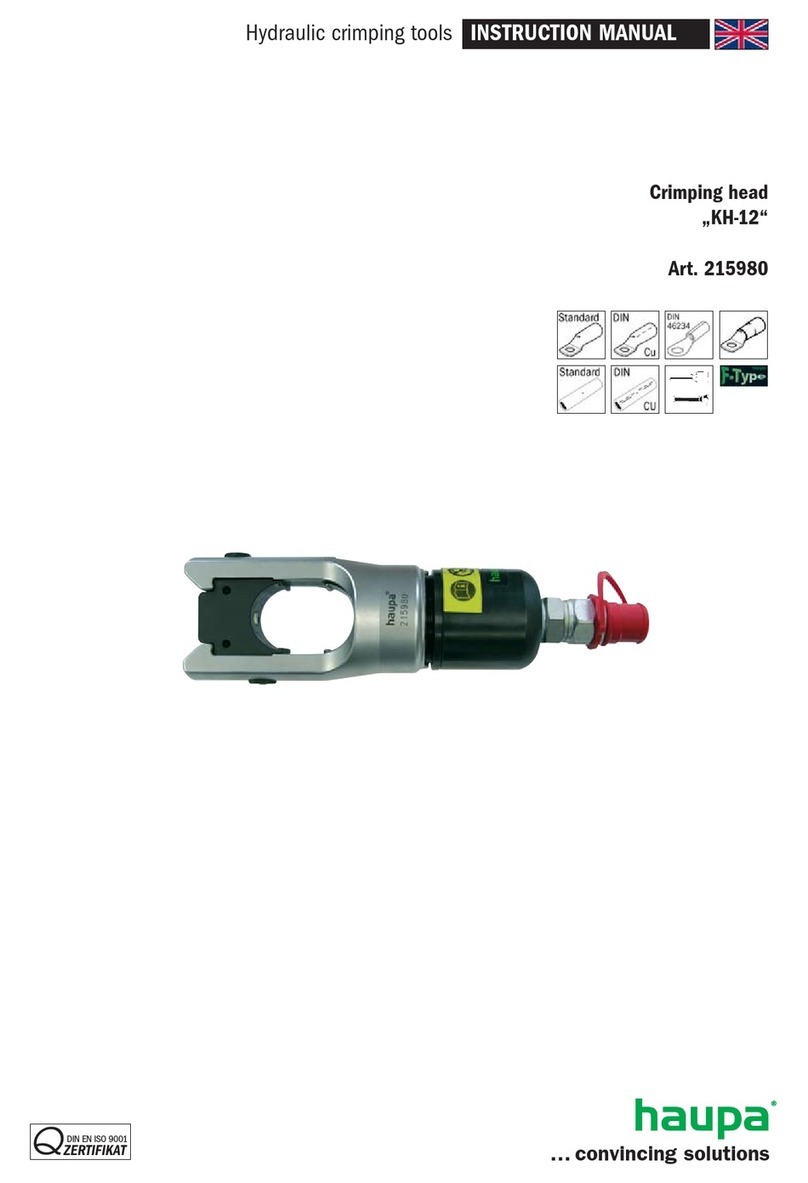
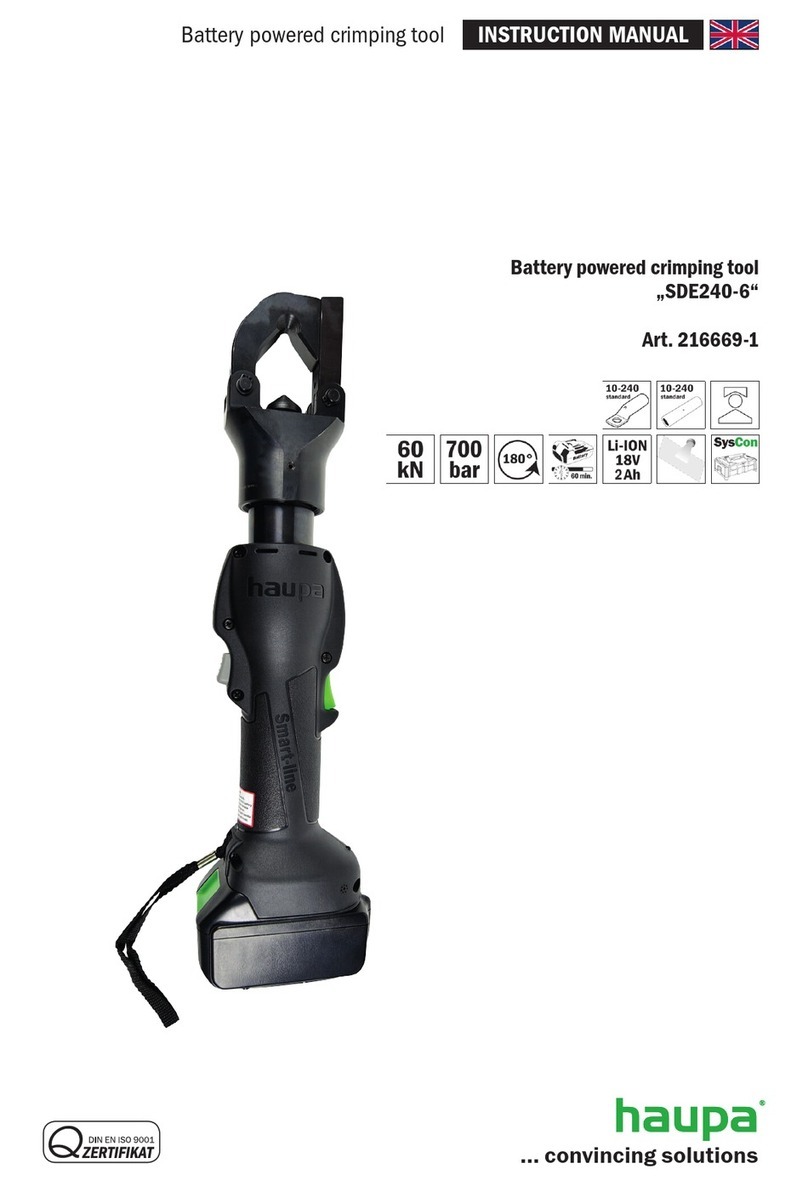
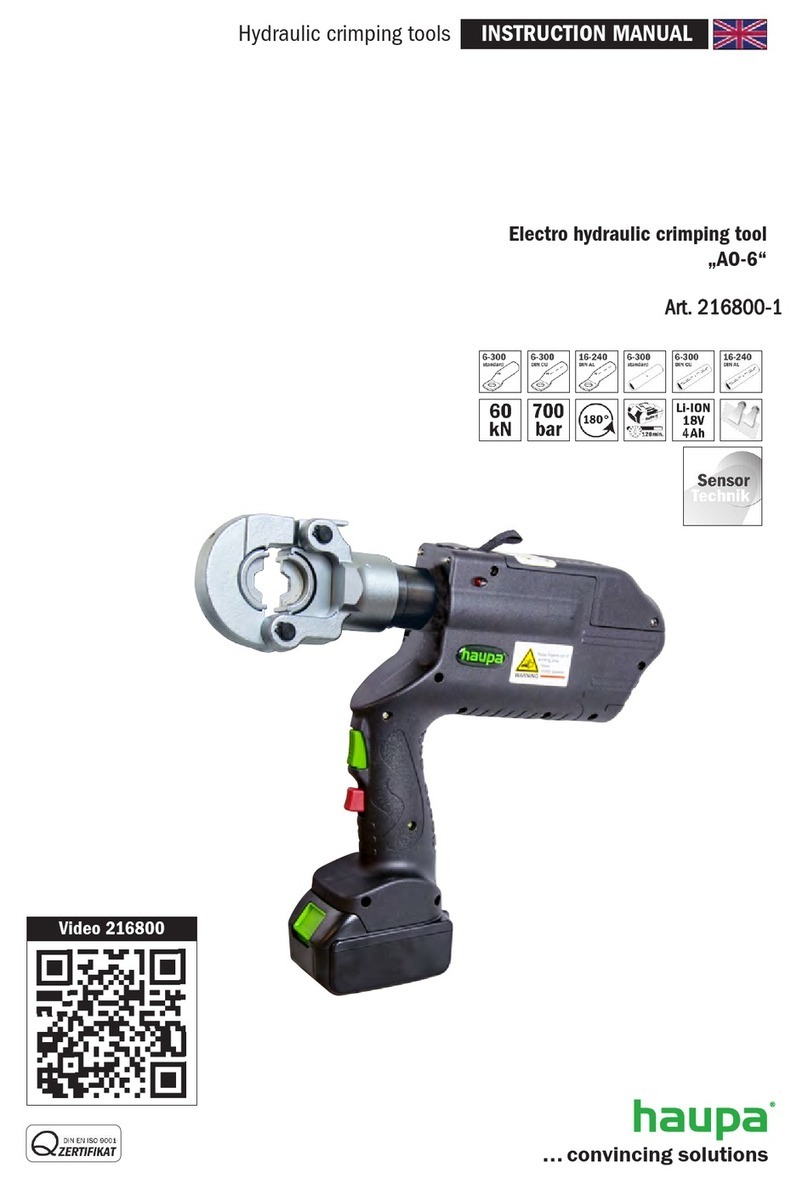
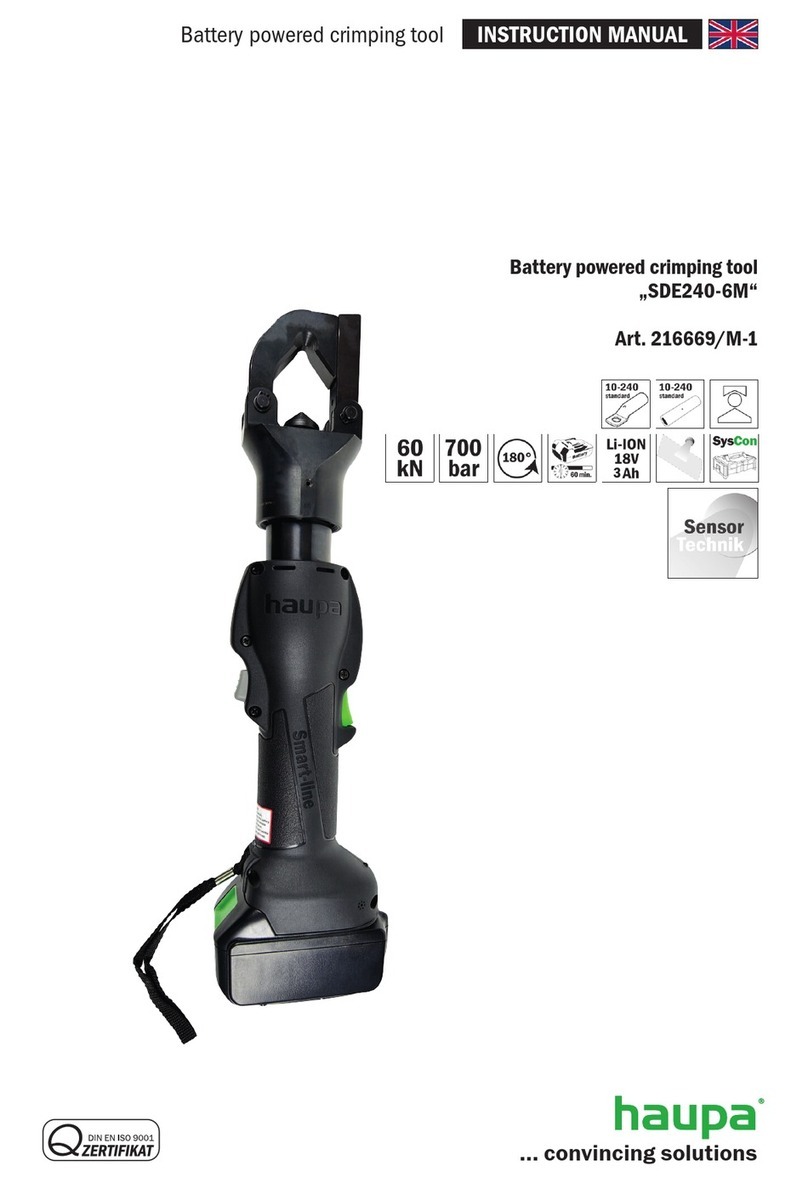
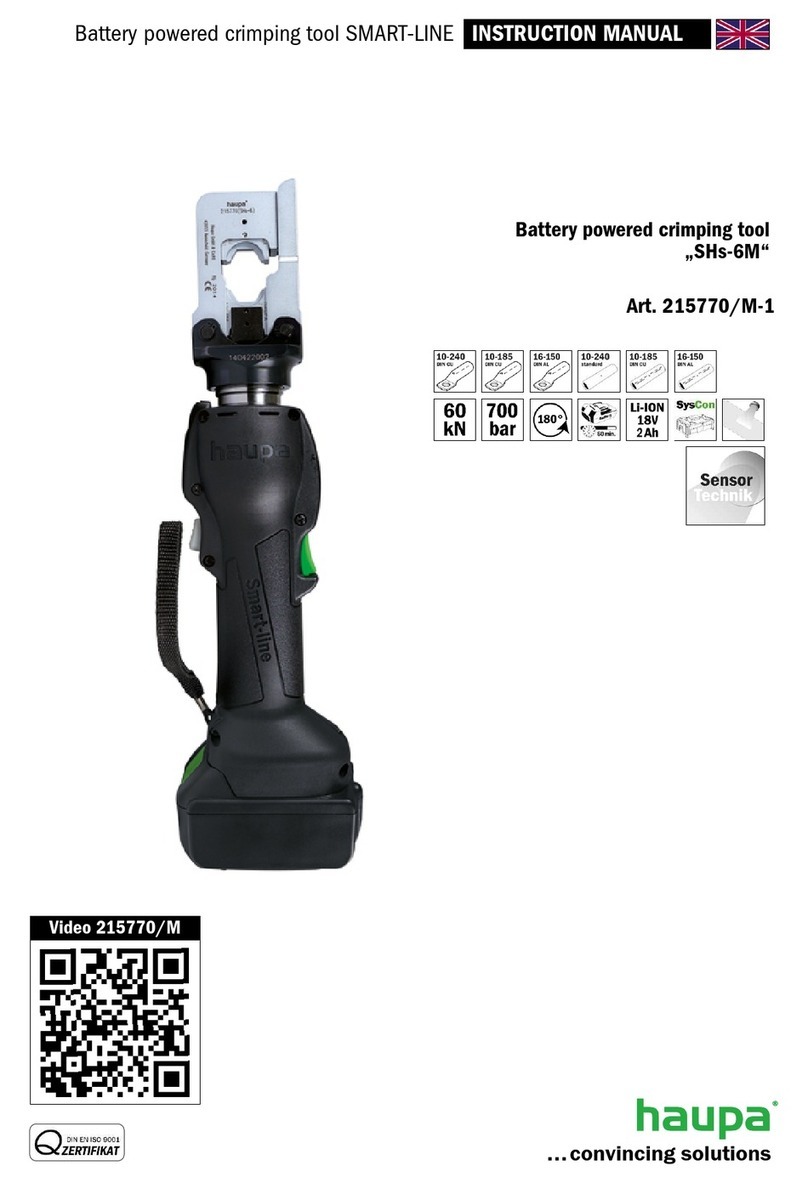
haupa US-6M User manual

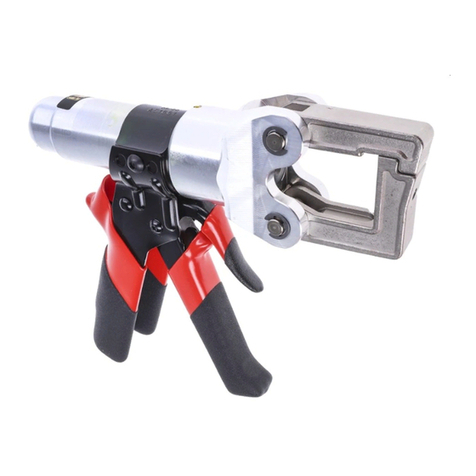
Battery powered crimping tool
„US-6M“
Art. 216760-1
Battery powered crimping tool SMART-LINE INSTRUCTION MANUAL

1
KOPF TYPE & APPLICATION
HEAD
DRAWING
MODEL NO.
216764
216762
216761
216763
216665-U
216666-U
LENGTH(mm)
180
233
140
130
170
225
WIDTH(mm)
134
148
90
93
136
136
HEIGHT(mm)
70
93
60
34
60
60
WEIGHT(kg)
2.7
2.8
1.7
1.2
3
3
APPLICATION
+Punching +
galvannealed
steel plate Max.
thickness
3.2mm or
stainless-steel
plate Max.
thickness
1.6mm
+ Cutting +
Blade opening:
Dia. 50mm
+ Crimping +
Connector
crimping
+ Crimping +
Connector
crimping
Type: Dieless
+ Crimping +
Quad-Mandrel
+ Crimping +
Quad-Mandrel
RANGE
Punch-dies size
1/2”-2”
Thickness range
1.6-3.2mm
Copper Cable
500sqmm
Aluminum Cable
750sqmm
DIN 10-300 mm²
AWG8-600MCM
Copper
Connector
16-240 mm²
Aluminium
Connector
50-240 mm²
DIN 16-300 mm²
AWG6-600MCM
DIN 25-400 mm²
AWG3-750MCM
SPECIFICATION
MODEL NO.
216760-1
OUTPUT
6 TON
VOLTAGE
DC 18V
PRESSURE
700 KG/CM2
WEIGHT
2.4 KGS (WITHOUT BATTERY)
DIMENSION
116mm(L)x75mm(W)x334mm(H)
CHARGING TIME
60-70 MINUTES(215525)/30 MINUTES(215523)
ACCESSORY
CHARGER/BATTERY SET & SYSCON
FEATURES
⚫Quick-exchange design for head
⚫LED working light design
⚫Multi-function/one body with different application heads


3
REMARKS BEFORE OPERATION OR WHILE OPERATING
uPlease wear protective equipment while operating to make sure your safety.
Warning: This tool & heads are not insulated.
uPlease kindly check the crimping/cutting/punching range and suitable
crimping/cutting/punching materials before any action. (You could find the
range at this manual page 1) Do not crimp/cut/punch without any material
in working area, otherwise the tool will be damaged.
uAfter operation of tool, please press the oil-release button to set the tool
hydraulic ram back to original position. And separate the battery from tool.
Please store the tool without connecting with battery. This will affect the life
time of tool and battery.
uPlease do not put your hands/fingers in the working area while operating,
cleaning and testing. This action is very dangerous.
uPlease do not aim at anyone while operating. This action is very dangerous.
uBefore crimping, the dies must be fixed tightly to the dies holder. Make sure
you use correct size crimping dies before crimping.
Before cutting, if there are any broken blade pieces or any foreign object,
please do not operate. Please change new spare blade.
Before punching, if there are any broken plate pieces or any foreign object
causing bad-running, please do not operate. Please check if there is
anything got stuck inside/between the punch head & dies. Make sure you
use correct size punch dies before punching.

HOW TO OPERATE/USE 18V BATTERY CHARGER 215527
THIS CHARGER COULD WORK WITH 18V LI-ION BATTERY: 215523 & 215525
SPECIFICATION
MODEL NO.
215527
INPUT VOLTAGE
100 – 240 V AC
FREQUENCY
50 / 60 Hz
OUTPUT VOLTAGE
21 V DC
OUTPUT CURRENT
1,5 A
WEIGHT
0.126 KG
DIMENSION
92 mm(L) x 47 mm (W) x 45 mm (H)
Charger: Connecting battery to charger:

5
ABOUT THE 18V LI-ION BATTERY: 215523 & 215525
215523 (2 Ah)
215525 (4 Ah)
LED indicator state of charge (press the button):
*Please follow the manual of battery with correct instruction.
*Our company does not guarantee anything due to the purpose damage or wrong use.
Please pull the battery out of tool if the tool will not to be used for a long
period time!
SPECIFICATION
MODEL NO.
215523
VOLTAGE
18 V DC
WEIGHT
0.35 KG
DIMENSION
114 mm(L) x 73,5 mm (W) x 67 mm
(H)
CHARGING TIME
~ 30 MINUTES
CAPACITY
2 Ah
SPECIFICATION
MODEL NO.
215525
VOLTAGE
18 V DC
WEIGHT
0.58 KG
DIMENSION
114 mm(L) x 73,5 mm (W) x 67 mm (H)
CHARGING TIME
~ 60 MINUTES
CAPACITY
4 Ah

MANUAL/INSTRUCTION OF BATTERY
BEFORE OPERATION PLEASE NOTE
u Do not put the battery together with any metal. Otherwise the battery may have a short circuit.
u Do not store the battery at a wet/hot space. Put battery in a dry clean space.
u Do not give the battery to children. Keep the battery away from the children.
u The electric capacity of battery may be lost and the battery may be damaged if the battery is put in
the tool or charger for a long time.
u Do not heat the battery or put the battery in the fire.
u Keep the battery away from water, no matter sea water or faucet water. Please keep the battery dry
& clean.
u Do not press/take apart/throw down the battery. Do not let the battery near the water or fire. Also do
not put the battery in your pocket.
u Do not destroy the housing/package/body of battery.
u Do not use old transformed battery with strange/abnormal appearance.
u The battery after use will be a little warm.
u The battery in low temperature (10 Degree or below), the battery will be deteriorated and its use
time will be shorter. This is normal.
u Please follow the instruction of battery manual to charge the battery.
u Do not charge the battery directly under the sun or in a space with high temperature.
u Please use charger to charge the same brand battery.
u Do not use battery with other brand.
u Please charge the battery before storage if you will not use the battery for a long time. Please charge
the battery at least once a month to ensure its life.
HOW TO CLEAN THE BATTERY
u If the connecting points (+/-) or the cap of battery is dirty. It may cause the electric current can not
go through. Therefore you will find the digital monitor will still show “Without Power” under full
charged.
u Please keep the connecting points (+/-) or the cap of battery clean. Please use dry soft cloth to wipe
the battery housing/cap and even the connecting points (+/-).
u Do not use cleaner or chemical cleaner to clean the battery or charger, otherwise they will be
damaged.
RECYCLE & THROW AWAY
u Make sure there is without any power inside the battery before throwing the battery away.
u Please charge the battery full at the first time use. If the battery’s use time is shorter after long
time use, it means you need to amend an extra new battery.
u Please stick gummed tapes on the connecting points (+/-) for fire/explosion preventing. Please
follow the local rule of recycling.
SAFETY INSTRUCTION
l This product is not to be used by persons (including children) with reduced
physical, sensory or mental capabilities, or lack of experience and
knowledge, unless they have been given supervision or instruction.
l Children should be supervised to ensure that they do not play with the
appliance.
l Never recharging non-rechargeable batteries.
l Please follow the manual of battery with correct instruction. Our company
does not guarantee anything due to the purpose damage or wrong use.

7
HOW TO OPERATE/USE THE BATTERY TOOLS SET
*Operation Steps
u Insert the battery to art. 216760 as below picture 1:
*While the battery is inserted, the battery lock will lock the battery.
*While the tool connects the battery successfully and press the ON start
button, the “LED working light” will turned on about 15-20 seconds.
If the acoustic signal sounds 3 times, the battery is empty.
Picture 1: Set/Take battery
u Push the switch to change the function. Red means cutting and punching
and green stands for pressing.
u Please kindly note that the T-Bar only could rotate 180 degrees as below
picture 2:
Picture 2: T-Bar Rotation Degree

HOW TO EXCHANGE DIFFERENT APPLICATION HEADS
u Set 216763 dieless crimping head like below steps:
Ø Pull both fixed pins on T-Bar and insert art. 216763 dieless crimping
head like below picture 3:
*After inserting head, please press oil-release button to ensure the ram back to the original position, i.e.
Max. Opening, then you could put crimping material inside.
Picture 3: Insert art. 216763 dieless crimping head
Ø Put the crimping material inside the opening and close the jaws, make
sure both fixed pins are well fixed with head, like below picture4:
Picture 4: How to set crimping material
Ø Press the start button to crimp the terminal and oil-release button to
take the crimped terminal out of working area, like below picture5:
Picture 5: Crimping connector
u Set art. 216761 crimping head like below steps:

9
Ø Pull both fixed pins on T-Bar and insert art. 216761 crimping head like
below picture 6:
*After inserting head, please press oil-release button to ensure the ram back to the original position, i.e.
Max. Opening, then you could put crimping material inside.
Picture 6: Insert art. 216761 crimping head
Ø Choose the correct size crimping dies and set it inside dies holder. Put
the correct terminal meet the dies size inside, make sure both fixed
pins are well fixed with head, like below picture7:
Picture 7: How to set dies & crimping material
Ø Press the start button to crimp the terminal and oil-release button to
take the crimped terminal out of working area, like below picture8:
Picture 8: Crimping connector
u Set 216762 cutter head like below steps:

Ø Pull both fixed pins on T-Bar and insert art. 216762 cutter head like
below picture 9:
*After inserting head, please press oil-release button to ensure the ram back to the original position, i.e.
Max. Opening, then you could put cutting material inside.
Picture 9: Insert art. 216762 cutter head
Ø Rotate the T-Bar to meet the direction of cable/cutting material. Put
the cable/suitable cutting material inside the opening. Make sure both
fixed pins are well fixed with cutter head, like below picture10:
Picture 10: How to set cable/cutting material
Ø Press the start button to cut the cable and oil-release button to take
the cut cable/cutting material out of working area, like below picture11:
(Make sure the cable is with correct & suitable material before cutting.)
Picture 11: Cutting cable
u Set 216764 punch head like below steps:

11
ØPull both fixed pins on T-Bar and insert art. 216764 punch head like
below picture 12:
*After inserting head, please press oil-release button to ensure the ram back to the original position, i.e.
Max. Opening, then you could put punching material inside.
Picture 12: Insert art. 216764 punch head
ØRotate the punch head and if action is ok. Set the correct punch dies
in correct method. Make sure both fixed pins are well fixed with punch
head, like below picture13:
Picture 13: How to set punch dies/punching material
ØPress the start button to punch the suitable plate and oil-release button
to take the punched plate/punched material out of working area, like
below picture14:
*Make sure the plate is with correct thickness & suitable material kinds before punching.
*Before punching, please make a suitable pre-hole on plate.
Picture 14: Punch plate
Punch Dies Accessories

uSet crimping head (art. nr. 216666-U) like below steps:
ØPull both fixed pins on T-Bar and insert crimping head like below
picture 15:
ØPress fixed pin down.
ØRotate fixed pin as above pictures and pin will be out automatically.
ØPull head cap open as picture.
ØClose head cap as picture.
ØPress fixed pin down and rotate same as above picture.
uSet crimping head (art. nr. 216665-U) like below steps:
ØPull both fixed pins on T-Bar and insert crimping head like below
picture:
ØPut proper crimping material into working area.
Picture 15: Opening & closing of crimping head
Picture 16: Operation of crimping head
Picture 17: Operation of crimping head

13
STORAGE
uThe hydraulic oil for the body:
Add/use hydraulic oil Shell Tellus T15/HV 15. Do not use other
brand. Otherwise the tool will be damaged.
uStorage
Put the tool, charger and battery in a dry clean place. Please charge the
battery full once a month to make sure the life time. Clean the tool and add
some antirust oil on the metal parts, i.e. dies, dies holders before storage.
BREAKDOWN SOLVING
BREAKDOWN
SITUATION
PROBLEM
METHOD TO SOLVE
NORMAL MOTOR
BUT DIES
NOT MOVING
OIL IS NOT ENOUGH
SEND BACK TO REPAIR
AIR IN OIL RESERVOIR
SEND BACK TO REPAIR
OIL RETURN IS DEFECT
SEND BACK TO REPAIR
NORMAL MOTOR
BUT WITHOUT
PRESSURE
O-RING IS BREAKDOWN
SEND BACK TO REPAIR
OIL IS NOT ENOUGH
SEND BACK TO REPAIR
OPERATION
VERY SLOW
DUST IN OIL RESERVOIR
SEND BACK TO REPAIR
INNER SCREWS ARE LOOSEND
SEND BACK TO REPAIR
WRONG STEEL BALL
POSITION
SEND BACK TO REPAIR
MOTOR
DEFECT
BATTERY DEFECT
CHANGE BATTERY
CONNECTION OF BATTERY
AND TOOL DEFECT
CHECK ALL
CONNECTION POINTS
SWITCH BREAKDOWN
CHECK SWITCH
SEND BACK TO REPAIR
OIL RETURN
DEFECT
CAN NOT OPERATE
COMPLETE
THE CIRCLE
DIES BLOCKED
CLEAN THE BLOCK
OIL RETURN BREAKDOWN
SEND BACK TO REPAIR
ØIF YOU MEET ANY BREAKDOWN THAT YOU CAN NOT
HANDLE, PLEASE CONTACT US WITHOUT ANY
HESITATION.
ØDO NOT TRY TO SLOVE THE BREAKDOWN WITHOUT
ANY PROTECT EQUIPMENT.

HAUPA GmbH & Co.KG, Königstr. 164-169, 42853 Remscheid, Germany
Declaration of Conformity
HAUPA Factory Certificate
Remscheid, 24.02.2021
Product: Battery Hydraulic Crimping Tool„US-6M“
Product Range: Around the cable
Art.-Nr.: 216760-1
Application: universal
Force: 60 kN
Pressure: 700 Bar
Battery: 18 V, 2 Ah Li-Ion
Weight (Set): 6,7 kg
Optional accessories: Crimping head „U-KO-6“ Art. 216761
Crimping head „U-KDE240-6“ Art. 216763
Cutting head „U-KS6-S50“ Art. 216762
Punching head „U-S-6“ Art. 216764
Crimping head „U-D300-6“ Art. 216665-U
Crimping head „U-D400-6“ Art. 216666-U
Additional remarks: Includes a sensor (to display that a crimp has been completed according
to standards), Universal hydraulic tool with exchangeable heads for
multiple applications (Crimping-Cutting)
We, HAUPA GmbH & Co KG, Headquatered in 42853 Remscheid/Germany, Koenigstrasse 165-169,
declare under our sole responsibility that the products mentioned in the data sheet comply with the
European Standards or Standard Documentations according to the regulations of the following
mentioned directives:
EN 62841-1, EN 12100 Teil 1 + 2, EN ISO 13857 , EN 349, EN 60204-
1, EN 20643, EN 61000-6-3, EN 61000-6-2, EN 60529, EN 4413, EN
1037
According to 2006/42/EG
And the EMV-Guideline 2014/30/EU
HAUPA GmbH & Co.KG
Product Management
This manual suits for next models
1
Table of contents
Other haupa Crimping Tools manuals
haupa
haupa SMART-LINE SH-6 User manual
haupa
haupa 21 66 01 User manual
haupa
haupa 21 67 50 User manual

haupa
haupa SD300-6M User manual

haupa
haupa SMART-LINE SH-6 User manual
haupa
haupa MO-6 User manual
haupa
haupa SMART-LINE SHs-6 User manual
haupa
haupa SMART-LINE SO-6M User manual
haupa
haupa AC25-12 User manual
haupa
haupa SMART-LINE 216801-1 User manual
Popular Crimping Tools manuals by other brands
molex
molex 207129 Series manual
Aalberts industries
Aalberts industries Apollo PEX 69PTKH00143 instruction sheet
Cembre
Cembre B540ND-BVA Operation and maintenance manual
molex
molex 207129 Series Specification sheet
Lapp Group
Lapp Group EPIC CIRCON LS1/M23 instruction manual
Emerson
Emerson Klauke UAP432CFB manual
