manuals.online logo
Brands
  1. Home
  2. •
  3. Brands
  4. •
  5. Hazet
  6. •
  7. Power Tools
  8. •
  9. Hazet 9041 G-1 Installation and operating instructions

Hazet 9041 G-1 Installation and operating instructions

9041 G-1
Reifenfüll-Messgerät,
geeicht
Tyre inflator,
calibrated
Zu Ihrer Sicherheit
Vor Inbetriebnahme ist der Anwendungs-
hinweis zu lesen.
Keine Gewaltanwendung!
Bei Gewaltanwendung ist die Beschädigung
des Gerätes möglich.
Geräteelemente
1 Manometer bis 10 bar
2 Handgriff mit Betätigungshebel
3 Schlauch mit Momentstecknippel
Lieferumfang
• Reifenfüll-Messgerät
For your safety
Before using the tool,
please read this
application note.
Never apply force!
In case of applying
external force the tool
can be damaged.
Tool components
1 Manometer up to 10 bar
2 Handle with operating lever
3 Hose with plug-in nipple
Included in delivery
• Tyre inflator
Technical data
Air inlet thread:
Measuring range: 0 – 10 bar
Recommended
pressure: 6.3 bar
Maximum pressure: 8 b a r
Length flexible hose: 1000 mm
Ø-manometer: 80 mm
Anwendungshinweis
Reifenfüll-Messgerät,
geeicht
HAZET -WERK Hermann Zerver GmbH & Co. KG
; Güldenwerther Bahnhofstraße 25-29
42857 Remscheid · GERMANY
[ +49 (0) 21 91 / 7 92-0
^ hazet.de · ] [email protected]
9041 G-1 IV - HAZET / 11.2021 cb/528
Technische Daten
Luftanschluss:
Messbereich: 0 – 10 bar
Empfohlener Druck: 6,3 bar
Maximaler Druck: 8 bar
Länge flexibler Schlauch: 1000 mm
Ø-Manometer: 80 mm
Anwendung
Zur Messung und Korrektur des Reifenfüll druckes bis 10 bar
Inbetriebnahme
• Gerät auspacken und anschließen (Kupplung).
• Nur entölte Druckluft verwenden.
Application
Measurement and correction of tyre inflation pressure
up to 10 bar.
Prior to operation
• Unpack the tool and connect coupling.
• Only use deoiled compressed air.
Bedienung
1. Staubschutzkappe vom Reifenventil abnehmen.
2. Momentstecknippel aufstecken und auf eine dichte Verbindung achten.
3. Das Manometer zeigt nun den Reifendruck an.
4. Zum Füllen den Betätigungshebel ganz durchziehen oder zum Ablassen
von Luft den Betätigungshebel halb zum Gerät ziehen.
5. Reifendruck erneut am Manometer prüfen, dabei nicht Betätigungshebel
betätigen.
6. Momentstecknippel schnell vom Reifen v entil abziehen, um Druckverluste
zu vermeiden.
Pflege und Instandhaltung
• Stöße, Schläge, Herunterfallen können die Funktion beeinträchtigen und
das Reifenfüll-Messgerät beschädigen.
• Das Manometer ist durch einen Gummimantel geschützt
• Sorgsamer Umgang erhält die Funktion und Genauigkeit.
• Keinesfalls Aceton oder Alkohol zur Reinigung verwenden.
Aufbewahrung / Lagerung
Das Reifenfüll-Messgerät ist unter folgen den Bedingungen zu lagern und
aufzubewahren:
• Keinen Flüssigkeiten und aggressiven Substanzen aussetzen.
Entsorgung
• Aussonderung unter Beachtung geltender Arbeits- und
Umweltschutzvorschriften.
• Metallische Materialreste verschrotten.
• Kunststoffe der Wiederverwertung zuführen.
Operation
1. Remove the dust protection cap from the tyre valve.
2. Insert plug-in nipple and make sure that
the connection is tight.
3. The manometer indicates the tyre pressure.
4. For filling the tyre with air pull the operating lever to the
limit, for discharging pull the operating lever half way
towards the device.
5. Check tyre pressure on the manometer without
operating the lever.
6. Remove plug-in nipple quickly from the
tyre valve to avoid decrease in pressure.
Maintenance and cleaning
• Do not let fall down. Do not expose to
impacts as they might impair the functional
efciency and damage the tool.
• The manometer is protected by a plastic
housing.
• Handle carefully to keep the tool
functioning with precision.
• Never use acetone or alcohol to clean the
tool.
Storage
The tool has to be stored
according to the following conditions:
• Do not expose to liquids or aggressive
substances.
Disposal
• For disposal, disassemble tool according
to the regulations for work safety and
environmental protection.
• Metal components can be scrapped.
• Plastic components can be recycled.
Application note
Tyre inflator,
calibrated
1
2
3
9041 G-1
Przyrząd do kontroli
ciśnienia powietrza
przy pompowaniu
opon,
wzorcowany
HAZET -WERK Hermann Zerver GmbH & Co. KG
; Güldenwerther Bahnhofstraße 25-29
42857 Remscheid· GERMANY
[ +49 (0) 21 91 / 7 92-0
^ hazet.de · ] [email protected]
9041 G-1 I pl 11.2021 cb/350
Zastosowanie
Do pomiaru iregulacji ciśnienia powietrza przy pompowaniu opon
do 10barów
Uruchomienie
• Rozpakować ipodłączyć urządzenie (złącze).
• Stosować wyłącznie sprężone powietrze bez oleju.
Obsługa
1. Zdjąć nakrętkę ochronną zwentyla opony.
2. Podłączyć szybkozłączkę wtykową zapewniając szczelne
połączenie.
3. Manometr pokazuje teraz wartość ciśnienia powietrza
woponie.
4. Aby napompować oponę, wcisnąć dźwignię do końca. Aby
spuścić powietrze zopony, wcisnąć dźwignię do połowy.
5. Ponownie sprawdzić na monometrze wartość ciśnienia
powietrza woponie.
6. Szybko zdjąć szybkozłączkę wtykową zwentyla opony, aby
uniknąć strat ciśnienia.
Pielęgnacja iutrzymanie
• Uderzenia iupadki mogą mieć ujemny wpływ na działanie
urządzenia oraz spowodować jego uszkodzenie.
• Manometr posiada gumowy płaszcz ochronny
• Staranne obchodzenie się zurządzeniem zapewnia jego
działanie idokładność.
• Nigdy nie stosować acetonu lub alkoholu do czyszczenia
urządzenia.
Przechowywanie/Magazynowanie
Przyrząd do kontroli ciśnienia powietrza
przy pompowaniu opon powinien być
przechowywany imagazynowany wna-
stępujących warunkach:
• Urządzenie nie może być narażone na działa-
nie płynów iagresywnych substancji.
Utylizacja
• Utylizacja zgodna zobowiązujacymi przepi-
sami prawa pracy iochrony środowiska.
• Elementy metalowe zezłomować.
• Tworzywa sztuczne przekazać do recyklingu.
Wskazówka dotycząca
zastosowania
Przyrząd do kontroli
ciśnienia powietrza
przy pompowaniu
opon, wzorcowany
Dla bezpieczeństwa użytkownika
Przed uruchomieniem należy przeczytać wskazówkę
dotyczącą zastosowania.
Nie należy stosować siły!
Użycie siły może skutkować uszkodzeniem urządzenia.
Elementy urządzenia
1Manometr do 10barów
2Uchwyt zdźwignią obsługi
3Wąż zszybkozłączką wtykową
Zakres dostawy
• Przyrząd do kontroli ciśnienia powietrza przy pompowaniu opon
Dane techniczne
Przyłącze powietrza:
Zakres pomiarowy: 0–10 barów
Zalecane ciśnienie: 6,3 bara
Maksymalne ciśnienie: 8 barów
Długość węża elastycznego: 1000 mm
Średnica manometru: 80 mm
1
2
3
Other Hazet Power Tools manuals

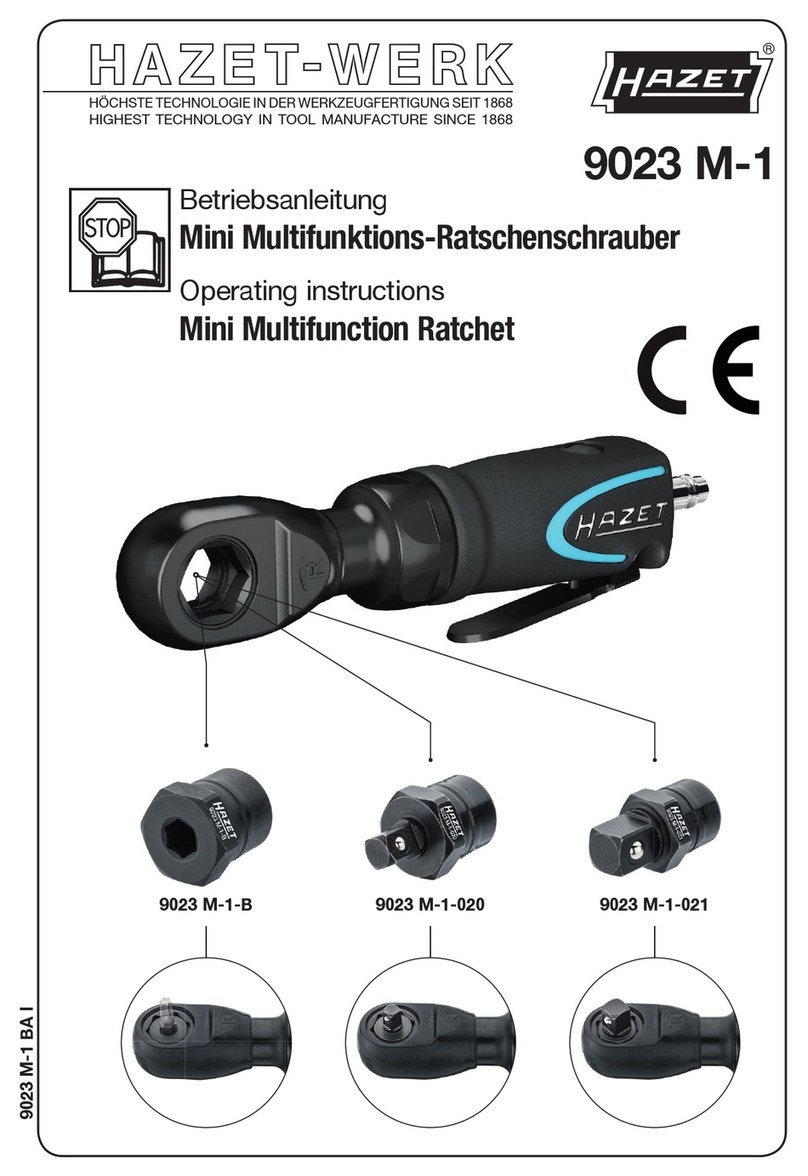
Hazet 9043 N-1 User manual

Hazet

Hazet 9043 N-1 User manual

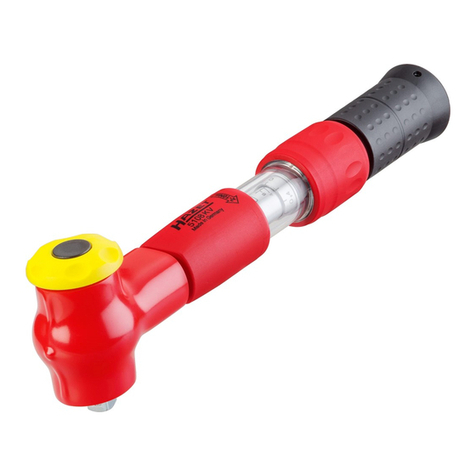
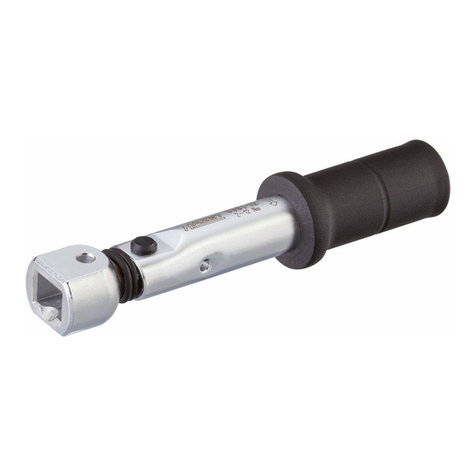
Hazet 5108 KV User manual

Hazet

Hazet 5108 KV User manual

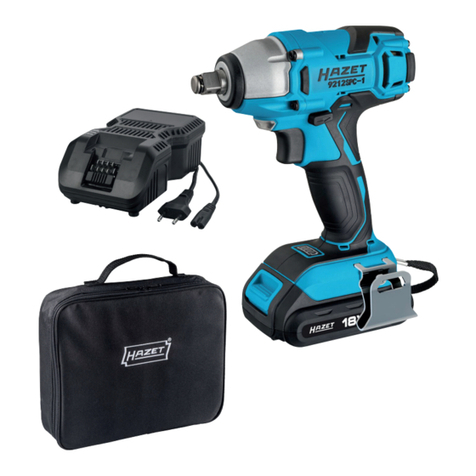
Hazet 9212SPC-1 User manual

Hazet

Hazet 9212SPC-1 User manual

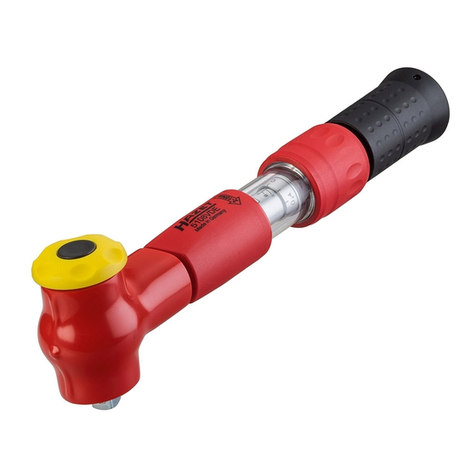
Hazet 5108 VDE User manual

Hazet

Hazet 5108 VDE User manual

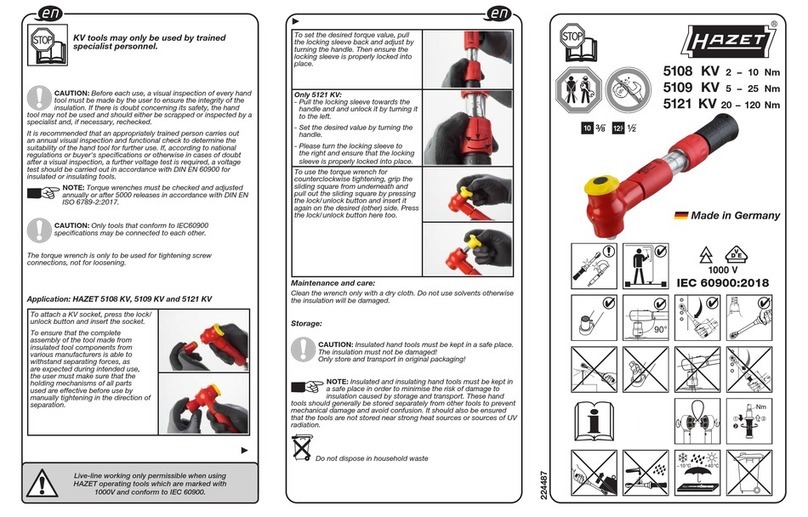
Hazet 5121KV User manual

Hazet

Hazet 5121KV User manual

Hazet 2191/12 K User manual

Hazet

Hazet 2191/12 K User manual

Hazet 1990N/6 Installation instructions

Hazet

Hazet 1990N/6 Installation instructions

Hazet System 5000 CT User manual

Hazet

Hazet System 5000 CT User manual

Hazet 4932-17 User manual

Hazet

Hazet 4932-17 User manual

Hazet 4937-2/32 User manual

Hazet

Hazet 4937-2/32 User manual

Hazet 9021 SR-1 User manual

Hazet

Hazet 9021 SR-1 User manual

Hazet 9036 N-5 User manual

Hazet

Hazet 9036 N-5 User manual

Hazet 9011 MG User manual

Hazet

Hazet 9011 MG User manual

Hazet 1847-12 User manual

Hazet

Hazet 1847-12 User manual

Hazet 9020-2 User manual

Hazet

Hazet 9020-2 User manual

Hazet 7280-2sTAC User manual

Hazet

Hazet 7280-2sTAC User manual

Hazet 9012 EL User manual

Hazet

Hazet 9012 EL User manual

Hazet 9023 M-1 User manual

Hazet

Hazet 9023 M-1 User manual

Hazet 6391 User manual

Hazet

Hazet 6391 User manual

Popular Power Tools manuals by other brands

Vaterra VTR03013 owner's manual

Vaterra

Vaterra VTR03013 owner's manual

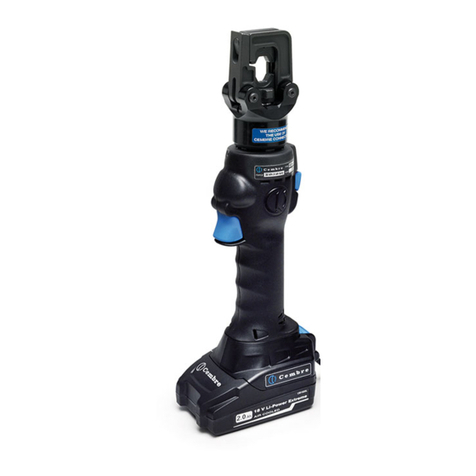
Cembre B35-45MD Operation and maintenance manual

Cembre

Cembre B35-45MD Operation and maintenance manual

jcb 21-DH1700 Instructions & user's manual

jcb

jcb 21-DH1700 Instructions & user's manual

Runpotec 20646 quick start guide

Runpotec

Runpotec 20646 quick start guide

Hitachi Koki CJ 110MVA Handling instructions

Hitachi Koki

Hitachi Koki CJ 110MVA Handling instructions

KNIPEX 97 52 63 DG owner's manual

KNIPEX

KNIPEX 97 52 63 DG owner's manual

Seymour Z-2501-1 Product information sheet

Seymour

Seymour Z-2501-1 Product information sheet

Crown CT28001HX Original instructions

Crown

Crown CT28001HX Original instructions

Bartell BR1570 Owner's manual and parts book

Bartell

Bartell BR1570 Owner's manual and parts book

Topeak D-TORQ TT2530 user guide

Topeak

Topeak D-TORQ TT2530 user guide

Parkside PHLG 2000 F5 Translation of the original instructions

Parkside

Parkside PHLG 2000 F5 Translation of the original instructions

Grad-M DA-18N-PDK user manual

Grad-M

Grad-M DA-18N-PDK user manual

Surtek 137041 manual

Surtek

Surtek 137041 manual

Force 5011 Series Instructions-parts list

Force

Force 5011 Series Instructions-parts list

Powerfix Profi SET PDS 45 A1 operating instructions

Powerfix Profi

Powerfix Profi SET PDS 45 A1 operating instructions

SUHNER ABRASIVE LWE 10 DH operating instructions

SUHNER ABRASIVE

SUHNER ABRASIVE LWE 10 DH operating instructions

Makita DJN161Z instruction manual

Makita

Makita DJN161Z instruction manual

Everwin SCN90L Operation and maintenance manual

Everwin

Everwin SCN90L Operation and maintenance manual

manuals.online logo
manuals.online logoBrands
  • About & Mission
  • Contact us
  • Privacy Policy
  • Terms and Conditions

Copyright 2025 Manuals.Online. All Rights Reserved.