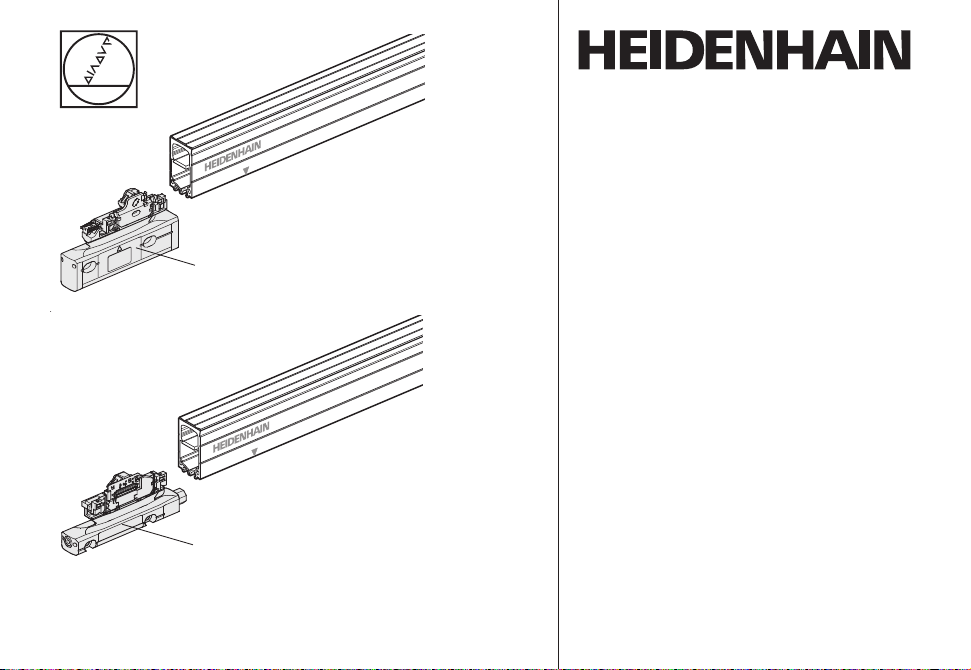
HEIDENHAIN AE LC 4x3 User manual
Other HEIDENHAIN Industrial Equipment manuals

HEIDENHAIN
HEIDENHAIN TTR ECI 4090S User manual

HEIDENHAIN
HEIDENHAIN ERN 420 TTL User manual

HEIDENHAIN
HEIDENHAIN ERN 1323 User manual

HEIDENHAIN
HEIDENHAIN LIP 2x1 User manual

HEIDENHAIN
HEIDENHAIN ND 2100G User manual

HEIDENHAIN
HEIDENHAIN LC 2x1 User manual

HEIDENHAIN
HEIDENHAIN MSE 1180 User manual

HEIDENHAIN
HEIDENHAIN AE LS 4x7 User manual

HEIDENHAIN
HEIDENHAIN ND 2100 G GAGE-CHEK User manual

HEIDENHAIN
HEIDENHAIN LIDA 279 User manual

HEIDENHAIN
HEIDENHAIN KGM 101 User manual

HEIDENHAIN
HEIDENHAIN EQI 1131 E30-R2 User manual

HEIDENHAIN
HEIDENHAIN ERP 880 User manual

HEIDENHAIN
HEIDENHAIN ND 1400 QUADRA-CHEK - GUIDE User manual

HEIDENHAIN
HEIDENHAIN MSE 1110 User manual

HEIDENHAIN
HEIDENHAIN PP 271A User manual

HEIDENHAIN
HEIDENHAIN LS 3x8 User manual

HEIDENHAIN
HEIDENHAIN MSE 1300 User manual

HEIDENHAIN
HEIDENHAIN M12 User manual

HEIDENHAIN
HEIDENHAIN EIB 2391S User manual