manuals.online logo
Brands
  1. Home
  2. •
  3. Brands
  4. •
  5. HEIDENHAIN
  6. •
  7. Industrial Equipment
  8. •
  9. HEIDENHAIN AE LS 4x7 User manual

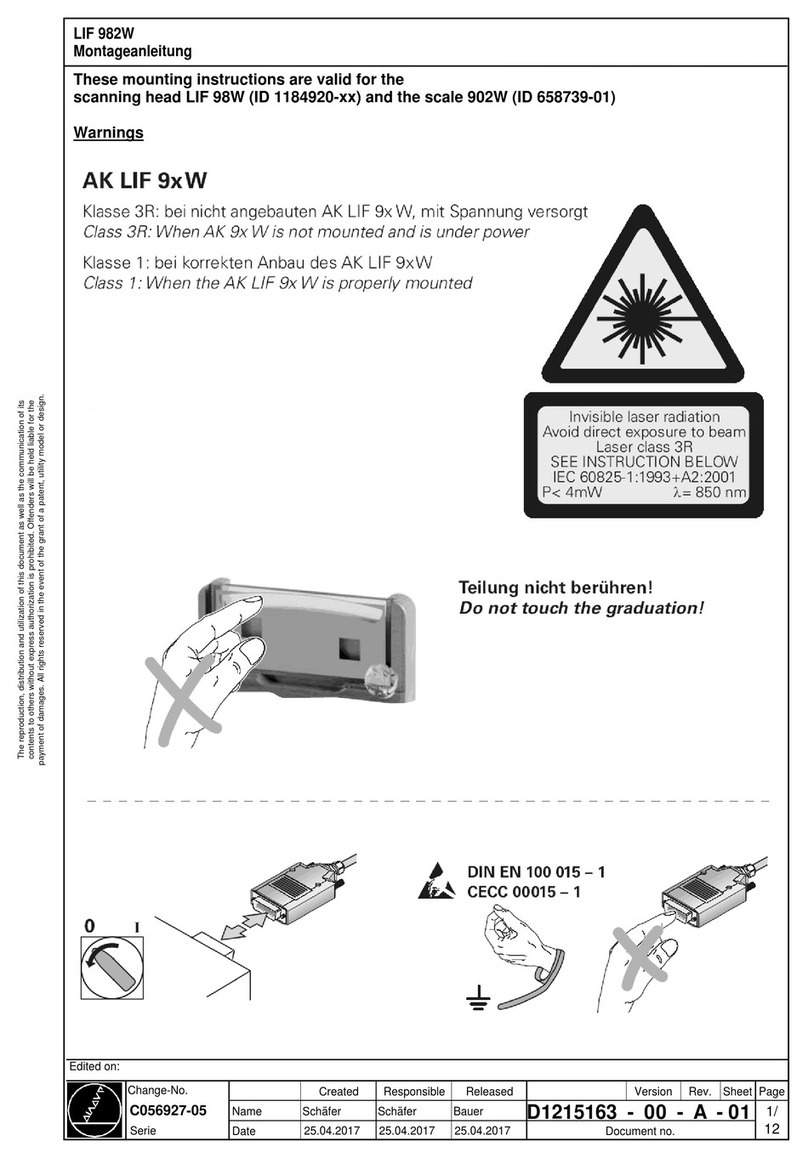
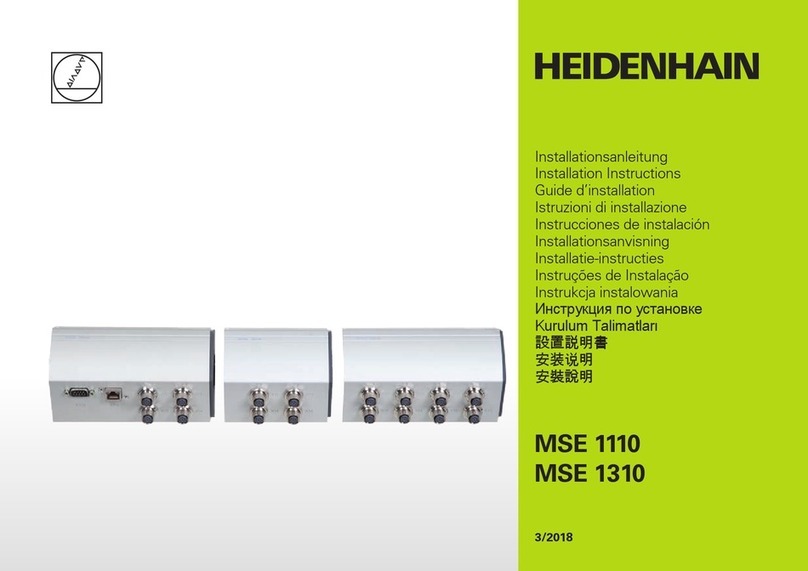
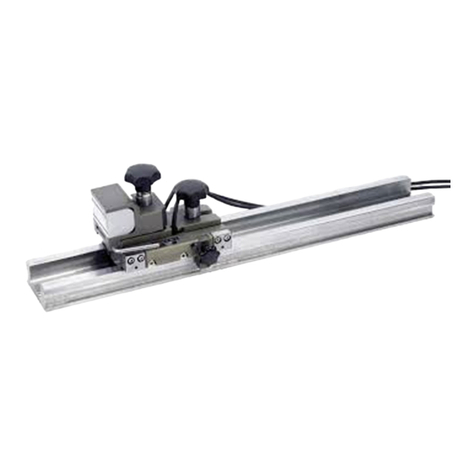
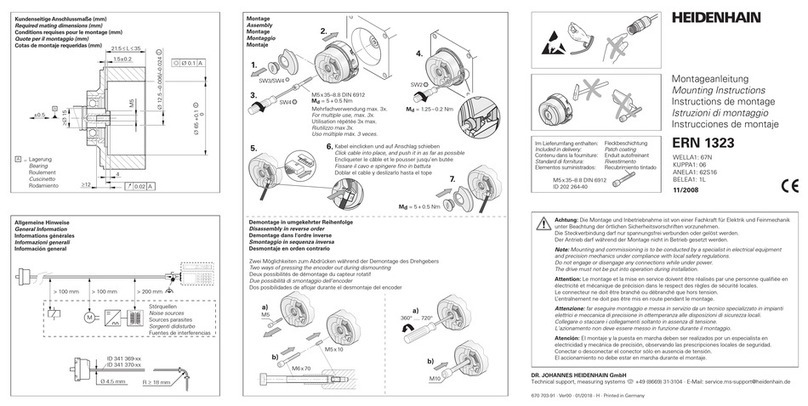
HEIDENHAIN AE LS 4x7 User manual

7/2017
Austauschanleitung
Replacing Instructions
Instructions de montage
Istruzioni per la sostituzione
Instrucciones de sustitución
AE LS 4x7
AE LS 4x7
C
Abtasteinheit AE LS 4x7/LS 4x7
C Service
AE LS 4x7/LS 4x7
C service scanning unit
Rem lacement dune tête ca trice AE LS 4x7/LS 4x7
C
Testina di scansione AE LS 4x7/LS 4x7
C
Cabezal de ca tación AE LS 4x7/LS 4x7
C
Página
4 Advertencias
6 Desmontaje
14 Montaje
Pagina
4 Avvertenze
6 Smontaggio
14 ontaggio
Seite
4 Warnhinweise
6 Demontage
14 Montage
Page
4 Warnings
6 Removing
14 ounting
Page
4 Recommandations
6 Démontage
14 Montage
2
Inhalt . Contents . Sommaire . Indice . Indi e
3
Maße in mm
Dimensions in mm
Cotes en mm
Dimensioni in mm
Dimensiones en mm
Diese Endstücke sind identisch zu handhaben!
These end blocks are to be handled identically.
Ces embouts sutilisent de la même manière !
Questi blocchetti finali sono da utilizzare nello stesso modo.
¡Estas piezas finales deben manipularse de forma idéntica!
Allgemeine Hinweise . General Information . Informations générales . Informazioni generali . Informa ión general
4
Warnhinweise . Warnings . Re ommandations . Avvertenze . Adverten ias
A htung: Die Montage und Inbetriebnahme ist von einer qualifizierten Fachkraft unter Beachtung der örtlichen
Sicherheitsvorschriften vorzunehmen.
Die Steckverbindung darf nur s annungsfrei verbunden oder gelöst werden.
Die Anlage muss s annungsfrei geschaltet sein.
Abtasteinheit nur im eingebauten Zustand in Betrieb nehmen.
Note: ounting and commissioning is to be conducted by a qualified specialist under compliance with local
safety regulations.
Do not engage or disengage any connections while under power.
The system must be disconnected from power.
Scanning unit must first be installed before it is put into operation.
Attention: Le montage et la mise en service doivent être assurés ar un ersonnel qualifié dans le res ect des
consignes de sécurité locales.
Le connecteur ne doit être connecté ou déconnecté quhors otentiel.
Léqui ement doit être connecté hors otentiel.
Ne mettre la tête ca trice en service quen osition montée.
Attenzione: Il montaggio e la messa in funzione devono essere eseguite da personale qualifucato nel rispetto delle
norme di sicurezza locali.
I cavi posso essere collegati o scollegati solo in assenza di tensione.
Limpianto deve essere spento.
Attivare la testina solo quando è montata
Aten ión: El montaje y la uesta en marcha deben ser realizados or un es ecialista cualificado, observando las
rescri ciones locales de seguridad.
Conectar o desconectar el conector sólo en ausencia de tensión.
¡La instalación debe ser conectada en ausencia de tensión.
Sólo oner en marcha el cabezal una vez montado.
5
Empfehlung: Zum Austausch der Abtasteinheit hier öffnen
Recommendation: Open here to exchange the scanning unit
Re ommandation: Pour changer de tête ca trice, ouvrir à cet endroit
Consiglio: Aprire qui per la sostituzione della testina
Re omenda ión: Abrir aquí ara cambiar el cabezal ca tador
Kabel von Abtasteinheit lösen
Remove cable from Scanning unit
Sé arer le câble de la tête ca trice
Staccare il cavo dalla testina
Soltar el cable del cabezal
SW10
ID-Encoder
ID-Scanning head
SW10
Demontage . Removing . Démontage . Smontaggio . Desmontaje
6
7
LS 4x7
Referenzmarkenlage markieren
ark the reference-mark position
Marquer osition marque de réf
Segnare la posizione degli indici di riferimento
Marcar la osición de la marca de referencia
Referenzmarken-Lage
Reference mark
Marque de référence
Indici di riferimento
Marca de referencia
50 50 50 50 50
1.
Schraube durch eine Umdrehung nach links lösen.
Loosen the screw with one turn to the left.
Retirer la vis en la faisant tourner vers la gauche.
Allentare la vite con un giro in senso antiorario.
Aflojar el tornillo mediante un giro hacia la izquierda.
8
Demontage . Removing . Démontage . Smontaggio . Desmontaje
ca. 360°
SW 3
1x
9
2.
Messgerät drehen, Blechstreifen unter Endstück legen.
Auf Maßstabgehäuse drücken, bis sich Endstück löst.
Turn the encoder around and put a sheet metal strip under the end block.
Exert pressure on the scale housing until the end block comes off.
Tourner la règle et lacer la bande de tôle sous lembout.
A liquer une ression sur le boîtier de la règle jusquà
ce que lembout se détache.
Ruotare il sistema di misura, porre un lamierino sotto il terminale.
Premere sulla carcassa fino a che il terminale si allenta.
Girar el sistema de medida, situar un grueso de cha a bajo la ieza final.
Presionar en la carcasa de la regla hasta que se suelte la ieza final.
2 mm ... 4 mm
10
Demontage . Removing . Démontage . Smontaggio . Desmontaje
4.
Abtasteinheit vorsichtig (z.B. ohne zu verkanten) herausziehen.
Carefully pull out the scanning unit (do not jam it, for example).
Retirer soigneusement la tête ca trice ( . ex. en évitant les à-cou s).
Estrarre con cautela la testina (p.e. senza metterla di traverso).
Extraer el cabezal con cuidado ( .ej. sin decantarlo).
3.
Endstück entnehmen.
Remove the end block.
Retirer lembout.
Rimuovere il terminale.
Retirar la ieza final.
11
Bei Verschmutzung des Innenbereiches wird der Ausbau der Dichtli en em fohlen. Eine Wiederverwendung der
Dichtli en ist möglich. Bes hädigte Di htlippen generell erneuern!
Bei Demontage der Dichtli en muss das zweite Endstück demontiert werden, siehe Seite 810.
Dichtmittelreste entfernen, siehe Seite 12.
If the interior is contaminated, the sealing lips should be removed. The sealing lips can be used again.
If damaged always replace the sealing lips!
To remove the sealing lips, the second end block must be dismounted, see pages 810.
Remove the remnants of the sealant, see page 12.
Si lintérieur est sale, il est recommandé de démonter les lèvres détanchéité. Il est toutefois ossible de les réutiliser.
Dune manière générale, des lèvres détan héité endommagées doivent être rempla ées !
En cas de démontage des lèvres détanchéité, le deuxième embout doit être démonté (voir ages 810).
Enlever les restes du roduit détanchéité (voir age 12).
In caso di sporcizia allinterno del sistema si consiglia lo smontaggio delle guarnizioni. É possibile riutilizzare le guarnizioni.
Sostituire le guarnizioni danneggiate!
Per smontare le guarnizioni è necessario smontare il secondo terminale, vedi pagine 8-10.
Rimuovere i residui di sigillante, vedi pagina 12.
Si existe suciedad en la arte interior se recomienda el desmontaje de los labios de rotección. Es osible reutilizar
los labios de rotección. Renovar los labios de prote ión que estén dañados.
Para el desmontaje de los labios de rotección debe desmontarse la segunda ieza final, ver ág. 8-10. Retirar los
restos del sellado, ver ág. 12.
12
5.
Dichtmittelreste entfernen.
Remove the remnants of the sealant.
Enlever les restes du roduit détanchéité.
Rimuovere i residui di sigillante.
Retirar los restos del sellado.
Demontage . Removing . Démontage . Smontaggio . Desmontaje
6.
Dichtli en zusammenkla en und herausziehen.
Fold the sealing lips and pull them out.
Re lier les lèvres détanchéité vers le bas et les extraire.
Ripiegare le guarnizioni ed estrarle.
Juntar los labios y extraerlos.
1.
2.
13
Iso ro anol
7.
Vorsi ht: Innenbereich vorsichtig reinigen. Kratzer und Abs litterungen auf der Glaslamelle zerstören den Maßstab!
Caution: Clean the interior carefully. Scratches and chipping on the glass substrate destroy the scale!
Attention : Nettoyer soigneusement lintérieur. Les rayures et fissures sur le barreau de verre endommagent la règle !
Attenzione: pulire linterno accuratamente. Graffi e scheggiature rendono inutilizzabile il nastro graduato!
Aten ión: Lim iar cuidadosamente la zona interna. Ralladuras y marcas en el vidrio estro ean la regla.
Reinigungs Pa ier fusselfrei.
Lint-free cleaning paper.
Chiffon de nettoyage sans eluches.
Carta per la pulizia senza pelucchi.
Lámina de a el sin eluda ara lim ieza
14
1.
Die Rillen in den Dichtli en dienen als Fettreservoir und müssen gleichmäßig mit Fett gefüllt sein. (siehe Abbildung).
Über ca. 80% der Messlänge sollte die Fettung auf diese Art erfolgen.
The grooves in the sealing lips serve as reservoir for grease and should be filled evenly with grease. (See figure.)
Approx. 80 % of the measuring length should be lubricated in this manner.
Les rainures des lèvres détanchéité servent de réservoir de graisse et doivent être graissées de manière
homogène (voir figure).
Le graissage doit être réalisé de cette manière sur lus de 80 % de la longueur de mesure (environ).
Le scanalature nelle guarnizioni fungono da riserve di grasso e devono essere riempite con grasso (vedi immagine).
Su circa l80% della corsa utile prevedere ingrassaggio in questo modo.
Las estrías en los labios de rotección funcionan como reservas de grasa y deben ser rellenadas con regularidad.
(ver figura). Este modo de engrase debería tener lugar sobre a rox. el 80% del recorrido de medición.
Montage · Mounting · Montage · Montaggio · Montaje
ID 266051-xx
15
ID 202173-03
16
Montage · Mounting · Montage · Montaggio · Montaje
3.
Dichtli en kürzen
Shorten the sealing lips.
Raccourcir les lèvres détanchéité.
Accorciare le guanizioni.
Acortar los labios de rotección.
2.
Dichtli en einziehen.
Pull in the sealing lips.
Insérer les lèvres détanchéité.
Inserimento delle guamizioni a labbro.
Retroceder los labios de estanqueidad.
L
00
17
4.
Dichtli en aufstellen
Align the sealing lips outward
Redresser les lèvres détanchéité
Inserire le guarnizioni
Colocar los labios de sellado
5.
Austausch-Abtasteinheit vorsichtig einschieben, Berührung
zwischen Abtast latte der AE und Glasmaßstab vermeiden!
Carefully insert the exchange scanning unit. Avoid contact between
the scanning reticle of the scanning unit and the glass scale!
Insérer avec récaution la tête ca trice de rechange. Eviter tout
contact entre le réticule de balayage de la tête ca trice et la règle en verre !
Inserire con cautela la testina in sostituzione. Evitare contatto tra
la graduazione della testina e e il supporto graduato in vetro!
Encajar cuidadosamente el cabezal de recambio, evitar rozaduras
entre la laca lectora del cabezal y la regla de vidrio.
18
Montage · Mounting · Montage · Montaggio · Montaje
7.
Klebstoff K12-Pactan auftragen (bei Demontage des zweiten
Endstückes gleiche Arbeitsschritte durchführen).
Apply K12-Pactan adhesive (follow the same work steps when
dismounting the second end block).
A liquer de la colle Pactan K12 (ré éter ces éta es en cas de
démontage du deuxième embout).
ettere la colla K12 Pactan (seguire la stessa procedura anche
per lo smontaggio del secondo terminale).
A licar egamento K12-Pactan (realizar los mismos asos en
el desmontaje de la segunda ieza final).
19
ID 200417-02
K12
Referenzmarken-Lage
Reference mark
Marque de référence
Indici di riferimento
6.
LS 4x7
8.
Montage Endstück: Auf Winkelstellung der Kontaktfeder achten (siehe Abbildung)!
Kontaktfeder muss auf Chromteilung kontaktieren um elektrostatische Ladungen abzuleiten!
When mounting the end block, pay attention to the angular position of the contact spring (see Figure)!
The contact spring must contact the chrome graduation to divert electrostatic charges!
Montage de lembout : Res ecter la osition angulaire des ressorts de contact (voir figure) !
Le ressort de contact doit toucher la division en chrome our dissi er les charges électrostatiques !
ontaggio del terminale: prestare attenzione alla posizione angolare della molla di contatto (vedi immagine)!
La molla di contatto deve essere a contatto con la graduazione in cromo per disperdere le cariche elettrostatiche!
Montaje de la ieza final: tener en cuenta la osición angular del resorte (ver figura).
El resorte de contacto debe contactar sobre el divisor de cromo ara desviar cargas electrostáticas.
20
ca. 10°
Montage · Mounting · Montage · Montaggio · Montaje

This manual suits for next models

1

Other HEIDENHAIN Industrial Equipment manuals

HEIDENHAIN AE ECI 4090S User manual

HEIDENHAIN

HEIDENHAIN AE ECI 4090S User manual

HEIDENHAIN ND 2100 G GAGE-CHEK User manual

HEIDENHAIN

HEIDENHAIN ND 2100 G GAGE-CHEK User manual

HEIDENHAIN LIDA 405 User manual

HEIDENHAIN

HEIDENHAIN LIDA 405 User manual

HEIDENHAIN ND 2100G User manual

HEIDENHAIN

HEIDENHAIN ND 2100G User manual

HEIDENHAIN TOOL-CHEK ND 1200T User manual

HEIDENHAIN

HEIDENHAIN TOOL-CHEK ND 1200T User manual

HEIDENHAIN MSE 1300 User manual

HEIDENHAIN

HEIDENHAIN MSE 1300 User manual

HEIDENHAIN ERN 1323 User manual

HEIDENHAIN

HEIDENHAIN ERN 1323 User manual

HEIDENHAIN LS 3x8 User manual

HEIDENHAIN

HEIDENHAIN LS 3x8 User manual

HEIDENHAIN ECN 413 User manual

HEIDENHAIN

HEIDENHAIN ECN 413 User manual

HEIDENHAIN KGM 101 User manual

HEIDENHAIN

HEIDENHAIN KGM 101 User manual

HEIDENHAIN LB383 User manual

HEIDENHAIN

HEIDENHAIN LB383 User manual

HEIDENHAIN TS 460 User manual

HEIDENHAIN

HEIDENHAIN TS 460 User manual

HEIDENHAIN LC 2x1 User manual

HEIDENHAIN

HEIDENHAIN LC 2x1 User manual

HEIDENHAIN TNC 426 User manual

HEIDENHAIN

HEIDENHAIN TNC 426 User manual

HEIDENHAIN ERN 9080 User manual

HEIDENHAIN

HEIDENHAIN ERN 9080 User manual

HEIDENHAIN LIDA 279 User manual

HEIDENHAIN

HEIDENHAIN LIDA 279 User manual

HEIDENHAIN TTR ECI 4090S User manual

HEIDENHAIN

HEIDENHAIN TTR ECI 4090S User manual

HEIDENHAIN M12 User manual

HEIDENHAIN

HEIDENHAIN M12 User manual

HEIDENHAIN ECI 1319 EnDat22 User manual

HEIDENHAIN

HEIDENHAIN ECI 1319 EnDat22 User manual

HEIDENHAIN LB 3x2 User manual

HEIDENHAIN

HEIDENHAIN LB 3x2 User manual

HEIDENHAIN EIB 2391S User manual

HEIDENHAIN

HEIDENHAIN EIB 2391S User manual

HEIDENHAIN ECI 1119 EnDat22 User manual

HEIDENHAIN

HEIDENHAIN ECI 1119 EnDat22 User manual

HEIDENHAIN VM 182 User manual

HEIDENHAIN

HEIDENHAIN VM 182 User manual

HEIDENHAIN QAN 200L User manual

HEIDENHAIN

HEIDENHAIN QAN 200L User manual
Popular Industrial Equipment manuals by other brands

Rodix FC-42-DC Plus quick start guide

Rodix

Rodix FC-42-DC Plus quick start guide

Dover DESTACO ROBOHAND DLB Series Service manual

Dover

Dover DESTACO ROBOHAND DLB Series Service manual

Yamaha SIGMA-G5SII Service information

Yamaha

Yamaha SIGMA-G5SII Service information

Wallenstein QC605 Operator's manual

Wallenstein

Wallenstein QC605 Operator's manual

MoldMaker MMC-11 user manual

MoldMaker

MoldMaker MMC-11 user manual

Graco Therm-O-Flow 20 Instructions - parts

Graco

Graco Therm-O-Flow 20 Instructions - parts

Kemper TRESOR Installation and operating instructions

Kemper

Kemper TRESOR Installation and operating instructions

Festo YJKP-NGS Operating	 instruction

Festo

Festo YJKP-NGS Operating instruction

KTR-Group CLAMPEX KTR 125 Operating & assembly instructions

KTR-Group

KTR-Group CLAMPEX KTR 125 Operating & assembly instructions

Genesis GXT 115 reference guide

Genesis

Genesis GXT 115 reference guide

ITW Dynatec DYNAMINI 4-HOSE Technical documentation

ITW Dynatec

ITW Dynatec DYNAMINI 4-HOSE Technical documentation

Healy VP1000-5 troubleshooting guide

Healy

Healy VP1000-5 troubleshooting guide

AFL Hyperscale 20RU installation guide

AFL Hyperscale

AFL Hyperscale 20RU installation guide

STS LABEL APPLICATOR STS808-3 user manual

STS

STS LABEL APPLICATOR STS808-3 user manual

Danfoss AFPA 2 / VFG 2 DN 15-250 operating guide

Danfoss

Danfoss AFPA 2 / VFG 2 DN 15-250 operating guide

Graco 25T991 Instructions - parts

Graco

Graco 25T991 Instructions - parts

PCB Piezotronics IMI SENSORS 638A06 Installation and operating manual

PCB Piezotronics

PCB Piezotronics IMI SENSORS 638A06 Installation and operating manual

Dantherm HRV 501 Service manual

Dantherm

Dantherm HRV 501 Service manual

manuals.online logo
manuals.online logoBrands
  • About & Mission
  • Contact us
  • Privacy Policy
  • Terms and Conditions

Copyright 2025 Manuals.Online. All Rights Reserved.