Battery Mirror
- 2 -
FIXING INSTRUCTIONS
INTRODUCTION
PACK CONTENTS
Thank you for purchasing this HiB product. Please read through these instructions
carefully and refer back to them during installation to ensure that your product is fitted
correctly and that it retains its high quality finish.
This user’s guide contains important information regarding the installation of the
product and the usage of the technical functions. Please read all instructions carefully
to ensure optimal performance. HiB assumes no liability if the instructions in this user’s
guide are ignored!
Please retain this leaflet for future reference.
Before assembling and operating the Battery Mirror, please check that the contents
are complete. Included in the package:
- Battery Powered Mirror
- Removable Battery Pack
- Battery Charger
- Fixings (2x 10mm wall plugs, 2x 50mm hook screws)
- 1 -
CONTENTS
INTRODUCTION...............................................................................1
PACK CONTENTS...............................................................................1
FIXING INSTRUCTIONS.......................................................................2
RECHARGING BATTERY PACK..........................................................3
TROUBLESHOOTING......................................................................5
SERVICE.......................................................................................6
TECHNICAL INFORMATION................................................................6
DISPOSAL....................................................................................6
CONTACT......................................................................................6
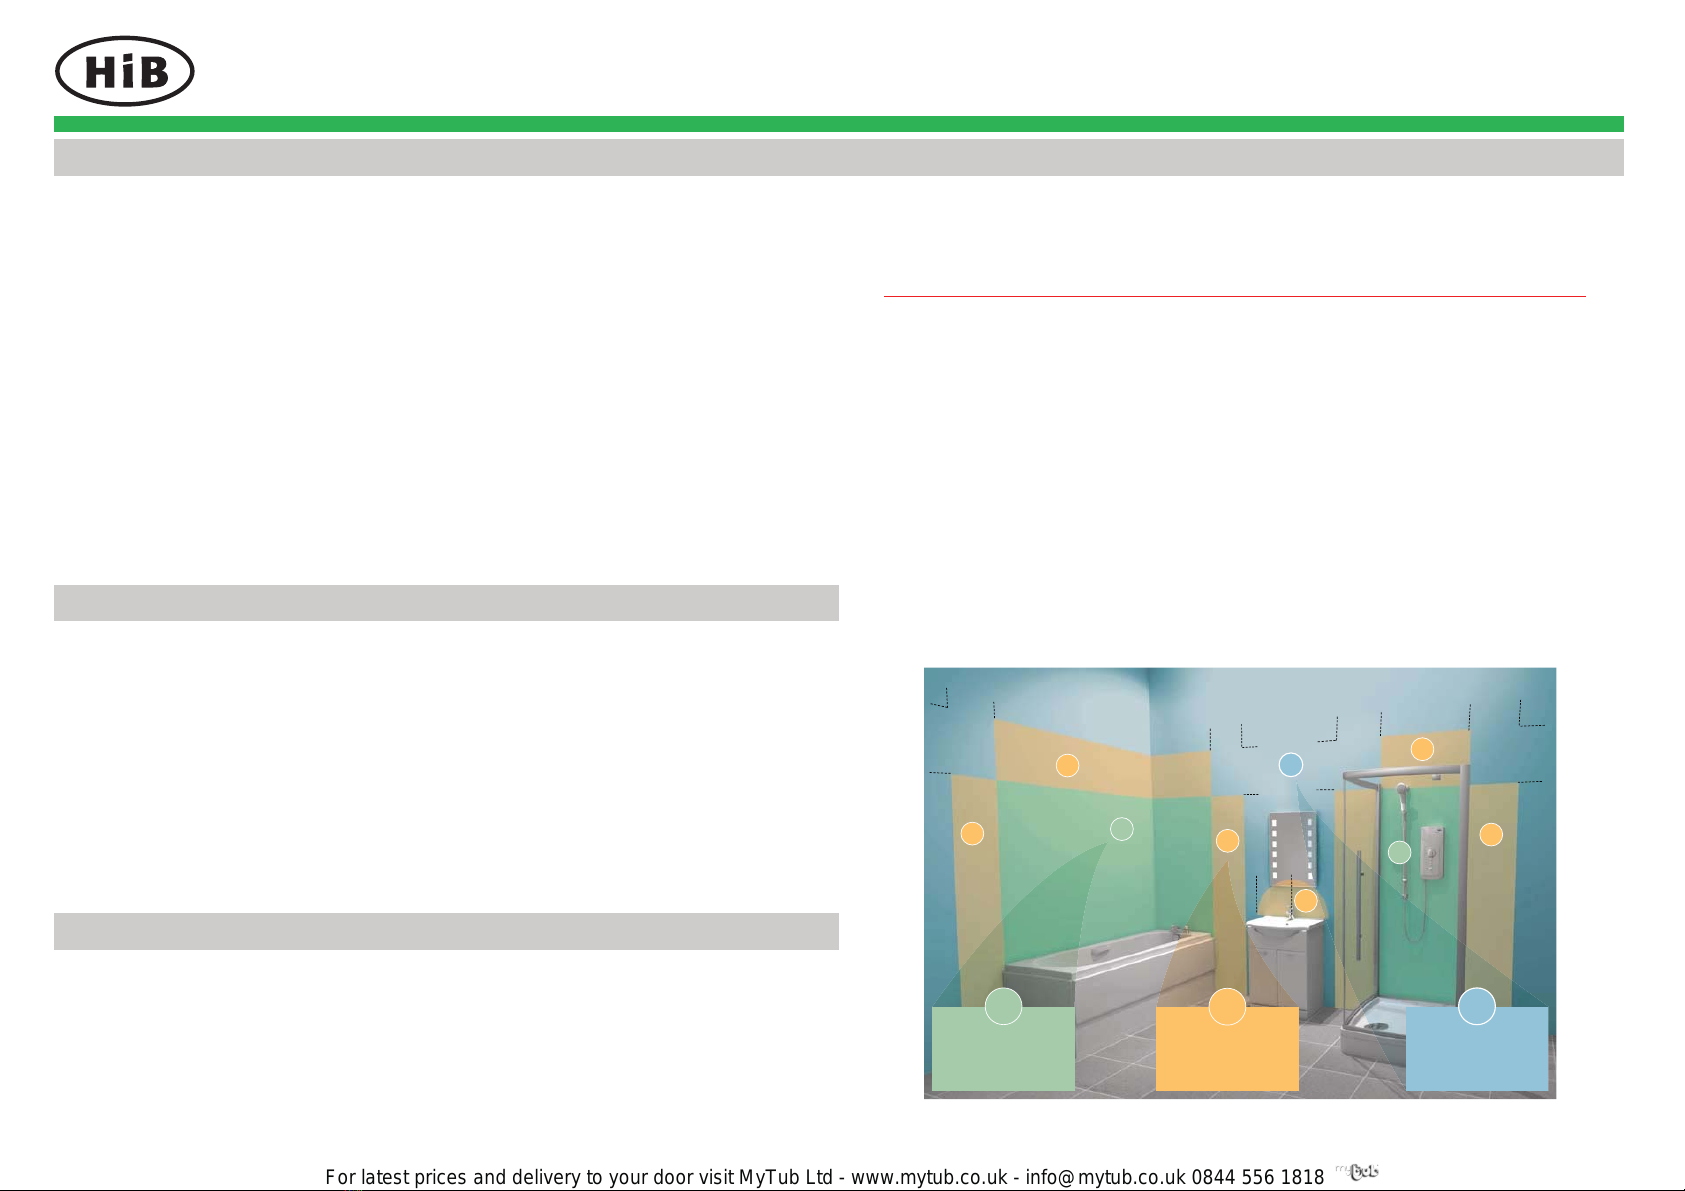
NB. No electrical connection to the mirror is required.
Mirror is suitable for installation in Zone 2 and Outside zones.
PLASTIC TABS MUST BE REMOVED FROM BATTERY PACK PRIOR TO USE
1. Position the mirror in a suitable location.
2. Carefully mark the position of the product using a soft pencil.
3. Remove the mirror, and mark the positions of the two mounting points.
4. Using a 10mm masonry drill, drill the holes in the marked positions to a depth of
50mm. If drilling through tiles, use a ceramic drill bit.
5. Insert the wall-plugs level with the surface of the wall. If fitting to a tiled surface,
wall plugs should be inserted below the surface of the tile to avoid cracking
Ensure that the correct wall fixings are used for the type of surface that is being
drilled into.
6. Screw the wall hooks into the wall plugs.
7. Hang the mirror on the wall hooks.
Has no special requirements,
unless water jets are likely to be
used for cleaning purposes.
Covers an area 0.6 metres
wide immediately next to, and
all round zone 1. Wash basins
should also be treated as zone 2.
The minimum rating here is IPX4.
60cm
60cm
75cm
225cm
60cm
60cm
75cm
75cm
75cm
2
2
2
2
2
2
ZONE
2
Refers to the area above the bath
or shower up to a height of 2.25
metres and requires a minimum
rating of IPX4 (splash-proof).
60cm
radius
OUTSIDE
ZONES
1
ZONE
1
1
O
For latest prices and delivery to your door visit MyTub Ltd - www.mytub.co.uk - [email protected] 0844 556 1818 


