manuals.online logo
Brands
  1. Home
  2. •
  3. Brands
  4. •
  5. HiB
  6. •
  7. Personal Care Product
  8. •
  9. HiB Ariel 77470000 User manual

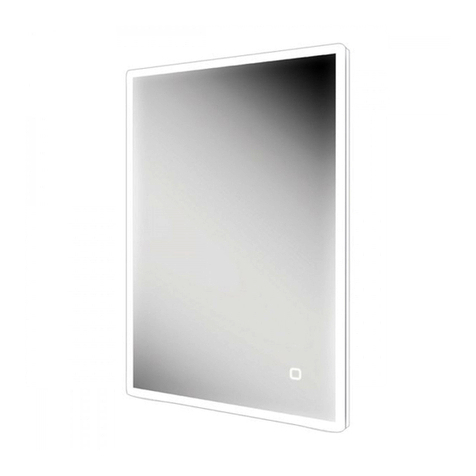
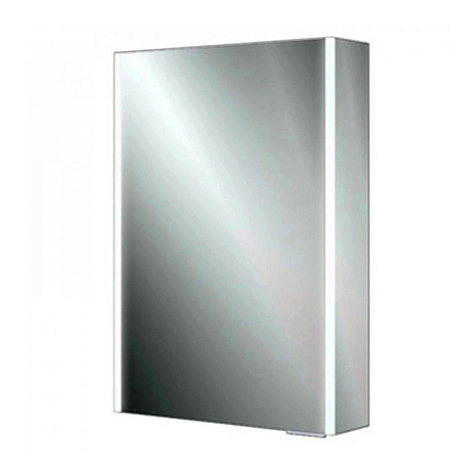
HiB Ariel 77470000 User manual

T: +44 (0)20 8441 0352 F: +44 (0)20 8441 0219 E: [email protected]o.uk hib.co.uk
Building 3, North London Business Park, Oakleigh Road South, New Southgate, London. N11 1GN
©HiB Copyright: No part of this document may be reprinted or duplicated without HiB consent. All sizes and measurements are approximate, but we do try and make sure they are as accurate as possible. In the interest
of continuous product development, HiB reserves the right to alter specications as necessary. E & OE.
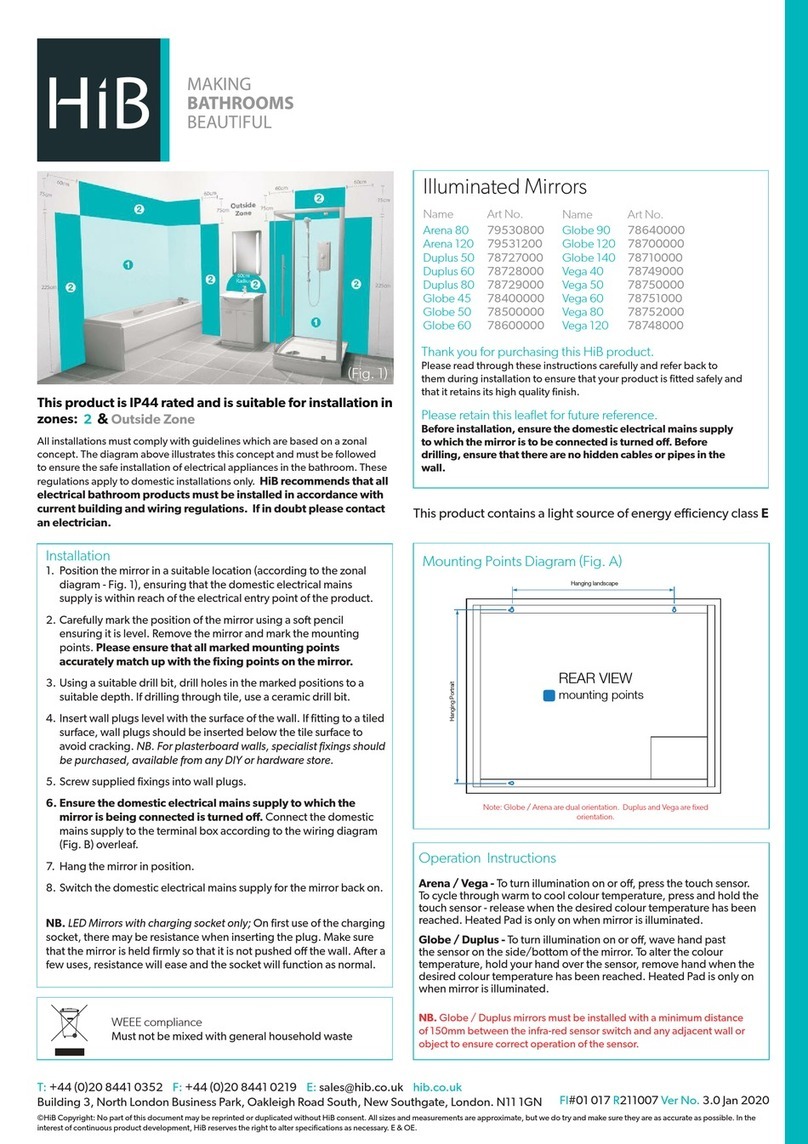
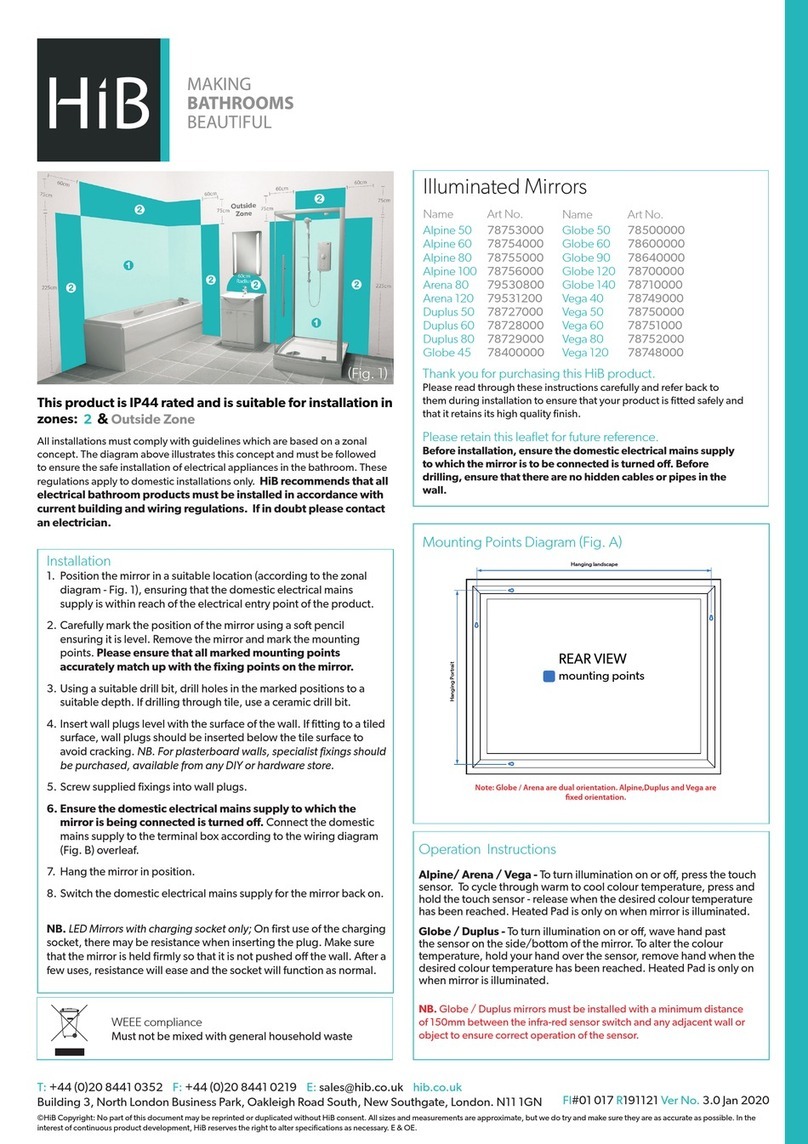
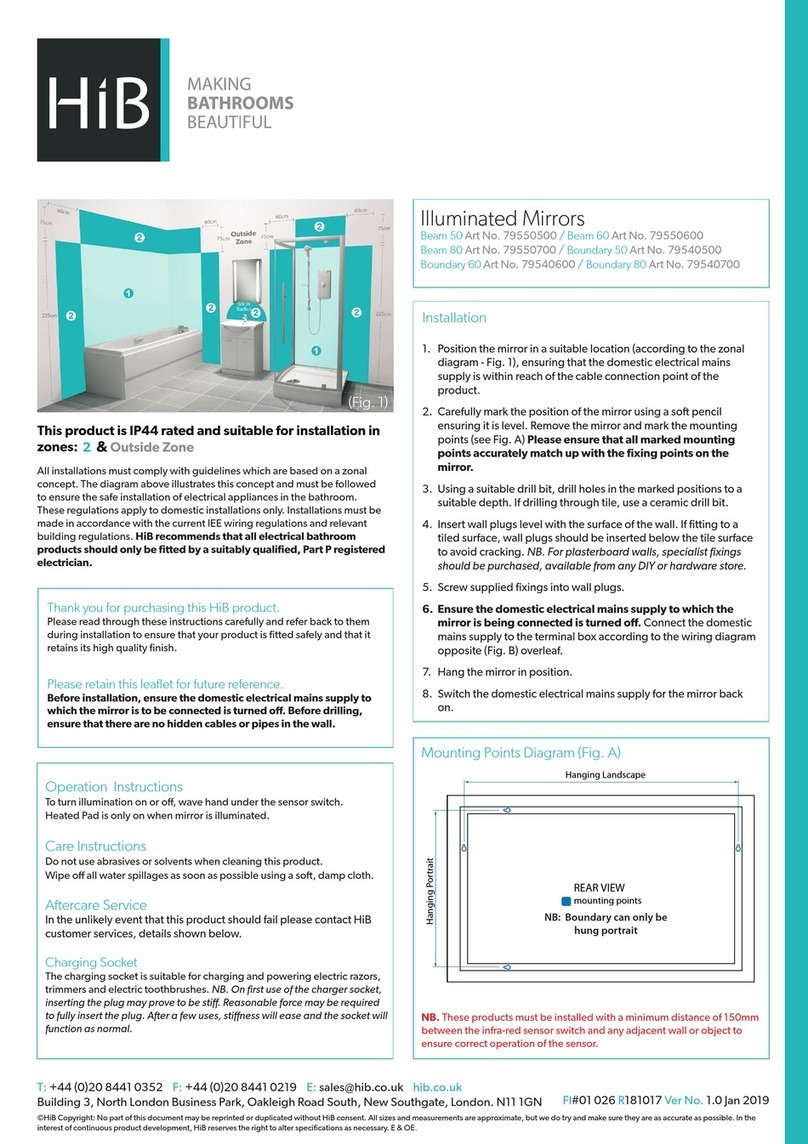
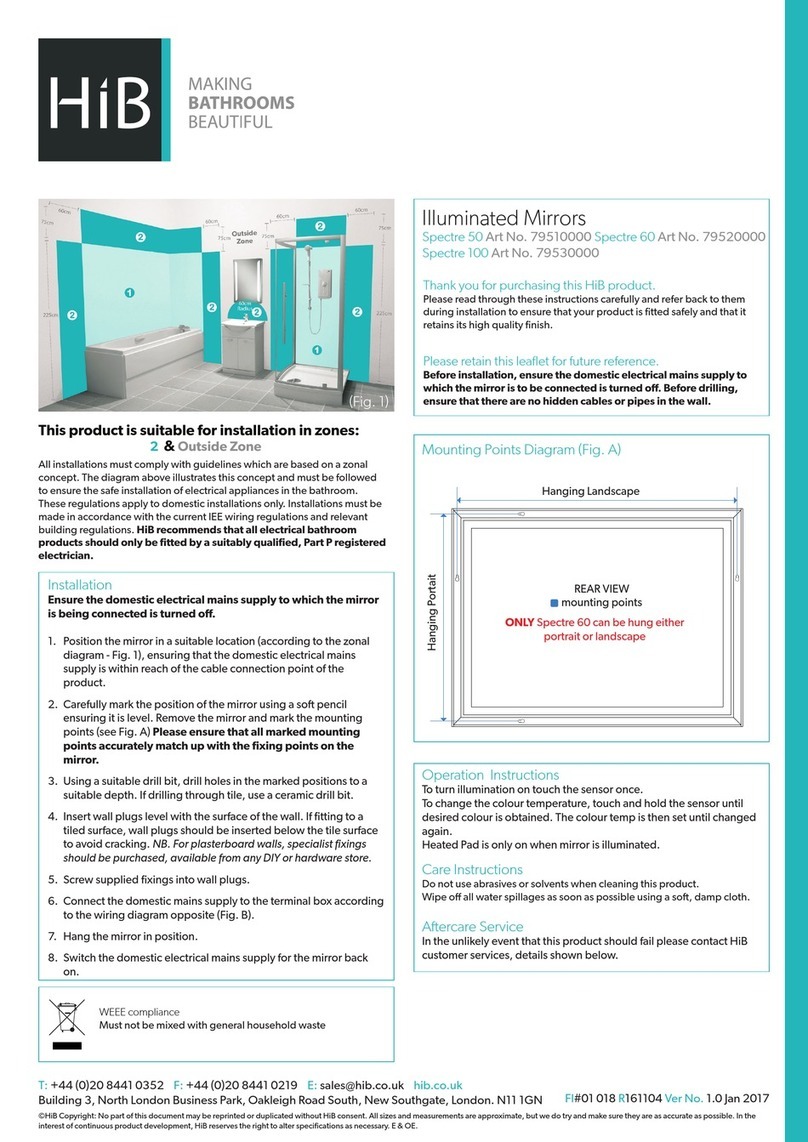
This product is suitable for installation in zones:
FI#01 001 R150909 Ver No. 1.0 Jan 2016
2 &Outside Zone
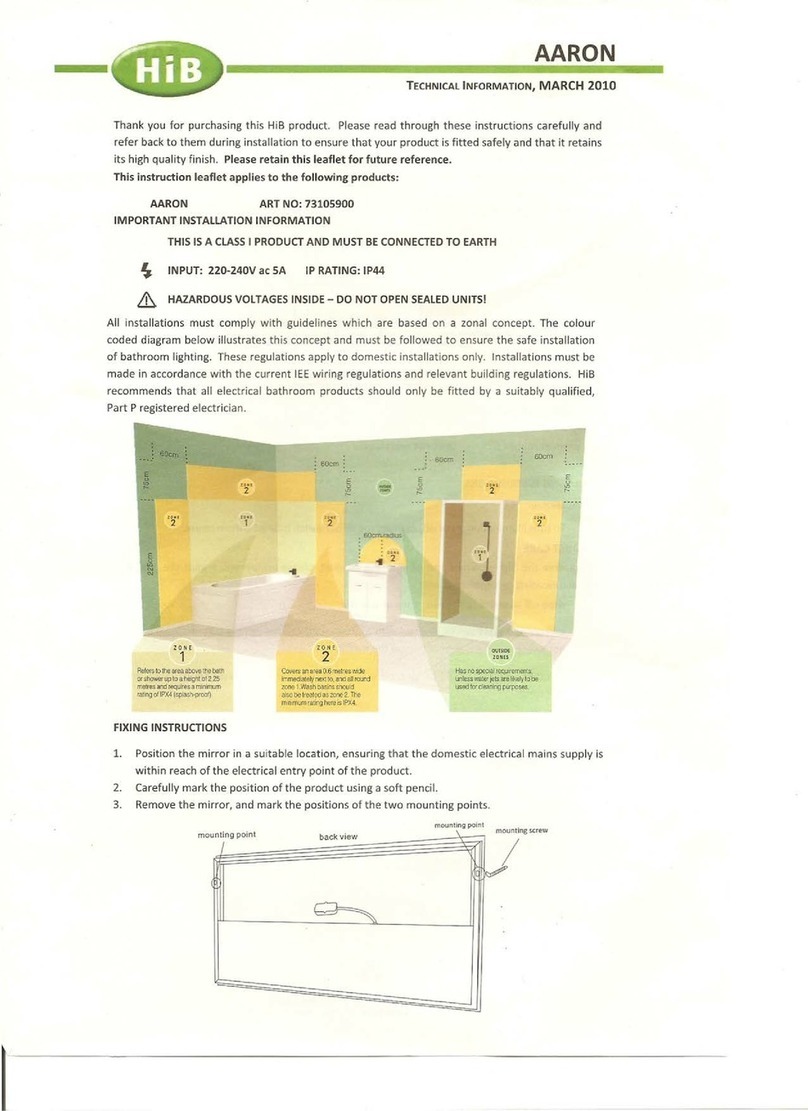
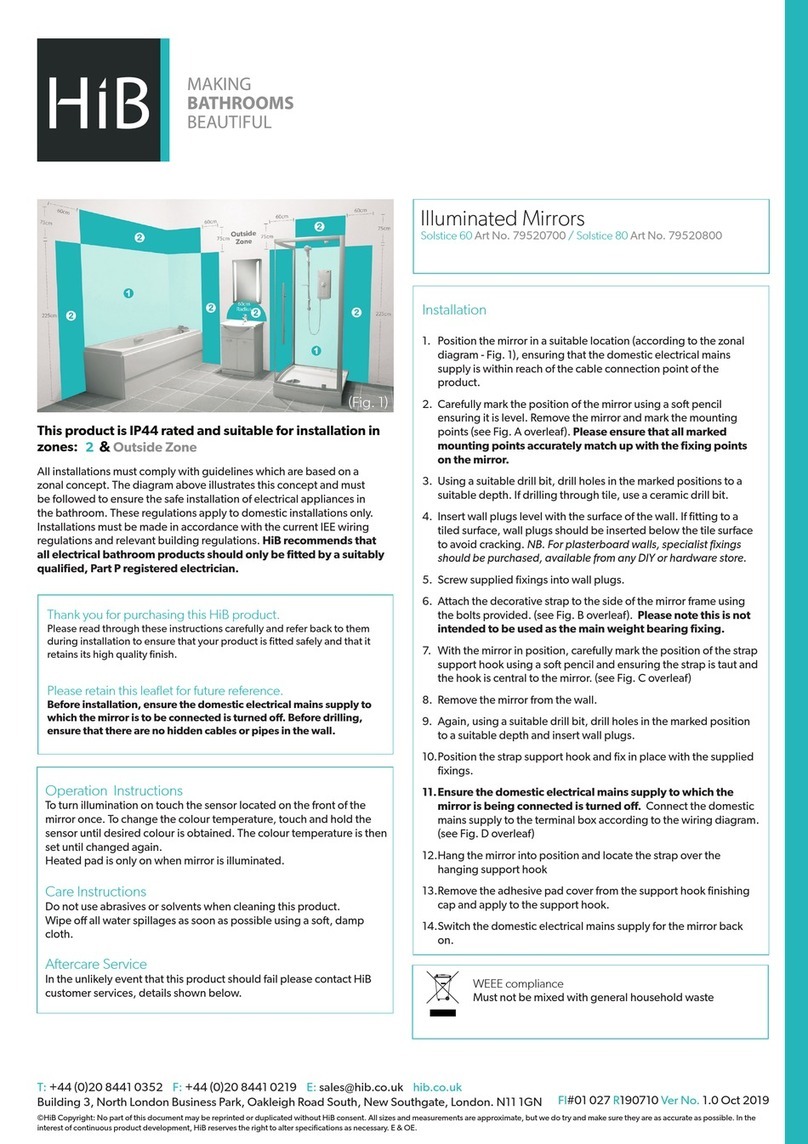
All installations must comply with guidelines which are based on a zonal
concept. The diagram above illustrates this concept and must be followed to
ensure the safe installation of electrical appliances in the bathroom. These
regulations apply to domestic installations only. Installations must be made
in accordance with the current IEE wiring regulations and relevant building
regulations. HiB recommends that all electrical bathroom products should
only be tted by a suitably qualied, Part P registered electrician.
Thank you for purchasing this HiB product.
Please read through these instructions carefully and refer back to them
during installation to ensure that your product is tted safely and that it
retains its high quality nish.
Please retain this leaet for future reference.
Before installation, ensure the domestic electrical mains supply to
which the mirror is to be connected is turned o. Before drilling,
ensure that there are no hidden cables or pipes in the wall.
(Fig. 1)
Installation
1. Position the mirror in a suitable location (according to the zonal
diagram, Fig. 1), ensuring that the domestic electrical mains supply is
within reach of the electrical entry point of the product.
2. Carefully mark the position of the mirror using a soft pencil.
3. Remove from wall and detach mirror from the frame by removing
screws on the exterior of the frame.
4. Mark the drilling locations onto the wall according to the mounting
points diagram (Fig. A). Please ensure that all marked mounting
points accurately match up with the xing points on the mirror.
5. Before drilling, ensure there are no hidden cables or pipes behind
the mounting points. Using a masonry drill, drill holes in the marked
positions to a suitable depth. If drilling through tile, use a ceramic drill
bit.
6. Insert wall plugs level with the surface of the wall. If tting to a
tiled surface, wall plugs should be inserted below the tile surface to
avoid cracking. NB. For plasterboard walls, specialist xings should be
purchased, available from any DIY or hardware store.
7. Ensure the domestic electrical mains supply to which the mirror is
being connected is turned o. Feed the domestic mains supply wire
through the grommet on the mirror frame.
8. Hold the frame in position, and screw through the holes in the frame
into the wall plugs.
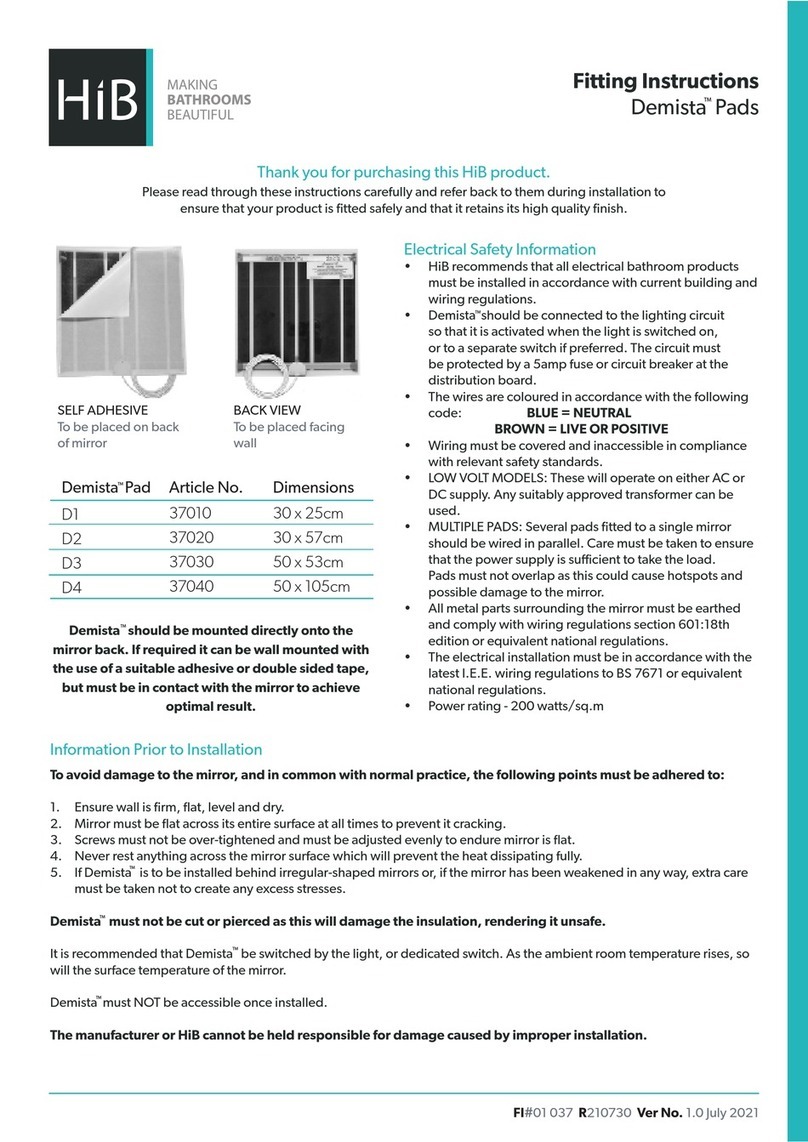
9. Connect the domestic mains supply to the terminal box according to
the wiring diagram (Fig. B).
10. Ensure the heated pad cable is connected and reattach the mirror to
the frame.
11. Switch the domestic electrical mains supply for the mirror back on.
Operation Instructions
To turn illumination on or o, wave hand under the sensor switch.
Heated pad is only on when mirror is illuminated.
LED Mirrors With Charging Socket Only:
NB. On rst use of the charging socket, there may be resistance when
inserting the plug. Reasonable force may be required to fully insert the
plug. After a few uses, stiness will ease and the socket will function as
normal.
NB. This product must be installed with a minimum distance of 150mm
between the infra-red sensor switch and any adjacent wall or object to
ensure correct operation of the sensor.
Mounting Points Diagram (Fig. A)
mounting points
REAR VIEW
LED MIRRORS WITH CHARGING SOCKET
Ariel Art No. 77470000 / Astral Art No. 77450000
Axis Art No. 77417000 / Epic Art No. 77460000
Nexus Art No. 77418000 / Rotary Art No. 77416000
Vortex Art No. 77419000
LED BACK-LIT MIRRORS
Adelle Art No. 77412000 / Amber Art No. 77407000
Alto Art No. 77420000 / Christa Art No. 77413000
Larino Art No. 77403000 / Liberty Art No. 77411000
Livvy Art No. 77405000 / Louisa Art No. 77406000
Lucca Art No. 77402000 / Messina Art No. 77408000
Mileto Art No. 77409000 / Scarlet Art No. 77410000
Vercelli Art No. 77404000
FLUORESCENT MIRRORS
Casey Art No. 77309000 / Summer Art No. 77308000
Skye Art No. 77307000
Care Instructions
Do not use abrasives or solvents when cleaning this product.
Wipe o all water spillages as soon as possible using a soft, damp cloth.
Aftercare Service
In the unlikely event that this product should fail please contact HiB
customer services, details shown below.
mounting points
alternate mouting points
REAR VIEW
Skye only
T: +44 (0)20 8441 0352 F: +44 (0)20 8441 0219 E: [email protected]o.uk hib.co.uk
Building 3, North London Business Park, Oakleigh Road South, New Southgate, London. N11 1GN
©HiB Copyright: No part of this document may be reprinted or duplicated without HiB consent. All sizes and measurements are approximate, but we do try and make sure they are as accurate as possible. In the interest
of continuous product development, HiB reserves the right to alter specications as necessary. E & OE.
How to Isolate the sensor so you can switch
ON & OFF with a mains switch (Fig. 2)
live
earth
neutral
How the mirror is wired.
Charger socket/transformer
Sensor switch controller
LED driver
Heated mirror pad
INOUT
live
earth
neutral
How to isolate the sensor.
Charger socket/transformer
Sensor switch controller
LED driver
Heated mirror pad
INOUT
Rewire the mirror as shown in the diagram above. HiB recommends
that all electrical bathroom products should only be tted by a
suitably qualied, Part P registered electrician.
For further assistance on isolating the sensor please contact us at:
Tel: +44 (0)20 8441 0352
Email: [email protected].uk
live
earth
neutral
How the mirror is wired.
Charger socket/transformer
Sensor switch controller
LED driver
Heated mirror pad
INOUT
live
earth
neutral
How to isolate the sensor.
Charger socket/transformer
Sensor switch controller
LED driver
Heated mirror pad
INOUT
WEEE compliance
Must not be mixed with general household waste
Wiring Diagram (Fig. B)
live
earth
neutral
MAINS SUPPLYLUMINAIRE
Wiring Diagram
Live supply can be Red or Brown
Earth supply is Green and Yellow
Neutral supply can be Blue or Black
Live is Brown
Earth is Green and Yellow
Neutral is Blue
Lamp Replacement
LED Mirrors
In the unlikley event that the LED light strip should fail (Not
applicable to Casey & Summer mirrors) please contact HiB Customer
Services for a replacement part at the address shown below.
Fluorescent Mirrors
Casey & Summer Require a T9 Round Lamp, Maximum 40 Watts
Skye Requires a T9 Round Lamp, Maximum 32 Watts
CAUTION: The surface of the lamp may become extremely hot!
Allow at least 30 minutes after lamp failure before replacing...
1. Turn o the mains electrical supply and disconnect the wiring
between the mains electric and the mirror.
2. Detach mirror by removing screws on the exterior of the frame.
3. Carefully grasp the failed lamp and lift upwards to remove the
lamp from the lamp holder.
4. Carefully push the replacement lamp into the lamp holder.
5. Ensure the heated pad cable is connected and slide the mirror
back onto the frame. Insert the screw, and tighten to secure.
6. Reattach the mirror front to the frame ensuring that the heat
pad and lighting cable are reconnected and clipped away neatly.
7. Switch the mains supply back on.

This manual suits for next models

22

Other HiB Personal Care Product manuals

HiB Arena 80 79530800 User manual

HiB

HiB Arena 80 79530800 User manual

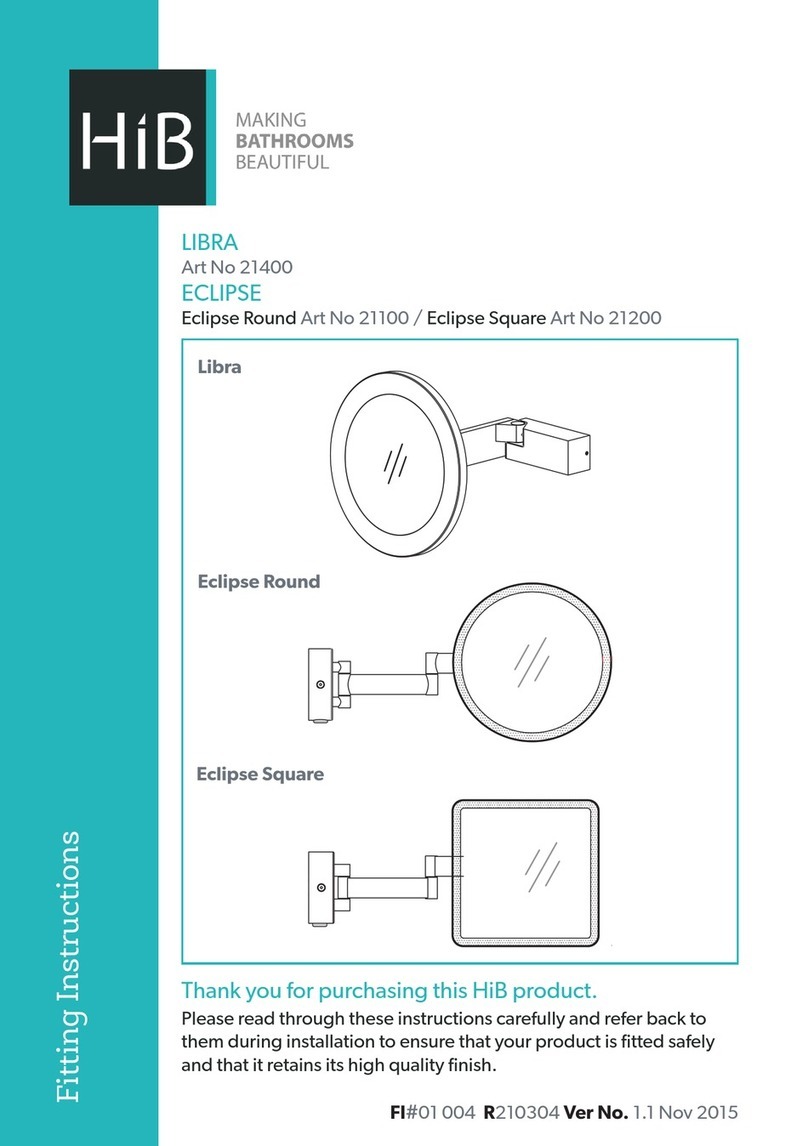
HiB LIBRA 21400 User manual

HiB

HiB LIBRA 21400 User manual

HiB Alpine 50 User manual

HiB

HiB Alpine 50 User manual

HiB Globe 45 User manual

HiB

HiB Globe 45 User manual

HiB Orbital User manual

HiB

HiB Orbital User manual

HiB Demista D1 User manual

HiB

HiB Demista D1 User manual

HiB Velocity User manual

HiB

HiB Velocity User manual

HiB Solstice 60 User manual

HiB

HiB Solstice 60 User manual

HiB Solstice 60-BLK User manual

HiB

HiB Solstice 60-BLK User manual

HiB Sonic User manual

HiB

HiB Sonic User manual

HiB Vega 50 Install guide

HiB

HiB Vega 50 Install guide

HiB Solas 50-CHRM User manual

HiB

HiB Solas 50-CHRM User manual

HiB Spectre 50 User manual

HiB

HiB Spectre 50 User manual

HiB Hannah 73106200 User manual

HiB

HiB Hannah 73106200 User manual

HiB Globe 45 User manual

HiB

HiB Globe 45 User manual

HiB Beam 60 User manual

HiB

HiB Beam 60 User manual

HiB Globe 45 User manual

HiB

HiB Globe 45 User manual

HiB Xenon 50 Manual

HiB

HiB Xenon 50 Manual

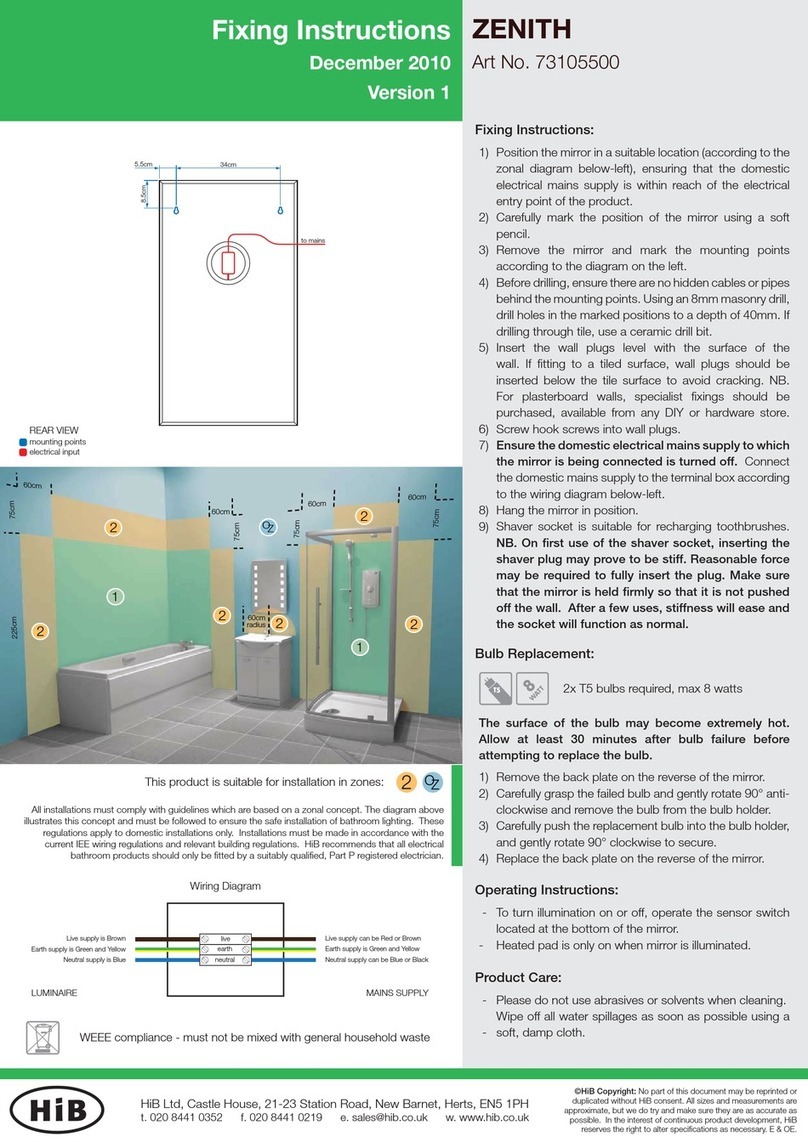
HiB ZENITH Manual

HiB

HiB ZENITH Manual

HiB Spectre 50 User manual

HiB

HiB Spectre 50 User manual

HiB Beam 50 User manual

HiB

HiB Beam 50 User manual

HiB AARON Owner's manual

HiB

HiB AARON Owner's manual

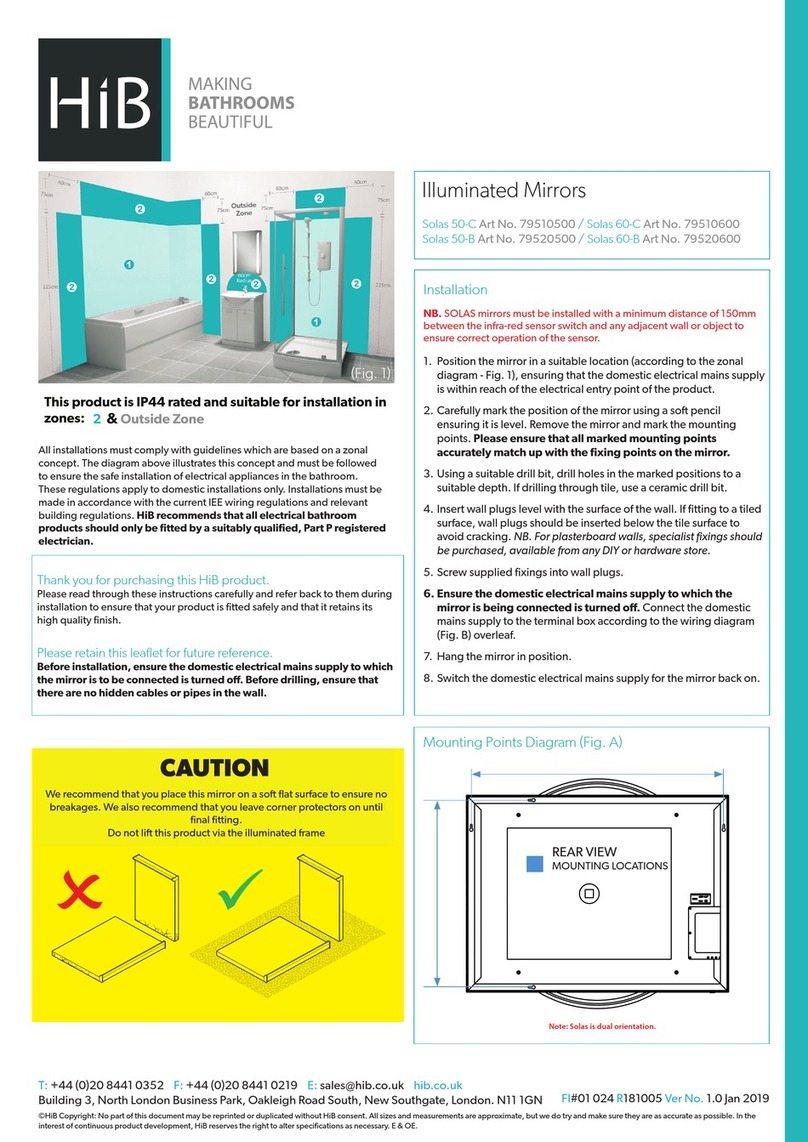
HiB Solas 50-C User manual

HiB

HiB Solas 50-C User manual

HiB Oliver User manual

HiB

HiB Oliver User manual

Popular Personal Care Product manuals by other brands

Timago TGO-R SLKP 703 Instructions for use

Timago

Timago TGO-R SLKP 703 Instructions for use

Neater V6 quick start guide

Neater

Neater V6 quick start guide

medi protect.Heel soft Instructions for use

medi

medi protect.Heel soft Instructions for use

Tunstall VitalBase VBC3 user guide

Tunstall

Tunstall VitalBase VBC3 user guide

Medisana FB 880 instruction manual

Medisana

Medisana FB 880 instruction manual

Reddot M2 user manual

Reddot

Reddot M2 user manual

Gait up GAIT UP GO user manual

Gait up

Gait up GAIT UP GO user manual

Comfy Med CM-102M instruction manual

Comfy Med

Comfy Med CM-102M instruction manual

Riedell R-Fit Step by Step Instruction Guide

Riedell

Riedell R-Fit Step by Step Instruction Guide

Wellys PUSH & CLEAN 209027 quick start guide

Wellys

Wellys PUSH & CLEAN 209027 quick start guide

Waterpik Technologies WP-450 user manual

Waterpik Technologies

Waterpik Technologies WP-450 user manual

Regen S-VIBE manual

Regen

Regen S-VIBE manual

sensiplast MANU ACTIVE Instructions for use

sensiplast

sensiplast MANU ACTIVE Instructions for use

JML Beauty Wand Instruction and safety manual

JML

JML Beauty Wand Instruction and safety manual

ORTHOSERVICE RO+TEN pluspoint 3 manual

ORTHOSERVICE RO+TEN

ORTHOSERVICE RO+TEN pluspoint 3 manual

Philips Innergize HB935 user manual

Philips

Philips Innergize HB935 user manual

Carmen C85001 instruction manual

Carmen

Carmen C85001 instruction manual

Sensio Nova SE30598T0 manual

Sensio

Sensio Nova SE30598T0 manual

manuals.online logo
manuals.online logoBrands
  • About & Mission
  • Contact us
  • Privacy Policy
  • Terms and Conditions

Copyright 2025 Manuals.Online. All Rights Reserved.