manuals.online logo
Brands
  1. Home
  2. •
  3. Brands
  4. •
  5. Hirose
  6. •
  7. Cables And Connectors
  8. •
  9. Hirose GT16G-1S-HU User manual

Hirose GT16G-1S-HU User manual

GT16G-1S-HU
IN-LINE WIRE HARNESS
INSTRUCTION MANUAL
COUNT
DESCRIPTION OF REVISIONS
DESIGNED
CHECKED
DATE
0
TITLE
GT16G-1S-HU IN-LINE WIRE HARNESS INSTRUCTION MANUAL
APPROVED
KI.HIROKAWA
17.10.04
CHECKED
KT.MAKI
17.10.04
DESIGNED
AM.YAMAUCHI
17.10.04
WRITTEN
AM.YAMAUCHI
17.10.04
TECHNICAL SPECIFICATION
ETAD-T0677-00
0
1/ 6
FORM HC0011-9-1
HIROSE ELECTRIC CO.,LTD.
△
△
Mar.1.2021Copyright2021HIROSEELECTRICCO.,LTD.AllRightsReserved.
HIROSE ELECTRIC CO.,LTD.
ETAD-T0677-00
0
2/6
FORM HC0011-9-2
△
0
1. Parts Configuration
(1) Center contact
Model
HRS No.
GT16G-2428SCF
CL766-0022-2
(2) Insulator
Model
HRS No.
GT16G-SC
CL766-0023-5
(3) Outer contact
Model
HRS No.
GT16G-/1.6-2.9SC
CL766-0024-8
(4) Outer ferrule
Model
HRS No.
GT16G-1.5DHQS
CL766-0027-6
(5) Contact ferrule
Model
HRS No.
GT16G-FR
CL766-0028-9
(6) Housing
Model
HRS No.
GT16G-1S-HU
CL766-0026-3
(7) Retainer
Model
HRS No.
GT16C-1P/S-R
CL766-0011-6
Mar.1.2021Copyright2021HIROSEELECTRICCO.,LTD.AllRightsReserved.
HIROSE ELECTRIC CO.,LTD.
ETAD-T0677-00
0
3/6
FORM HC0011-9-2
△
0
2. Applicable Cable
□1.5D-2W or equivalent
Note: The crimp condition varies with the structure of the cable. Check the cable before use.
3. Harness method
(1) Strip the cable sheath.
Note: 1. Refer to “The Crimp Quality Standard Sheet”for the cable-end processing dimensions.
2. Neatly cut the cable end before processing so that the core conductor, dielectric material,
outer conductor, and sheath will be aligned together.(Make sure that the cable is not
deformed.)
3. Pay utmost attention not to damage the cut edge of the core conductor, dielectric material,
or outer conductor.
(2) Use the dedicated jig and crimp the center contact.
Note: 1. Refer to “The Crimp Condition Table”for the crimp height.
Note: 2. Refer to “The Crimp Quality Standard Sheet”for the crimp work standards.
(3) Put the cable into the outer contact.
Note: 1. Check that the direction of the outer contact is correct as shown in the illustration below.
Note: 2. Pay attention not to deform the crimped contact.
Mar.1.2021Copyright2021HIROSEELECTRICCO.,LTD.AllRightsReserved.
HIROSE ELECTRIC CO.,LTD.
ETAD-T0677-00
0
4/6
FORM HC0011-9-2
△
0
(4) Spread out the outer conductor with the dedicated tool, insert the outer ferrule, and return the outer
conductor to cover the outer ferrule.
Note: 1. Be careful not to unweave the outer conductor when spreading out the outer conductor.
Do not spread out the copper foil or aluminum foil. Make sure that the copper
foil and aluminum foil are inside the outer ferrule.
Note: 2. Check that the direction of the outer ferrule is correct as shown in the illustration below.
Coincide the slit of the outer ferrule with the protruding part of the center contact and
insert the outer ferrule.
Note: 3. Insert the outer ferrule until the step of the outer ferrule comes to the edge of the sheath.
Note: 4. Pay attention not to pull the outer conductor into the sheath when inserting the outer
ferrule.
(5) Use the dedicated jig and insert the contact ferrule from the mating side of the center contact until the
contact ferrule comes in contact with the dielectric material.
Note: 1. Check that the direction of the contact ferrule is correct as shown in the illustration below.
Coincide the slit of contact ferrule with the protruding part of the center contact and insert
the contact ferrule.
Note: 2. Pay attention not to deform the crimped contact.
Mar.1.2021Copyright2021HIROSEELECTRICCO.,LTD.AllRightsReserved.
HIROSE ELECTRIC CO.,LTD.
ETAD-T0677-00
0
5/6
FORM HC0011-9-2
△
0
(6) Put the above contact unit onto the insulator, and fit another insulator onto the contact unit.
Note: 1. Put the protruding part of the center contact onto the groove hole.
Note: 2. Pull the cable at a force of approximately 4.9N and check that the contact unit will not be
pulled out.
(7) Assemble the outer contact to the insulator.
Note: 1. Check that the direction of the outer contact is correct as shown in the illustration below.
Make sure that the left and right dents on the insulator coincide with the grooves of the
outer contact in coaxial direction (i.e., the slit of the outer ferrule coincide in position with
the barrel bottom of the outer contact).
Note: 2. Insert the cable until the insulator is stopped by the Lance of the outer contact.
(8) Use the dedicated jig and crimp the outer contact.
Note: 1. Refer to “The Crimp Condition Table”for the crimp height.
Note: 2. Refer to “The Crimp Quality Standard Sheet”for the crimp work standards.
Mar.1.2021Copyright2021HIROSEELECTRICCO.,LTD.AllRightsReserved.
HIROSE ELECTRIC CO.,LTD.
ETAD-T0677-00
0
6/6
FORM HC0011-9-2
△
0
(9) Insert the outer contact into the housing.
Note: 1. Coincide the protruding part of the outer contact with the groove of the housing and insert
the outer contact.
Note: 2. Insert the outer contact until the position of the outer contact is fixed by the lance of the
housing.
(10) Insert the retainer into the housing.
Note: 1. Insert the retainer until the position of the retainer is fixed by the housing.
(11) Harness work completed
Mar.1.2021Copyright2021HIROSEELECTRICCO.,LTD.AllRightsReserved.

Other Hirose Cables And Connectors manuals

Hirose BM56G Series Instruction Manual
Hirose

Hirose BM56G Series Instruction Manual

Hirose DF53 Series Manual

Hirose

Hirose DF53 Series Manual
Hirose EnerBee DF60 Series User manual

Hirose

Hirose EnerBee DF60 Series User manual

Hirose GT16GM Series User manual

Hirose

Hirose GT16GM Series User manual
Hirose EnerBee DF60 Series User manual
Hirose

Hirose EnerBee DF60 Series User manual

Hirose HIF Series User manual

Hirose

Hirose HIF Series User manual
Hirose DF62W Series Manual

Hirose

Hirose DF62W Series Manual
Hirose FH63 Series Manual

Hirose

Hirose FH63 Series Manual

Hirose GT43 User manual

Hirose

Hirose GT43 User manual

Hirose BM10 Series User manual

Hirose

Hirose BM10 Series User manual

Hirose GT50 Series User manual

Hirose

Hirose GT50 Series User manual

Hirose DF62WZ-6P-2.2DSA(20) User manual

Hirose

Hirose DF62WZ-6P-2.2DSA(20) User manual

Popular Cables And Connectors manuals by other brands
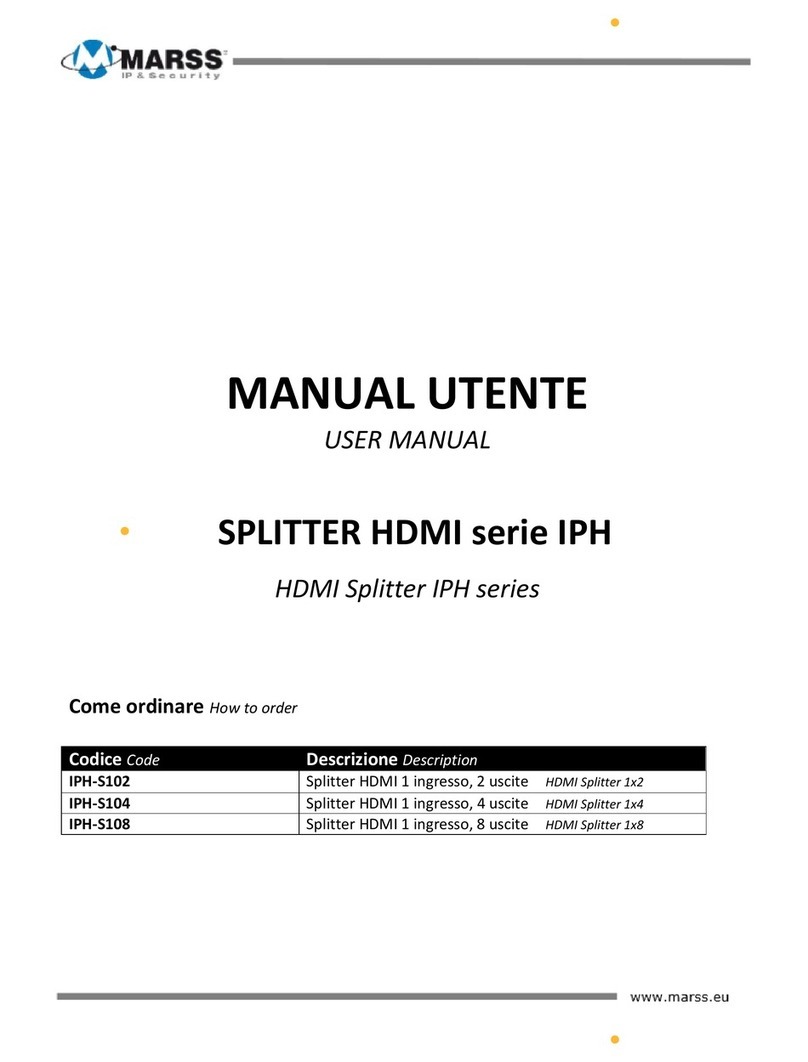
Choetech XCC-1007 user manual

Choetech

Choetech XCC-1007 user manual

Blackbird 43962 user manual

Blackbird

Blackbird 43962 user manual

CMP A2F installation instructions

CMP

CMP A2F installation instructions

Philips SWV3556 Specifications

Philips

Philips SWV3556 Specifications

LINK-MI HDCP operating instructions

LINK-MI

LINK-MI HDCP operating instructions

Omega 94306 operating instructions

Omega

Omega 94306 operating instructions

Furukawa electric FBS SlimConnector installation guide

Furukawa electric

Furukawa electric FBS SlimConnector installation guide

Cairn OptoSplit II Troubleshooting

Cairn

Cairn OptoSplit II Troubleshooting

Extron electronics HSA 802 user manual

Extron electronics

Extron electronics HSA 802 user manual

Omnio KS230/10 manual

Omnio

Omnio KS230/10 manual

Labgear HDM 4SP4K user guide

Labgear

Labgear HDM 4SP4K user guide

Tyco Electronics 58062-1 instruction sheet

Tyco Electronics

Tyco Electronics 58062-1 instruction sheet

MARSS IPH Series user manual

MARSS

MARSS IPH Series user manual

LLI LLI-GC-LL-RGB installation instructions

LLI

LLI LLI-GC-LL-RGB installation instructions

Gleason Reel Gear Drive Electric Cable Reels MMD24 Installation and maintenance instructions

Gleason Reel

Gleason Reel Gear Drive Electric Cable Reels MMD24 Installation and maintenance instructions
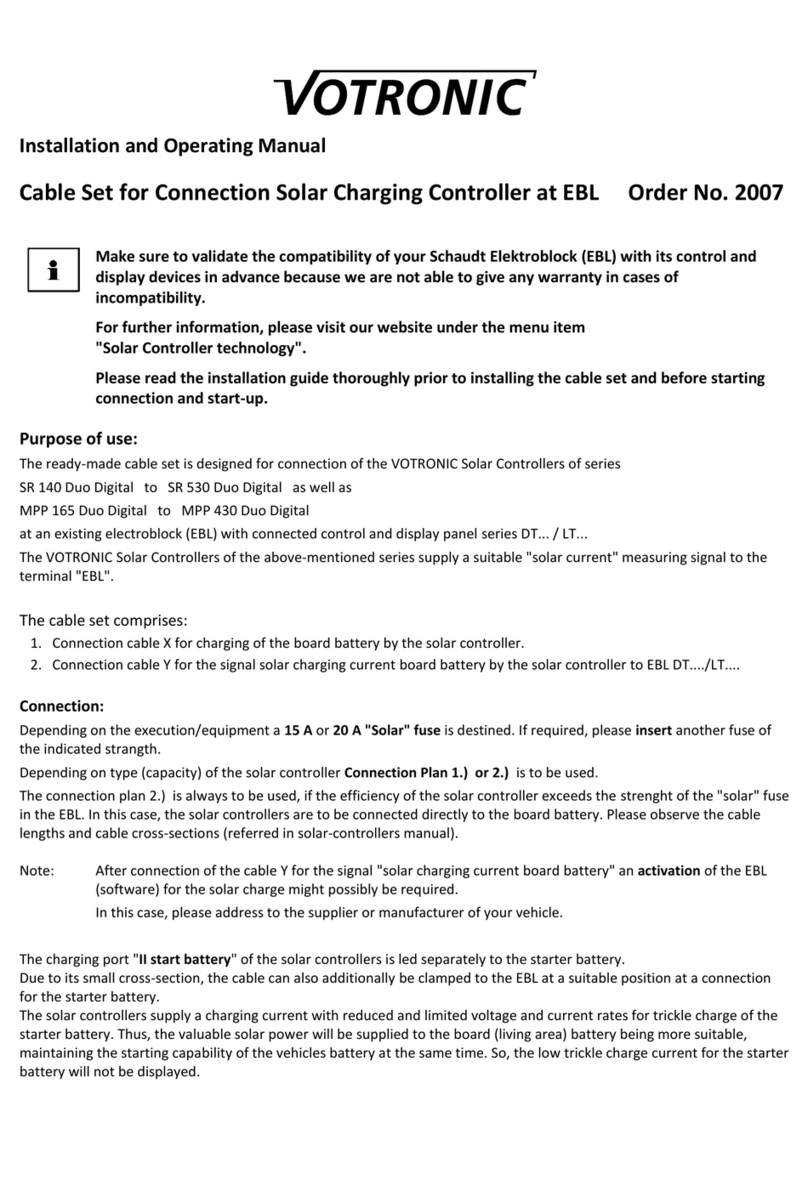
Votronic 2007 Installation and operating manual

Votronic

Votronic 2007 Installation and operating manual

Farmnavigator 4G Agri installation manual
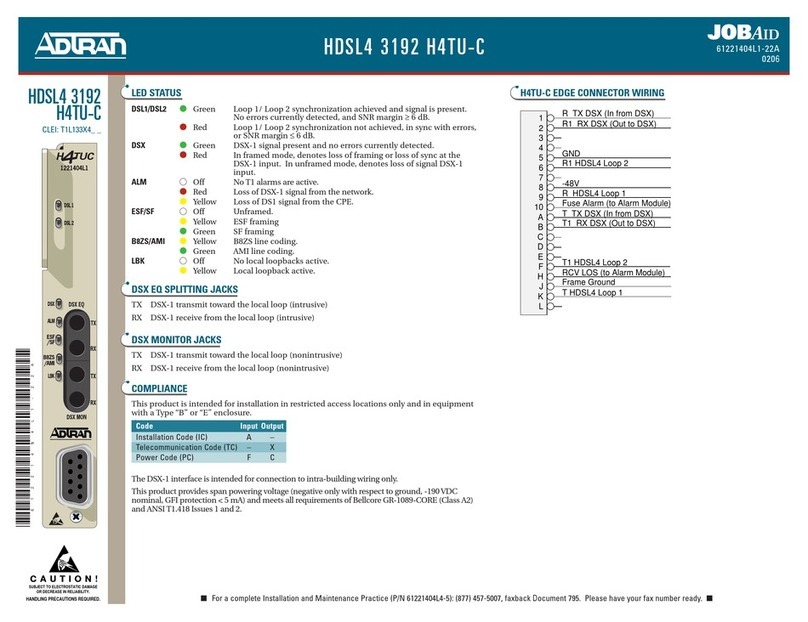
Farmnavigator

Farmnavigator 4G Agri installation manual

ADTRAN 3192 HDSL4 Administration, Operations, and Troubleshooting Guide

ADTRAN

ADTRAN 3192 HDSL4 Administration, Operations, and Troubleshooting Guide

manuals.online logo
manuals.online logoBrands
  • About & Mission
  • Contact us
  • Privacy Policy
  • Terms and Conditions

Copyright 2025 Manuals.Online. All Rights Reserved.