Nederlands
e
italiano
e
Francais
e
Deutsch
e
English
©
HITACHI
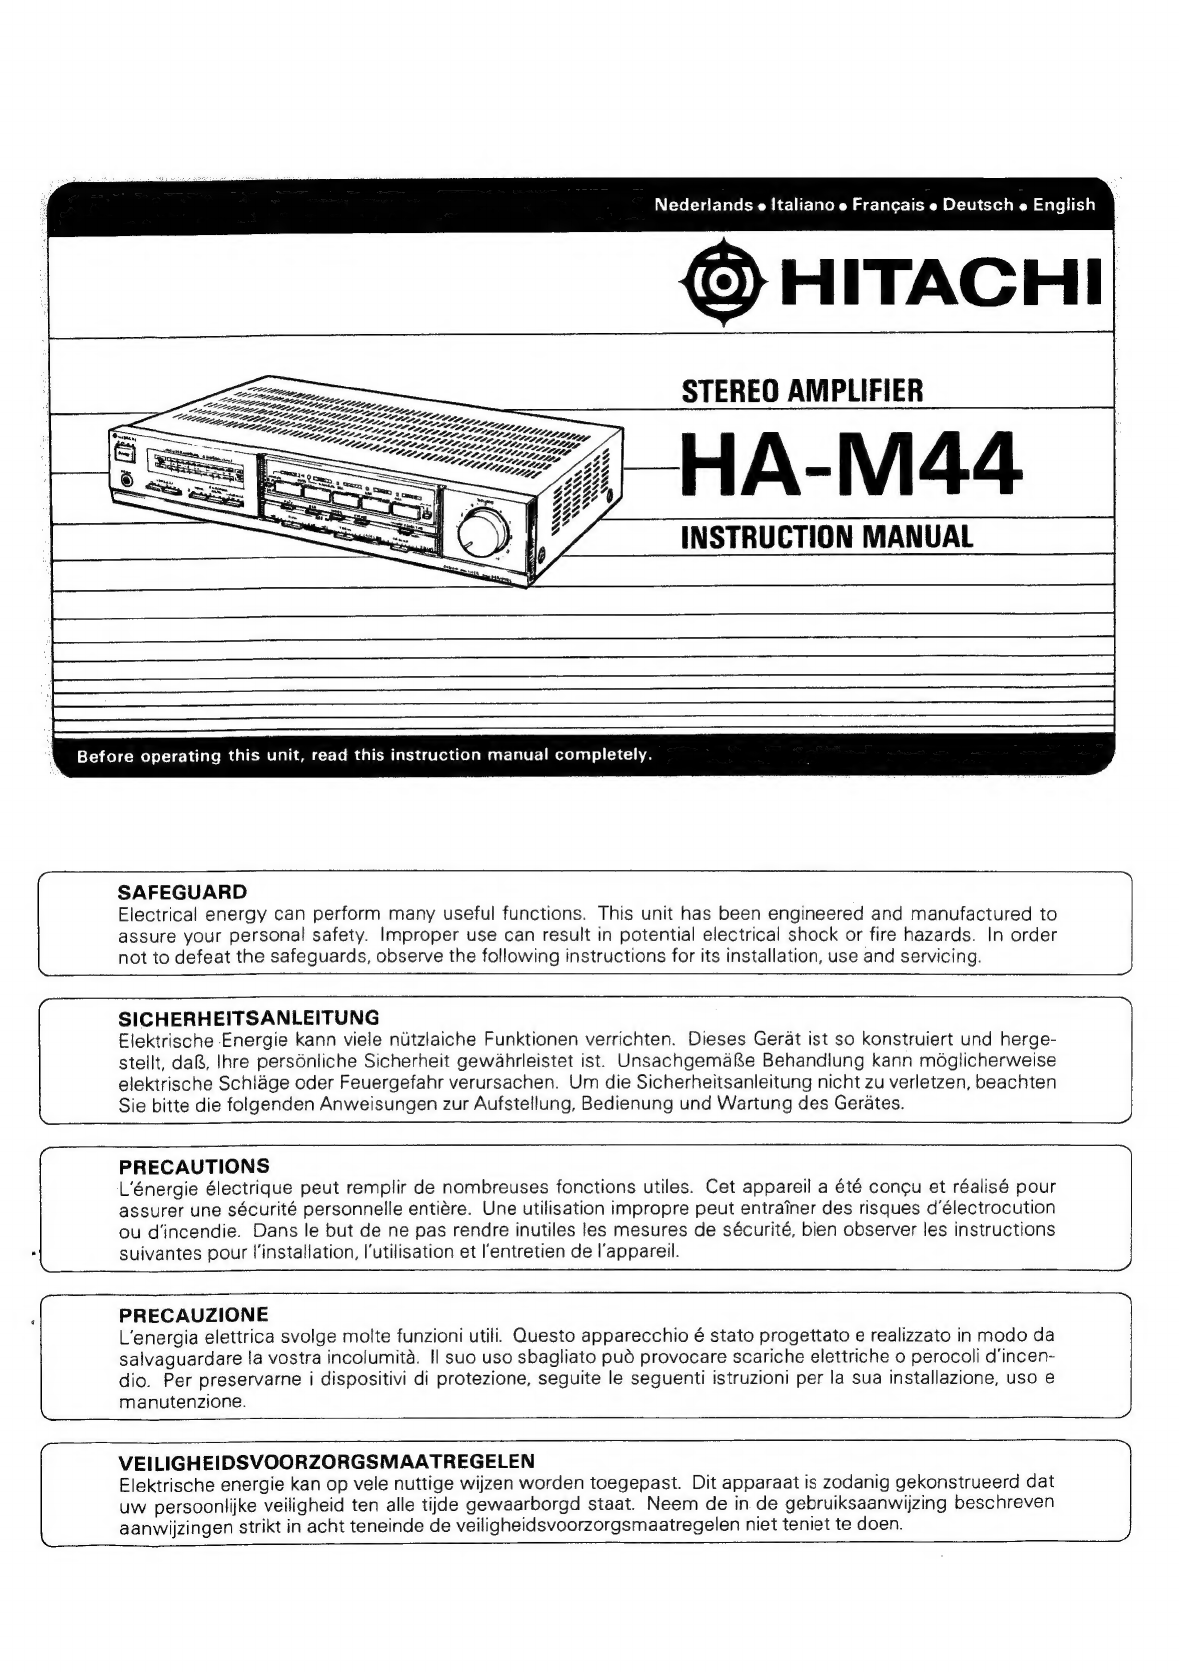
STEREO
AMPLIFIER
INSTRUCTION
MANUAL
Before
operating
this
unit,
read
this
instruction
manual
completely.
SAFEGUARD
Electrical
energy
can
perform
many
useful
functions.
This
unit
has
been
engineered
and
manufactured
to
assure
your
personal
safety.
Improper
use
can
result
in
potential
electrical
shock
or
fire
hazards.
In
order
not
to
defeat
the
safeguards,
observe
the
following
instructions
for
its
installation,
use
and
servicing.
SICHERHEITSANLEITUNG
Elektrische
Energie
kann
viele
nitzlaiche
Funktionen
verrichten.
Dieses
Gerat
ist
so
konstruiert
und
herge-
stellt,
da®,
Ihre
personliche
Sicherheit
gew4ahrleistet
ist.
Unsachgemafge
Behandlung
kann
méglicherweise
elektrische
Schlage
oder
Feuergefahr
verursachen.
Um
die
Sicherheitsanleitung
nicht
zu
verletzen,
beachten
Sie
bitte
die
folgenden
Anweisungen
zur
Aufstellung,
Bedienung
und
Wartung
des
Gerates.
PRECAUTIONS
L'énergie
électrique
peut
remplir
de
nombreuses
fonctions
utiles.
Cet
appareil
a
été
concu
et
réalisé
pour
assurer
une
sécurité
personnelle
entiére.
Une
utilisation
impropre
peut
entrainer
des
risques
d’électrocution
ou
d‘incendie.
Dans
le
but
de
ne
pas
rendre
inutiles
les
mesures
de
sécurité,
bien
observer
les
instructions
suivantes
pour
|installation,
l'utilisation
et
l'entretien
de
l'appareil.
PRECAUZIONE
L’energia
elettrica
svolge
molte
funzioni
utili.
Questo
apparecchio
é
stato
progettato
e
realizzato
in
modo
da
salvaguardare
la
vostra
incolumita.
Il
suo
uso
sbagliato
pud
provocare
scariche
elettriche
0
perocoli
d’incen-
dio.
Per
preservarne
i
dispositivi
di
protezione,
seguite
le
seguenti
istruzioni
per
la
sua
installazione,
uso
e
manutenzione.
VEILIGHEIDSVOORZORGSMAATREGELEN
Elektrische
energie
kan
op
vele
nuttige
wijzen
worden
toegepast.
Dit
apparaat
is
zodanig
gekonstrueerd
dat
uw
persoonlijke
veiligheid
ten
alle
tijde
gewaarborgd
staat.
Neem
de
in
de
gebruiksaanwijzing
beschreven
aanwijzingen
strikt
in
acht
teneinde
de
veiligheidsvoorzorgsmaatregelen
niet
teniet
te
doen.