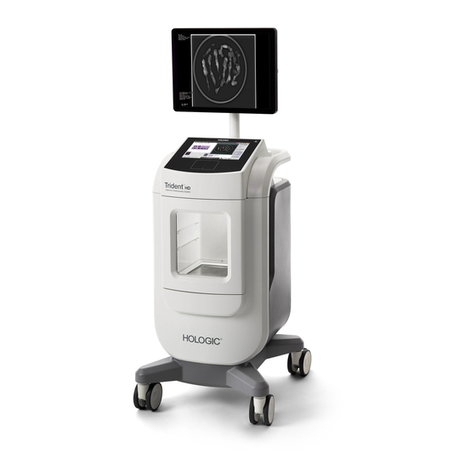
Hologic Trident User manual
Other Hologic Medical Equipment manuals

Hologic
Hologic Brevera User manual
Hologic
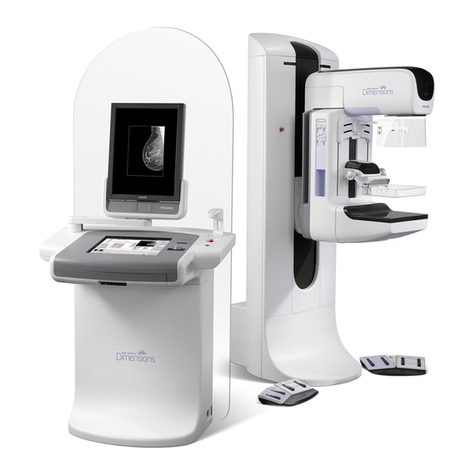
Hologic selenia dimensions Technical manual

Hologic
Hologic SUROS ATEC Pearl User manual

Hologic
Hologic Faxitron Core User manual
Hologic
Hologic Faxitron Path User manual
Hologic
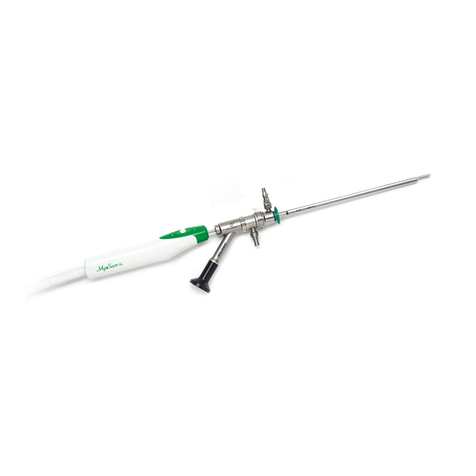
Hologic MyoSure XL User manual
Hologic
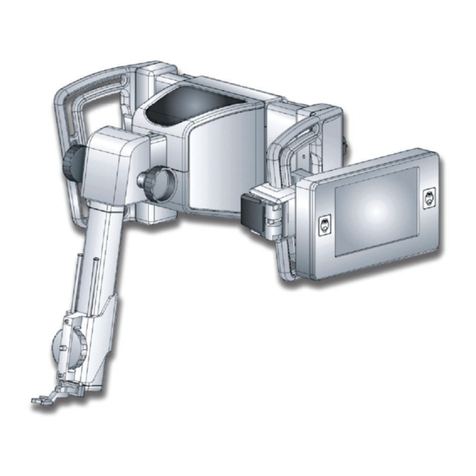
Hologic Affirm MAN-02866 User manual

Hologic
Hologic ATEC SAPPHIRE User manual

Hologic
Hologic Trident User manual
Hologic
Hologic Sentinelle Medical Vanguard Manual

Hologic
Hologic TruNode S-10 User manual

Hologic
Hologic Aquilex User manual

Hologic
Hologic R2 DM User manual
Hologic
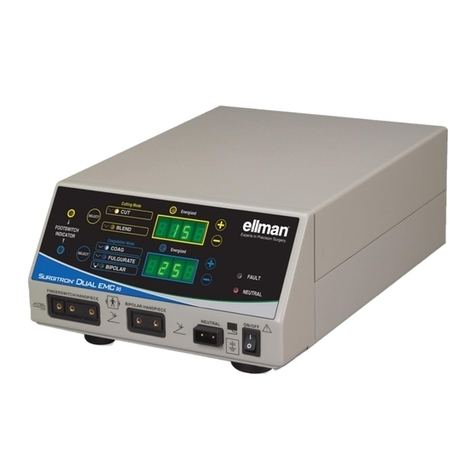
Hologic CYNOSURE ELLMAN SURGITRON 4.0 Dual RF/90 IEC User manual
Hologic
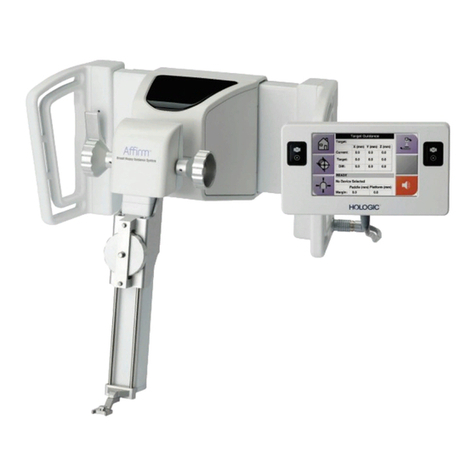
Hologic Affirm User manual
Hologic
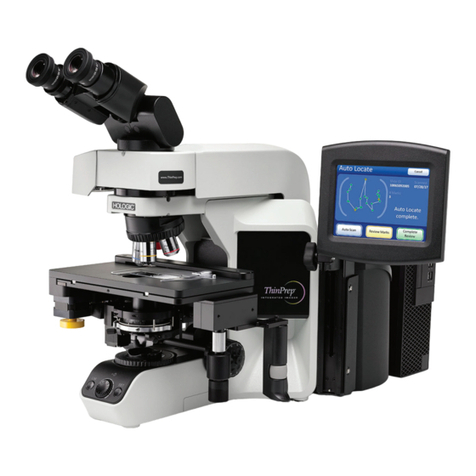
Hologic ThinPrep User manual
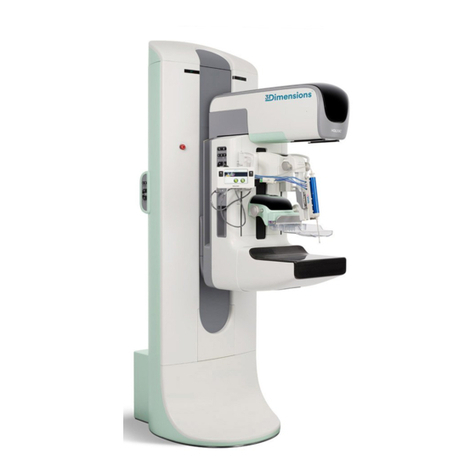
Hologic
Hologic 3Dimensions User manual
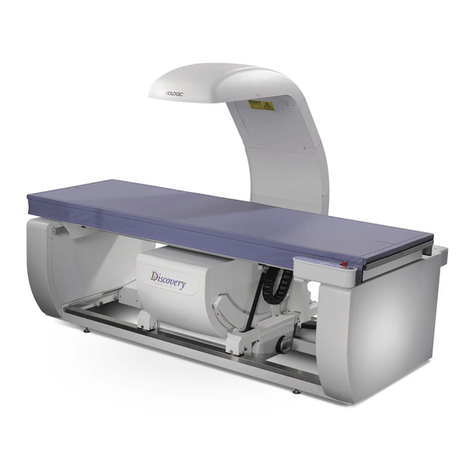
Hologic
Hologic DISCOVERY QDR Series User manual

Hologic
Hologic Faxitron Path User manual
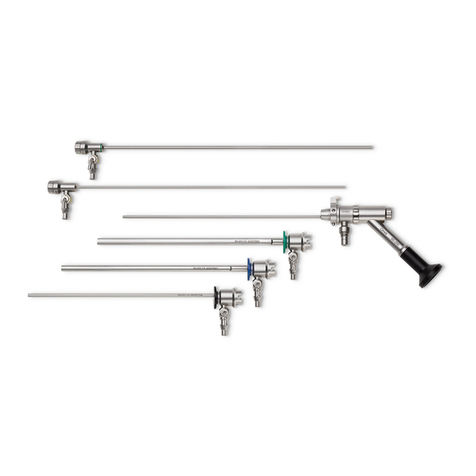
Hologic
Hologic OMNI User manual
Popular Medical Equipment manuals by other brands

Getinge
Getinge Arjohuntleigh Nimbus 3 Professional Instructions for use

Mettler Electronics
Mettler Electronics Sonicator 730 Maintenance manual

Pressalit Care
Pressalit Care R1100 Mounting instruction

Denas MS
Denas MS DENAS-T operating manual

bort medical
bort medical ActiveColor quick guide

AccuVein
AccuVein AV400 user manual
