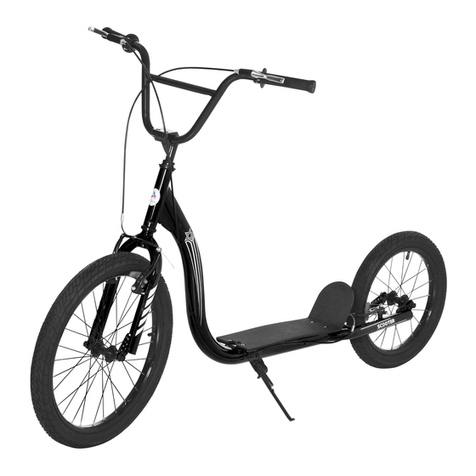
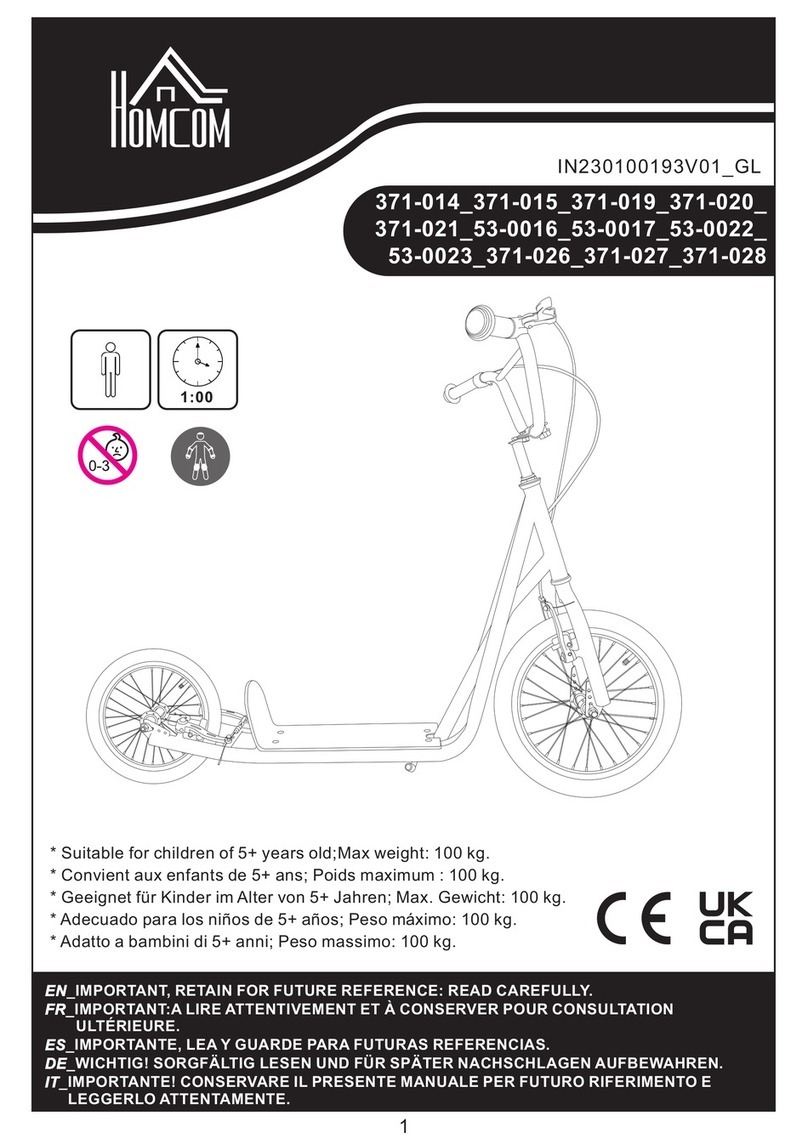
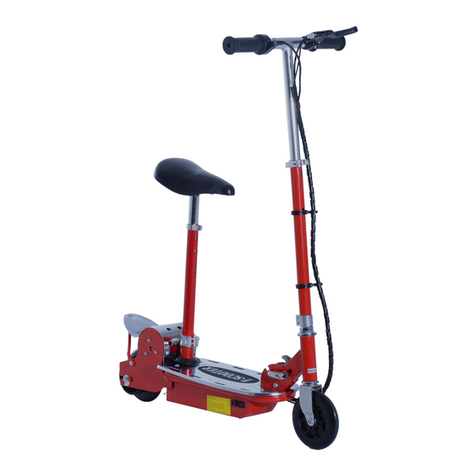
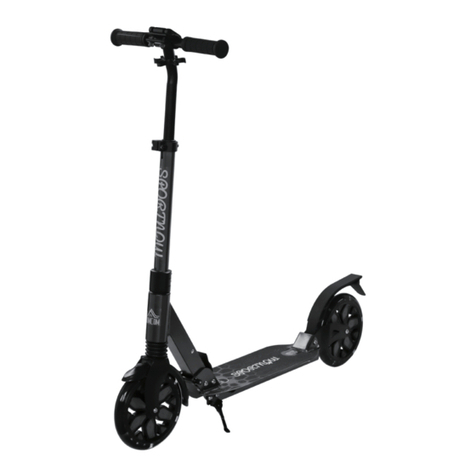
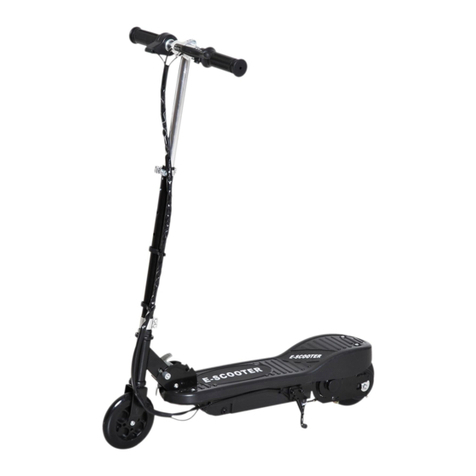
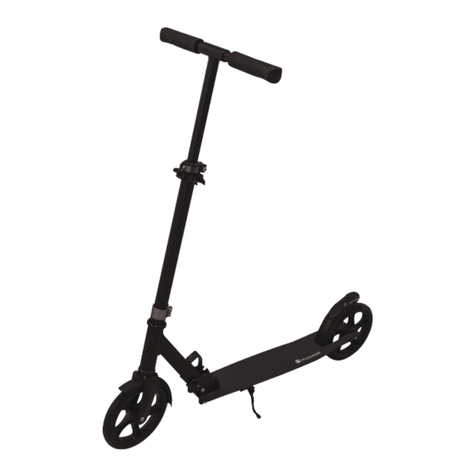
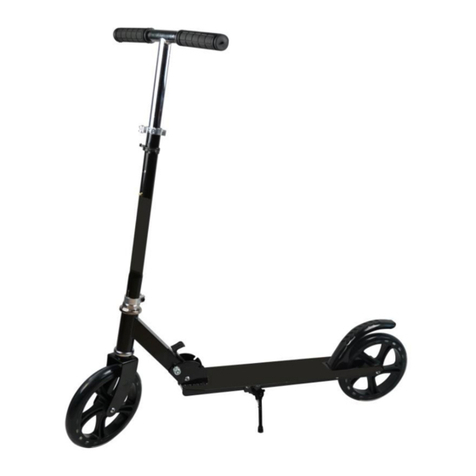
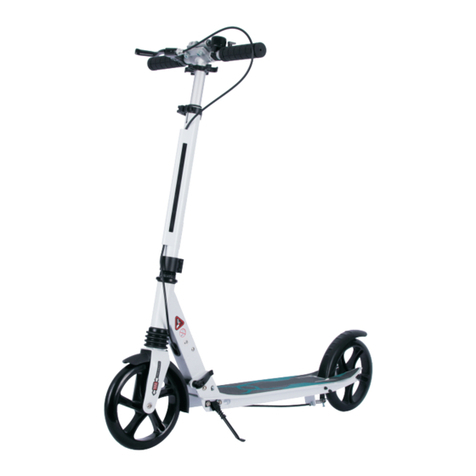
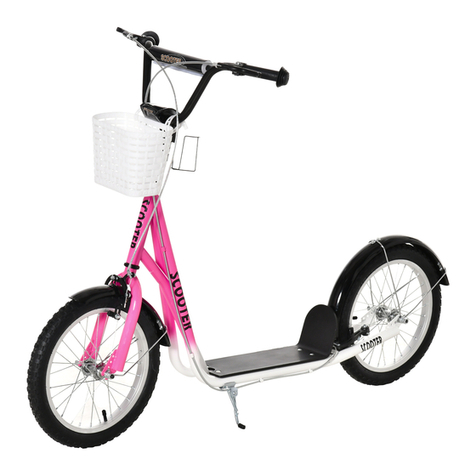
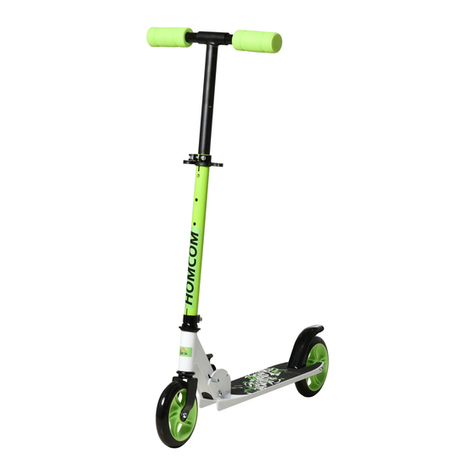
HOMCOM 53-0018 Assembly instructions

P. 1
EN
SCOOTER INSTRUCTIONS AND
ASSEMBLY BOOKLET
Important information: Please read this booklet before assembly, riding and performing
maintenance on this scooter. Please keep this booklet for future reference.
SAFETY WARNINGS
Important Message for Parents:This manual contains all important information for your child safety. It is your
responsibility to review this information with your child and make sure your child understands all the warnings,
instructions and safety topics. Please review this periodically to ensure safe use and riding of this scooter.
General warning: Scooter riding can be a hazardous activity, scooters are intended for movement and appropriate
care should be taken as there can be a possibility of losing control and fall. Like any other activity, using a scooter
can be dangerous activity and may result in injury or death when not using safety precautions. USE AT YOUR
OWN RISK and USE COMMON SENSE.
Always wear safety equipment such as a helmet, knee pads and elbow pads. Always wear a helmet when
riding and keep the chin strap securely fastened.
Always wear appropriate footwear.
Ride on smooth or paved surfaces away from motor vehicles.
Avoid sharp bumps, drainage grates and any sudden change in surfaces, scooter may suddenly stop.
Avoid surfaces with water, gravel, dirt leaves and any other debris, these conditions can impair traction,
braking and visibility.
Do not ride at night.

P. 2
Brakes will get hot from continuous use. Do not touch after use.
Avoid excessive speed associated with downhill rides.
Obey all traffics laws and regulations.
Watch out for pedestrians.
Do not exceed 220lbs (100kgs) total weight on the A5 scooter.
Do not allow children under the age of five (5) to use the scooter. All other children and preteens should ride
with adult supervision at all times.
Rider weight does not necessarily mean a child size is appropriate to fit or maintain control of the scooter.
An Adult is responsible for allowing his or her to ride this product, which should be based on child maturity,
skill and ability to follow rules.
ACCEPTABLE RIDING PRACTICES AND CONDITIONS
Direct adult supervision is required. Scooters are meant to be used only in controlled environments free of
potential traffic hazards and not on public streets. Do not allow your child to ride a scooter in any areas where
vehicle traffic is present. The child must maintain a hold on the handlebars at all times. Never allow more than
one child at a time to ride a scooter. Never use near steps, sloped driveways, hills, roadways, alleys or swimming
pool areas.
Do not ride a scooter in wet weather. Scooters are intended for use on solid, flat, clean and dry surfaces such as
pavement or level ground without loose debris such as rocks or gravel. Wet, slick or uneven and rough surfaces
may impair traction and contribute to possible accidents. Do not ride a scooter in mud, ice, puddles or water.
Avoid excessive speeds that can be associated with downhill rides. Never risk damaging surfaces such as carpet or
flooring by use of a scooter indoors. Do not ride at night or when visibility is impaired.
CORRECT RIDING ATTIRE
Always ensure child is wearing proper protective equipment such as an approved safety helmet. A helmet may be
legally required by local law or regulation in your area. A child should always wear shoes, never ride barefooted or
in sandals, and keep shoelaces tied and out of the way of the wheels.
FAILURE TO USE COMMON SENSE AND HEED THE ABOVE WARNINGS FURTHER INCREASES RISK OF
INJURY. USE AT YOUR OWN RISK AND WITH APPROPRIATE ATTENTION FOR SAFE OPERATION. USE
CAUTION.
WARNING: ALWAYS INSPECT THE SCOOTER PRIOR TO RIDING. Properly inspecting and maintaining your scooter
can reduce the risk of injury. Always inspect your scooter before riding and regularly maintain it.
WARNING: CHECK LOCAL LAWS REGARDING SCOOTER USE. Check local laws and regulations to see where and
how you may use your HOMCOM scooter legally. In many states and local areas scooter riders are required
BY LAW to wear a helmet. Check local laws and regulations regarding laws governing helmet use and scooter
operation in your area.
IMPORTANT
WARNING: An Adult must assist in the initial assembly of the scooter. Be sure your scooter is fully assembled
before riding.
Read and understand this owner's manual before using scooter.
Failure to do so can result in serious injury.
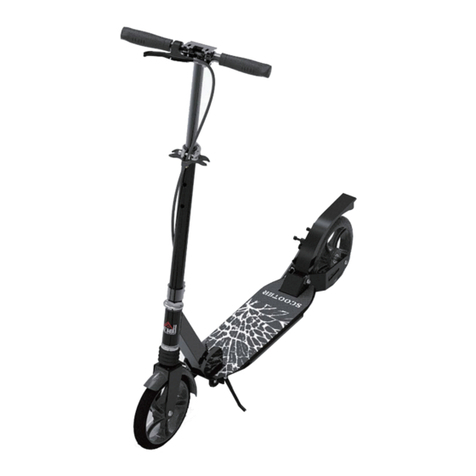
P. 3
ASSEMBLY INSTRUCTIONS
Step 1.Wheel Installation
Step 2.Handle Bar Installation.
Step 3. BrakeAssembly and adjustment
Step 1. WHEEL INSTALLATION
Please insert wheel axles fully into the axle slots. Please make sure you secure the tab
washers and nut as below (FIG 1). Place the tab washer on the axle screw on the outside of the
wheel frame making sure the washer tab is inserted into the round hole on the frame. This is to
secure the axle to the frame. Now screw the nut on and tighten firmly using the appropriate
spanner or wrench. (Please see below illustrations)
NOTE: Front and rear wheels are installed the same way.
Tab Washer and Nut
FIG 1
Front wheel push into axle slots. Install the tab washer first (a) then install the axle nut (b)
tighten with Spanner or wrench.
Back Wheel Push into axle slots. Install the tab washer first (a). Then install the axle nut (b)
tighten with Spanner or wrench.
Please note rear wheel may come pre-installed, please make sure the top edge of the brake
pad is even with the edge of the metal rim of the wheel.
A
B

P. 4
Step 2. HANDLE BAR ASSEMBLY
Insert the stem into the scooter fork tube (Fig 2), making sure the handle bars are alligned
correctly to the wheels, please be sure to insert to the minimum insertion line. Now tighten the
large nut on the forks to secure the stem and adjust the handles bars to correct position and
tighten all the bolts permanantly.
FIG 2
Step 3. Assemble And Adjust Hand Brakes
Warning: Please note the brakes would need to be assembled and adjusted before you ride
your scooter.
Install brake levers onto handlebars. Please note the brake lever on the right hand side
connects to the front brake system. And the brake lever on the left hand side connects to the
rear brake system.
1. Insert the barrel end of the brake arms with your hand until the brake rubbers are up against
the wheel rim. This will enable the inner brake cable wire to be loose.And have enough space
for you to easily slip the barrel end of the brake cable wire into the bole in the brake lever.
2. Next, pull the brake cable wire through the key hole slot in the front of the brake lever and
then remove your hand. The brake cable cap will automatically spring back into the slotted key
hole on the front of the brake lever assemble.
3. Next, proceed to adjust the hand brakes
1) Loosen the anchor bolt nut
2) Again squeeze the brake rubbers against the wheel rim.
3) Pull the brake cable wire through the anchor bolt hole. Until there is no slack in the
inner brake wire.
4) Tighten the anchor bolt nut
5) Squeeze the brake lever bard and then release several times. Rotate the wheel, be
sure the wheel does not wobble. There should be about 1/6 inch (1.6mm) clearance.
Between the wheel rim and each brake rubber.

P. 5
Brake cable
Cable adjuster screw
Cable adjuster lock nut
Inner brake cable wire
Anchor bolt & nut
Note: If additional brake adjusting is required, you can bring the brake rubbers closer to the
wheel rim by turning the adjusting screw counter-clockwise. To make the brake rubbers further
from the rim. Turn the adjusting screw clockwise.
Be sure the cable is locked securely through the anchor bolt. . Reset cable adjusting lock nut
when adjusting is final.
Wanting: If after brake adjustments are made and the hand brake still does not function. Then
have brake repaired or adjusting at a bicycles service shop. Do not ride if brake do not function
properly.
Before using pls check the following:
1. Make sure smoothly install and remove the front /rear wheel.(Tools:Hex Wrenches,Spline
End Wrenches or others)
2. Make sure head set are securely mounted, and steering smoothly.(Tools:Hex
Wrenches,Spline End Wrenches or others)
3. Make sure the handlebars are securely mounted.(Tools:Hex Wrenches)
4. Check that both handlebar grips are firmly fixed and brake lever correctly install.(Tools:you
can choose the tool which will match the brake.Hex Wrenches,Sockets Wrenches,or Screw
drivers)
5. Make sure properly functioning rear brake, check whether the brake pad overuse, and
whether brake cable tail up and rusty. (Tools:Hex Wrenches,Spline End Wrenches or others)
If you ride the scooter for long time, it is Inevitable that the tire be broken, pls find the specialty
to fill or replace the tire, and make sure the tire inflated.
Wheels and Bearings
It is the responsibility of the owner or guardian to periodically inspect the wheels for wear and
tear, the axle for proper tightness, and bearings for side-to-side play and loose parts. When a
wheel or wheel bearing develops play, this is an indication of excess wear and replacement is
necessary. Replace immediately with only genuine wheels.Wheels other than genuine wheels
may not be compatible with your scooter. The use of anything other than genuine
replacement parts may affect your safety.
Cleaning your Scooter
Wipe with a damp cloth to remove dirt and dust. Do not use industrial cleaners or solvents as
they may damage the surfaces. Do not use alcohol, alcohol-based or ammonia-based cleaners
as they may damage or dissolve the plastic components or soften the decals or decal adhesive.
How to Ride
Place one foot on the baseboard, push forward with the other foot. Steer. For enhanced
cornering, lean slightly into the direction of the turn. For controlled stops, apply the brake by
stepping on the rear fender/brake.HOMCOM recommends that you practice applying the brake
at various speeds and in an open area free from obstructions before riding your scooter around
others.
Table of contents
Other HOMCOM Scooter manuals

HOMCOM
HOMCOM 371-036 User manual

HOMCOM
HOMCOM 371-034 User manual

HOMCOM
HOMCOM AA1-083 Installation guide

HOMCOM
HOMCOM AA1-056 Owner's manual

HOMCOM
HOMCOM AA1-083 Installation guide

HOMCOM
HOMCOM 371-008 User manual

HOMCOM
HOMCOM 371-031 User manual

HOMCOM
HOMCOM 371-023 User manual

HOMCOM
HOMCOM INaba003V02 User manual

HOMCOM
HOMCOM AA1-089V70 User manual

HOMCOM
HOMCOM 371-038 User manual

HOMCOM
HOMCOM 371-033 User manual

HOMCOM
HOMCOM AA1-088 Installation guide

HOMCOM
HOMCOM AA1-023RD User manual

HOMCOM
HOMCOM 371-004 User manual

HOMCOM
HOMCOM AA1-097 Datasheet

HOMCOM
HOMCOM 371-029 User manual

HOMCOM
HOMCOM 371-047V00 User manual

HOMCOM
HOMCOM 371-014 User manual

HOMCOM
HOMCOM 371-043 Installation guide