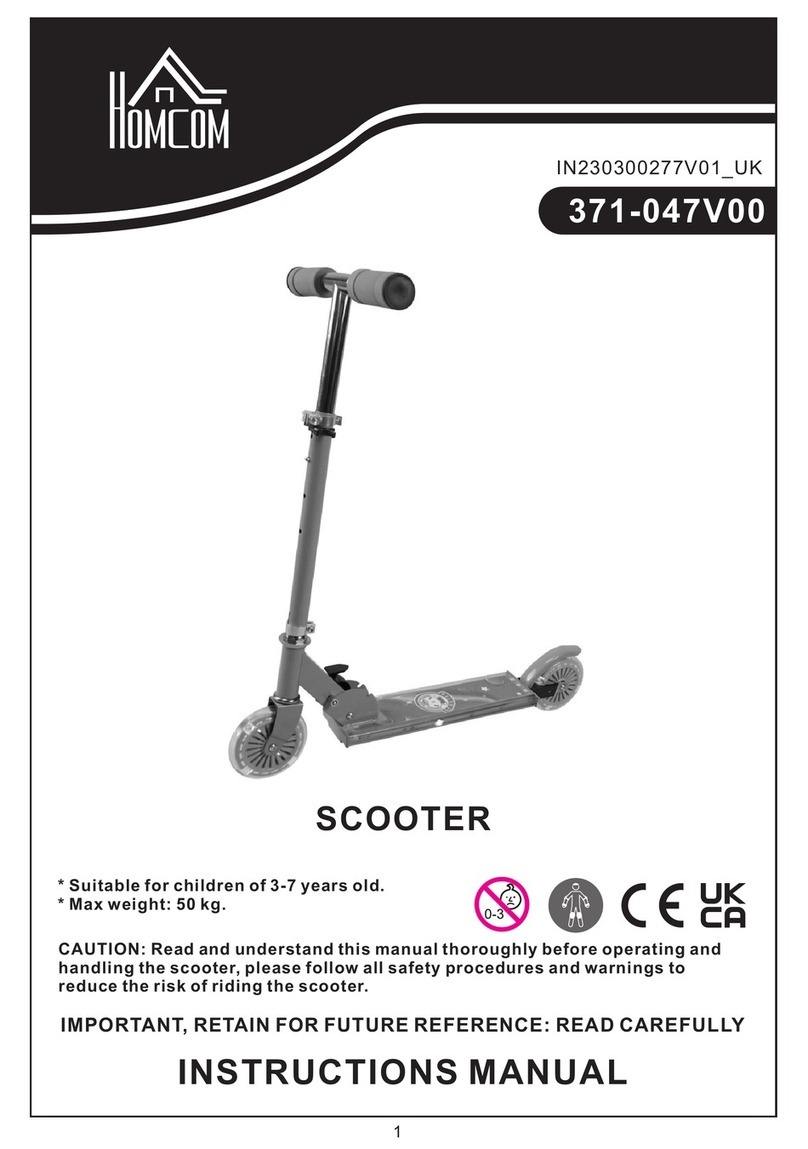
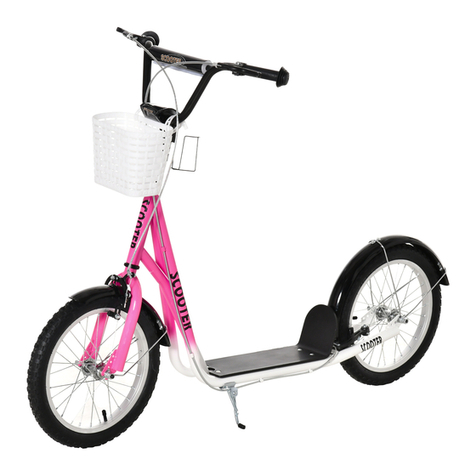
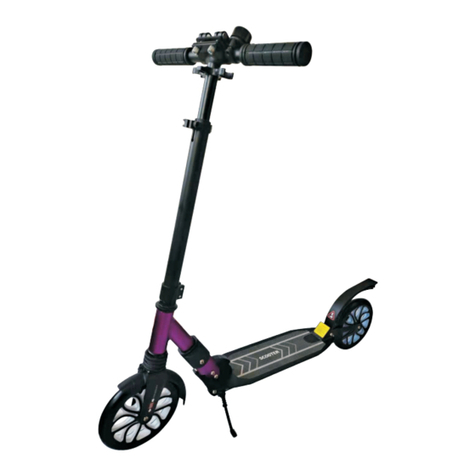
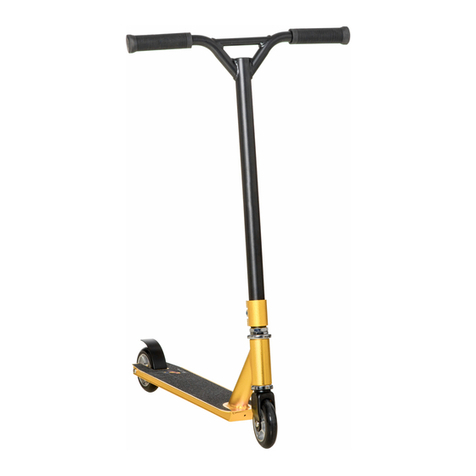
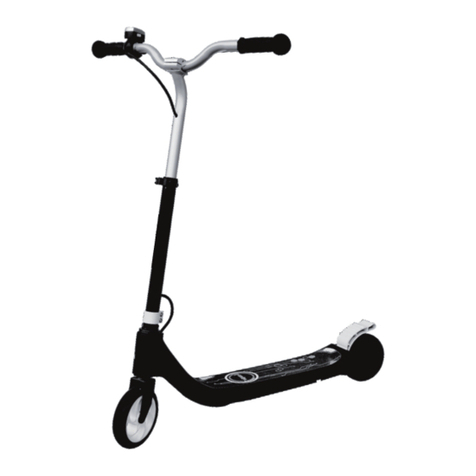
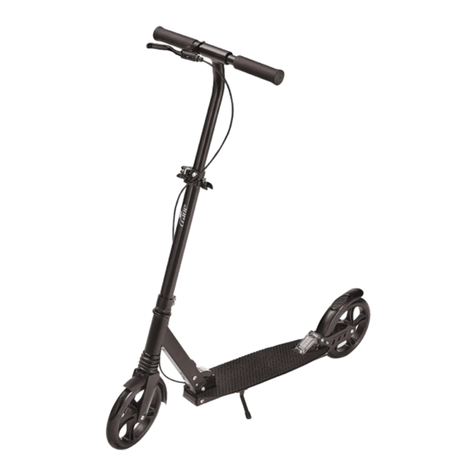
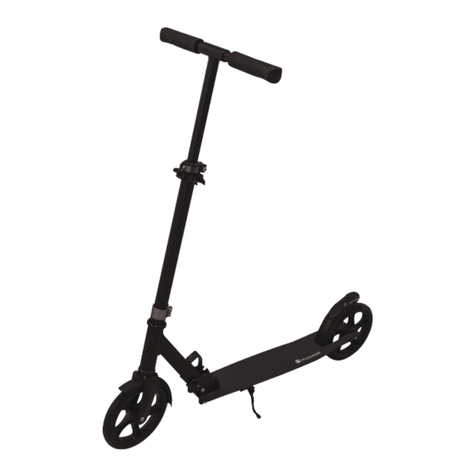
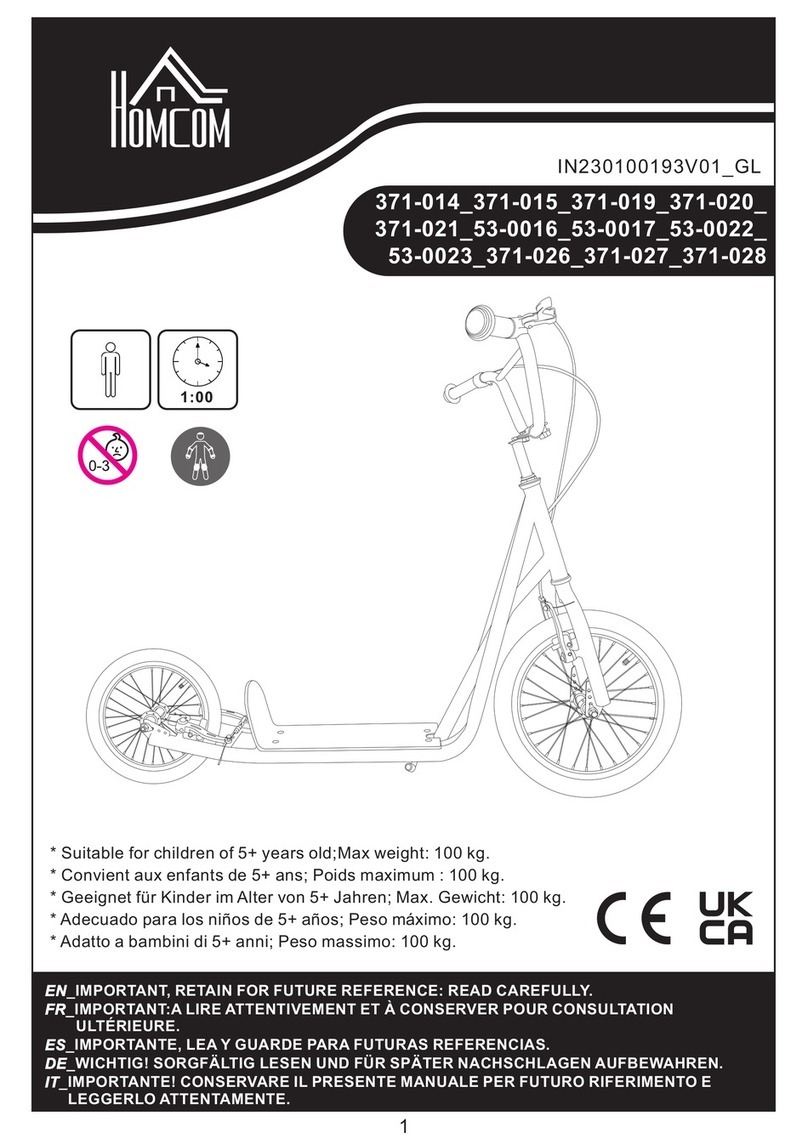
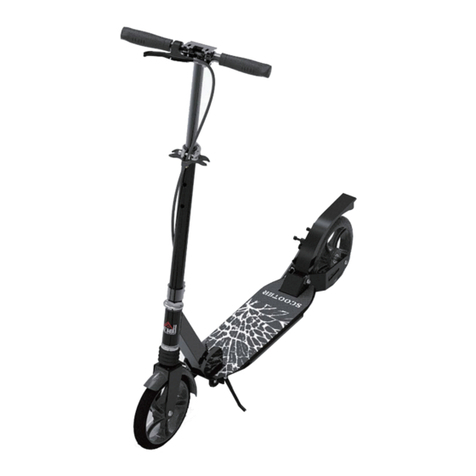
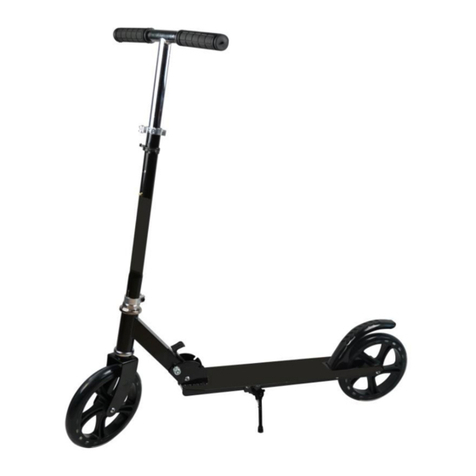
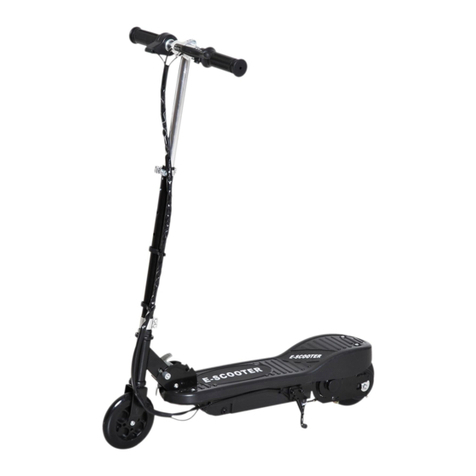
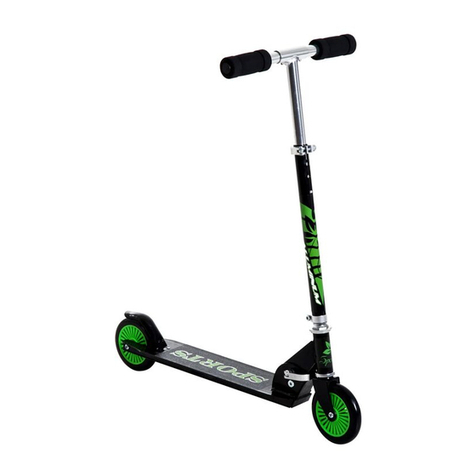
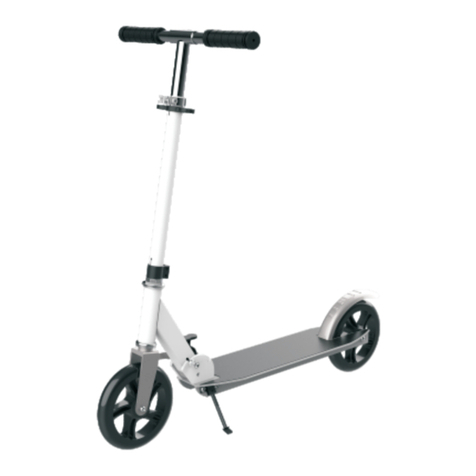
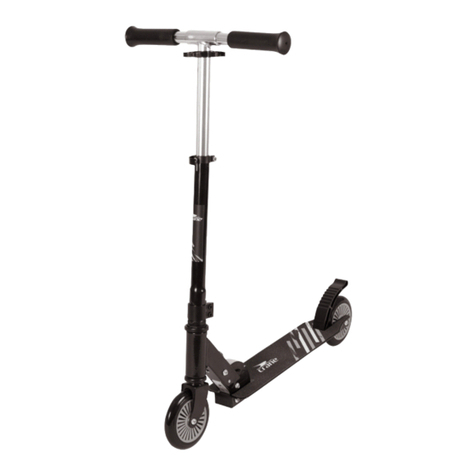
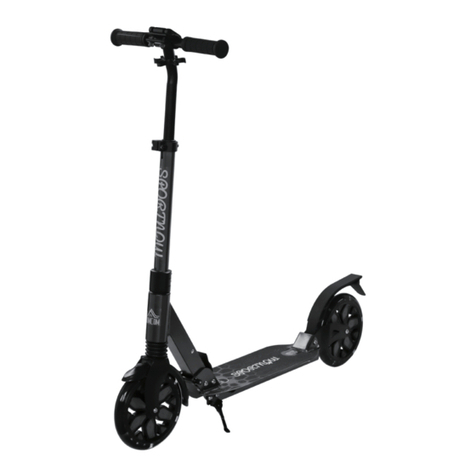
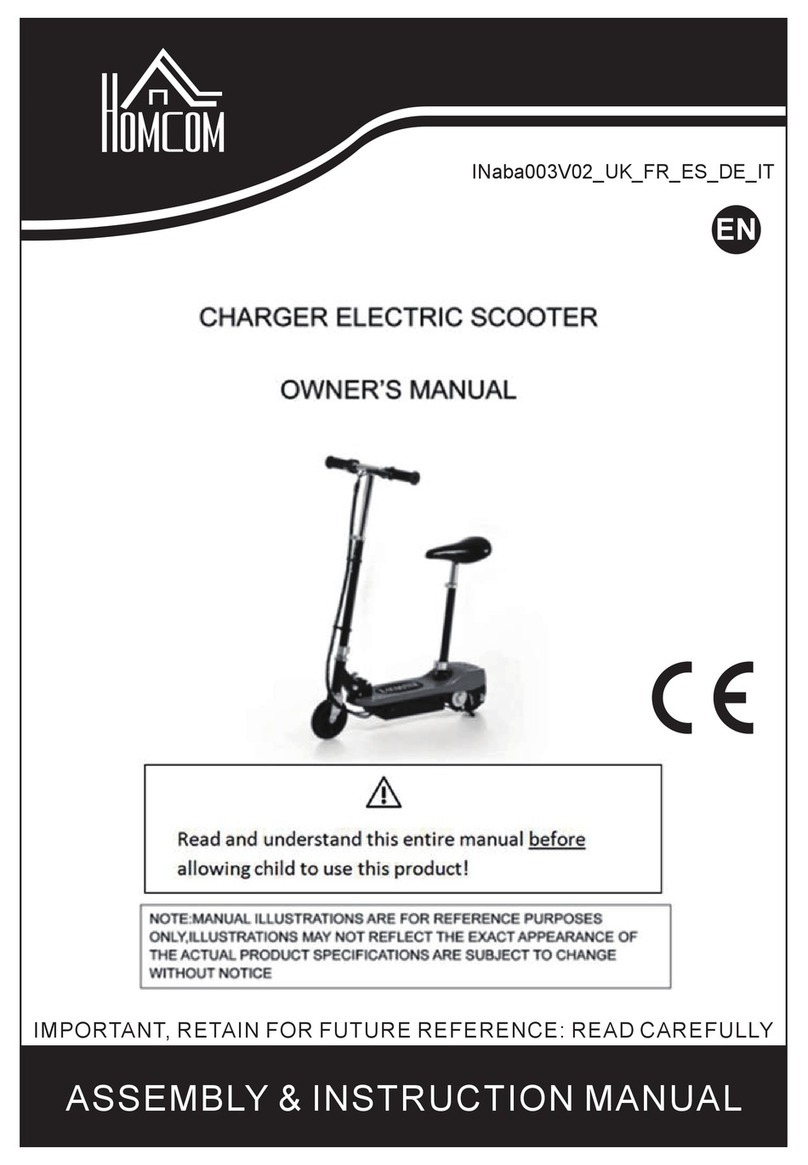
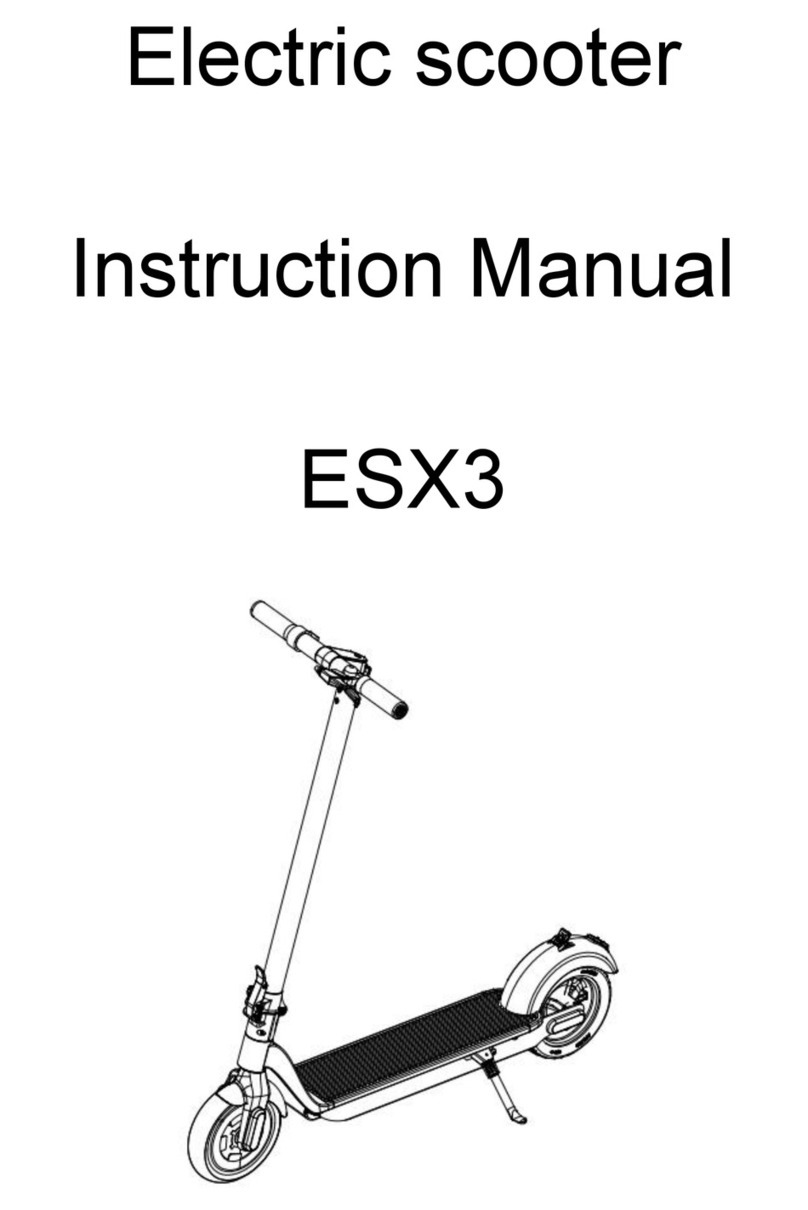
HOMCOM 371-031 User manual

ASSEMBLY INSTRUCTION
INabb018_UK_DE_IT
371-031
IMPORTANT, RETAIN FOR FUTURE REFERENCE: READ CAREFULLY
SCOOTER

DE
Bitte beachten Sie:
Dies ist eine allgemeine Anleitung fur die
Montage vonRollern.
Daher sind nicht alle abgebildeten Teile
notwendig oder bei allen Modellen enthalten.

DE

EN
Please note:
This is a general guide to scooter
assembly. Therefore, not all parts shown
are essential or included with all models.
PARTS IDENTIFIER
HANDLEBAR GRIP
T-HANDLE BAR POST
QUICK RELEASE CLASP
FOLD MECHANISM
FOOT BOARD
FRONT WHEEL
REAR WHEEL
FOOT BRAKE
ALLEN KEY FOR WHEEL
FOLDING MECHANISM
To prepare the scooter for riding, release the folding mechanism of the handlebar grips and
insert them into the handlebar post. The grips in the handlebar posts can be engaged as soon as
they and the front wheel are in the correct position.
Make sure that the quick-release lever is securely closed. The closing force of the quick-release
lever can be increased by turning the adjusting screw clockwise. Follow the above steps in
reverse to fold the scooter.
HANDLEBARS

EN
a) Insert the left and right handlebar ends into the T-handlebar post.
b) The push button engages in the first hole.
Make sure that the quick-release lever is always firmly closed.
Make sure that the folding mechanism is locked in the desired position and that the handlebar ends
are in the correct position. The push buttons must engage in the corresponding holes. Also make
sure that the locking pins and the quick-release fasteners of the handlebars are closed.
PRE-TRIP INSPECTION
WARNING: Check and secure all fasteners before each trip. Make sure the steering tube is not
jammed and is steerable. The quick release for the tube extension and the spring button of the
handlebar must be properly locked before riding. Keep your fingers away from the swivel
mechanism when folding or unfolding the scooter. Ensure that bystanders are protected when
folding and unfolding. The scooter should be checked regularly for
excessive wear on the wheels, hubs and brake mechanism.
All fixings should be checked for safety.
Handlebar clamps
Use an Allen wrench to check the tightness of the clamp.
Warning: If the quick-release lever is not properly secured, the T-tube may
telescope up or down while riding, causing you to lose control and fall.
When the quick adjuster is properly adjusted and engaged, the handlebars
cannot move up or down.
WHEELS, TIRES, WHEEL BEARING
Please regularly check the wheels for wear, the axle for the correct position and the wheel bearing
for uniformity. If a wheel or wheel bearing develops play, this is an indication of excessive wear
and replacement is necessary. Immediately replace it with original wheels only. Worn tires /
wheels / wheel bearings are considered normal wear. The wheels and axle are fastened with bolts
and nuts that do not loosen during normal use. However, for your safety, check the tightness of the
nuts before each use. If they have loosened after a violent impact, please contact a workshop to
check the parts as a thread lock is required to ensure perfect adjustment. The wheel bearings do
not require any special maintenance (except lubrication see: MAINTENANCE). If the wheel
bearings are worn or not working smoothly, please replace them.
WHEEL REPLACEMENT
To replace the wheels, loosen the axle screw connection with 2 Allen keys and remove the wheels
from the axle. An Allen wrench can be used to push the bearings out of the wheel to be used in the
new wheel. However, it is advisable to also replace the bearing when the wheels are replaced.
Insert the bearings into the new wheel with the bolt spacers and assemble them to the frame with
the axle bolts. Make sure that the axle is screwed tightly before any trip!
How to drive and brake
Place one foot on the footboard and push forward with the other. Lean slightly in the direction of
the curve for improved stability. Activate the brake by stepping on the rear wheel cover we
recommend that you test (ride and brake) the scooter in a flat area free of obstacles and other
traffic before using the scooter elsewhere. Generally, a safe and responsible driving style must be
observed and other road users must not be hindered or endangered.
MAINTENANCE
Frequent inspections should be performed to ensure that nuts, bolts and fasteners are secure and
that no parts are worn or damaged.

IT
Si prega di notare:
Questa è una guida generale
all'assemblaggio del monopattino.
Pertanto, non tutte le parti mostrate sono
essenziali o in dotazione con tutti i
modelli.
LISTA PARTI
IMPUGNATURA DEL MANUBRIO
MONTANTE MANUBRIO A T
MORSETTO A RILASCIO RAPIDO
MECCANISMO DI
RIPIEGAMENTO
PEDANA
RUOTA FRONTALE
RUOTA POSTERIORE
FRENO A PEDALE
CHIAVE A BRUGOLA PER RUOTE
MECCANISMO DI RIPIEGAMENTO
Per preparare il monopattino alla guida, rilasciare il meccanismo di ripiegamento
dell'impugnatura del manubrio e inserirlo nel supporto del manubrio. Le impugnature nel manico
del manubrio possono essere fissate non appena esse e la ruota anteriore sono in posizione
corretta.
Assicurarsi che il morsetto a rilascio rapido sia chiuso saldamente. La forza di chiusura del
morsetto a rilascio rapido può essere rinforzata ruotando la vite di regolazione in senso orario.
Seguire i passaggi precedenti al contrario per ripiegare il monopattino.
MANUBRIO

IT
a) Inserire le estremità sinistra e destra del manubrio nel montante a T.
b) Innestare il pulsante nel primo foro.
Assicurarsi che il morsetto a rilascio rapido sia sempre ben chiuso.
Assicurarsi che il meccanismo di ripiegamento sia bloccato nella posizione desiderata e che le
estremità del manubrio siano in posizione corretta. I pulsanti devono innestarsi nei fori
corrispondenti. Assicurarsi inoltre che i morsetti di bloccaggio e il morsetto a rilascio rapido del
manubrio siano chiusi.
ISPEZIONE PRE-GUIDA
AVVERTENZA: controllare e fissare tutti i raccordi prima di mettersi alla guida. Assicurarsi che il
tubo dello sterzo non sia bloccato e che sia possibile sterzare. Il morsetto a rilascio rapido per
l'estensione del tubo e il pulsante a molla del manubrio devono essere fissati correttamente prima
di mettersi guida. Tenere le dita lontane dal meccanismo di ripiegamento quando si chiude o si apre
il monopattino. Assicurarsi che i presenti siano al sicuro durante la
chiusura e l'apertura. Il monopattino deve essere controllato regolarmente
per verificare l'eventuale eccessiva usura delle ruote, dei mozzi e del freno.
Tutti i raccordi devono essere controllati per garantire la sicurezza.
Morsetto del manubrio
Utilizzare una chiave a brugola per verificare la tenuta del morsetto.
Avvertenza: se il morsetto a ril ascio rapido non fosse fissato
correttamente, il montante a T potrebbe sollevarsi o abbassarsi durante
la guida, causando la perdita di controllo e la caduta.
Quando il morsetto a rilascio rapido è correttamente impostato e
innestato, il manubrio non può muoversi verso l'alto o verso il basso.
RUOTE, PNEUMATICI, CUSCINETTI DELLE RUOTE
Si prega di controllare regolarmente l'usura delle ruote, la posizione corretta dell'asse e
l'uniformità del cuscinetto della ruota. Se una ruota o un cuscinetto sono risultano ostruiti, questo
è indice di eccessiva usura ed è necessaria la sostituzione. Sostituire immediatamente solo con
ricambi originali. L'usura di pneumatici/ruote/cuscinetti e' considerata normale usura. Le ruote e
l'asse sono fissati con bulloni e dadi che non si allentano durante il normale utilizzo. Tuttavia, per
garantire la sicurezza, controllare che i dadi siano ben stretti prima di ogni sessione di guida. Se si
sono allentati dopo un impatto violento, contattare un'officina per verificare lo stato delle parti
poiché è necessario filettarli per garantire una regolazione ottimale. I cuscinetti delle ruote non
richiedono alcuna manutenzione particolare (tranne la lubrificazione, fare riferimento a:
MANUTENZIONE). Se i cuscinetti delle ruote sono usurati o non funzionano correttamente,
sostituirli.
SOSTITUZIONE DELLE RUOTE
Per sostituire le ruote, allentare il collegamento a vite dell'asse con 2 chiavi a brugola e rimuovere
le ruote dall'asse. Una chiave a brugola può essere utilizzata per spingere i cuscinetti fuori dalla
ruota e per fissare la nuova ruota. Tuttavia, è consigliabile sostituire anche il cuscinetto quando
vengono sostituite le ruote. Fissare i cuscinetti nella nuova ruota utilizzando i distanziali dei
bulloni e assemblarli al monopattino avvitando i bulloni all'asse. Assicurarsi che l'asse sia avvitato
saldamente prima di ogni utilizzo!
Come guidare e frenare
Mettere un piede sulla pedana e spingere in avanti con l'altro piede. Inclinarsi leggermente nella
direzione verso cui si desidera curvare per una migliore stabilità. Innestare il freno premendo sul
copriruota posteriore, si consiglia di testare (guida e frenata) in un'area piana libera da ostacoli e
traffico prima di guidare il monopattino altrove. In generale, deve essere osservato uno stile di
guida sicuro e responsabile e gli altri utenti della strada non devono essere ostacolati o messi in
pericolo.
MANUTENZIONE
È necessario eseguire frequenti ispezioni per garantire che dadi, bulloni e raccordi siano fissati
saldamente e che nessuna parte sia usurata o danneggiata.
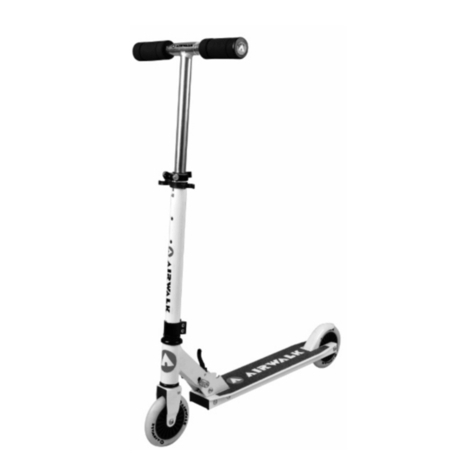
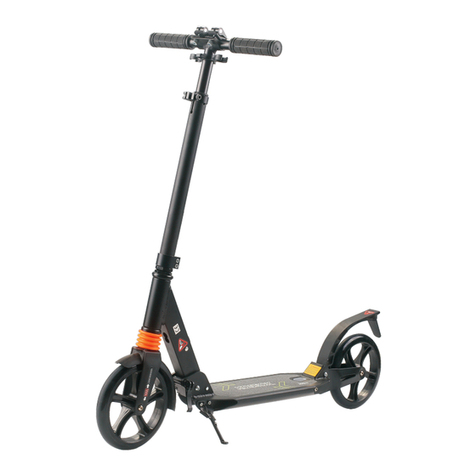
AVVERTENZA:
1. Osservare tutte le norme e i regolamenti applicabili sul traffico per quando riguarda l'uso degli
scooter nel proprio paese.
2. Si prega di guidarlo su una superficie piana e pulita. Non utilizzare mai vicino a gradini, passi
carrai in pendenza, strade collinari, vicoli, aree vicino alle piscine, strade, su erba o superfici
bagnate o altri corpi idrici.
3. Solo una persona ogni volta può utilizzare questo scooter.
4. Per la propria sicurezza, indossare sempre dispositivi di protezione adeguati. Non guidare mai
senza casco, protezione per mani e polsi, protezione per gomiti e protezione per le ginocchia.
5. Verificare che il sistema di sterzo sia regolato correttamente e che tutti i componenti di
collegamento siano fissati saldamente e non siano rotti. Controllare l'integrità e la stabilità di tutti i
connettori o dispositivi di fissaggio (ad es. il meccanismo di piegatura e l'altezza corretta del
manubrio).
6. Indossare sempre scarpe adatte (non guidare mai senza scarpe o con sandali o scarpe che non
consentono una posizione ferma e sicura).
7. Non guidare al buio e/o in condizioni di scarsa visibilità.
8. Questo scooter non è adatto per eseguire salti o acrobazie.
MANUTENZIONE & CURA
A. Conservare tutte le istruzioni e le parti relative a questo prodotto per riferimenti futuri.
B. Verificare regolarmente la presenza di danni e che tutte le viti siano strette saldamente.
C. Verificare che il sedile sia fissato in sicurezza.
D. Lubrificare la catena tutte le volte che è necessario.
E. Pulire il veicolo e le ruote con un panno umido pulito.
WARNUNG:
1. Beachten Sie alle in Ihrem Land geltenden Verkehrsregeln und Vorschriften für die Benutzung
von Scootern.
2. Fahren Sie bitte auf einer ebenen und sauberen Fläche. Niemals in der Nähe von Stufen,
schrägen Auffahrten, Hügeln, Alleen, Schwimmbadbereichen, Straßen, auf Gras oder nassen
Oberflächen oder anderen Gewässern verwenden.
3. Es darf immer nur eine Person diesen Scooter benutzen.
4. Tragen Sie zu Ihrer eigenen Sicherheit immer eine geeignete Schutzausrüstung. Fahren Sie nie
ohne Helm, Hand- und Handgelenkschutz, Ellbogenschutz und Knieschutz.
5. Prüfen Sie, ob der Lenker richtig eingestellt ist und ob alle Verbindungsteile fest sitzen und nicht
gebrochen sind. Prüfen Sie alle Verbindungselemente bzw. Befestigungen auf Unversehrtheit und
Stabilität (z. B. den Klappmechanismus und die richtige Höhe des Lenkers).
6. Tragen Sie immer geeignetes Schuhwerk (fahren Sie nie ohne Schuhe oder mit Sandalen oder
Schuhen, die keinen festen, sicheren Stand ermöglichen).
7. Fahren Sie nicht in der Dunkelheit und/oder bei schlechten Sichtverhältnissen.
8. Dieser Scooter ist nicht geeignet, um Sprünge oder Tricks auszuführen.
WARTUNG & PFLEGE
A. Bewahren Sie alle Anweisungen und Teile, die sich auf dieses Produkt beziehen, zur späteren
Verwendung auf.
B. Prüfen Sie es regelmäßig auf Beschädigungen und ob alle Schrauben fest angezogen sind.
C. Prüfen Sie, ob der Sitz sicher befestigt ist.
D. Schmieren Sie die Kette so oft wie nötig.
E. Reinigen Sie den Scooter und die Räder mit einem sauberen, feuchten Tuch.
IT
DE

EN
WARNING:
1.Observe all applicable traffic rules and regulations regarding the use of scooters in your country.
2.Please ride on a flat and clean surface. Never use near steps, sloped driveways, hills roadways,
alleys, swimming pool areas, road, on grass or wet surfaces or other bodies of water.
3.Only one person may use this scooter at any given time.
4.For your own safety, always wear suitable protective equipment. Never ride without helmet,
hand and wrist protection, elbow protection, and knee protection.
5.Check the steering system is correctly adjusted and that all connection components are firmly
secured and not broken. Check all connectors or fasteners for integrity and stability (e.g. the folding
mechanism and the correct height of the handlebar).
6.Always wear suitable shoes (never ride without shoes or with sandals or shoes that do not allow
for firm, secure stance).
7.Do not ride during darkness and/or under conditions of poor visibility.
8.This scooter is not suitable for performing jumps or stunts.
MAINTENANCE & CARE
A. Keep all instructions and parts relating to this product for future reference.
B. Regularly check for damage and that all screws are securely tightened.
C. Check that the seat is securely fastened.
D. Lubricate the chain as often as required.
E. Clean your Scooter and wheels with a clean damp cloth.
Table of contents
Languages:
Other HOMCOM Scooter manuals

HOMCOM
HOMCOM AA1-088 Installation guide

HOMCOM
HOMCOM 371-035 User manual

HOMCOM
HOMCOM AA1-056 Owner's manual

HOMCOM
HOMCOM AA1-097 Datasheet

HOMCOM
HOMCOM 371-038 User manual

HOMCOM
HOMCOM AA1-080 Quick start guide

HOMCOM
HOMCOM 371-023 User manual

HOMCOM
HOMCOM 53-0018 Assembly instructions

HOMCOM
HOMCOM AA1-099 Datasheet

HOMCOM
HOMCOM 371-041BK User manual

HOMCOM
HOMCOM 371-034 User manual

HOMCOM
HOMCOM AA1-101 Installation guide

HOMCOM
HOMCOM AA1-089V70 User manual

HOMCOM
HOMCOM AA1-083 Installation guide

HOMCOM
HOMCOM 371-014 User manual

HOMCOM
HOMCOM 371-033 User manual

HOMCOM
HOMCOM 371-047V00 User manual

HOMCOM
HOMCOM AA1-091 Installation guide

HOMCOM
HOMCOM 371-008 User manual

HOMCOM
HOMCOM 371-036 User manual