manuals.online logo
Brands
  1. Home
  2. •
  3. Brands
  4. •
  5. Home Styles
  6. •
  7. Indoor Furnishing
  8. •
  9. Home Styles 88 5180 64 User manual

Home Styles 88 5180 64 User manual

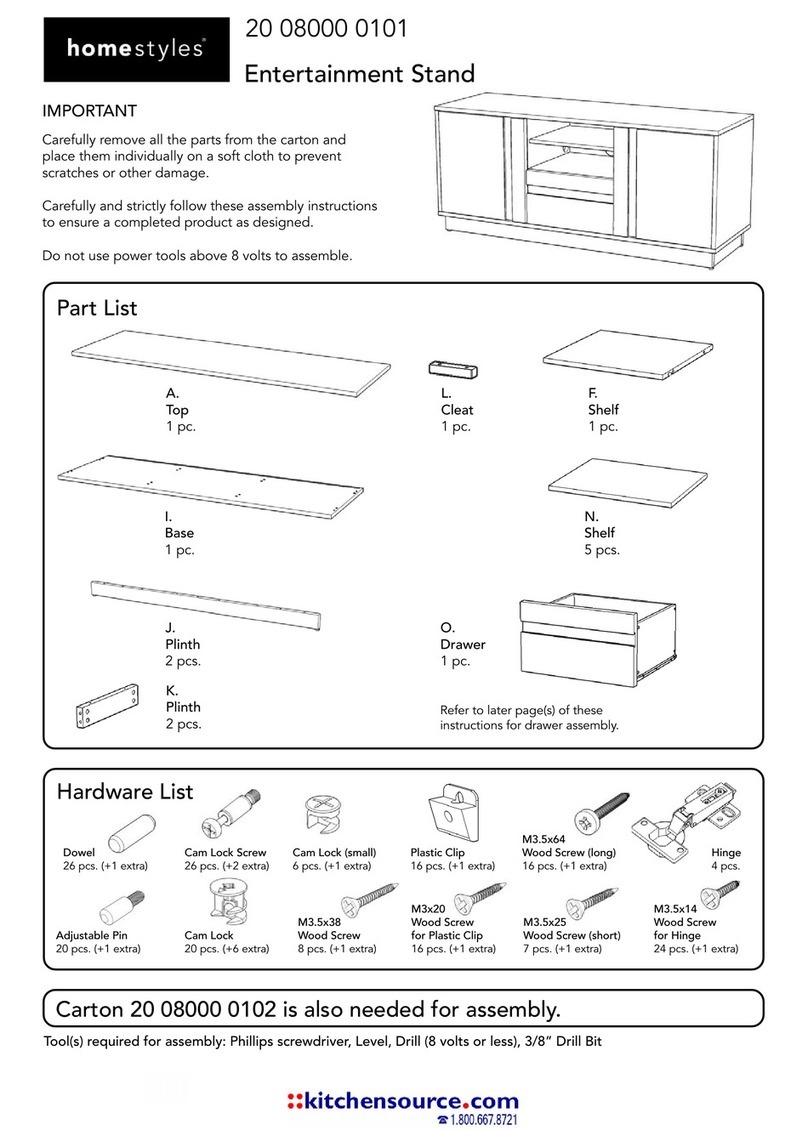
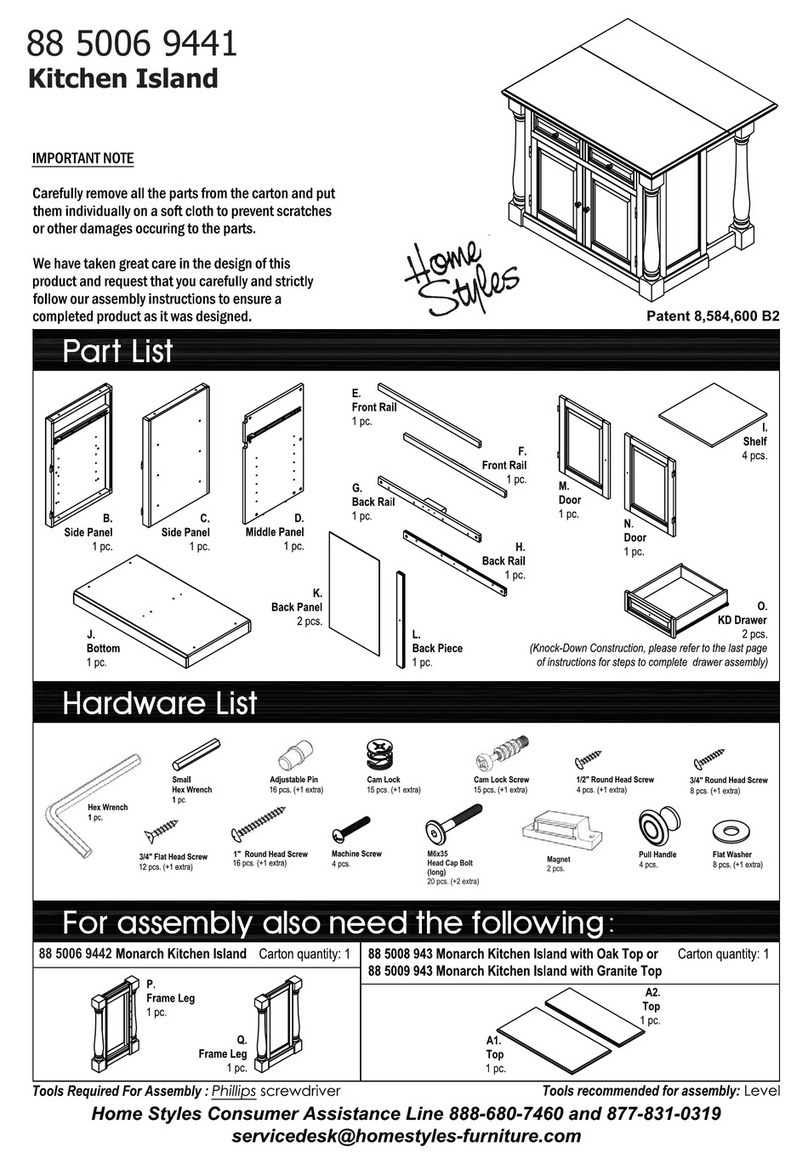
Part List
Hardware List
IMPORTANT NOTE
Carefully remove all the parts from the carton and put
them individually on a soft cloth to prevent scratches
or other damages occuring to the wood parts.
We have taken great care in the design of this
product and request that you carefully and strictly
follow our assembly instructions to ensure a
completed product as it was designed.
Cam Lock Screw
28 pcs.(+1 extra)
88 5180 64
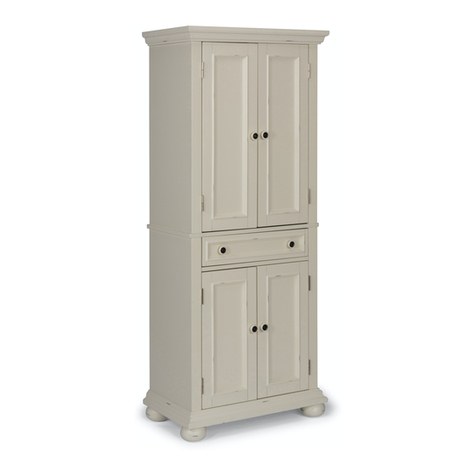
Arts & Crafts Pantry
Flat Washer
4 pcs. (+1 extra)
Hex Wrench
1 pc.
Small
Hex Wrench
1 pc.
Tools required for assembly : Tools recommended for assembly :Phillips screwdriver Level
Home Styles Consumer Assistance: www.homestyles-furniture.com,
[email protected], 888-680-7460, 877-831-0319
Knob
4 pcs.
Machine Screw
8 pcs.
Adjustable Pin
16 pcs. (+1 extra)
Wood Screw
for Back Panel
16 pcs. (+1 extra)
Cam Lock
28 pcs.(+1 extra)
S.
Door
1 pc.
D.
Bottom
1 pc.
N.
Top
1 pc.
Q.
Side Panel
1 pc.
H.
Door
1 pc.
U.
Back Post
1 pc.
T.
Back Panel
2 pcs.
O.
Front Rail
1 pc.
L.
Leg Frame
1 pc.
M.
Back Rail
4 pcs.
P.
Side Panel
1 pc.
K.
Leg Frame
1 pc.
C.
Shelf
4 pcs.
A.
Top
1 pc.
B.
Front Rail
1 pc.
E.
Side Panel
1 pc.
F.
Side Panel
1 pc.
G.
Door
1 pc.
R.
Door
1 pc.
I.
Back Panel
2 pcs.
J.
Back Post
1 pc.
Spring Washer
4 pcs. (+1 extra)
Head Cap Bolt
4 pcs. (+1 extra)
Assembly Instructions 2/5
IMPORTANT
* Do not tighten up all the screws until each part is properly assembled.
* You should keep Hex Wrench in a safe place as you may need to tighten up the Head Cap Bolts in the future.
* After assembly, item must be level to work properly. Use the included adjustable levelers to level.
* Use a soft cloth between these parts and the floor.
Figure 1
STEP 1
Insert Cam Lock Screws into the pre-drilled holes of
Top (A), (N), Bottom (D) and Side Panel (E), (F), (P), (Q).
(see Figure 1)
AD
Q
N
F
P
Cam Lock Screw
E
Assembly Instructions 3/5
B
E
F
L
K
Figure 2
Figure 3
STEP 2
Attach Back Rail (M) to Side
Panel (F) using a Cam Lock.
Attach Back Post (J) to Back
Rail (M). Slide Back Panels
(I) to the unit. Attach Back
Rail (M) to unit using a Cam
Lock. Attach Front Rail (B) to
unit using a Cam Lock.
Attach Side Panel (E) to the
unit using Cam Locks.
(see Figure 2)
D
STEP 3
Attach Leg Frames (K), (L) to the Bottom
with Head Cap Bolts, Spring Washers and Flat Washers.
(see Figure 3)
A
Flat Washer
Cam Lock
Cam Lock
I
M
J
I
M
Head Cap Bolt
Spring Washer
STEP 4
Attach unit from Step 2 to unit
from Step 3 using Cam Locks.
Place Top (A) onto unit using Cam
Locks.
Assembly Instructions 4/5
STEP 5
Attach Back Rail (M) to Side Panel (Q) using a Cam Lock. Attach Back Post (U) to Back Rail
(M). Slide Back Panels (T) to the unit. Attach Back Rail (M) to unit using a Cam Lock.
Attach Front Rail (O) to unit using a Cam Lock. Attach Side Panel (P) to the unit using Cam
Locks.
STEP 6
Place Top (N) onto unit using
Cam Locks.
STEP 7
Attach unit from Step 6 to unit from
Step 4 using Cam Locks.
Cam Lock
Cam Lock
Head Cap Bolt
P
Q
M
M
U
T
T
O
N
Assembly Instructions 5/5
Figure 7
STEP 9
Insert 16X Wood Screws from
the back of the unit. (see Figure 6)
Note: Please make sure unit is
level before tightening these
screws.
To level the unit, adjust the adjustable
levelers on the bottom of unit.
(see Figure 7)
Adjustable Pin
Figure 6
Figure 5
Figure 4
STEP 8
Insert Adjustable Pins into side panels at desired location.
Place Shelves (C) into position.
Attach Doors (G), (H), (R) and (S) to the side panels by
sliding the door lift hinges into the side panel lift hinges.
(see Figure 4)
Assemble Pull Handles to Door (G), (H), (R) and (S)
with Machine Screws. (see Figure 5)
C
Wood Screw
for Back Panel
C
C
S
C
H
R
G

Other Home Styles Indoor Furnishing manuals
Home Styles 20 05520 0772 User manual

Home Styles

Home Styles 20 05520 0772 User manual

Home Styles FT000-13 User manual

Home Styles

Home Styles FT000-13 User manual

Home Styles 88 9001 007C User manual

Home Styles

Home Styles 88 9001 007C User manual

Home Styles Flexsteel 20 05525 0088 User manual

Home Styles

Home Styles Flexsteel 20 05525 0088 User manual

Home Styles Carton 2 2000-202-FB02 User manual

Home Styles

Home Styles Carton 2 2000-202-FB02 User manual

Home Styles 5050-22 User manual

Home Styles

Home Styles 5050-22 User manual

Home Styles 5033-941 User manual

Home Styles

Home Styles 5033-941 User manual

Home Styles 5050-13 User manual

Home Styles

Home Styles 5050-13 User manual

Home Styles 5055-69 User manual

Home Styles

Home Styles 5055-69 User manual

Home Styles 20 05525 0682 User manual

Home Styles

Home Styles 20 05525 0682 User manual

Home Styles 88 5181 31 User manual

Home Styles

Home Styles 88 5181 31 User manual

Home Styles 88556980 User manual

Home Styles

Home Styles 88556980 User manual

Home Styles 5644-88 User manual

Home Styles

Home Styles 5644-88 User manual

Home Styles 20 05411 0351 User manual

Home Styles

Home Styles 20 05411 0351 User manual

Home Styles Kitchen Island 88 5047 941 User manual

Home Styles

Home Styles Kitchen Island 88 5047 941 User manual

Home Styles 88 5670 332 User manual

Home Styles

Home Styles 88 5670 332 User manual

Home Styles 6700-83 User manual

Home Styles

Home Styles 6700-83 User manual

Home Styles 20 05050 0077 User manual

Home Styles

Home Styles 20 05050 0077 User manual

Home Styles 6661-53 User manual

Home Styles

Home Styles 6661-53 User manual

Home Styles 88 5524 943 User manual

Home Styles

Home Styles 88 5524 943 User manual

Home Styles Closet Wall Shelf Unit 20 05520 0762 User manual

Home Styles

Home Styles Closet Wall Shelf Unit 20 05520 0762 User manual

Home Styles 20 05507 0010 User manual

Home Styles

Home Styles 20 05507 0010 User manual
Home Styles 5412 15 User manual

Home Styles

Home Styles 5412 15 User manual

Home Styles Barnside 88 5516 01 User manual

Home Styles

Home Styles Barnside 88 5516 01 User manual

Popular Indoor Furnishing manuals by other brands

RSA Lighting LYNX TZ3001 specification

RSA Lighting

RSA Lighting LYNX TZ3001 specification

Kvik T530,060 Assembly instruction

Kvik

Kvik T530,060 Assembly instruction

Astonica 50104381 instruction manual

Astonica

Astonica 50104381 instruction manual

better homes BH1609239919 owner's manual

better homes

better homes BH1609239919 owner's manual

CB2 chill Assembly manual

CB2

CB2 chill Assembly manual

Home Decorators Collection COLTON 760-100 Use and care guide

Home Decorators Collection

Home Decorators Collection COLTON 760-100 Use and care guide

MACMILANO SHELVIO CAPITAN MCM022003 Series quick start guide

MACMILANO

MACMILANO SHELVIO CAPITAN MCM022003 Series quick start guide

Home Decorators Collection 9085644 Use and care guide

Home Decorators Collection

Home Decorators Collection 9085644 Use and care guide

Ameriwood HOME 5836015PCOM Assembly instructions

Ameriwood HOME

Ameriwood HOME 5836015PCOM Assembly instructions

Songmics VASAGLE XLLS21 manual

Songmics

Songmics VASAGLE XLLS21 manual

Home Decorators SOUTHPORT TW-18401TY Assembly instructions

Home Decorators

Home Decorators SOUTHPORT TW-18401TY Assembly instructions

SEI OC343700TX Assembly instruction

SEI

SEI OC343700TX Assembly instruction

meubar X-TAFEL HT1XL38/80 Assembly instruction

meubar

meubar X-TAFEL HT1XL38/80 Assembly instruction

Martela Pinta EQB user manual

Martela

Martela Pinta EQB user manual

Northbeam MPG-TBS01-CH manual

Northbeam

Northbeam MPG-TBS01-CH manual

Polini kids MARVEL 3295 manual

Polini kids

Polini kids MARVEL 3295 manual

Hillsdale Furniture Delaney 2009-460 manual

Hillsdale Furniture

Hillsdale Furniture Delaney 2009-460 manual

Schildmeyer 566154 Assembly instructions

Schildmeyer

Schildmeyer 566154 Assembly instructions

manuals.online logo
manuals.online logoBrands
  • About & Mission
  • Contact us
  • Privacy Policy
  • Terms and Conditions

Copyright 2025 Manuals.Online. All Rights Reserved.