manuals.online logo
Brands
  1. Home
  2. •
  3. Brands
  4. •
  5. Home Styles
  6. •
  7. Outdoor Cart
  8. •
  9. Home Styles 5219-95 User manual

Home Styles 5219-95 User manual

Tool(s) required for assembly: Phillips screwdriver
521 -959
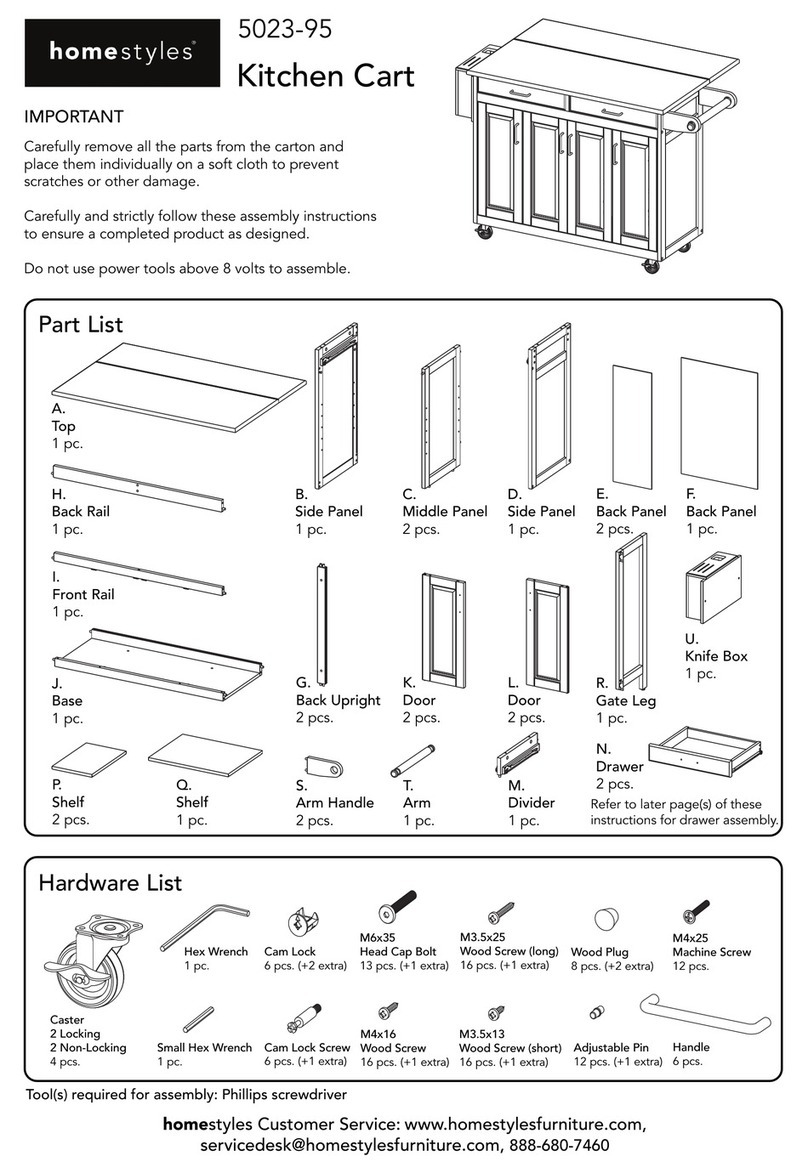
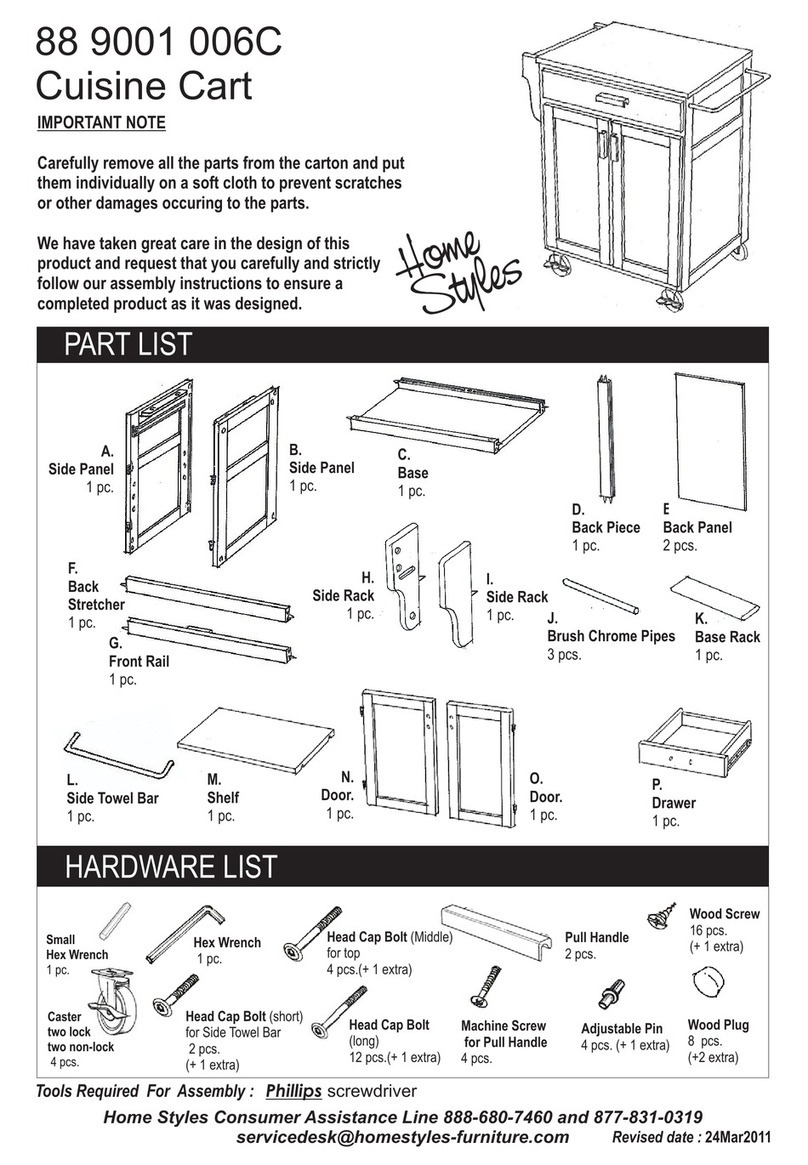
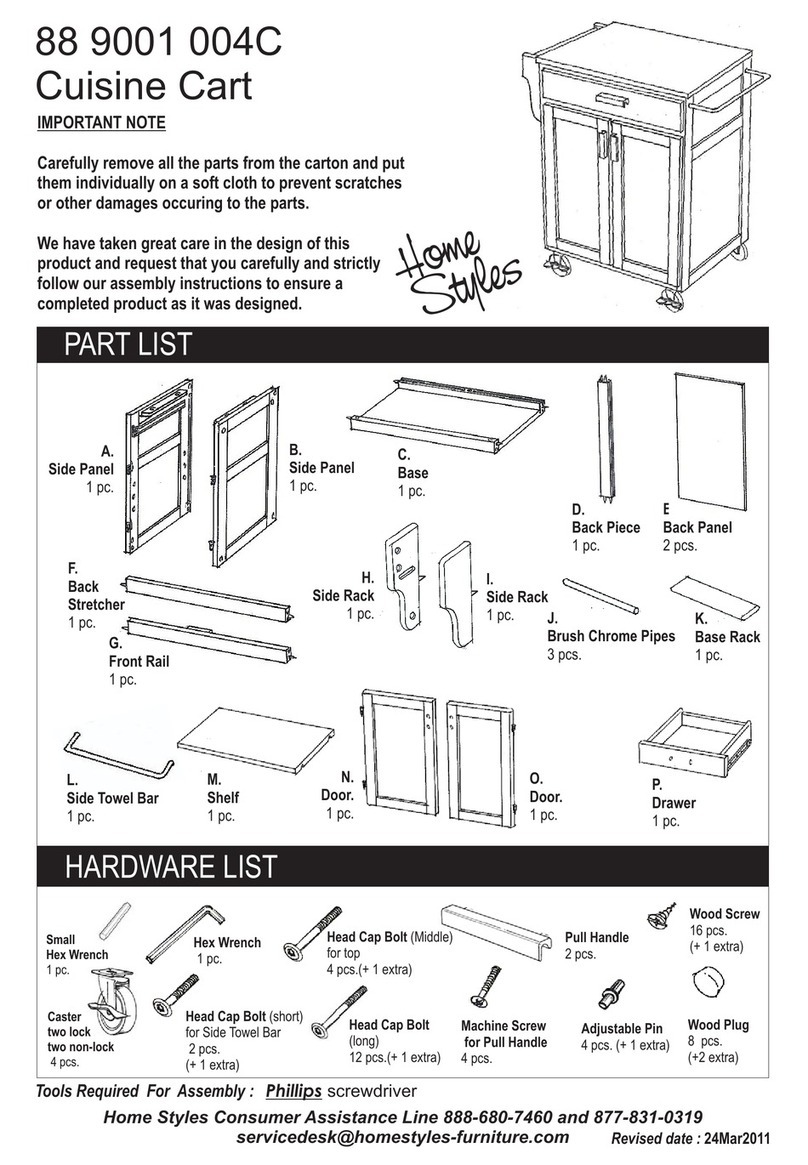
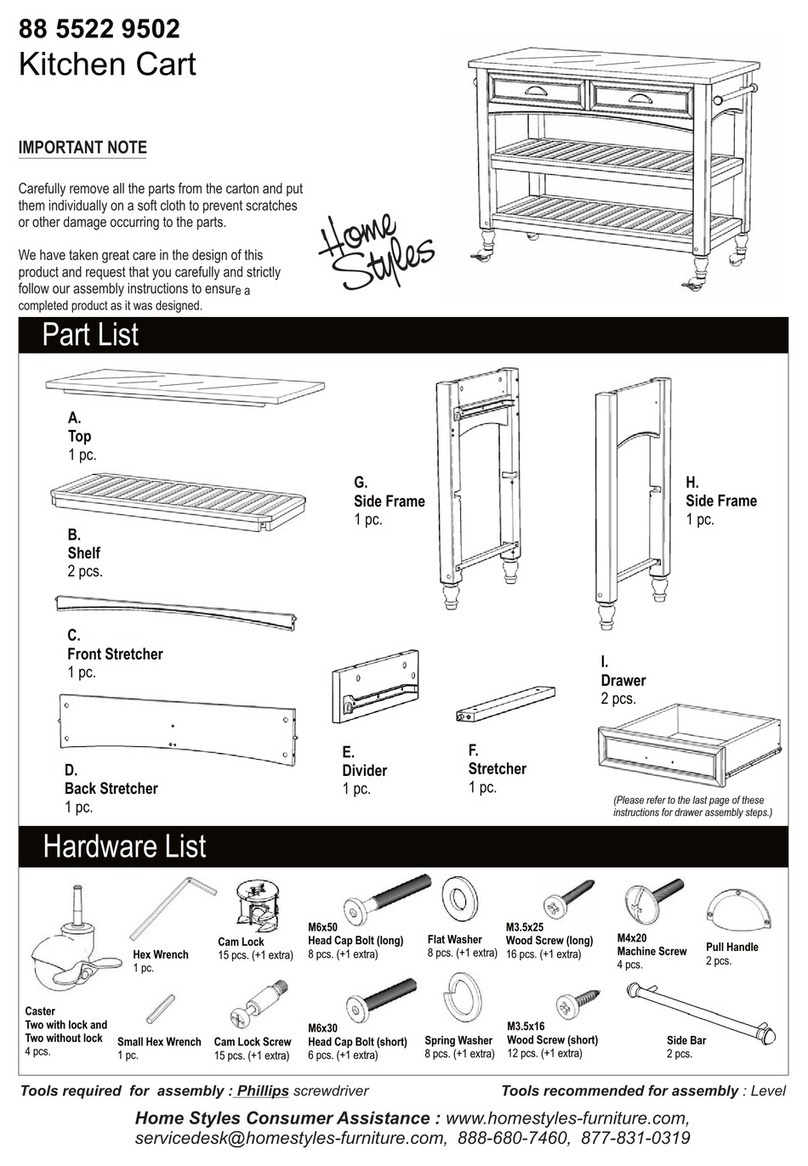
Kitchen Cart
A.
Top
1 pc.
D.
Divider
1 pc.
B.
Side Frame
1 pc.
C.
Side Frame
1 pc.
H.
Drawer
2 pcs.
Refer to later page(s) of these instructions for drawer assembly.
G.
Shelf
2 pcs.
E.
Front Rail
1 pc.
F.
Back Rail
1 pc.
IMPORTANT
Carefully remove all the parts from the carton and
place them individually on a soft cloth to prevent
scratches or other damage.
Carefully and strictly follow these assembly instructions
to ensure a completed product as designed.
Do not use power tools above 8 volts to assemble.
Part List
styles Customer Service: www.homestylesfurniture.com,home
[email protected], 888-680-7460
Small Hex Wrench
1 pc.
Hex Wrench
1 pc.
Caster
2 Locking
2 Non-Locking
4 pcs.
M4x24
Cam Lock Screw
13 pcs. (+1 extra)
Cam Lock
13 pcs. (+2 extra)
Hardware List
M6x50
Head Cap Bolt ( )long
8 pcs. (+1 extra)
M6x25
Head Cap Bolt (short)
5 pcs. (+1 extra)
Flat Washer
8 pcs. (+1 extra)
Spring Washer
8 pcs. (+1 extra)
Side Bar
2 pcs.
M4x25
Machine Screw
4 pcs.
Handle
2 pcs.
M3.5x25
Wood Screw (long)
16 pcs. (+1 extra)
M3.5x13
Wood Screw (short)
12 pcs. (+1 extra)
Assembly Instructions 2/6
IMPORTANT
Use a soft cloth between these parts and the floor.
Do not use power tools above 8 volts to assemble.
Do not tighten all the bolts until each part is properly assembled.
Keep Hex Wrench as the bolts may need to be tightened in the future.
STEP 1
Remove supports from
Side Frames (B) and (C).
STEP 2
Insert Cam Lock Screws into
pre-drilled holes in Top (A),
Side Frames (B), (C) and
Back Rail (F), then tighten.
(See Figure 1)
Cam Lock Screw
A
F
B
C
Figure 1
B
Support
C
STEP 4
Attach upper Shelf (G) to unit with
Flat Washers, Spring Washers and
Head Cap Bolts (long).
(See Figure 4)
Attach lower Shelf (G) to unit with
Flat Washers, Spring Washers and
Head Cap Bolts (long).
Assembly Instructions 3/6
STEP 3
Assemble Front Rail (E), Divider (D)
and Back Rail (F) with Cam Locks and
Head Cap Bolt (short).
(See Figure 2 and 3)
Note: Arrow label indicates top
of Back Rail (F).
Attach Side Frame (B) to unit with
Cam Locks.
Figure 4
Figure 2
B
Arrow label at top
DF
E
Head Cap Bolt ( )short
Cam Lock
Figure 3
Head Cap Bolt (long)
Spring Washer
Flat Washer
G G
Assembly Instructions 4/6
STEP 5
Attach Side Frame (C) to unit with
Cam Locks, Flat Washers, Spring
Washers and Head Cap Bolts (long).
STEP 6
Attach Casters to unit with
Locking Casters at front.
(See Figure )5
Figure 5
Non-Locking Caster
Locking Caster
Flat Washer
Spring Washer
Head Cap Bolt (long)
Cam Lock
C
Part List
Assembly Instructions 5/6
H1.
Drawer Front
2 pcs.
H2.
Drawer Back
2 pcs.
H3.
Drawer Side
2 pcs.
H4.
Drawer Side
2 pcs.
H5.
Drawer Bottom
2 pcs.
STEP 8
Slide Drawer Bottom (H5) into groove.
Attach Drawer Bottom (H5) to unit
with Wood Screws (short).
STEP 9
Attach Handle with Machine Screws.
H5
Drawer (H)
STEP 7
Attach Drawer Front (H1) and
Drawer Back (H2) to Drawer Side (H3)
with Wood Screws (long).
Attach Drawer Side (H4) to unit
with Wood Screws (long).
H2
H3
Wood Screw (long)
Bottom
Wood Screw (short)
Machine Screw
Handle
Roller at back
BottomBottom
H4
H1
Bottom
Bottom
Assembly Instructions 6/6
STEP 10
Turn unit over to its upright
position.
Attach Side Bars to unit with
Head Cap Bolts (short).
STEP 11
Attach Top (A) to unit with
Cam Locks.
Slide Drawers (H) into
position.
Side Bar
Head Cap Bolt (short)
Cam Lock
H
A
H
NEVER
use glass cleaners on
finished furniture. Ammonia
chemically attacks the finish.
allow liquids to remain on furniture.
Absorption causes parts to warp
and split and finishes to delaminate.
NEVER
CARE INSTRUCTIONS
Do not use rubber
based placemats.
PREVENT
DISCOLORING
Do not use commercial
waxes and polishes.
PREVENT
YELLOWING
Do not place hot
objects on surface.
PREVENT
FINISH DAMAGE
Do not write
directly on surface.
PREVENT
MARKING
Do not use power tools
above 8 volts to assemble.
PREVENT
CRACKING
Do not place
in direct sunlight.
PREVENT
FADING
with a soft cloth moistened
in lukewarm soap and water.
Buff with a dry clean cloth.
CLEAN
homestyles will provide replacements free of charge for missing or damaged parts within 30 days of purchase.
Digital images of the defective parts may be required. If the product was not purchased from an authorized retailer,
homestyles is under no obligation to provide replacement parts. Parts are not available for fully assembled items nor
are parts available for sale. Replacements for missing or damaged parts may be requested via contact info below.
styles Customer Service: www.homestylesfurniture.com,home
[email protected], 888-680-7460

Other Home Styles Outdoor Cart manuals
Home Styles 88 4515 95 User manual

Home Styles

Home Styles 88 4515 95 User manual

Home Styles 4512-95 User manual

Home Styles

Home Styles 4512-95 User manual

Home Styles 5086-95 User manual

Home Styles

Home Styles 5086-95 User manual

Home Styles 88 5535 951 User manual

Home Styles

Home Styles 88 5535 951 User manual

Home Styles 88 5522 9502 User manual

Home Styles

Home Styles 88 5522 9502 User manual

Home Styles 88 5252 95 User manual

Home Styles

Home Styles 88 5252 95 User manual

Home Styles 88504095 C User manual

Home Styles

Home Styles 88504095 C User manual

Home Styles Concrete Chic 88 5134 951 User manual

Home Styles

Home Styles Concrete Chic 88 5134 951 User manual

Home Styles Bermuda 88 5542 951 User manual

Home Styles

Home Styles Bermuda 88 5542 951 User manual

Home Styles Savannah Kitchen Cart User manual

Home Styles

Home Styles Savannah Kitchen Cart User manual

Home Styles 88 4511 95 User manual

Home Styles

Home Styles 88 4511 95 User manual

Home Styles 4513-95 User manual

Home Styles

Home Styles 4513-95 User manual

Home Styles 88 4515 95 User manual

Home Styles

Home Styles 88 4515 95 User manual

Home Styles 88 9001 004C User manual

Home Styles

Home Styles 88 9001 004C User manual

Home Styles OutdoorPatio 5663-95 User manual

Home Styles

Home Styles OutdoorPatio 5663-95 User manual

Home Styles 88 9001 002C User manual

Home Styles

Home Styles 88 9001 002C User manual

Home Styles Maho 20 05663 0097 User manual

Home Styles

Home Styles Maho 20 05663 0097 User manual

Home Styles 5040-95 User manual

Home Styles

Home Styles 5040-95 User manual

Home Styles 5023 95 User manual

Home Styles

Home Styles 5023 95 User manual

Home Styles Cuisine 88 9001 006C User manual

Home Styles

Home Styles Cuisine 88 9001 006C User manual

Home Styles 88 9001 007C User manual

Home Styles

Home Styles 88 9001 007C User manual

Home Styles 88 9200 006C User manual

Home Styles

Home Styles 88 9200 006C User manual

Home Styles 4511-95 User manual

Home Styles

Home Styles 4511-95 User manual

Popular Outdoor Cart manuals by other brands

Spectrum Industries 55465 owner's manual

Spectrum Industries

Spectrum Industries 55465 owner's manual

Intellistage ATTR36 manual

Intellistage

Intellistage ATTR36 manual

Radio Flyer 3700 manual

Radio Flyer

Radio Flyer 3700 manual

Simply Tidy ORDONNEZ 10591998 manual

Simply Tidy

Simply Tidy ORDONNEZ 10591998 manual

Current Tools 513 quick start guide

Current Tools

Current Tools 513 quick start guide

Gorilla GCG-9-COM manual

Gorilla

Gorilla GCG-9-COM manual

Copernicus PDR05 Assembly guide

Copernicus

Copernicus PDR05 Assembly guide

Espina ESP301 instruction manual

Espina

Espina ESP301 instruction manual

Rivers Edge Treestands RE790 Operator's manual

Rivers Edge Treestands

Rivers Edge Treestands RE790 Operator's manual

Gardebruk Deuba 106520 instructions

Gardebruk

Gardebruk Deuba 106520 instructions

Copernicus SNK500 owner's manual

Copernicus

Copernicus SNK500 owner's manual

HAUL MASTER 38137 Assembly and operating instructions

HAUL MASTER

HAUL MASTER 38137 Assembly and operating instructions

LDI Spaces SAFCO 5338 Assembly instructions

LDI Spaces

LDI Spaces SAFCO 5338 Assembly instructions

Clam POLAR TRAILER 8376 manual

Clam

Clam POLAR TRAILER 8376 manual

GRAVITY CART M 01 B quick start guide

GRAVITY

GRAVITY CART M 01 B quick start guide

Gorilla Carts GOR0865-D owner's manual

Gorilla Carts

Gorilla Carts GOR0865-D owner's manual

PROAIM CINEMA Series instruction manual

PROAIM

PROAIM CINEMA Series instruction manual

tecnotelai C200 installation instructions

tecnotelai

tecnotelai C200 installation instructions

manuals.online logo
manuals.online logoBrands
  • About & Mission
  • Contact us
  • Privacy Policy
  • Terms and Conditions

Copyright 2025 Manuals.Online. All Rights Reserved.