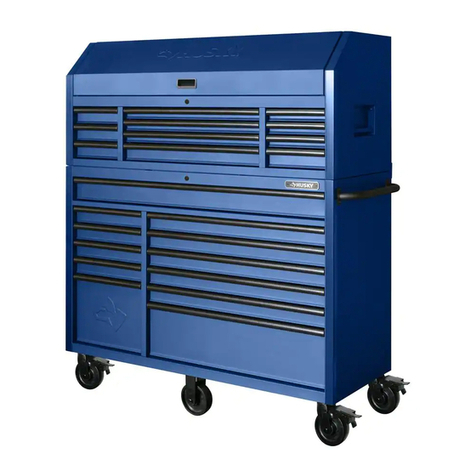
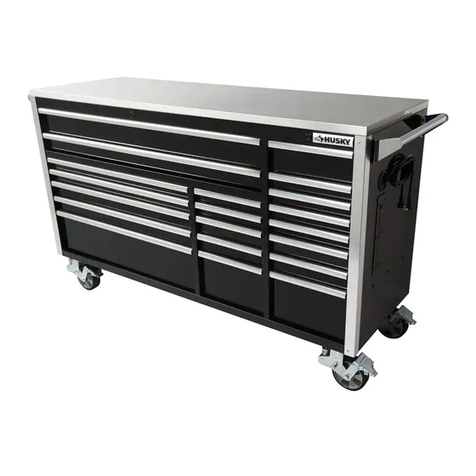
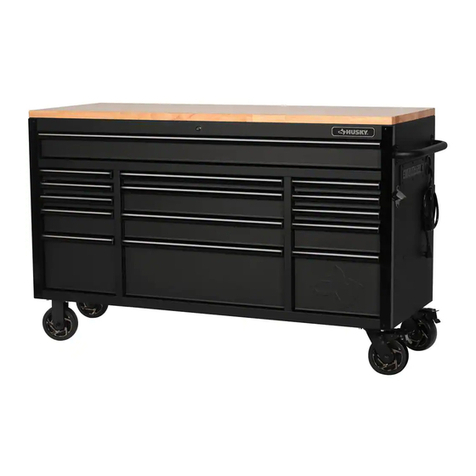
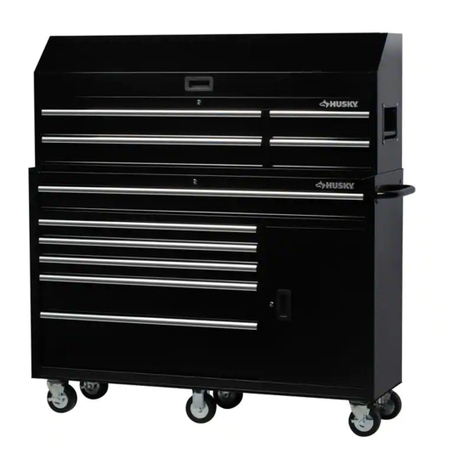
Husky HPRO72MWC20BRD User manual

USE AND CARE GUIDE
Questions, problems, missing parts?
Before returning to the store, call
Husky Customer Service
8 a.m – 7 p.m., EST, Monday-Friday
9 a.m – 6 p.m., EST, Saturday
Store SKU # 1006636633
Internet SKU # 1006581370
Model # HPRO72MWC20BLK
THANK YOU
We appreciate the trust and con dence you have placed in Husky through the purchase of this cabinet. We strive to continually
create quality products designed to enhance your home. Visit us online to see our full line of products available for your home
improvement needs. Thank you for choosing Husky!
1-888-HD-HUSKY
HUSKYTOOLS.COM
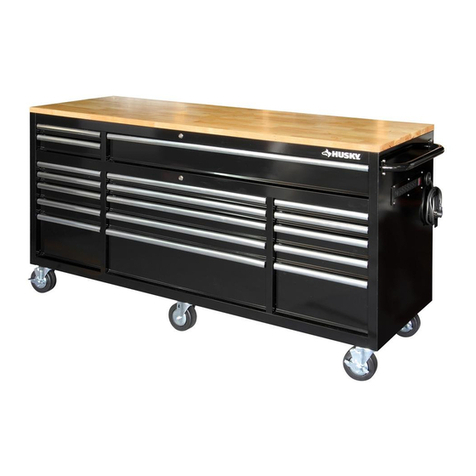
Husky Professional Duty 72 in. 20-Drawer Mobile Work Bench

CAUTION: To reduce the risk of product
damage or personal injury, do not exceed the
specified loading capacities
!Save these instructions.
Table of Contents
Table of Contents..................................................2
Safety Information ...............................................2
Warranty ................................................................4
Specifications ........................................................4
Package Contents..................................................4
Hardware Included........................................................... 4
Assembly ...............................................................6
8............................... ................................ecnanetniaM
7..............................................................
Operation
Safety Information
1. Do not pull this unit, push it when moving.
2. Use the brakes when this product is not being
moved. This prevents the product from rolling.
3. Secure this product properly before moving it with a
forklift.
4. Do not tow the product with power equipment.
5. Do not alter this product in any manner. For
example, do not weld external lock bars or attach
electrical equipment.
Do not stand, sit or climb on this
product. You may fall which may cause perso
inju
nal
ry or
Be careful when opening more than
one drawer. The product may become unstable
and tip, which may cause personal injury or
product damage.
CAUTION: Keep the product on level surfaces.
The product may become unstable and tip if
stored or moved on an unlevel surface, which
may cause personal injury or product damage.
CAUTION:
CAUTION:
CAUTION:
Lock the drawers before moving
this product. The drawers could come open and
make the product unstable and tip, which may
cause personal or product damage.
Replacement Parts ................................................9
product damage.
6. Before locking the cabinet, ensure the drawers are
completely closed in order for the lock bars to work properly.
Cordless Power Tool Battery Chargers ...............8
2
Do not attach or mount this product
to a vehicle or mobile trailers. This may cause
personal injury or product damage. Mounting this
product to any vehicle or mobile trailers in any
warranty.
CAUTION:
manner will void
CAUTION: Do not use the side handle as a
point of leverage to lift the unit off of the
ground. Handle is not intended to withstand
the force of vertical lifting, and is only designed
to aid in the movement of unit around on casters.
Failure to adhere to this warning may cause
handle to break and cause personal injury
and/or product damage.
CAUTION: Load unit starting with bottom
drawers. Overloading the top of the unit may
result in the product becoming unstable and
creating a tipping hazard, which may cause
personal injury or product damage.

7. Extension cord
Follow all manufacturers' Warnings and Operating
Instructions for your extension cord.
Only use a three-wire extension cord with all three prongs
intact. Never remove the round grounding prong.
Check the insulation and plugs of extension cord before
using. Do NOT use cord if it is worn or damaged.
□
□
□
□
Do not insert extension cord through hole without grommet
in place.
□
Extension cord must be connected to a 125 Volt GFCI
protected outlet with proper ground. If GFCI outlet is not
available, use an extension cord with GFCI protection
built in.
□
□
□
Do NOT overload extension cord.
Remove extension cord from the hole
before moving or transporting storage cabinet.
Only use an extension cord that is rated for outdoor use.
□Do NOT connect extension cord to outlet that also sup-
plies critical safety equipment with power.
8. Electrical Shock Hazard
□ Do not plug cord into outlet with wet hands.
□ Do not use this cabinet near a bathtub, a shower, or a
swimming pool.
□ Cabinet plugs must match the outlet.
□ Never modify the plug in any way.
□ Do not use any adapter plugs with earth (grounded) cabinet
power strips.
□
of electric shock.
□ Avoid body contact with earthed or grounded surfaces. There
is an increased risk of electric shock if your body is earthed or
grounded.
CAUTION: RISK OF ELECTRICAL SHOCK: This unit has
one power supply cord. Make sure the cord is
unplugged before any servicing or cleaning.
3 Please contact 1-888-HD-HUSKY
HUSKYTOOLS.COM
for further assistance.
NOTE : This equipment has been tested and found to
comply with the limits for a Class B digital device,
pursuant to Part 15 of the FCC Rules. These limits are
designed to provide reasonable protection against
harmful interference in a residential installation. This
equipment generates, uses and can radiate radio
frequency energy and, if not installed and used in
accordance with the instructions, may cause harmful
interference to radio communications.However, there
is no guarantee that interference will not occur in
a particular installation.
If this equipment does cause harmful interference to
radio or television reception, which can be determined
by turning the equipment off and on, the user is
encouraged to try to correct the interference by one or
more of the following measures:
□Reorient or relocate the receiving antenna.
□Increase the separation between the equipment and
receiver.
□Connect the equipment into an outlet on a circuit
different from that to which the receiver is connected.
□Consult the dealer or an experienced radio/TV
technician for help.
NOTE : This device complies with Part 15 of the FCC
Rules. Operation is subject to the following two
conditions: (1) this device may not cause harmful
interference, and
(2) this device must accept any interference received,
including interference that may cause undesired
operation.
WARNING: Changes or modifications to this unit not
expressly approved by the party responsible for
compliance could void the user’s authority to operate
the equipment.

Specifications
400 lbs. for double pairs
Maximum Cabinet Load Capacity (evenly distributed)
6,000 lbs. per 4 casters
Drawer Load Capacity (evenly distributed)mumixaM
220 lbs. for single pair
Package Contents
HARDWARE INCLUDED
NOTE: Hardware not shown to actual size.
Part Description
AA M6 x 16 bolt 12
Hex key 1
Quantity
Warranty
4
AA BB
BB
This Husky Professional Grade product includes a Limited Lifetime Warranty, whereas the manufacturer warrants the product to be free from
defects in materials and workmanship for the product’s useful life. If any part of this product is found to be defective, the manufacturer’s only
obligation, and purchaser’s exclusive remedy, is to provide replacement parts at the manufacturer’s discretion, provided that the product has not
been damaged through misuse, abuse, accident, modications, alterations, neglect or mishandling.
This warranty shall not apply to any product that is found to have been improperly installed, setup, or used in any way not in accordance with the
instructions supplied with the product. This warranty shall not apply to normal wear and tear or lack of maintenance, or a failure of the product
as a result of use in a highly corrosive environment, improper storage, misuse, abuse, negligence, alteration, faulty installation, or any other
failure not relating to faulty material or workmanship. This warranty shall not apply to the nish on any portion of the product such as surface
and/or weathering, as this is considered normal wear and tear.
The manufacturer does not warrant and specically disclaims any warranty, whether express or implied, of tness for a particular purpose, other
than the warranty contained herein. The manufacture specically disclaims any liability and shall not be liable for any consequential or incidental
loss or damage, including but not limited to any labor/expense costs involved in the replacement or repair of said product.
Contact the Customer Service Team at 1-888-HD-HUSKY or visit www.huskytools.com.
CC Plastic plug (M6) 8
Plastic plug (M8) 12DD
CC
DD
Drawer liner adhesive tape 80
EE
EE

Part Description Quantity
A
B
C
Cabinet 1
Cabinet handle 2
2
Package Contents (continued)
NOTE:
The keys are inside top drawer.
5HUSKYTOOLS.COM
Please contact 1-888-HD-HUSKY for further assistance.
Storage hook
A
B
C

CAUTION:
Two people are recommended for assembly.
Assembly
1
Attaching the Cabinet Handles
Position the Cabinet handle (B) over the holes on the
Cabinet (A).
Attach with the Bolts (AA) and tighten with supplied
Hex key (BB).
□
□
Attaching the Storage Hook
2
□Position the Storage hook (C) over the holes on the
Cabinet (A).
□Attach Hook (C) using Bolts (AA) and tighten with
supplied Hex key (BB).
CAUTION: Do not over tighten the bolts.
Installation of Power Cord
3Untie power cord located inside drawer.
Gently pull cord plug through grommet.
□
□
Wrap any loose or excess cord around the Cord
Storage Hooks (C).
□
6
B
A
AA
CAUTION:
after removing the wood pallet and all
packaging, use the Hex key (BB) or a 12mm socket
wrench to tighten all 16 caster bolts, which may have
become loose during shipment.
A
C
AA
Repeat this process on the opposite side of
Cabinet (A).
□
Plastic Plugs
4
CC
DD
CC
DD
Insert the Plastic Plugs (CC&DD) into the remaining
open holes on the side walls of the Cabinet (A) per
the diagram below.
□

Operation
1
Removing the drawers
3
Kwikset Smartkey® Lock Operation
2
Re-inserting the drawers
Fully extend the empty drawer.
□
□
□
□
elihwrevelesaelerenoonpuhsuP pulling down on
the other release lever.
□Gently pull the drawer outward until it is released
from the drawer slide.
Extend the drawer slides.
□
□
Insert the brackets on each side of the drawer into
the slots in the slides, being careful that they are
properly positioned.
□Once properly inserted, completely close the drawer
to set the slides in their proper positions.
7Please contact 1-888-HD-HUSKY
HUSKYTOOLS.COM
for further assistance.
This product has been equipped with the Kwikset Smartkey® locks which allow you to easily program each lock
cylinder to a specific key code to match other Kwikset keyed products.
Adding drawer liner adhesive tape
5
Use 4 pcs. of Drawer Liner Adhesive Tape (EE) to help secure the drawer liners in each drawer. The tape helps prevent
shifting of the drawer liner during normal use.
□
The lock cylinders have been factory keyed to the corresponding alphabetic lettering found on the Kwikset Smartkey®
label located on the back of the key chain, as well as afxed to the product itself.
Please see the Kwikset Smartkey® supplemental instructions for keying and re-keying the locks.
□
A
Retain This Label
For Key Identification
ONE KEY FOR ALL YOUR LOCKS
TM

Cordless Power Tool Battery Chargers
□Periodically clean the drawer fronts, drawer trim, and other surfaces with a mild detergent and water.
□
□
Maintenance
1 Caster maintenance 2 Drawer maintenance
□Grease the casters annually using high-quality
bearing grease.
□Lu
bearing grease.
bricate the slides semi-annually with high-quality
8
This product has been coated with an industrial UV-resistant power coating for a durable and long lasting finish.
To help protect the coating, do not allow harsh chemicals to remain on the surface for extended periods of time.
See Charger’s Owner’s Manual for proper use and care of charger and batteries.
Follow all Warnings and Instructions provided with your battery charger.
□
Place chargers and electrical connections in till.
□
Chargers are for use in dry locations only. Do NOT expose to liquid, vapor, or rain. Should your charger become wet,
Do NOT attempt to use. Unplug extension cord from supply before handling wet charger or cords.
□
Only use chargers and batteries that are intact and operating properly.
□
Do NOT touch metal prongs when plugging charger into extension cord.
□
□
Do NOT place or attempt to charge lead acid, car type batteries in storage cabinet.
□

Replacement Parts
For assistance with replacement parts please call 1-888-HD-HUSKY.
Drawer Liner 20
A Cabinet Handle 2
B
4
CKwikset Smartkey® Lock 2
E
Badge
1
GDrawer Slide (pairs)
24
F
Caster Bolt 16
H
16
I
Key 4
D
Part Description Quantity
Swivel Caster
Caster Washer
J
Handle Bolt
8
L
Outlet Panel Cover
1
K
Outlet 1
M
Rubber Grommet
1
N
Storage Hook
2
O
4Storage Hook Bolt
P
40Drawer End Cap
Q
2
Aluminum Edge Guard
PA06103600
MC08515700
AY04016500
PA18022600
AJ02027400
MB05023100
MB15003500
Part#
AD03043400
MJ06000100
MF05018900
DB126478R5
AA99014600
RA99012700
ML990558R5
MF05018900
RA05007000
FAM00F3000
9Please contact 1-888-HD-HUSKY
HUSKYTOOLS.COM
for further assistance.
A
B
C
E
F
G
H
I
J
K
L
N
O
P
Q
M
D
R
1Tool Holder
S
8Plastic Plug (M6)
SNTE2055R5
RA05009200
T
S
T
12Plastic Plug (M8)
RA05009100
R
U
80
Drawer Liner Adhesive Tape
PA21002700
U

Questions, problems, missing parts? Before returning to the store call
Husky Customer Service
8 a.m. - 7 p.m., EST, Monday-Friday
9 a.m. - 6 p.m., EST, Saturday
1-888-HD-HUSKY
HUSKYTOOLS.COM
Retain this manual for future use.
This manual suits for next models
1
Table of contents
Other Husky Tools Storage manuals

Husky
Husky H46MWC9RXD User manual

Husky
Husky 1000000000 User manual

Husky
Husky TB-303B User manual

Husky
Husky TSA4524F User manual

Husky
Husky 72WB01SS-THD User manual

Husky
Husky H63MWC11FT User manual

Husky
Husky H46X18MWC9RED User manual

Husky
Husky H61MWC11WBB User manual

Husky
Husky 75809AHR User manual

Husky
Husky 70220HWVR User manual

Husky
Husky HOAA52B11 User manual

Husky
Husky 75811AHR User manual

Husky
Husky 1003 211 435 User manual

Husky
Husky H347TR User manual

Husky
Husky H72MWC15 User manual

Husky
Husky HOLC6214BB1MYS User manual

Husky
Husky H27CH6MS User manual

Husky
Husky ERZ7824W-1 User manual

Husky
Husky H46PWRSTATION User manual

Husky
Husky H61MWC15GWHD User manual