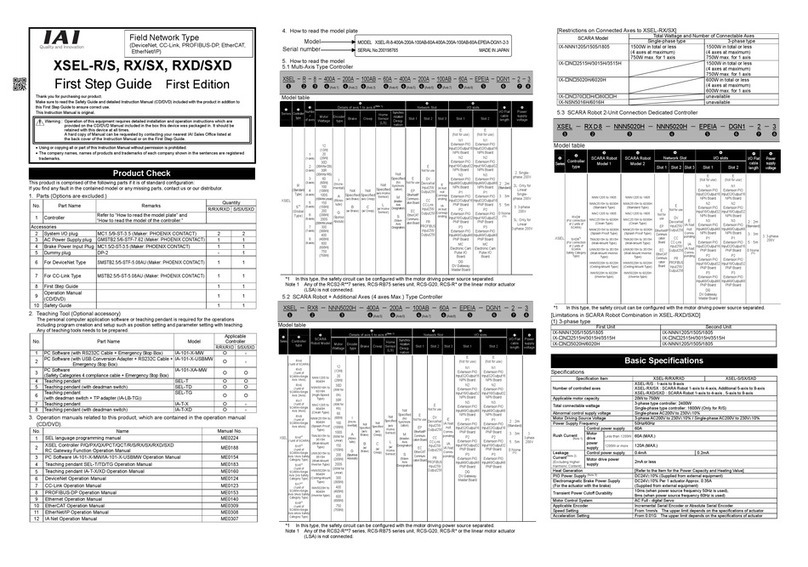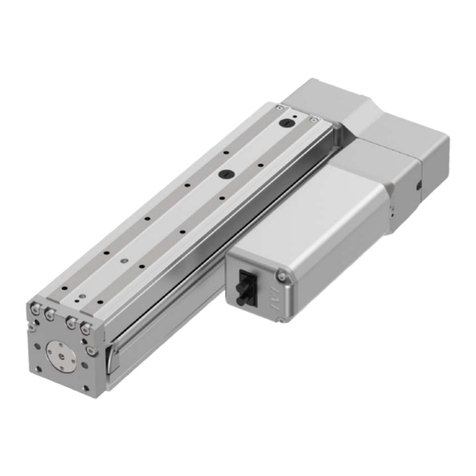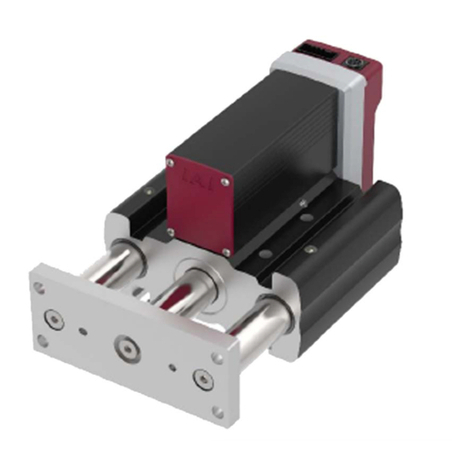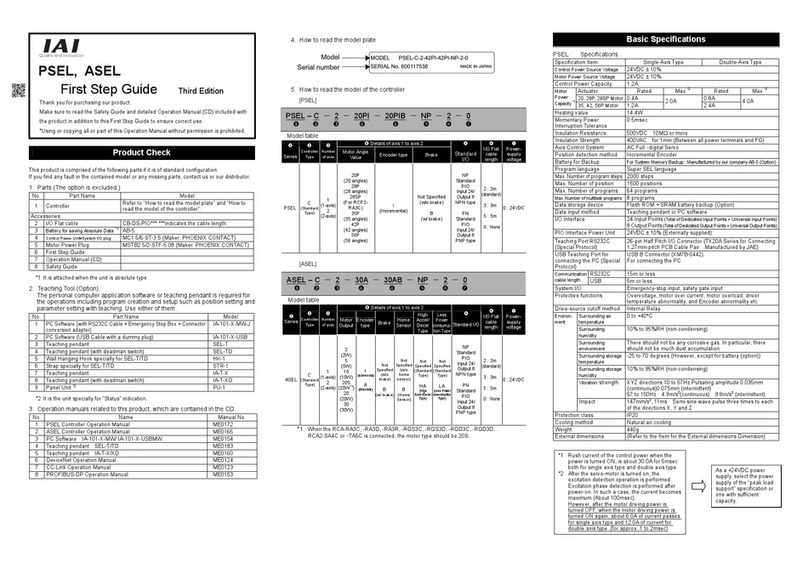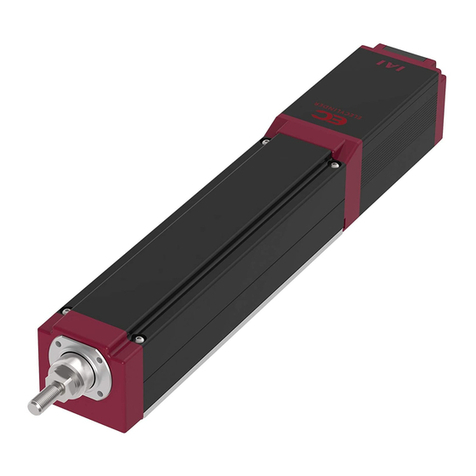
RCP2 (CR) (W) /RCS2 Actuator
Gripper Type
First Step Guide Third Edition
Thank you for purchasing our product.
Make sure to read the Safety Guide and detailed Instruction Manual (DVD) included with the product in addition to this First
Step Guide to ensure correct use.
This Instruction Manual is original.
•Using or copying all or part of this Instruction Manual without permission is prohibited.
•The company names, names of products and trademarks of each company shown in the sentences are registered
trademarks.
Product Check
This product is comprised of the following parts if it is of standard configuration.
If you find any fault in the contained model or any missing parts, contact us or our distributor.
1. Parts (The option is excluded.)
No. Part Name Model Remarks
1 Actuator Main Body [Refer to “2.How to read the model plate”,
“3.How to read the model.”]
Accessories
2 Motor •Encoder Cable*1
3 First Step Guide
4 Instruction Manual
(DVD)
5 Safety Guide
*1 Please refer to the wiring layout for the enclosed motor cable and encoder cable.
2. How to read the model plate
3. How to read the model
3.1 RCP2 Type
3.2 RCS2 Type
Precautions in Handling
1. Handling of the Packed Product
Unless otherwise specified, the actuator is shipped with each axis packaged separately.
•Do not damage or drop. The package is not supplied with any special treatment that enables it to resist
an impact caused by a drop or crash.
•If the shipping box is to be left standing, it should be in a horizontal position. Follow the instruction if
there is any for the packaging condition.
•Do not step or sit on the package.
•Do not put any load that may cause a deformation or breakage of the package.
2 Handling of Robot without Package
•Do not carry the actuator by holding the cable, or do not move it by pulling the cable.
•When carrying the actuator, exercise caution not to bump it against nearby objects or structures.
•Do not give any excessive force to any of the sections in the actuator.
Environments for Installation, Storage and Preservation
1. Installation Environment
Please attempt to avoid installing the product to such places as listed below.
It is generally the environment where a worker can work without any protection gear. (Dust-proof Types
are excluded)
Also, make sure to keep enough space necessary for maintenance work.
•Place where exposed to radiant heat from a huge heat source such as heat treatment
•Place where the ambient temperature goes out of the applicable range from 0 to 40°C
•Place where condensation would occur due to sudden temperature change
•Place where the relative humidity exceeds 85% RH
•Place where exposed to the direct sunlight
•Place where corrosive gas or flammable gas exist
•Place where it contains a lot of dust, salt or iron (Outside of an ordinary assembly plant) (The except for
dust the dust-proof specification)
•Place where water, oil (includes oil mist and cutting fluid) or chemical is splashed
•Place where the product main body receives vibration or hit impact
• Place with an altitude of 2,000m or more
Make sure to have a treatment for blocking when using in the following conditions:
•Place where noise is generated by such facts as static electricity
•Place where exposed to the influence of strong electric or magnetic field
•Place where exposed to the influence of ultraviolet or radiant rays
2. Storage and Preservation Environment
•The storage and preservation environment should comply with the same standards as those for the
installation environment. In particular, when the machine is to be stored for a long time, pay close
attention to environmental conditions so that no dew condensation forms.
•Unless specially specified, moisture absorbency protection is not included in the package when the
machine is delivered. In the case that the machine is to be stored and preserved in an environment
where dew condensation is anticipated, take the condensation preventive measures from outside of the
entire package, or directly after opening the package.
•For storage and preservation temperature, the machine withstands temperatures up to 60°C for a short
time, but in the case of the storage and preservation period of 1 month or more, control the temperature
to 50°C or less.
•The product should be settled in the horizontal orientation while in storage and reservation. In the case
it is stored in the packaged condition, follow the posture instruction if any displayed on the package.
Names of the Parts
1. Thin and Small Two-finger Slide Type (Standard specification) RCP2-GRSS
2. Thin and Small Two-finger Slide Type (Cleanroom specification) RCP2CR-GRSS
3. Thin and Small Two-finger Slide Type (Dust-proof specification) RCP2W-GRSS
4. Thin and Small Two-finger Lever Type (Standard specification) RCP2-GRLS
Model
Serial numbe
Warning : Operation of this equipment requires detailed installation and operation instructions which are
provided on the DVD Manual included in the box this device was packaged in. It should be retained
with this device at all times.
A copy of the DVD Manual can be requested by contacting your nearest IAI Sales Office listed at
the back cover of the Instruction Manual or on the First Step Guide.
RCP2-GRSS-I-20P-30-8-P1-S-NM
<Series>
RCP2 : Standard Specification
RCP2CR : Clean-Room Specification
RCP2W : Dust-Proof Specification
<Type>
GRSS : Thin and Small Two-finger
Slide Type
GRLS : Thin and Small Two-finger
Lever Type
GRS : Small Two-finger Slide Type
GRM : Medium Two-finger Slide Type
GRHM : Medium Two-finger High-grip-force
Slide Type
GRHB : Large Two-finger High-grip-force
Slide Type
GRST : Small Two-finger Long-stroke Type
GR3SS : Three-finger Slide Type,
Body Width 62mm
GR3SM : Three-finger Slide Type,
Body Width 80mm
GR3LS : Three-finger Lever Type,
Body Width 62mm
GR3LM : Three-finger Lever Type,
Body Width 80mm
<Encoder Type>
I : Incremental
<Motor Type>
20P : Pulse Motor 20 □Size 35P : Pulse Motor 35 □Size
28P : Pulse Motor 28 □Size 42P : Pulse Motor 42 □Size
<Gear Ratio>
1 : 1/1(GRST) 30 : 1/30
2 : 1/2(GRST) 2 : Feed Screw Lead 2(GRHM, GRHB)
<Option>
NM : Reversed Home Specification
FB : Flange Bracket
SB : Shaft Bracket
A0 : Cable Oriented on Bottom
A1 : Cable Oriented on Side
CJT : Cable Exit direction changed
(to top side)
CJR : Cable Exit direction changed
(to right side)
CJL : Cable Exit direction changed
(to left side)
CJB : Cable Exit direction changed
(to bottom side)
VL : L-Shaped type vacuum joint
<Cable Length>
N : None
P : 1m
S : 3m
M : 5m
X□□ : Specified Length
(Example: X07=7m)
R□□ : Robot Cable
(Example: R05=5m)
<Applicable Controller>
P1 : PCON, RPCON, PSEL
P3 : PCON-CA, PMEC
PSEP, MSEP
<Stroke>
8 : 8mm (4mm per side)
10 : 10mm (5mm per side)
14 : 14mm (7mm per side)
32 : 32mm (16mm per side)
40 : 40mm (20mm per side)
60 : 60mm (30mm per side)
80 : 80mm (40mm per side)
100 : 100mm (50mm per side)
19 : 19 degrees
180 : 180 degrees (90 degrees per side)
[Refer to the Catalog or Instruction Manual (DVD) for
specification details.]
RCS2-GR8-I-60-5-20-T1-S-CE
<Option>
CE : CE Marking
<Cable Length>
N : None
P : 1m
S : 3m
M : 5m
X□□ : Specified Length
(Example: X07=7m)
R□□ : Robot Cable
(Example: R05=5m)
<Applicable Controller>
T1 : XSEL-J/K T2 : SCON
SSEL
XSEL-P/Q
<Series>
<Type>
GR8
<Encoder Type>
I : Incremental
<Motor Type>
60 : Servo-Motor 60W
<Gear Ratio>
5 : 1/5
<Stroke>
20 : 20mm (10mm per side) 100 : 100mm (50mm per side)
40 : 40mm (20mm per side) 120 : 120mm (60mm per side)
60 : 60mm (30mm per side) 200 : 200mm (100mm per side)
80 : 80mm (40mm per side)
[Refer to the Catalog o
Instruction Manual (DVD) for specification details.]
MODEL RCP2-GRSS-I-20P-30-8-P1-S-NM
SERIAL No.800061910 MADE IN JAPAN
Actuator Cable
Left Side
Motor Cover
Frame
Finger Guide
Finger
Open/Close
Screw
Finger
Front
Right Side
Rear
Motor Cover Lid
Vacuum Joint
Actuator Cable
Left Side
Motor Cover
Frame
Finger
Finger
Front
Right Side
Rear
Motor Cover Lid
Actuator Cable
Left Side
Motor Cover
Frame
Finger
Finger
Front
Right Side
Rear
Motor Cover Lid
Lever L
Lever R
Actuator Cable
Left Side
Motor Cover
Frame
Open/Close
Screw
Front
Right Side
Rear
