NJR-T01UHD / NJR-R01UHD User’s Guide
7
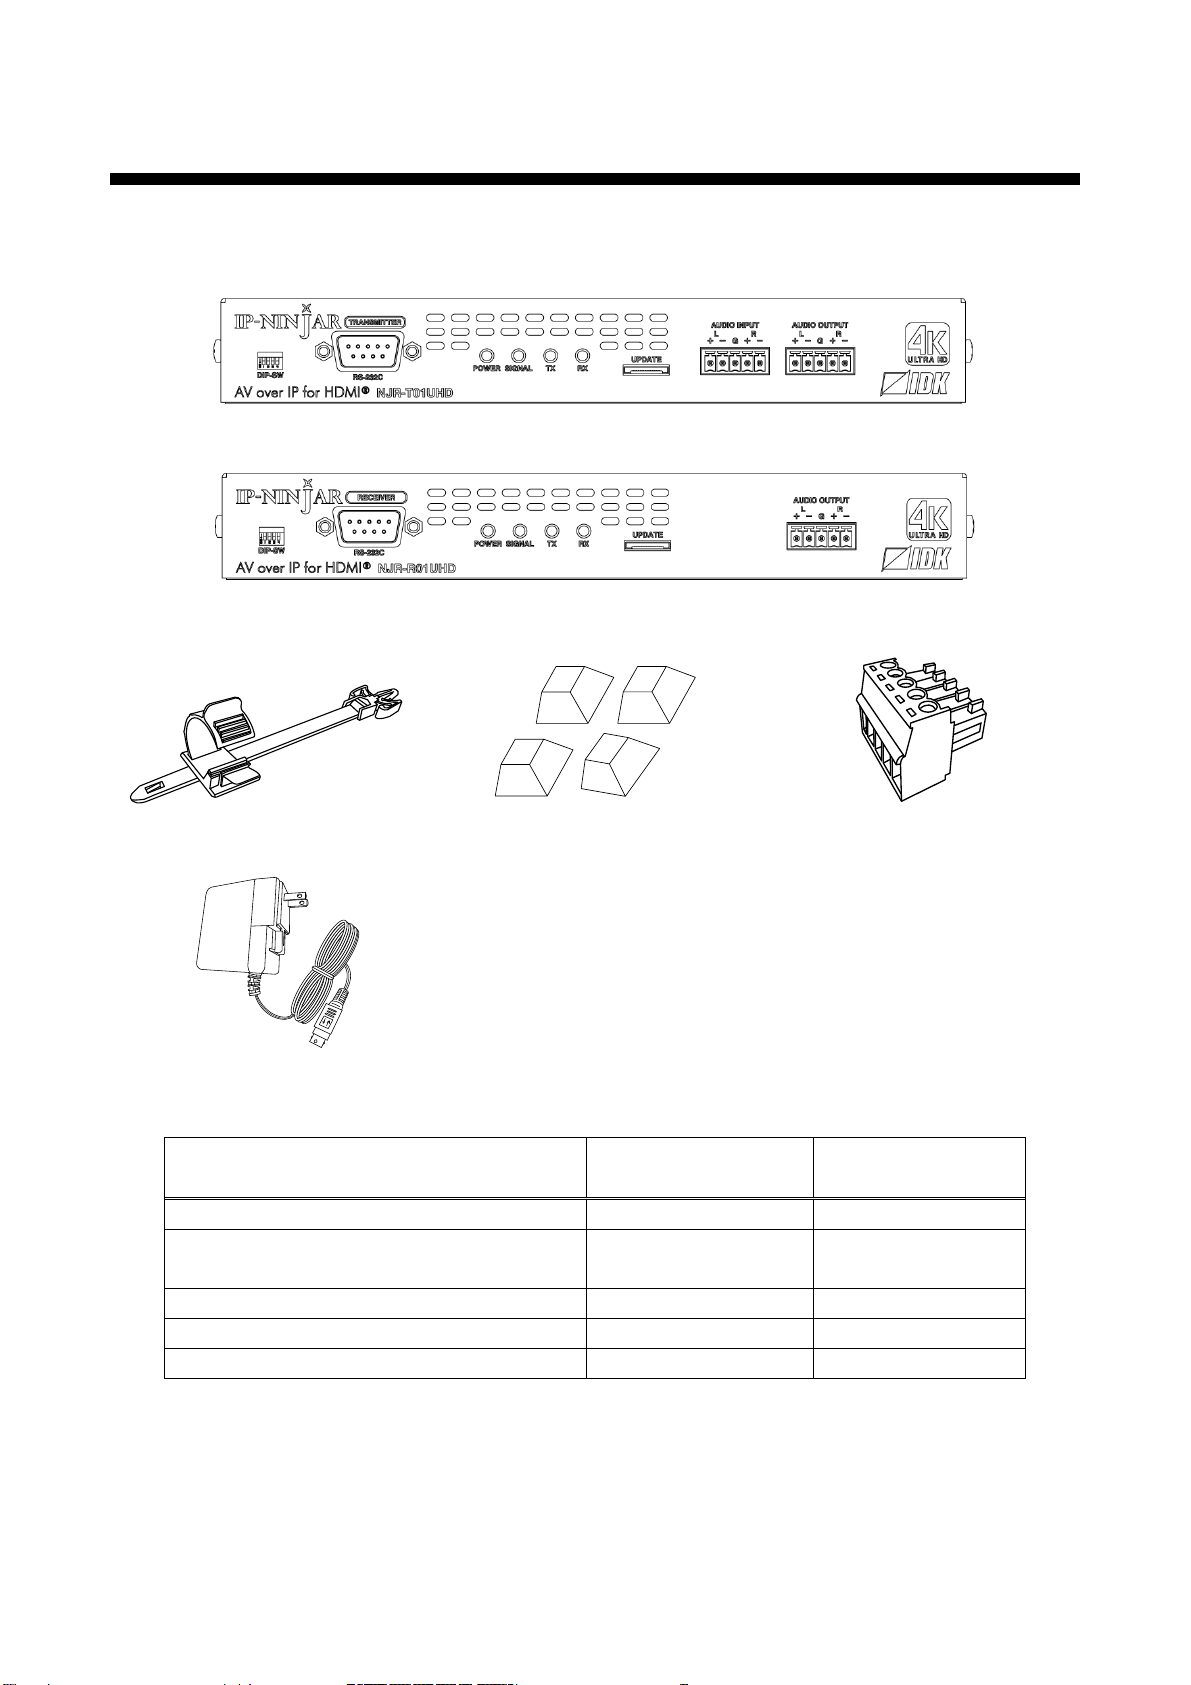
Table of Contents
1How to read this manual....................................................................................................................... 9
2Included Items.....................................................................................................................................10
3Precautions for shipping......................................................................................................................11
4Product Outline....................................................................................................................................12
5Features..............................................................................................................................................13
6Front and Rear Panels.........................................................................................................................15
6.1 NJR-T01UHD (Transmitter) ............................................................................................................15
6.2 NJR-R01UHD (Receiver)................................................................................................................17
7System configuration example.............................................................................................................19
7.1 NJR-T01UHD and NJR-R01UHD are used as Network Extender....................................................19
7.2 NJR-T01UHD and NJR-R01UHD are used as Extender..................................................................20
8Precautions and preparations..............................................................................................................22
8.1 Attaching Rubber feet.....................................................................................................................22
8.2 Installation......................................................................................................................................22
8.3 Cabling...........................................................................................................................................23
8.3.1 HDMI cable.............................................................................................................................24
8.3.2 Fiber optic cable for extension.................................................................................................25
8.3.3 SFP+ Module..........................................................................................................................26
8.3.4 Twisted pair cable for extension ..............................................................................................27
8.3.5 Connecting audio cable...........................................................................................................28
8.3.6 Connecting RS-232C cable.....................................................................................................28
8.3.7 Connecting LAN cable.............................................................................................................30
8.3.8 DIN plug AC adapter with lock.................................................................................................31
8.4 Setting DIP switch ..........................................................................................................................33
9Basic Operation...................................................................................................................................34
9.1 Control over RS-232C communication............................................................................................35
9.2 IP-NINJAR Configurator (Setting software for IP-NINJAR) ..............................................................36
9.3 Control over NJR-CTB (Control box for IP-NINJAR)........................................................................37
9.4 Setting Items ..................................................................................................................................38
9.5 Initialization ....................................................................................................................................39
9.6 Reboot ...........................................................................................................................................39
10 Setting.................................................................................................................................................40
10.1 Input setting....................................................................................................................................41
10.1.1 Non-signal input monitoring.....................................................................................................41
10.1.2 HDCP input Enabled/Disabled.................................................................................................42
10.2 Output setting.................................................................................................................................43
10.2.1 Setting output mode................................................................................................................43
10.2.2 Setting HDCP output...............................................................................................................43
10.2.3 Setting hot plug masking.........................................................................................................44
10.3 Audio setting ..................................................................................................................................45
10.3.1 Muting digital audio.................................................................................................................45
10.3.2 Selecting output audio.............................................................................................................46
10.4 EDID setting...................................................................................................................................47
10.4.1 Setting EDID resolution...........................................................................................................47
10.4.2 Copying EDID.........................................................................................................................49
10.4.3 Selecting WXGA mode............................................................................................................49
10.4.4 Deep Color..............................................................................................................................50