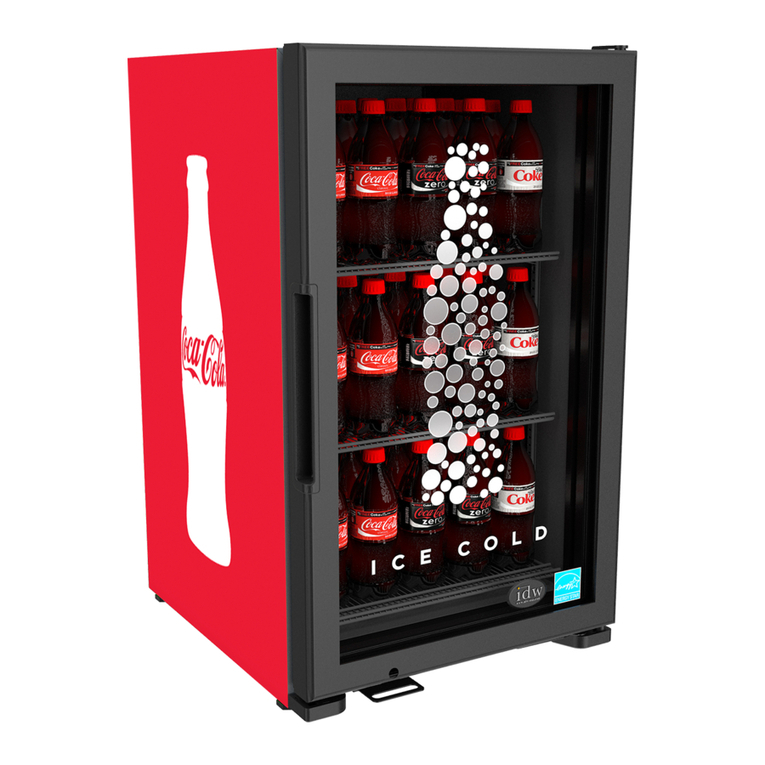
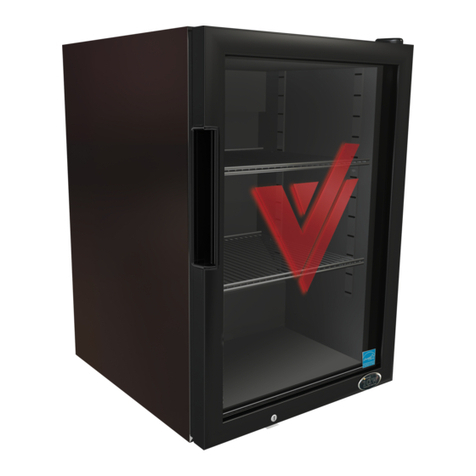
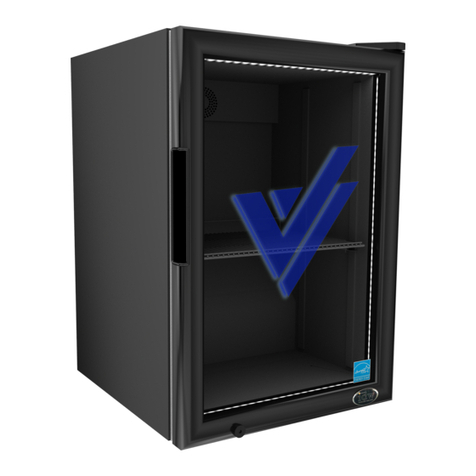
IDW GS-1 User manual

Innovative DisplayWorks, Inc.
To locate the distributor in your area go to: http://www.idw-usa.com/contact/#distributors
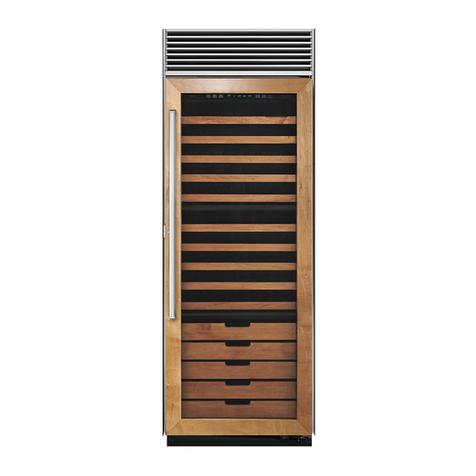
G-Series Cooler
Instruction Manual
Manual is for the
following models:
GS-1-N14NF
GS-1-N14NG
GS-1-N14NI
GS-1
COUNTERTOP COOLER

Manual is for the following models:
GS-1-N14NF
GS-1-N14NG
GS-1-N14NI
GS-1
Instruction Manual

Innovative DisplayWorks
GS-1
TABLE OF CONTENTS
Parts and Identication.................................2
Safety Instructions........................................3
Installation ....................................................3
Electric Connection.......................................3
Start..............................................................3
Light Control .................................................3
Maintenance.................................................4
Cleaning .......................................................4
Condenser Maintenance ..............................4
Light Replacement........................................4
Power Failure ...............................................4
Moving the cooler .........................................4
Drip Pan........................................................4
Troubleshooting............................................5
Refrigerant....................................................5
Switch Function ............................................5
Circuit Diagram.............................................6
FOR YOUR FUTURE REFERENCE
■This easy-to-use manual will guide you in getting the best use of your cooler.
■Remember to record the model number and the serial number. This information can
be found on the inside of your cooler.
■Keep your receipt with this manual for future warranty service.
1
Model #:
Serial #:
Date of Purchase:

Instructional Manual
2
Innovative DisplayWorks
of ce 909.447.8254 • fax 909.305.8756 • toll free 877.307.2665 • www.idw-usa.com
PARTS & IDENTIFICATION
Last Revised: October 31, 2014 1:56 PM
GS-1
1. Cooler Cabinet
2. Interior Lampshade
3. Interior Light Trough
4. Interior LED Lamp
5. Interior Lampshade Board (2)
6. Rubber Cover
7. Hinge Cover
8. Top Hinge
9. Wire Sleeve
10. Glass Door
11. Bottom Hinge Washer
12. Bottom Hinge
13. Lock
14. Key
15. Door Gasket
16. Inside Fan
17. Inside Fan Cover
18. Evaporator Safeguard
19. Big Shelf (2)
20. Shelf Clip (2)
21. Small Shelf
22. Leveling Leg (4)
23. Lock Pin
24. Magnetic Switch
25. Compressor Panel
26. Compressor
27. Thermostat Sticker
28. Thermostat
29. Transformer Box
30. Transformer
31. Rear Compartment Grill
32. Overload
33. Start Relay
34. Drip Pan
35. Drier
36. Power Cord
37. Light Switch 1
38. Light Switch 2
39. Plug Connector
40. Plug Fixed Box
41. PlugBaffle
42. Thermostat Box
43. Thermostat Box Cover
44. Condenser
45. Condenser Support
46. Evaporator

Innovative DisplayWorks
GS-1
SAFETY INSTRUCTIONS
To reduce the risk of re, electric shocks, or injury when using your cooler, please note the following basic
precautions:
■ Never clean appliance parts with ammable uids.
■ Do not store or use gasoline or any other ammable vapors and liquids in the vicinity of this or any
other appliance. The fumes can cause a re or explosion.
■ As with all electrical appliances, please consult a licensed repair technician for any repairs.
INSTALLATION
■ Keep cooler in an upright position for 1-hour prior to use. This is essential for proper operation. If the
cooler is transported in the horizontal position, the cooler must be returned to the upright position and
not plugged in for 1 hour.
■ Remove all the packing material before using your cooler.
■ Clean the interior surface with a soft cloth and lukewarm water.
■ If the cooler is transported in the horizontal position, check the drain pan and ensure that it is properly
positioned above the compressor.
■ For proper operation, place the cooler on a dry, level surface.
■ Place the cooler at least 4” away from any walls. Otherwise, this could cause damage to the electrical
cord and block the air circulation to the appliance.
Do not block the air intake that ventilates the condenser unit.
ELECTRIC CONNECTION
■ This model operates with an 220-240V/50Hz power supply. Check the electrical outlet for proper
voltage.
■ Warning: Plug unit directly into wall outlet. Do not use an extension cord or any other multiple
connectors, this could cause compressor failure.
■ For your safety, plug the unit into a grounded wall outlet.
START
■ Plug the cooler into the electrical outlet. For optimum performance, run cooler for 3 hours prior to use.
■ Temperature Control: Do not adjust the temperature control. The temperature control is factory set
to provide maximum performance. If really necessary, you can turn the thermostat by screw driver
clockwise to have lower temperature inside the cooler
LIGHT CONTROL
■ The inside light is controlled by the magnetic switch.
Before Using, Please read all instrUctions
3

Instructional Manual
MAINTENANCE
CLEANING
■ Before cleaning the appliance, always remember to unplug it.
■ Unplug the cooler at the electrical outlet; never pull the service cord.
■ Do not use sharp or pointed objects for cleaning.
■ Clean the inside cabinet of the cooler with a clean damp cloth or with neutral soap. Avoid damage by
using non-abrasive or ammable cleaning products.
■ Clean the condenser at least once a month with a vacuum cleaner or a brush to
eliminate the dust accumulation.
LIGHT REPLACEMENT
■ Unplug the cooler before removing the used light.
■ Remove the screws.
■ Remove the light cover gently.
■ Take out the used light.
■ Replace the used light with new equivalent light.
■ Install the light cover and tighten the screws.
■ Plug in the cooler.
POWER FAILURE
■ Please minimize the frequency of opening the door during a power failure.
■ If your cooler is unused for an extended period of time, unplug, empty, and clean your cooler and keep
the door open to avoid condensation, formation of molds, or odors.
MOVING THE COOLER
■ Empty the unit.
■ Secure all loose parts inside the cooler.
■ Tape the door shut.
■ During transportation, make sure that the cooler is in an upright position.
DRIP PAN
■ During normal compressor cycle, water will drain into the drain pan and evaporate.
■ To clean, gently pull the drain pan towards you and remove. Slowly reinstall it after cleaning.
4

Innovative DisplayWorks
GS-1
TROUBLESHOOTING
If your cooler is not working properly:
■ Check the electrical outlet for power, and that the plug is properly inserted.
■ Check to see if the circuit breaker is tripped or the fuse is blown.
■ Check the condenser for proper cleaning.
If your cooler is making noise:
■ Check that the cooler is level and on a at surface.
If the compressor turns on and off frequently:
■The room temperature is higher than normal.
■The door is not closed completely.
■The door gasket is not sealed well.
■ Thereisinsufcientclearancearoundthecooler.
■The temperature is not set properly.
■The cycling frequency will reduce when all of the cans reach the set temperature.
The following is not a malfunction:
■ It is normal to hear gurgling sounds caused by the ow of refrigerant when each cooling cycle ends.
REFRIGERANT
■ The GS-1 cooler utilizes R134a refrigerant.
SWITCH FUNCTION
5
Inner LED
switch status
Door LED
switch status
Inner LED
condition
Door Green LED
condition remark
I I Always ON Always ON Both inner and green LED
always on
I O Always ON Always OFF Inner LED always on and Green
LED always off
O I Off when door closes;
ON when door opens Always ON Green LED always on, inner
LED turns on as door opens
O O Off when door closes;
ON when door opens Always ON Green LED always on, inner
LED turns on as door opens

Instructional Manual
CIRCUIT DIAGRAM
6

Innovative DisplayWorks
GS-1

Innovative DisplayWorks, Inc.
To locate the distributor in your area go to: http://www.idw-usa.com/contact/#distributors
G-Series Cooler
Instruction Manual
This manual suits for next models
4
Table of contents
Other IDW Accessories manuals
Popular Accessories manuals by other brands

Rosslare
Rosslare SH-62 installation instructions
NEC
NEC AccuSync Display Solutions AccuSync user manual

MTS Sensors
MTS Sensors Temposonics Operation manual
System Sensor
System Sensor FAAST FL2011EI-HS Quick installation guide
Extel
Extel WECR 80310 SER.R1 Installation and user guide

Air Aroma
Air Aroma Aromax user guide
