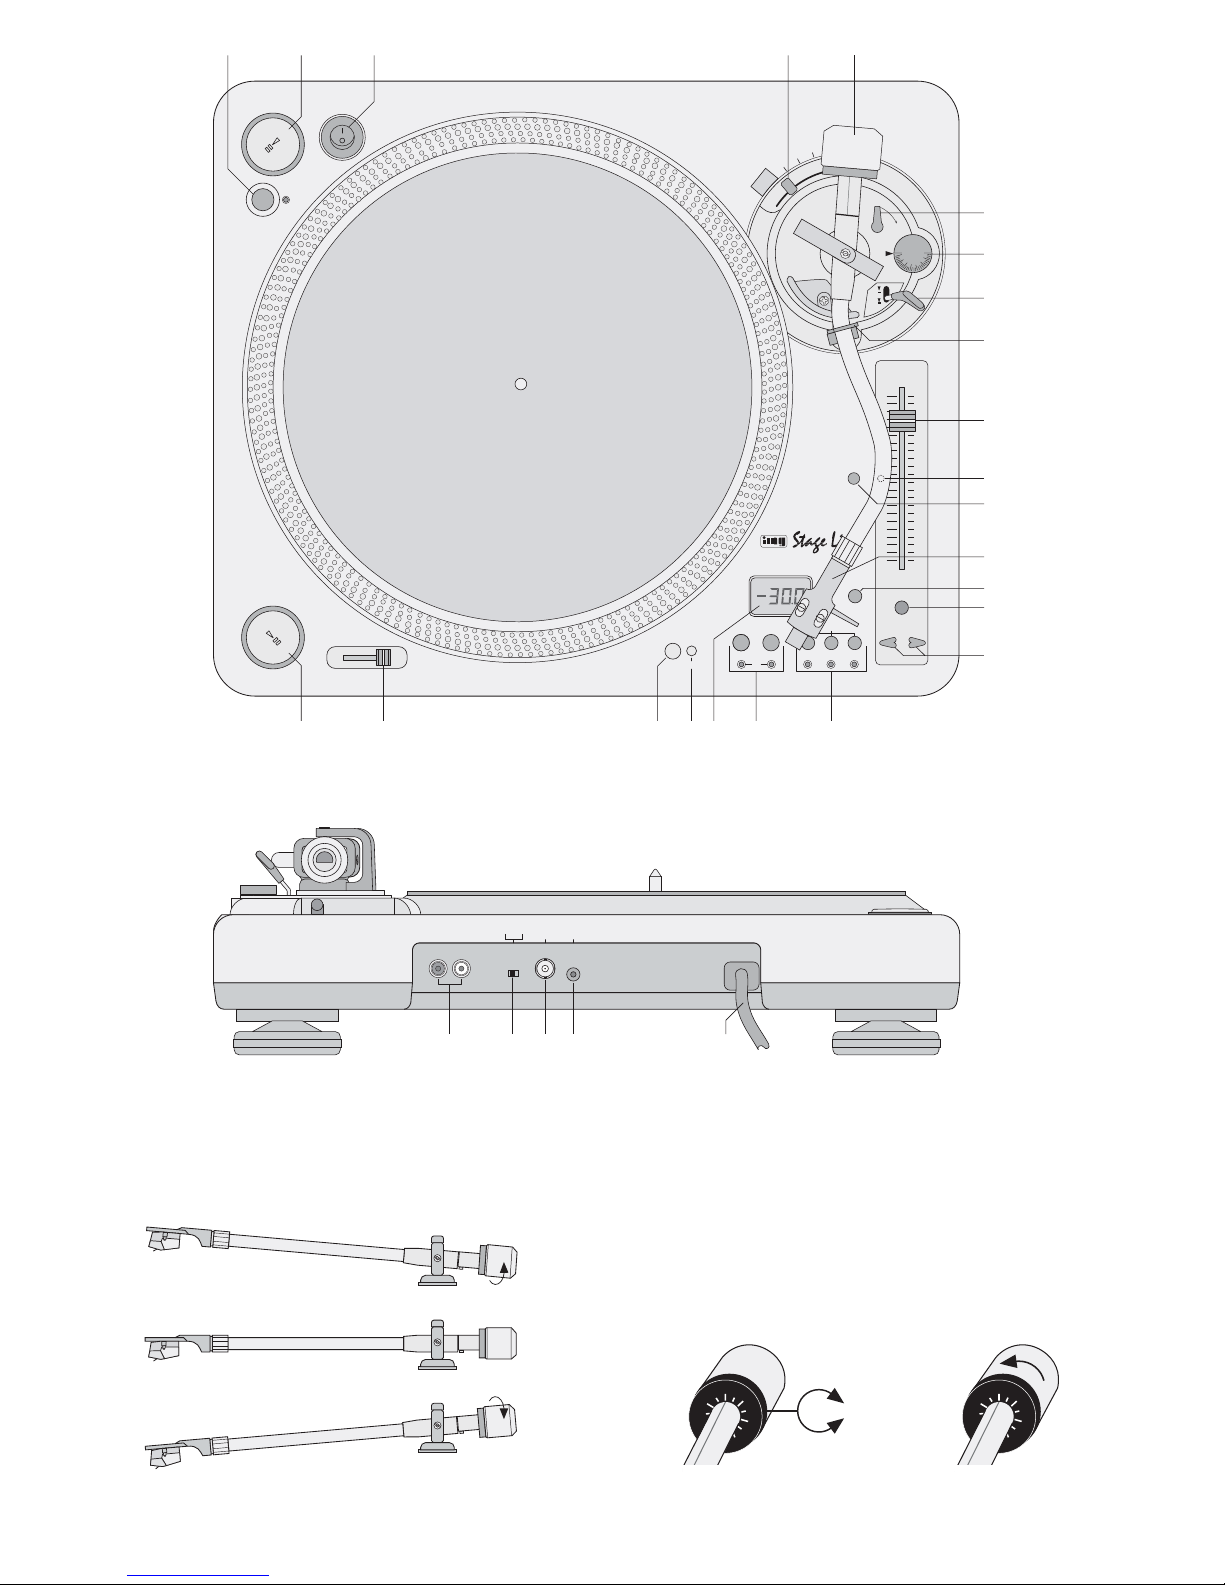
1.2 Anschlüsse (Abb. 2)
24 analoger Audioausgang über Cinch-Buchsen
(rot = rechter Kanal, weiß = linker Kanal)
Hinweis: Steht der Schalter PHONO/LINE (25)
in der Position PHONO, ist die Funktion „Master
Tempo“ nicht über die Cinch-Buchsen wirksam.
25 Umschalter PHONO/LINE für den Ausgangs-
pegel der Cinch-Buchsen (24)
26 Digitalausgang über BNC-Buchse
27 3,5-mm-Klinkenbuchse zur Fernsteuerung der
Funktion „Start/Stopp“ über ein Mischpult mit
Faderstart – siehe Kapitel 6.6
28 Netzkabel zum Anschluss an 230V~/50Hz
2Hinweise für den sicheren Gebrauch
Dieses Gerät entspricht der Richtlinie für elektro-
magnetische Verträglichkeit 89/336/EWG und der
Niederspannungsrichtlinie 73/23/EWG.
Beachten Sie auch unbedingt die folgenden Punkte:
●Verwenden Sie das Gerät nur im Innenbereich.
Schützen Sie es vor Tropf- und Spritzwasser,
hoher Luftfeuchtigkeit und Hitze (zulässiger Ein-
satztemperaturbereich 0–40°C).
●Stellen Sie keine mit Flüssigkeit gefüllten Gefäße,
z.B. Trinkgläser, auf das Gerät.
●Nehmen Sie das Gerät nicht in Betrieb bzw. zie-
hen Sie sofort den Netzstecker, wenn:
1. sichtbare Schäden am Gerät oder an der Netz-
anschlussleitung vorhanden sind,
2. nach einem Sturz oder Ähnlichem der Verdacht
auf einen Defekt besteht,
3. Funktionsstörungen auftreten.
Geben Sie das Gerät in jedem Fall zur Reparatur
in eine Fachwerkstatt.
●Eine beschädigte Netzanschlussleitung darf nur
durch den Hersteller oder durch eine autorisierte
Fachwerkstatt ersetzt werden.
●Ziehen Sie den Netzstecker nie an der Zuleitung
aus der Steckdose, immer am Stecker anfassen!
●Wird das Gerät zweckentfremdet, falsch bedient
oder nicht fachgerecht repariert, kann für eventu-
elle Schäden keine Haftung übernommen werden.
●Soll das Gerät endgültig aus dem Betrieb genom-
men werden, übergeben Sie es zur umweltgerech-
ten Entsorgung einem örtlichen Recyclingbetrieb.
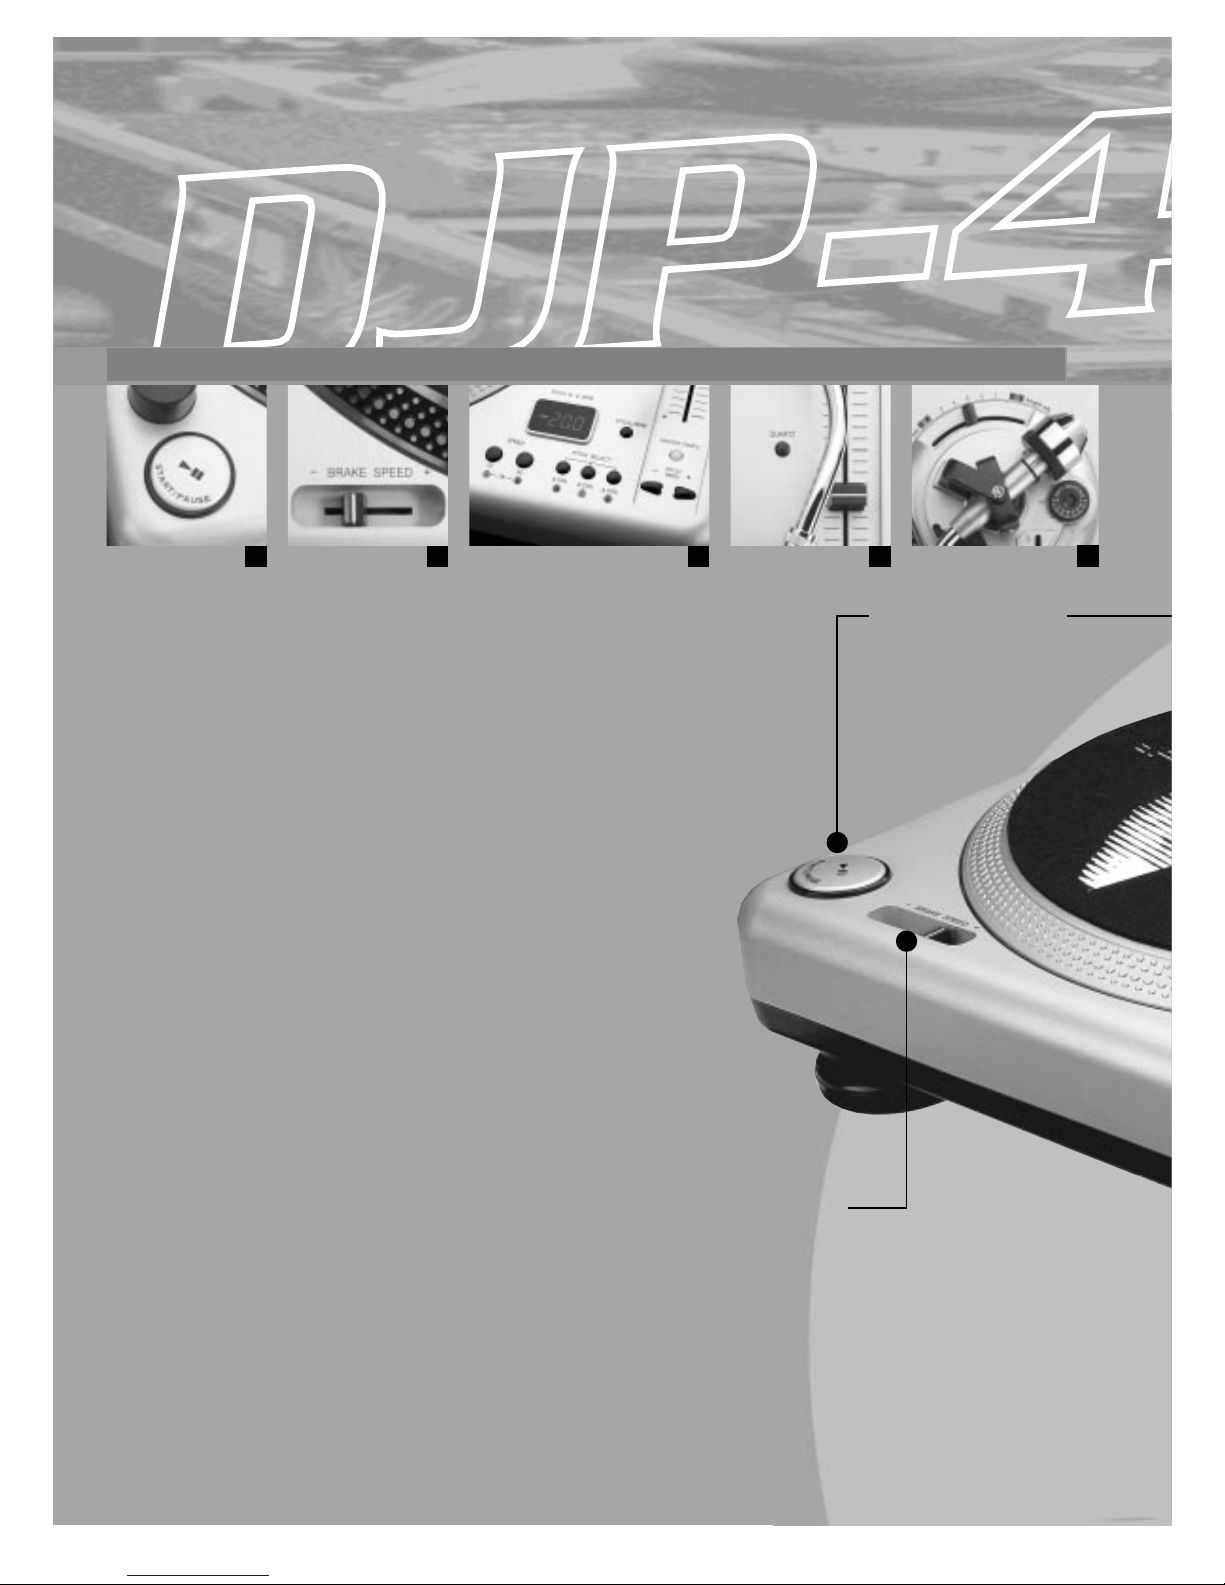
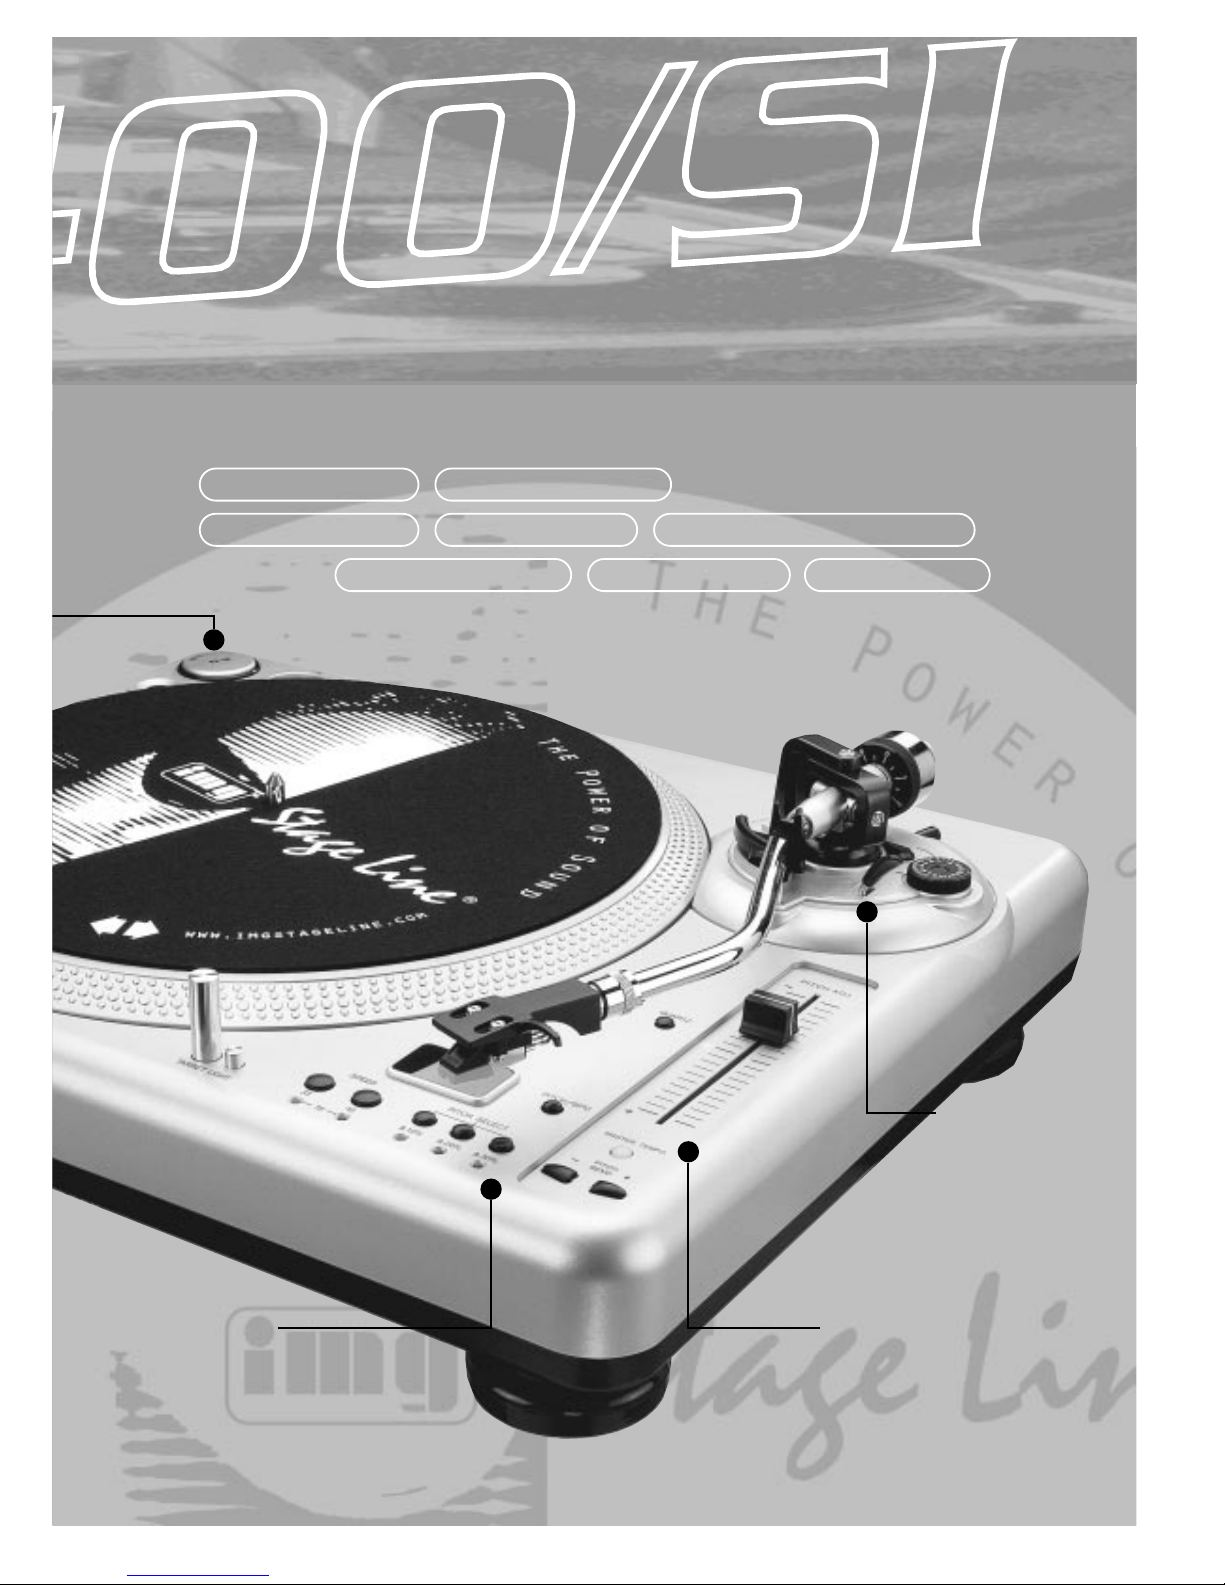
3Einsatzmöglichkeiten
Der Plattenspieler DJP-400/SI ist speziell für den
professionellen DJ-Bereich konzipiert. Viele Funk-
tionsmöglichkeiten sind genau auf diesen Einsatz-
bereich abgestimmt, z.B. automatischer Beatcoun-
ter, Pitch Bend, Master Tempo etc.
4Montage und Grundeinstellungen
Der Plattenteller, der Systemträger, das Gegen-
gewicht für den Tonarm und der Plattenspieler sind
einzeln verpackt, damit beim Transport Schäden
vermieden werden. Nach dem Auspacken aller Ge-
räteteile sollte die Originalverpackung für eventuelle
spätere Transporte aufbewahrt werden.
Den Plattenspieler auf einer ebenen, waagerech-
ten Fläche aufstellen.
4.1 Plattenteller und Systemträger montieren
Den Plattenteller auf die Achse des Plattenspielers
stecken, so dass die beiden Kunststoffdorne auf der
Unterseite des Plattentellers in den Löchern des
Antriebstellers einrasten. Die beiliegende Filzauf-
lage auf den Plattenteller legen.
Den Systemträger (13) aus einem der beiden seit-
lichen Styropor-Verpackungsteile herausnehmen, auf
das vordere Ende des Tonarmes stecken und mit der
Überwurfmutter sichern.
4.2 Gegengewicht für den Tonarm montieren
Das Gegengewicht (5) aus einem der beiden seitli-
chen Styropor-Verpackungsteile herausnehmen
und auf das Ende des Tonarmes stecken, bis es ein-
rastet. Mit dem Gegengewicht wird anschließend
das Auflagegewicht genau eingestellt.
4.3 Auflagegewicht einstellen
1) Zuerst den Antiskating-Drehknopf (7) entgegen
dem Uhrzeigersinn auf „0“ drehen.
2) Die Schutzkappe für die Abtastnadel nach unten
abziehen.
3) Den Hebel für den Tonarm-Lift (8) in die vordere
Position stellen.
4) Den Verriegelungshebel für den Tonarm (9) nach
rechts öffnen. Den Tonarm am Griff anfassen und
ihn vorsichtig bis kurz vor den Plattenteller füh-
ren, so dass er sich frei nach oben und unten be-
wegen kann.
Achtung! Die Nadel nirgends anstoßen lassen.
5) Das Gegengewicht (5) so verdrehen, dass der
Tonarm genau waagerecht stehen bleibt und nicht
nach oben oder unten schwingt (Abb. 3):
Schwingt der Tonarm nach oben: Gegengewicht
entgegen dem Uhrzeigersinn drehen.
Schwingt der Tonarm nach unten: Gegengewicht
im Uhrzeigersinn drehen.
6) Den Tonarm zurück auf die Tonarm-Halterung le-
gen und mit dem Verriegelungshebel (9) sichern.
7) Am Gegengewicht (5) befindet sich ein dreh-
barer, schwarzer Ring mit einer Skala. Die rote
Linie auf dem Tonarm zeigt auf irgendeinen Wert
der Skala. Ohne dass das Gegengewicht ver-
dreht wird, nur den Ring auf „0“ drehen (Abb. 4).
Achtung! Das Gerät wird mit lebensgefährlicher
Netzspannung (230V~) versorgt. Neh-
men Sie deshalb nie selbst Eingriffe im
Gerät vor. Durch unsachgemäßes Vor-
gehen besteht die Gefahr eines elektri-
schen Schlages. Außerdem erlischt
beim Öffnen des Gerätes jeglicher
Garantieanspruch.
1.2 Connections (fig. 2)
24 Analog audio output via phono jacks
(red = right channel, white = left channel)
Note: if switch PHONO/LINE (25) is in the posi-
tion PHONO, the function “Master Tempo” is not
effective via phono jacks.
25 Selector switch PHONO/LINE for the output
level of the phono jacks (24)
26 Digital output via BNC jack
27 3.5mm jack for the remote control of the function
“Start/Stop” via a mixer with fader start – see
chapter 6.6
28 Mains cable for the connection to 230V~/50Hz
2Safety Notes
This unit corresponds to the directive for electromag-
netic compatibility 89/336/EEC and to the low volt-
age directive 73/23/EEC.
Please observe the following items in any case:
●The unit is suitable for indoor use only. Protect it
against dripping water and splash water, high air
humidity, and heat (admissible ambient tempera-
ture range 0–40°C).
●Do not place any vessels filled with liquid, e.g.
drinking glasses, on the unit.
●Do not operate the unit and immediately dis-
connect the plug from the mains socket if
1. there is visible damage to the unit or to the
mains cable.
2. a defect might have occured after the unit was
dropped or suffered a similar accident,
3. malfunctions occur.
In any case the unit must be repaired by author-
ized personnel.
●Adamaged mains cable must be replaced by the
manufacturer or skilled personnel only.
●Never pull the mains cable to disconnect the
mains plug from the socket, always seize the plug!
●If the unit is used for other purposes than originally
intended, if it is not operated correctly or not re-
paired in an expert way, no liability for any
damage will be accepted.
●If the unit is to be put out of operation perma-
nently, take it to a local recycling plant for a dis-
posal which is not harmful to the environment.
●Important for U.K. Customers!
The wires in this mains lead are coloured in
accordance with the following code:
blue = neutral
brown = live
As the colours of the wires in the mains lead of this
appliance may not correspond with the coloured
markings identifying the terminals in your plug,
proceed as follows:
1. The wire which is coloured blue must be con-
nected to the terminal in the plug which is
marked with the letter Nor coloured black.
2. The wire which is coloured brown must be con-
nected to the terminal which is marked with the
letter Lor coloured red.
3Possibilities of Application
The turntable DJP-400/SI is especially designed for
professional DJ applications. Many functional fea-
tures exactly match this field of application, e.g. auto-
matic beat counter, pitch bend, master tempo, etc.
4Assembly and Basic Settings
The turntable platter, the headshell, the counter-
weight for the tone arm, and the turntable are sepa-
rately packed to prevent damage during transporta-
tion. After unpacking all parts, the original packing
should be kept for possible later transport.
Place the turntable on an even, horizontal sur-
face.
4.1 Mounting the turntable platter and the
headshell
Put the turntable platter on the axle of the turntable
so that the two plastic bolts on the lower side of the
turntable platter lock into the holes of the drive plat-
ter. Place the supplied felt slipmat onto the turntable
platter.
Take the headshell (13) out of one of the two lat-
eral polystyrene wrappings, put it onto the front end
of the tone arm and secure it with the locking nut.
4.2 Mounting the counterweight for the tone
arm
Take the counterweight (5) out of one of the two lat-
eral polystyrene wrappings and put it onto the end of
the tone arm until it locks into place. The counter-
weight is then used for precise adjustment of the sty-
lus pressure on the record.
4.3 Adjusting the stylus pressure
1) First turn the antiskating rotary knob (7) counter-
clockwise to “0”.
2) Pull down the protective cover of the stylus.
3) Place the lever for the tone arm lift (8) to the front
position .
4) Open the tone arm locking lever (9) to the right.
Seize the handle of the tone arm and lead it
carefully just before the turntable platter so that it
can easily move upwards and downwards.
Attention! The stylus must not hit against any-
thing.
5) Turn the counterweight (5) so that the tone arm
remains precisely in a horizontal position and
does not move upwards or downwards (fig. 3):
Attention!The unit is supplied with dangerous
mains voltage (230V~). Leave servicing
to authorized personnel only. Inexpert
handling may result in an electric shock.
Furthermore, any guarantee claim will
expire if the unit has been opened.
7
GB
D
A
CH