manuals.online logo
Brands
  1. Home
  2. •
  3. Brands
  4. •
  5. Insignia
  6. •
  7. Plumbing Product
  8. •
  9. Insignia Outdoor Series User manual

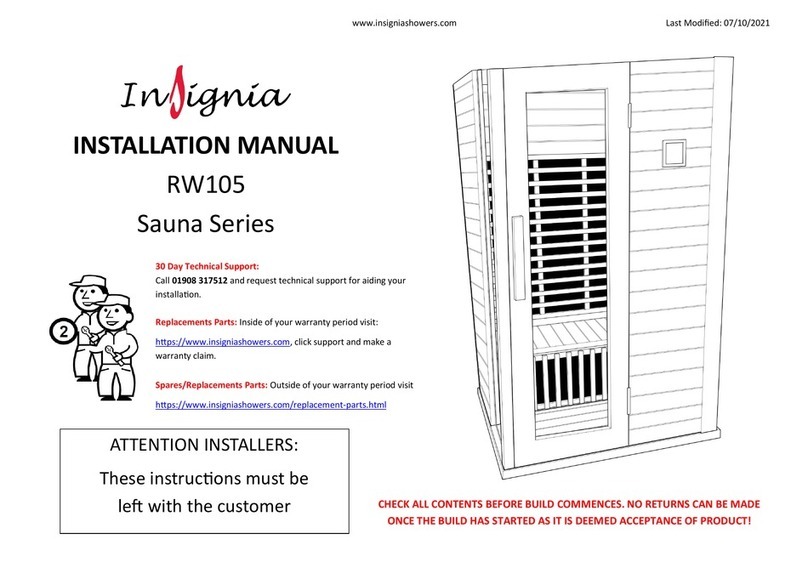
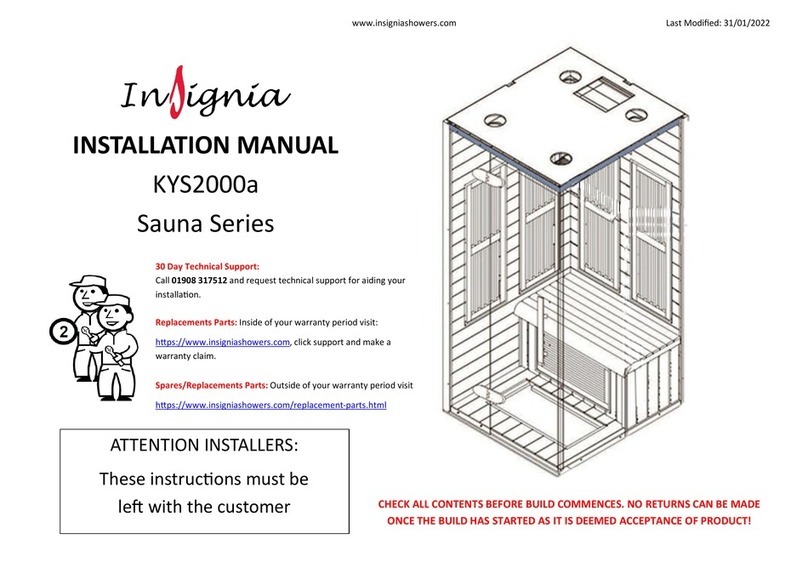
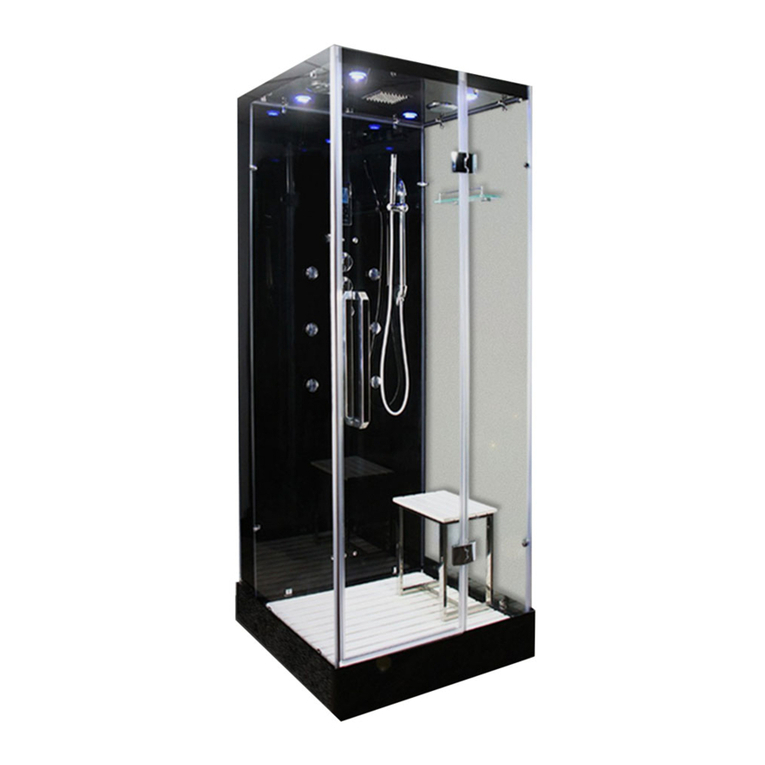
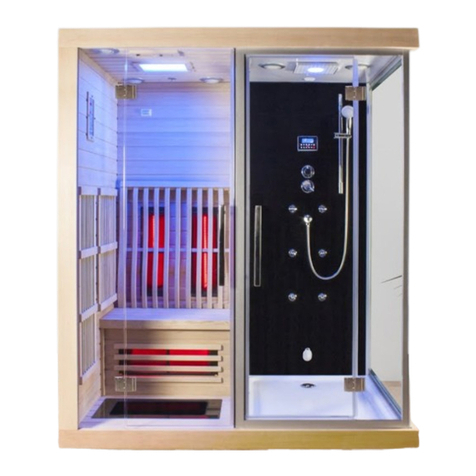
Insignia Outdoor Series User manual

www.insigniashowers.com Last Modied: 16/02/2022
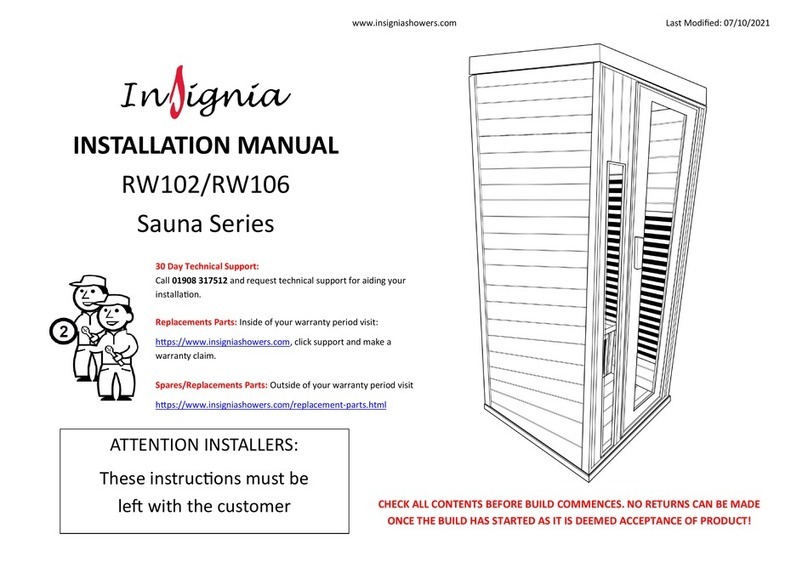
INSTALLATION MANUAL
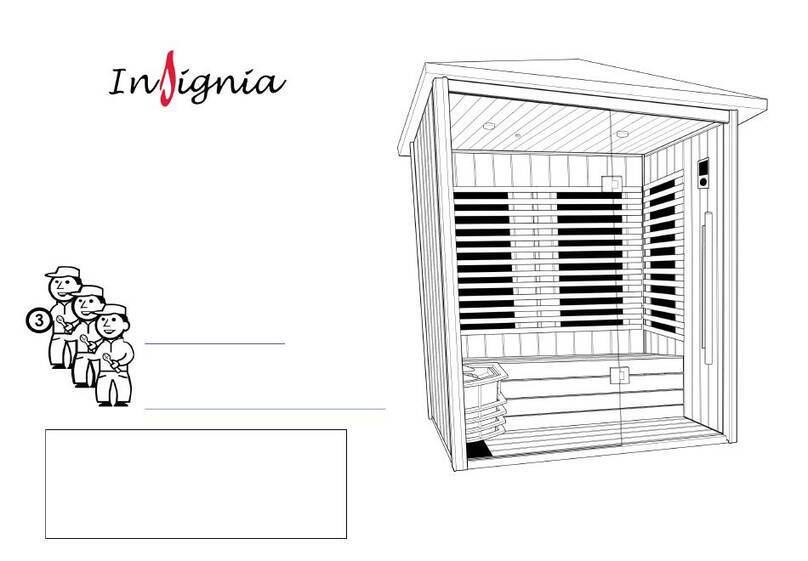
MXOS1700
Outdoor Sauna Series
ATTENTION INSTALLERS:
These instrucons must be
le with the customer
30 Day Technical Support:
Call 01908 317512 and request technical support for aiding your
installaon.
Replacements Parts: Inside of your warranty period visit:
hps://www.insigniashowers.com, click support and make a
warranty claim.
Spares/Replacements Parts: Outside of your warranty period visit
hps://www.insigniashowers.com/replacement-parts.html
CHECK ALL CONTENTS BEFORE BUILD COMMENCES. NO RETURNS CAN BE MADE
ONCE THE BUILD HAS STARTED AS IT IS DEEMED ACCEPTANCE OF PRODUCT!
www.insigniashowers.com Last Modied: 16/02/2022
02
Contents
Thank you for your purchase 3
Electrical & Tool requirements 4
Box contents 5
Creang the base 6
Installing the back right upright 7
Installing the back panel 8
Installing the back le upright 9
Installing the right side panel 10
Installing the right front upright 11
Installing the le side panel 12
Installing the front le upright 13
Electric box install 14
Installing the top frame 15
Floor placement 16
Placing the bench front 17
Under seat support frame install 18
Bench seat install 19
Back rest install 20
Installing the xed glass panel 21
Installing the inner roof 22
Installing the big roof 23
Installing the heater and heater guard 24
Installing the door handle 25
Installing the door 26
Installing the accessories 27
Control Panel Instrucons/Operaon 28
Sauna Room Safety Guide 31
WEEE Compliance Statement 32
www.insigniashowers.com Last Modied: 16/02/2022
03
Thank you for your recent purchase of an Insignia Sauna. Please read this booklet with
great care to ensure you get the best out of your build and have a Sauna that will last
for many years to come! Like everything, in order to obtain a rst class product that
will serve you well for many years, the eort and correctness put into the assembly
will reect in the quality of your nish.
www.insigniashowers.com Last Modied: 16/02/2022
04
• Scissors
• Knife
• Spirit Level
• Tape Measure
• Philips Screwdriver
• Electric Drill
• Safety Gloves
• Safety Glasses
Tools Required
380 volt ready or can be converted to 240Volt
6000 was @ 25 amps 240 volt
Or
6000 was @ 15.8 amps 380 volt
Always consult a qualied Electrician before connecon as to suitability
Your electrical contractor will understand ALL legal requirements of connecon before
undertaking any work or installaon.
UNDER NO CIRCUMSTANCES UNDERTAKE THIS YOURSELF WITHOUT CONSULTATION
The MXOS 1700 has provision for both 240 and 380 volts. The 6KW stove has facility for both
connecng opons. Your qualied electrician will advise on the method they feel bests suits your
situaon and electrical supply along with any potenal benet either may have.
Electrics
www.insigniashowers.com Last Modied: 16/02/2022
05
What’s in the Boxes?
Contents Quanty
Back Panel
Le Panel
Right Panel
Fixed Glass
Door
Inner Roof
Big Roof
Sauna Heater
1
1
1
1
1
1
1
1
[ ]
[ ]
[ ]
[ ]
[ ]
[ ]
[ ]
[ ]
VERY IMPORTANT
Have you got everything? If not please contact the Insignia directly on 01908 317 512.
Remember NEVER book your tradesman unl everything has arrived, been checked and is
present. No replacement/missing parts can be obtained free of charge during or aer the
build. Any claims can only be within the mescale permied (48 hours aer delivery) and
always BEFORE build.
Contents Quanty
Light
Door Handle
Sauna Rocks
Backrest
Bench Top
Bench Vercal Supports
Under Bench Support
Screw Pack
1
1
1
1
4
4
4
1
[ ]
[ ]
[ ]
[ ]
[ ]
[ ]
[ ]
[ ]
www.insigniashowers.com Last Modied: 16/02/2022
06
Step 1 — Creang the base
Create a square using the 4 boom struts.
Note: The front strut has a groove cut out
for the front xed glass panel. Make sure
this strut is at the front of the square.
www.insigniashowers.com Last Modied: 16/02/2022
07
Step 2 — Installing rear right upright
There will be 3 screw connecons on two faces of
the upright. They should face towards the back
boom strut and right boom strut.
www.insigniashowers.com Last Modied: 16/02/2022
08
Step 3 — Installing the back panel
Li the back panel and slide the brackets over the
screw xings and lock into posion. Also ensure you
push the panel down onto the back boom strut and
ensure they lock together.
www.insigniashowers.com Last Modied: 16/02/2022
09
Step 4 — Installing the back le upright
Tilt the back panel up in order to get the back le upright to slot
into the brackets. Connect and push the right back upright down
and secure into posion.
There will be 3 screw connecons on two faces of the upright. They
should face towards the back boom strut and le boom strut.
www.insigniashowers.com Last Modied: 16/02/2022
10
Step 5 — Installing the right side panel
Li the side panel and slide the brackets over the screw xings and
lock into posion. Also ensure you push the panel down onto the
right boom strut and ensure they lock together.
www.insigniashowers.com Last Modied: 16/02/2022
11
Step 7 — Installing the right front upright
Slot the front right upright onto the side panel and push
down to secure in posion.
www.insigniashowers.com Last Modied: 16/02/2022
12
Step 8 — Installing the le side panel
Li the le side panel and slot down onto the
back le upright and locking in place on the
boom le strut.
www.insigniashowers.com Last Modied: 16/02/2022
13
Step 9 — Installing the front le upright
Slot the front le upright onto the side panel and
push down to secure in posion.
www.insigniashowers.com Last Modied: 16/02/2022
14
Step 10 — Electric box
The electrical box (below) should be housed in the sauna,
underneath the back bench on the oor. Install electrical
connecons. Partner up all corresponding wires which are
denoted by matching sckers from the box to the back/
right panels.
Note: It is recommended to make this connecon now
with full access.
www.insigniashowers.com Last Modied: 16/02/2022
15
Step 19 — Installing the top frame
Locate the top framework into posion. Secure loosely, as you
need manoeuvrability of the framework to insert the xed glass
panel.
www.insigniashowers.com Last Modied: 16/02/2022
16
Step 11 — Placing the oor in posion
The cut-outs in each front corner go around the front uprights.
Ensure you place the oor in it’s correct orientaon.
www.insigniashowers.com Last Modied: 16/02/2022
17
Step 13 — Placing the front of the bench
Place the front of the bench ght up to the oor.
www.insigniashowers.com Last Modied: 16/02/2022
18
Step 17 — Placing under seat support frame
• Using ST40 Screws locate the large frame support to the back
of the sauna.
• From the inside screw the base of all bench front to the
adjoining panels.
ST40 x 26
www.insigniashowers.com Last Modied: 16/02/2022
19
Step 18 — Placing the bench seat in posion
Locate the bench seat into posion by placing it onto
the under support frame.
www.insigniashowers.com Last Modied: 16/02/2022
20
Step 18 — Installing the back rests
Locate the back rest and place along the back wall of the sauna.
Align using a spirit level and screw I in posion using ST50 Screws.

This manual suits for next models

1

Other Insignia Plumbing Product manuals

Insignia MXOS2000 User manual

Insignia

Insignia MXOS2000 User manual

Insignia Noire90 User manual

Insignia

Insignia Noire90 User manual

Insignia MXOS1500 User manual

Insignia

Insignia MXOS1500 User manual

Insignia KY1500 Series User manual

Insignia

Insignia KY1500 Series User manual

Insignia KY005 Series User manual

Insignia

Insignia KY005 Series User manual

Insignia KY001 Series User manual

Insignia

Insignia KY001 Series User manual

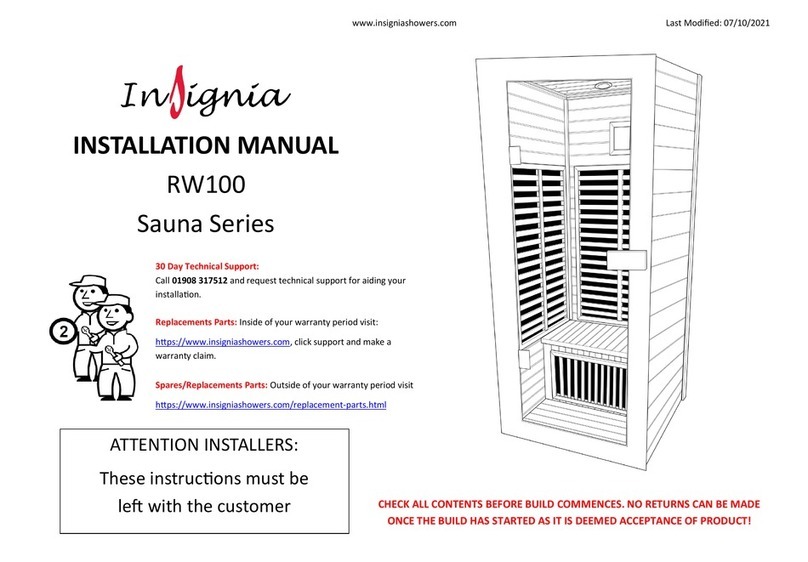
Insignia Sauna Series User manual

Insignia

Insignia Sauna Series User manual

Insignia Sauna Series User manual

Insignia

Insignia Sauna Series User manual

Insignia RW103 User manual

Insignia

Insignia RW103 User manual

Insignia KYS1820 User manual

Insignia

Insignia KYS1820 User manual

Insignia RW101 Series User manual

Insignia

Insignia RW101 Series User manual

Insignia GT8728 User manual

Insignia

Insignia GT8728 User manual

Insignia KYS2000 User manual

Insignia

Insignia KYS2000 User manual

Insignia KY3000 Series User manual

Insignia

Insignia KY3000 Series User manual

Insignia MXOS1700 User manual

Insignia

Insignia MXOS1700 User manual

Insignia RW100 User manual

Insignia

Insignia RW100 User manual

Insignia KY900 Series User manual

Insignia

Insignia KY900 Series User manual

Insignia MX1515 User manual

Insignia

Insignia MX1515 User manual

Insignia KY007 Series User manual

Insignia

Insignia KY007 Series User manual
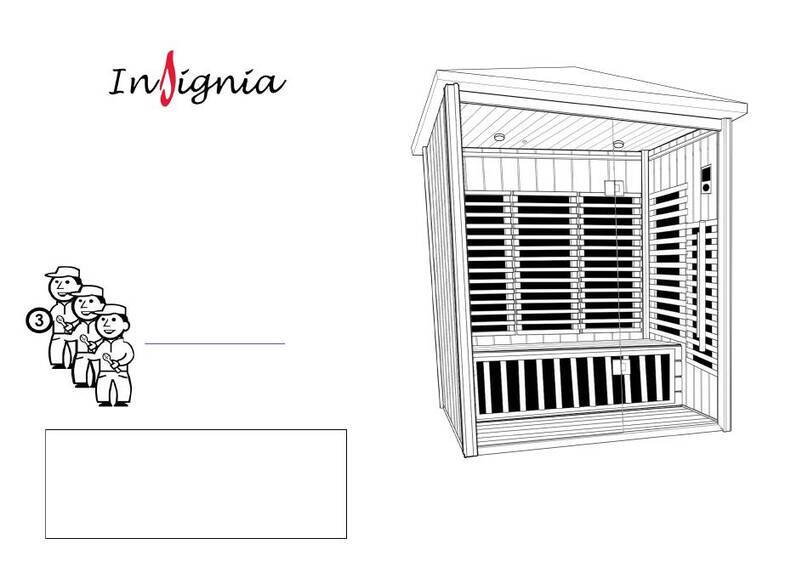
Insignia KYS1450 Series User manual

Insignia

Insignia KYS1450 Series User manual
Insignia KY2216 User manual

Insignia

Insignia KY2216 User manual

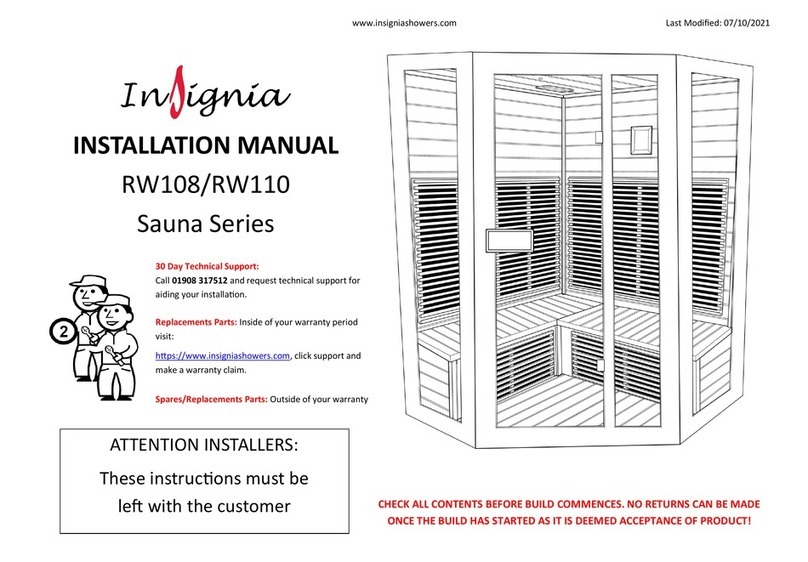
Insignia Sauna Series User manual

Insignia

Insignia Sauna Series User manual

Insignia MXSO1700 User manual

Insignia

Insignia MXSO1700 User manual

Insignia MXOS2000 User manual

Insignia

Insignia MXOS2000 User manual
Popular Plumbing Product manuals by other brands

Raritan TPWK12 Maintenance and installation instructions

Raritan

Raritan TPWK12 Maintenance and installation instructions

Franke AQUA421 Installation and operating instructions

Franke

Franke AQUA421 Installation and operating instructions

Dynamic DYN-6336-01 owner's manual

Dynamic

Dynamic DYN-6336-01 owner's manual

Kohler K-6814-3 Homeowner's guide

Kohler

Kohler K-6814-3 Homeowner's guide

Abode Metix AT2076 manual

Abode

Abode Metix AT2076 manual

Hans Grohe Zesis M33 150 1jet 74802 Series Instructions for use/assembly instructions

Hans Grohe

Hans Grohe Zesis M33 150 1jet 74802 Series Instructions for use/assembly instructions

Franke ORCA FF-3000 Series installation instructions

Franke

Franke ORCA FF-3000 Series installation instructions

Moen T2473EP 906118 quick start guide

Moen

Moen T2473EP 906118 quick start guide

American Standard Deck Mount Tub Fillers T990.5XX installation instructions

American Standard

American Standard Deck Mount Tub Fillers T990.5XX installation instructions

Hans Grohe Ecostat 1001 SL 13241 Series Assembly instructions

Hans Grohe

Hans Grohe Ecostat 1001 SL 13241 Series Assembly instructions

Symmons Symmetrix S-250 Series Installation and service instructions

Symmons

Symmons Symmetrix S-250 Series Installation and service instructions

Gessi OVALE 11941 Installation

Gessi

Gessi OVALE 11941 Installation

EKO Commercial Sinks installation guide

EKO

EKO Commercial Sinks installation guide

Hans Grohe Raindance 180 Showerpipe 27212000 Instructions for use/assembly instructions

Hans Grohe

Hans Grohe Raindance 180 Showerpipe 27212000 Instructions for use/assembly instructions

Giacomini GE556-5 User and maintenance guide

Giacomini

Giacomini GE556-5 User and maintenance guide

Splash Lab TSL.680 Installation and Maintenance

Splash Lab

Splash Lab TSL.680 Installation and Maintenance

Omnires PARMA SYSPM10GR Installation and Maintenance

Omnires

Omnires PARMA SYSPM10GR Installation and Maintenance

PISCO T Series manual

PISCO

PISCO T Series manual

manuals.online logo
manuals.online logoBrands
  • About & Mission
  • Contact us
  • Privacy Policy
  • Terms and Conditions

Copyright 2025 Manuals.Online. All Rights Reserved.