manuals.online logo
Brands
  1. Home
  2. •
  3. Brands
  4. •
  5. Insignia
  6. •
  7. Plumbing Product
  8. •
  9. Insignia KY1500 Series User manual

Insignia KY1500 Series User manual

www.insigniashowers.com Last Modied: 07/10/2021
INSTALLATION MANUAL
KY1500
Sauna Series
30 Day Technical Support:
Call 01908 317512 and request technical support for aiding your
installaon.
Replacements Parts: Inside of your warranty period visit:
hps://www.insigniashowers.com, click support and make a
warranty claim.
Spares/Replacements Parts: Outside of your warranty period visit
hps://www.insigniashowers.com/replacement-parts.html
ATTENTION INSTALLERS:
These instrucons must be
le with the customer CHECK ALL CONTENTS BEFORE BUILD COMMENCES. NO RETURNS CAN BE MADE
ONCE THE BUILD HAS STARTED AS IT IS DEEMED ACCEPTANCE OF PRODUCT!
www.insigniashowers.com Last Modied: 07/10/2021
02
Contents
Thank you for your purchase 3
Electrical & Tool requirements 4
Box contents 5
Side Panel Connecon 6
Le Side Panel to Back Panel Connecon 7
Floor Posioning 8
Heater Cover Install 9
Seat Install 10
Right Side Panel Connecon 13
Front Frame Install 14
Door Handle Install 15
Roof Install and Electrics Connecons 16
Screwing the Roof into Posion 17
Securing the Roof Wires into Posion 18
Control Panel Instrucons 19
Sauna Room Safety Guide 21
WEEE Compliance Statement 22
www.insigniashowers.com Last Modied: 07/10/2021
03
Thank you for your recent purchase of an Insignia Sauna. Please read this booklet with
great care to ensure you get the best out of your build and have a Sauna that will last
for many years to come! Like everything, in order to obtain a rst class product that
will serve you well for many years, the eort and correctness put into the assembly
will reect in the quality of your nish.
www.insigniashowers.com Last Modied: 07/10/2021
04
• Scissors
• Knife
• Spirit Level
• Tape Measure
• Philips Screwdriver
• Electric Drill
• Safety Gloves
• Safety Glasses
Tools Required
Voltage Rang 220-240AC
Frequency Rang 50Hz
Power Rang 3513 Was
Amperage 14.64 Amps
Always consult a qualied Electrician before connecon as to suitability
Your electrical contractor will understand ALL legal requirements of connecon before undertaking any work or
installaon.
UNDER NO CIRCUMSTANCES UNDERTAKE THIS YOURSELF WITHOUT CONSULTATION
Note for electrician: This product comes with preed RCD unit. We leave it this way for you to connect it your
own way due to connued addions to current regulaons.
1) Connect within current laws and IP direcves. Subject to room locaon.
2) (Preferred) Wire into isolated fused feed connecng directly to the house consumer/service box.
Always use protecon against electrical surge. Your shower should be treated the same as a home computer. A
surge protector should eradicate the possibility of either the transformer or control panel being burnt out.
Subject to connecon type, electrical work needs to be signed o by a fully qualied operave by law. Failure to
adhere to this will not only void your electrical warranty for your sauna, but could void your house insurance
Electrical Requirements Model KY1500
www.insigniashowers.com Last Modied: 07/10/2021
05
What’s in the Boxes?
Contents Quanty
Back Wall (two pieces)
Floor
Roof
Side panel (two pieces)
Side Panel Connectors (Top)
Side Panel Connectors (Boom)
Seat
Front Frame/Door
Door Handle
Heater Guard
Screw Pack
1
1
1
2
2
2
2
1
1
2
1
[ ]
[ ]
[ ]
[ ]
[ ]
[ ]
[ ]
[ ]
[ ]
[ ]
[ ]
VERY IMPORTANT
Have you got everything? If not please contact the Insignia directly on 01908 317 512.
Remember NEVER book your tradesman unl everything has arrived, been checked and is
present. No replacement/missing parts can be obtained free of charge during or aer the
build. Any claims can only be within the mescale permied (48 hours aer delivery) and
always BEFORE build.
www.insigniashowers.com Last Modied: 07/10/2021
06
Step 1 — Placing the side panel pieces together
The cut-outs are for the top
of the panel, for the wires
to slot through to the roof.
20 x 60mm Screws
Slide the two panel pieces
together and slot the top
and boom wood securing
pieces in posion.
Tip: Lay the panels at on
their back to connect.
Repeat for the other side panel
www.insigniashowers.com Last Modied: 07/10/2021
07
Step 2 — Le side panel and back panel connecon
Li the side panel, locate xings and once
connected, push down to secure into posion.
www.insigniashowers.com Last Modied: 07/10/2021
08
Step 3 — Slide the oor into posion
Ensure the plate heaters are
towards the front. Remove the
wood securing it in posion for
transit and the packaging.
www.insigniashowers.com Last Modied: 07/10/2021
09
Step 4 — Installing heater covers
Connect the lights then align the
heater cover using a spirit level
and connect screw in posion
using ST50 Screws
Do this for both sides.
8 x 50mm Screws
www.insigniashowers.com Last Modied: 07/10/2021
10
Step 5 — Installing the seats
16 x 30mm Screws
www.insigniashowers.com Last Modied: 07/10/2021
11
Step 6 — Installing seats connued
Firmly push all rubber hoses together
www.insigniashowers.com Last Modied: 07/10/2021
12
Step 7 — Seat Electrics
Connect all power from under both
seats and then slide into posion.
www.insigniashowers.com Last Modied: 07/10/2021
13
Step 8 — Right Side Panel Installaon
Li the side panel, locate xings and once
connected, push down to secure into posion.
www.insigniashowers.com Last Modied: 07/10/2021
14
Step 9 — Front Frame Installaon
Li the front frame, locate xings and meet with each side
panel then push down to secure into posion.
www.insigniashowers.com Last Modied: 07/10/2021
15
Step 10 — Installing the door handle and seals
www.insigniashowers.com Last Modied: 07/10/2021
16
Step 11 — Installing the roof and connecng power
www.insigniashowers.com Last Modied: 07/10/2021
17
Step 12 — Securing the Roof into Posion
14 x 60mm Screws
www.insigniashowers.com Last Modied: 07/10/2021
18
Step 13 — Securing the Wires to the Roof
20 x 12mm Screws
www.insigniashowers.com Last Modied: 07/10/2021
19
Control Panel Instructions
8
9
10 11
Buon 1/2 (Sauna Heaters)
Press to acvate Sauna heaters. Pressing once will put the heaters on at 100%. Twice = 90%. Three mes = 80%. Four
mes = 70% and ve mes = O.
Buon 3(Lights)
Press to cycle through the coloured lights. Each press will change colour unl a full cycle is completed and they turn o.
Buon 4 (Fan)
Press to turn the fan on, press again to turn it o.
Buon 5 (Time/Temp)
Press to display temp, then cycle through desired temperature seng (max 60°C) using up and down arrows (Buons 6/8). Press
again to display me, then cycle through desired me seng (max 99 mins) using up and down arrows (Buons 6/8).
Buon 6/8 (Up and Down Arrows)
Use to cycle up or down through various seng opons.
Buon 7 (Play/Pause/Memory)
Use to Play/Pause music through various sengs. When searching and tuning the radio, use to save a desired frequency
to a specic channel.
Buon 9 (Set)
Press and use the arrows (Buon 5/11) to manually search. Hold to tune radio staons automacally.
Buon 10 (Audio Mode)
Press to cycle through the audio opons, Radio/MP3/USB/Bluetooth or AUX. To connect the Bluetooth press the Audio
funcon (Buon 10) unl ‘BT’ is shown on the control panel. Pair the sauna with your device. Once connected a tone will
signify the connecon has been successful and the Bluetooth icon showing on the panel interface.
Buon 11 (Alarm)
Press to acvate the alarm, press again to deacvate it.
Buon 12 (Power)
Use to power the control panel on or o. Also use to unlock he panel (enters lock mode automacally aer 60 seconds of inacvity).
7
6
5
4
3
2
1
12
KY1500 (KY0721 BT Panel)
www.insigniashowers.com Last Modied: 07/10/2021
20
Chair Remote

Other Insignia Plumbing Product manuals
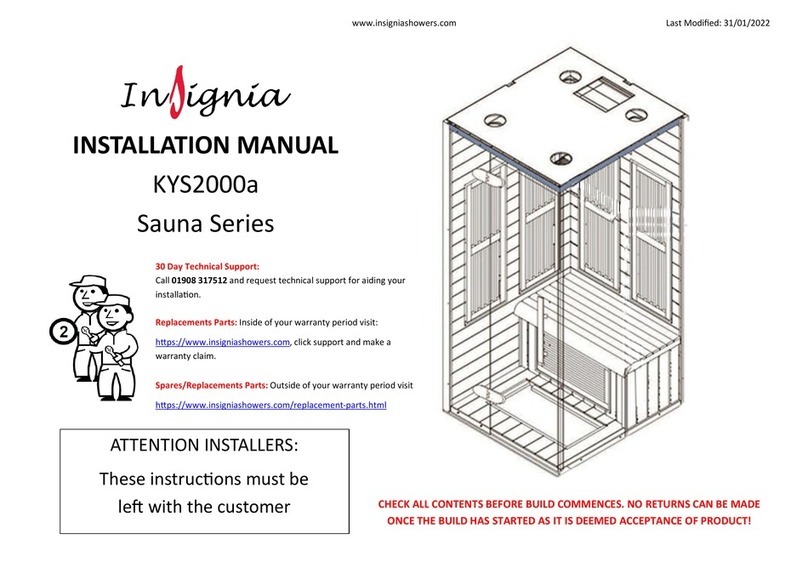
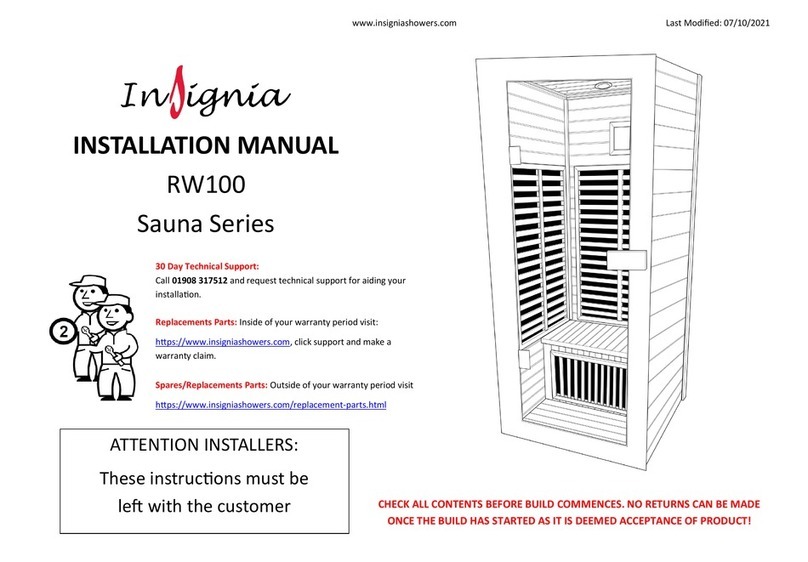
Insignia KYS2000a User manual

Insignia

Insignia KYS2000a User manual
Insignia KYS1820 User manual

Insignia

Insignia KYS1820 User manual

Insignia KY005 Series User manual

Insignia

Insignia KY005 Series User manual

Insignia RW105 User manual

Insignia

Insignia RW105 User manual

Insignia KSY1820 User manual

Insignia

Insignia KSY1820 User manual

Insignia KY001 Series User manual

Insignia

Insignia KY001 Series User manual

Insignia RW103 User manual

Insignia

Insignia RW103 User manual

Insignia KY003 Series User manual

Insignia

Insignia KY003 Series User manual

Insignia KY900 Series User manual

Insignia

Insignia KY900 Series User manual

Insignia RW100 User manual

Insignia

Insignia RW100 User manual

Insignia GT8728 User manual

Insignia

Insignia GT8728 User manual

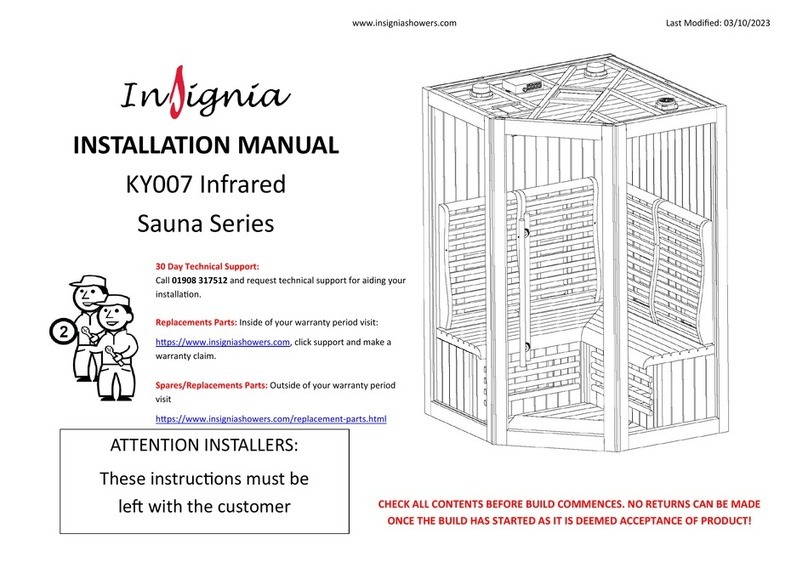
Insignia KY007 Series User manual

Insignia

Insignia KY007 Series User manual

Insignia MXOS1500 User manual

Insignia

Insignia MXOS1500 User manual

Insignia KYS2000 User manual

Insignia

Insignia KYS2000 User manual

Insignia MX1515 User manual

Insignia

Insignia MX1515 User manual

Insignia MXOS4000 User manual

Insignia

Insignia MXOS4000 User manual
Insignia KYS1450 Series User manual

Insignia

Insignia KYS1450 Series User manual

Insignia Outdoor Series User manual

Insignia

Insignia Outdoor Series User manual

Insignia KY002 Series User manual

Insignia

Insignia KY002 Series User manual
Insignia RW102 User manual

Insignia

Insignia RW102 User manual
Insignia Sauna Series User manual

Insignia

Insignia Sauna Series User manual
Insignia MXOS2000 User manual

Insignia

Insignia MXOS2000 User manual

Insignia KY3000 Series User manual

Insignia

Insignia KY3000 Series User manual

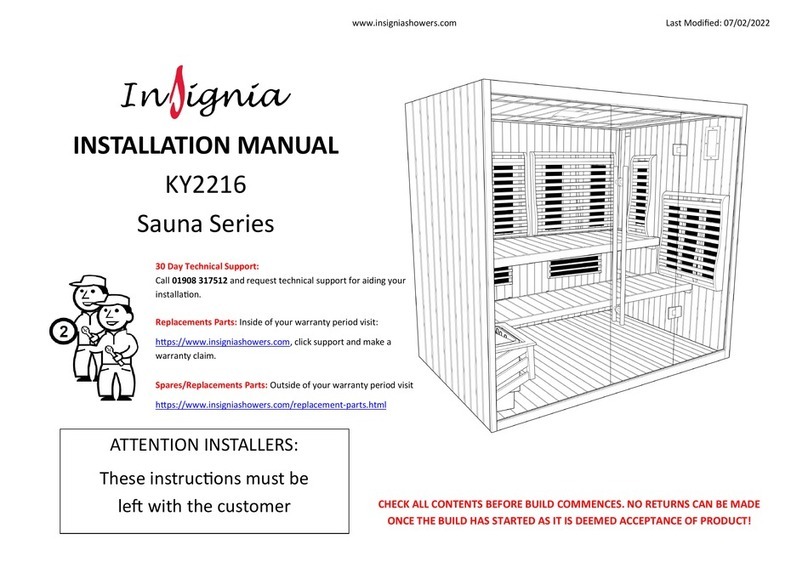
Insignia KY2216 User manual

Insignia

Insignia KY2216 User manual

Popular Plumbing Product manuals by other brands

American Standard CULINAIRE 4137.1 installation instructions

American Standard

American Standard CULINAIRE 4137.1 installation instructions

VADO ORIGINS ORI-233-CP user guide

VADO

VADO ORIGINS ORI-233-CP user guide

PEERLESS PTT188782-LHD Series manual

PEERLESS

PEERLESS PTT188782-LHD Series manual

Kraus KCA-1102 installation manual

Kraus

Kraus KCA-1102 installation manual

Allen + Roth 1789VA-30-310 instruction manual

Allen + Roth

Allen + Roth 1789VA-30-310 instruction manual

Kraus Arlo KVF-1200 installation guide

Kraus

Kraus Arlo KVF-1200 installation guide

FM Mattsson FMM 4282 installation instructions

FM Mattsson

FM Mattsson FMM 4282 installation instructions

Intra SLP 02N Instructions for use

Intra

Intra SLP 02N Instructions for use

Kalia NAJA Surfer KF1034 installation instructions

Kalia

Kalia NAJA Surfer KF1034 installation instructions

Moen L2353 Specification sheet

Moen

Moen L2353 Specification sheet

Hans Grohe Raindance S 100 AIR 3-Jet Instructions for use

Hans Grohe

Hans Grohe Raindance S 100 AIR 3-Jet Instructions for use

Durasage FRB-2F3 User guide and instruction manual

Durasage

Durasage FRB-2F3 User guide and instruction manual

Rohl Perrin & Rowe U.1347LS manual

Rohl

Rohl Perrin & Rowe U.1347LS manual

Franke EXOS616EX Installation and operating instructions

Franke

Franke EXOS616EX Installation and operating instructions

Endura Endura 7 Installation, use & care manual

Endura

Endura Endura 7 Installation, use & care manual

Haws 8901B Axion Installation, operation & maintenance instructions

Haws

Haws 8901B Axion Installation, operation & maintenance instructions

Pfister Aadaya F-529-6YA Quick installation guide

Pfister

Pfister Aadaya F-529-6YA Quick installation guide

Home of ultra AX301 Handbook

Home of ultra

Home of ultra AX301 Handbook

manuals.online logo
manuals.online logoBrands
  • About & Mission
  • Contact us
  • Privacy Policy
  • Terms and Conditions

Copyright 2025 Manuals.Online. All Rights Reserved.